

You share a studio, or your bed sits ten feet from your front door, and you want a wall. A real one isn’t happening, and your lease probably says no holes in the ceiling. A curtain is the answer, but most ceiling track kits need screws, and screws mean patching and paint before you move out.
This guide shows you how to hang room divider curtain panels using a heavy-duty tension rod that presses against your walls instead of screwing into anything. No drill. No ceiling damage. No lost deposit. By the end, you’ll have a curtain that slides open and closed, hangs straight to the floor, and comes down in two minutes on moving day.
The method works because a tension rod holds itself up with outward pressure. Get the size and weight right, and it stays put. Get them wrong, and it slowly slides down the wall. That’s why the first few steps are all about measuring and buying the right gear before you lift anything.
Plan on about an hour total, with roughly 35 minutes of hands-on work. You need a wall on each side of the space. If you only have one, the pole option in Step 3 has you covered.
- ✓Heavy-duty tension rod (twist-to-tighten style)
- ✓Curtain panels (2x the width of your gap)
- ✓Rubber or felt furniture pads, 1 inch
- ✓Curtain clip rings (optional)
- ✓Tape measure
- ✓Painter’s tape and a pencil
- ✓Small level (or a level app on your phone)
- ✓Handheld steamer or iron
- ✓Sturdy step stool
1. Measure the gap from wall to wall
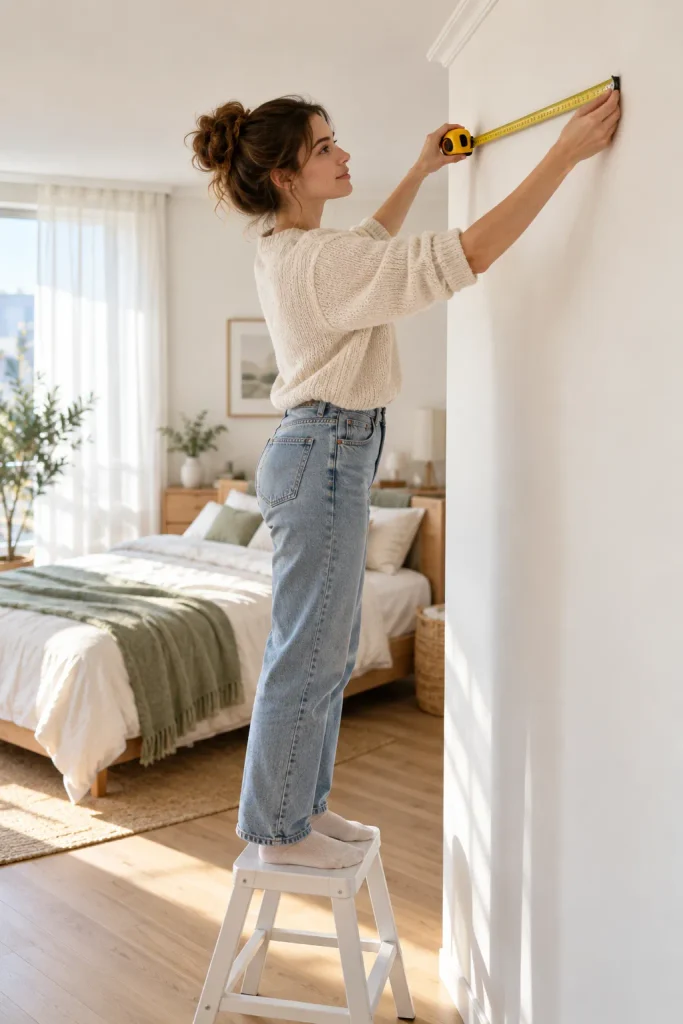
Walls are rarely perfectly straight, so measure close to where the rod will hang, usually 2 to 4 inches below the ceiling. Hook the tape on one wall and run it flat to the other. Measure from the wall itself, not from trim or a door frame. Take the measurement twice, a few inches apart, and write down the smaller number. A tension rod holds best when it’s sized to the tightest point.
2. Measure the drop from your rod height to the floor
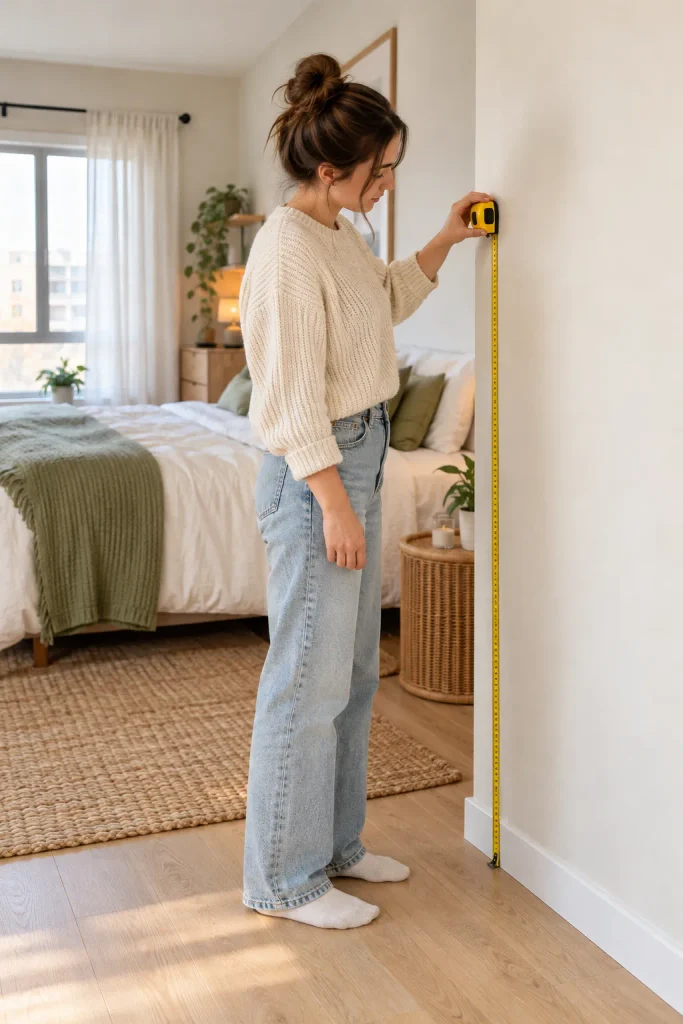
If you skip this, you’ll end up with a curtain that floats above the floor and looks too short. Start at your planned rod height and run the tape straight down. That number is your curtain length.
For a clean look, subtract ½ inch so the hem skims the floor. For a soft, cozy look, add 2 to 4 inches so it pools a little. Using clip rings? Take off another 1 to 2 inches, since rings make the curtain hang lower.
3. Buy a tension rod rated for your width and curtain weight
Two numbers on the box matter: the width range and the weight limit. Pick a rod where your gap falls in the middle of the range, not at the far end. A rod stretched to its maximum is at its weakest and sags first. Choose a twist-to-tighten heavy-duty rod over a basic spring rod, because it presses harder on the walls.
No wall on one side? Skip the rod and get a floor-to-ceiling tension pole kit. It grips with soft pads instead of screws.

Curtain weight adds up fast. Two blackout or velvet panels can weigh more than a basic rod is built to hold. Check the weight limit on the package and make sure it’s higher than your curtains. For gaps wider than about 10 feet, go with a pole kit instead, since long rods tend to bow in the middle.
4. Pick curtain panels that cover twice the width of the gap
An 80-inch gap needs about 160 inches of fabric to fall in soft, full folds. Most panels run 50 to 54 inches wide, so that gap takes three panels. Buy the length closest to your Step 2 number, usually 84, 96, or 108 inches. Grommet tops or clip rings slide open far more smoothly than rod-pocket panels, which bunch up and drag.

A divider gets seen from both sides. Choose panels that look finished on the back, or hang two panels back to back so neither side of the room faces a plain white lining.
5. Steam the wrinkles out before you hang anything
Package creases can take weeks to fall out on their own, and they look sharp on a curtain hanging in the middle of a room. Drape each panel over a door and steam from top to bottom. No steamer? Use an iron on the heat the care label lists. Keep the iron off blackout backing, though. Heat can melt that coating.

6. Mark the rod height on both walls with painter’s tape
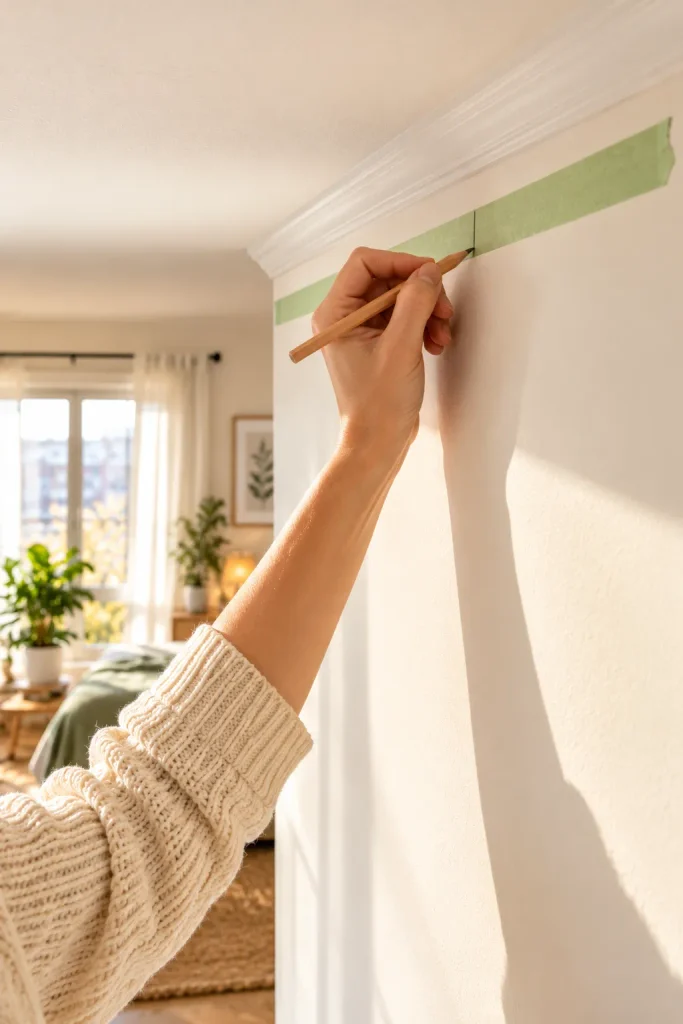
Once the rod is in your hands, you won’t have a free hand for measuring. Get your marks ready first:
- Measure down 3 inches from the ceiling on the first wall.
- Press a short strip of painter’s tape at that spot.
- Draw a pencil line across the tape at the exact height.
- Repeat on the opposite wall, using the same measurement.
Measure from the ceiling, not the floor. Your eye compares the rod to the ceiling line, so matching it there looks straighter. Painter’s tape peels off clean, and the pencil never touches your paint.
7. Add rubber or felt pads to the rod ends
Did your rod come with rubber end caps? Good, but they’re usually small and hard. Stick a 1-inch furniture pad over each cap to spread the pressure and keep the rod from leaving round dents in your paint. Rubber pads grip better than felt. Felt protects soft paint well but can slide on glossy walls.

8. Slide the curtain onto the rod before it goes up
Threading fabric onto a rod that’s already wedged between two walls means taking the whole thing down again. Twist off one end cap and slide the panels on now. Make sure every panel faces the same way, with the nicer side toward the room you see most. Using clip rings? Thread all the rings onto the rod first, then clip one at each edge of a panel and space the rest evenly between them.

Bunch all the fabric at one end of the rod before you lift it. Spread-out curtains hang low and tangle around your feet on the step stool.
9. Extend the rod 1 inch past the gap to hang your room divider curtain tight
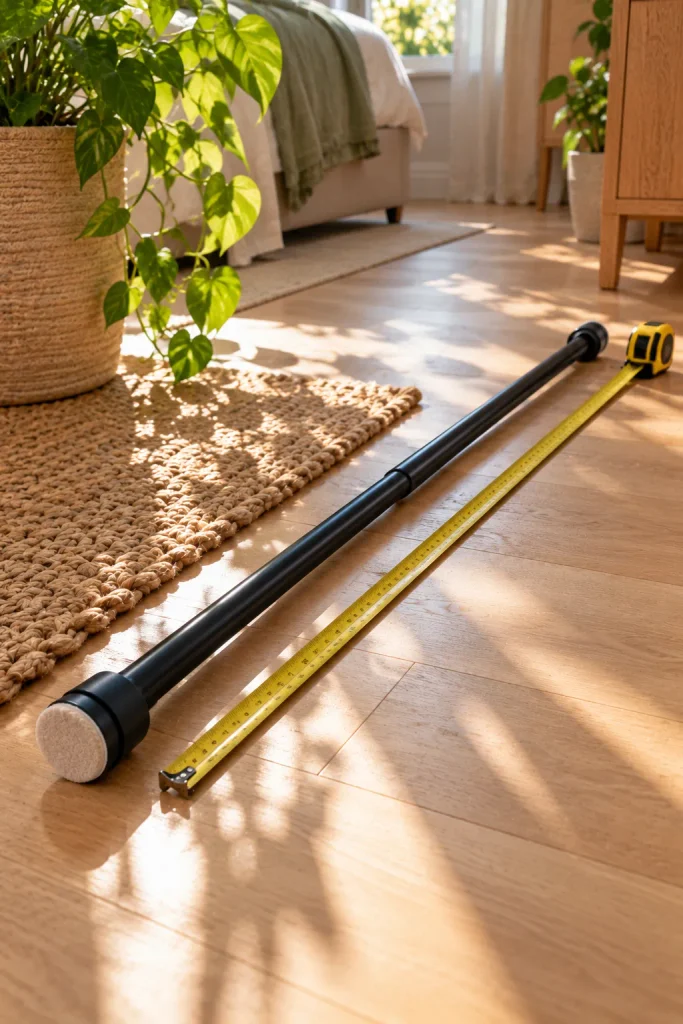
One inch of extra length is what creates the grip. Lay the rod on the floor next to your tape measure and stretch it to your Step 1 number plus 1 inch. That small bit of extra length compresses against the walls and holds everything up. Check your rod’s instructions first, though. Some twist-style rods are set to the exact gap and build their pressure when you twist them later.
10. Twist the rod into place at your tape marks
Two people make this faster, but one person can manage it from a step stool. Keep the fabric bunched at one end while you work:
- Press one end of the rod against the wall, centered on the pencil line.
- Shorten the rod slightly by pushing or twisting so the other end clears the far wall.
- Line that end up with its pencil line.
- Let the rod spring or twist back out until both ends press flat.
Each pad should sit flat against the wall, not tilted on its edge.

11. Check that the rod sits level, then tighten
Set your level or phone in the middle of the rod. If the bubble drifts, nudge the low end up a hair. Once it reads level, give the rod 2 or 3 more twists until it feels firm. Stop there. Too much pressure can push the pads into drywall and leave a dent you’ll need to fill later.
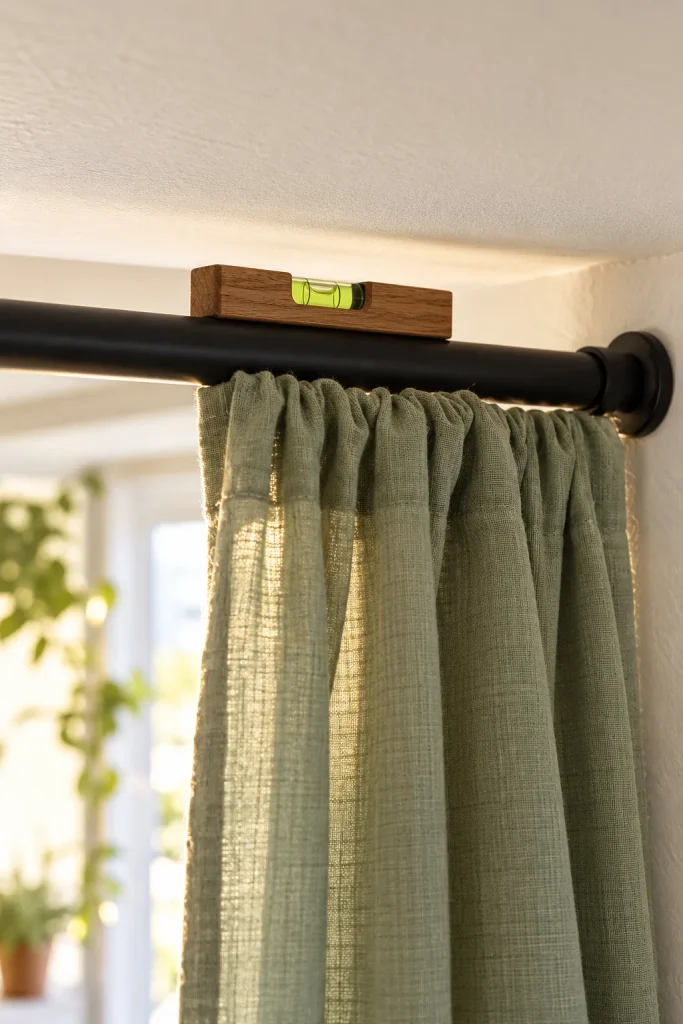
12. Test the grip with a firm downward tug
This is the step that tells you whether the rod will still be up next week. Grab the middle of the rod and pull straight down, about as hard as you’d yank a curtain closed in a hurry. Then slide the curtain open and closed 5 times. Watch your tape marks. If either end slips even ¼ inch, take the rod down, add a little more length, and try again.

Stand to the side when you tug, not directly under the rod. A rod that lets go drops fast. Once it passes the test, keep extra weight off it. Hooks with bags, towels, or string lights all count against the weight limit.
13. Arrange the folds so the curtain hangs evenly
Fabric straight from the package has no idea how to fold yet, so it hangs flat in some spots and lumpy in others. Spread the panels evenly across the rod. Pinch the fabric into soft accordion folds, one fold toward you and the next away, each about 4 to 5 inches deep. Tie loose ribbons or fabric scraps around the folds at the middle and near the hem. Leave them on for 24 to 48 hours, then untie. The folds will keep their shape from then on.

Grommets or rings dragging on the rod? Rub a dry bar of soap or a plain white candle along the top of the rod. The thin coating lets the curtain glide open with one hand.
Use a floor-to-ceiling tension pole kit instead of a rod. Two poles press between the floor and ceiling with soft pads, and a crossbar holds the curtain. Nothing gets screwed in.
It can, if the rod’s weight limit is higher than the panels. To weigh them, step on a bathroom scale holding the curtains, then subtract your own weight.
Check the width range on the package. Past about 10 feet, most rods start to bow in the middle, so a pole kit is the safer pick.
Not if the ends are padded and you stop tightening once the rod feels firm. At most, you might see faint marks that wipe off with a damp cloth.
It’s risky. Adhesive hooks pulling straight down from a ceiling tend to let go over time, and they can peel paint when they fall. A tension rod puts the weight on the walls, where it holds much better.
- Heavy-duty twist tension rod
- Curtain panels (2x gap width)
- Rubber or felt pads, 1 inch
- Clip rings (optional)
- Tape measure
- Painter’s tape and pencil
- Level or phone level app
- Steamer or iron
- Step stool
- Measure wall to wall at rod height
- Measure rod height to floor
- Buy a rod rated for width and weight
- Pick panels 2x the gap width
- Steam out the creases
- Tape-mark 3 in below ceiling on both walls
- Pad both rod ends
- Slide curtain onto rod, bunched at one end
- Extend rod to gap + 1 in
- Set rod on the tape marks
- Level it, then 2 to 3 more twists
- Tug test and slide 5x
- Tie folds for 24 to 48 hrs
Your space has a soft new wall, and your ceiling doesn’t have a single hole in it.
You’ve learned how to hang room divider curtain panels the renter-friendly way, and the whole setup packs up in minutes when you move.
Want each side to feel even more like its own room? Lay a rug on each side of the curtain to mark the two zones.
Save this pin to your apartment ideas board so it’s ready the next time a space needs splitting.

