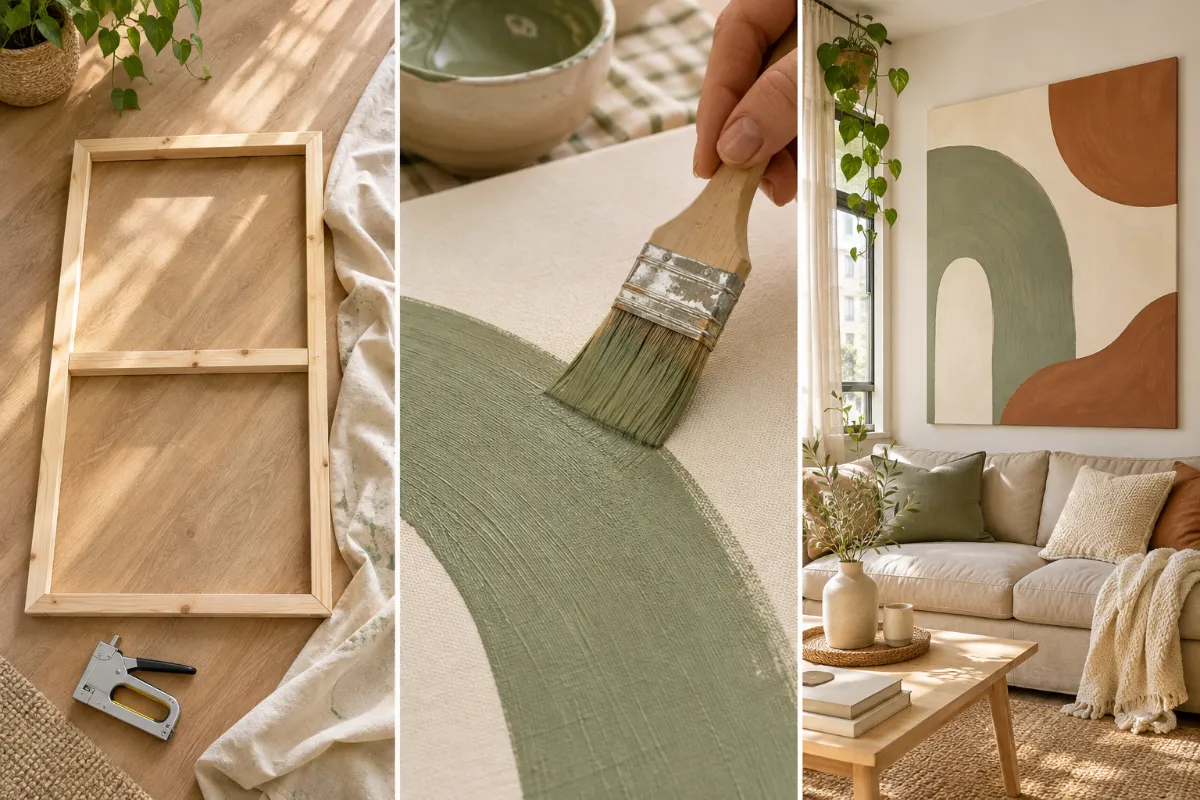
You have a big blank wall above your couch, and every canvas big enough to fill it costs more than the couch did. I ran into the same problem in my first apartment. Small prints looked lost up there, like stamps on an envelope. What finally worked was DIY large wall art I built myself, for about the price of a nice dinner out.
This guide shows you how to build a 36 x 48 inch canvas from a painter’s drop cloth and three cheap wood strips, then paint a simple abstract design on it. You don’t need art skills. You need a staple gun, some patience, and about $45 in supplies. A drop cloth is thick cotton, close to what store canvases are made of, so from across the room your finished piece looks like the real thing.
Plan your time honestly. The hands-on work takes 3 to 4 hours, but glue, primer, and paint all need time to dry, so plan for a weekend. The finished canvas weighs only a few pounds, so it hangs with renter-friendly strips and leaves no holes in your walls. Clear a spot on the floor and let’s build it.
What You Need
Already own the tools? Materials run about $40 to $50.
- 1 cotton canvas drop cloth, 6 x 9 ft
- 3 furring strips, 1 x 2 inch, 8 ft long
- Wood glue
- 6 flat corner braces, 1.5 inch (with screws)
- 3/8 inch staples
- White gesso or water-based primer, 16 oz
- 2 to 3 sample pots of wall paint, 8 oz each
- Matte Mod Podge or matte water-based varnish
- Large picture-hanging strips (rated 16 lbs)
- Tape measure and pencil
- Painter’s tape
- Hand saw and miter box (or store cuts)
- 120-grit sandpaper
- Screwdriver
- Staple gun
- Iron (or a dryer and a heavy book)
- Scissors
- Spray bottle with water
- 4 inch foam roller and tray
- 2 inch and 1 inch flat brushes
- Damp rag
At a Glance
- Tape out your canvas size on the wall
- Cut the wood into five pieces
- Glue and brace the four corners
- Add a center brace
- Wash and dry the drop cloth
- Iron the fabric flat
- Staple the fabric to the frame
- Fold and staple the corners
- Prime the canvas
- Roll on the base color
- Paint big shapes
- Add dry brush texture
- Seal with a matte topcoat
- Hang with renter-friendly strips
1. Measure your wall to choose the right canvas size
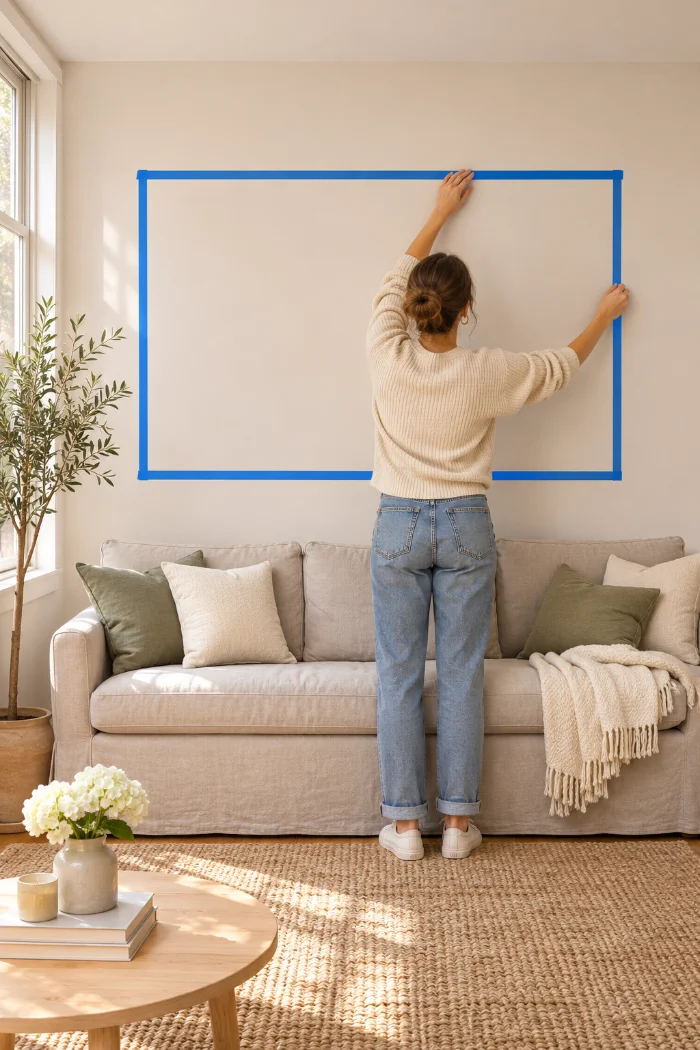
Most people pick art that is too small, and it ends up looking like a postage stamp. Aim for about 2/3 the width of the furniture below it. Over a 72 inch sofa, that means a canvas around 48 inches wide. Tape a 36 x 48 inch rectangle on the wall with painter’s tape and leave it up for a day. Too big or too small? Change the size now, before you buy any wood.
2. Cut the furring strips to length
You need five pieces: two at 48 inches and three at 33 inches. Cut one of each from the first strip, one of each from the second, and the last 33 from the third. Why 33 and not 36? The short pieces sit between the long ones, and each long piece adds 1.5 inches of width. (Making a different size? Short pieces equal your width minus 3 inches.) Use a hand saw in a miter box so each cut is square. Sand the cut ends with 120-grit sandpaper so splinters don’t snag the fabric.
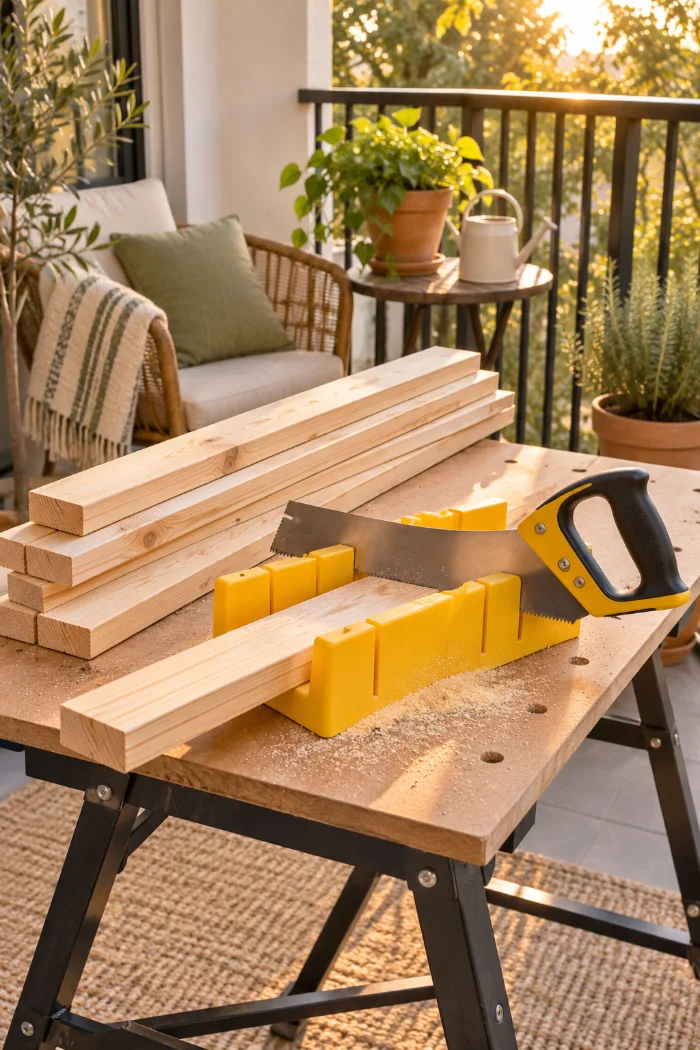
No saw? Many big hardware stores will cut lumber for you at the register, often for free. Bring your cut list on your phone. While you’re there, look down the length of each strip and skip any that curve or twist.
3. Glue and brace each frame corner
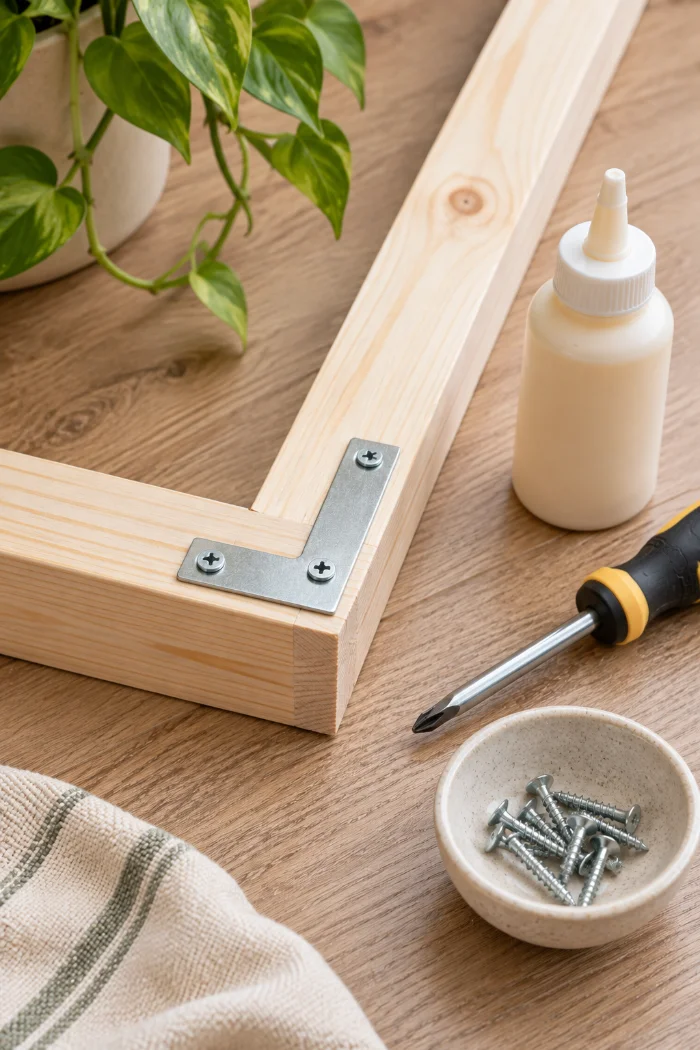
On a flat floor, lay out the rectangle with the short pieces tucked between the long ones, wide side down. Then, at each corner:
- Spread a thin line of wood glue on the end of the short piece.
- Press it tight against the long piece.
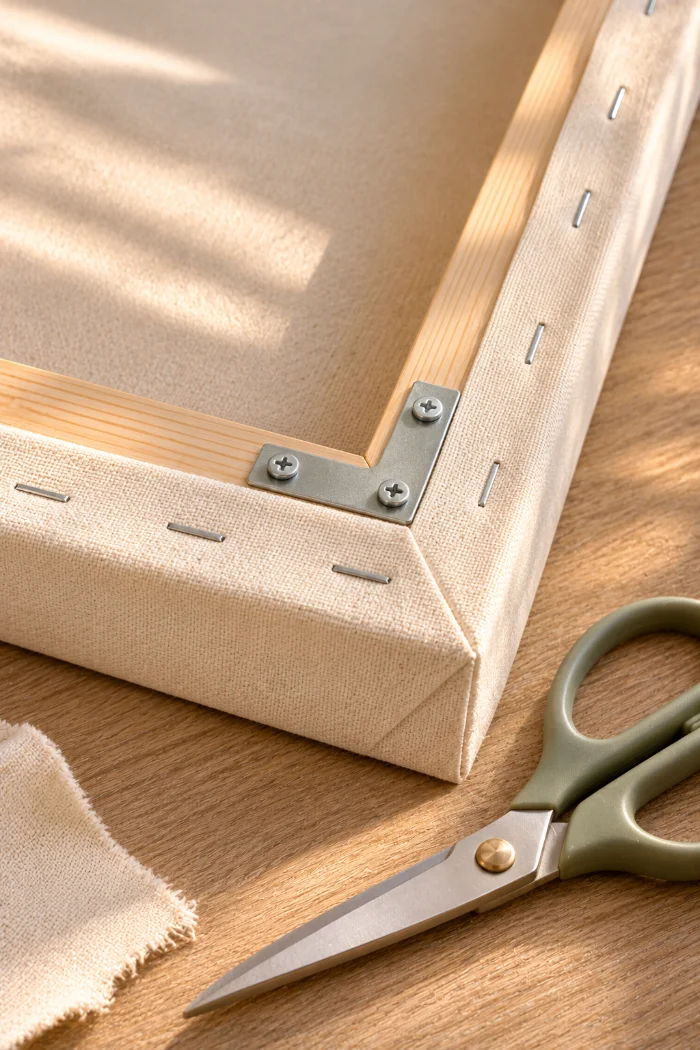
- Screw a 1.5 inch flat corner brace across the joint.
The side facing up is now the back. Glue alone won’t hold a frame this big, so don’t skip the braces. If a screw won’t bite, tap a small nail in first to start the hole.
4. Add a center brace so the frame stays square
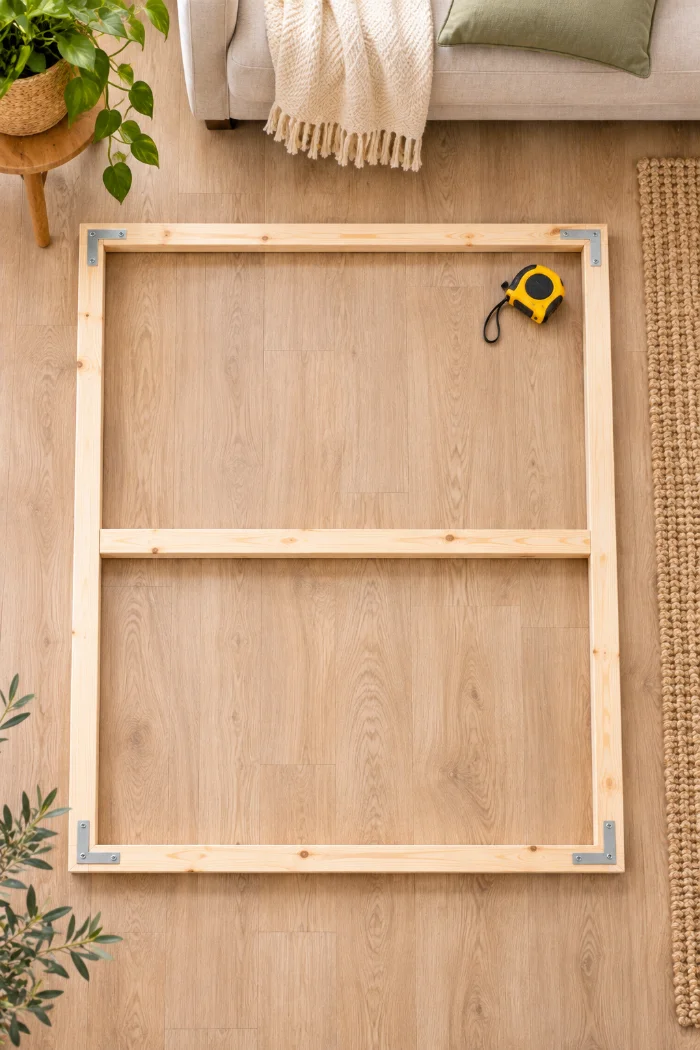
A 48 inch frame bows inward when you pull fabric tight, and this third piece stops that. Mark the middle of each long side at 24 inches. Glue the last 33 inch piece between the marks, then screw a corner brace at each end. While the glue is still wet, measure both diagonals of the frame. If the two numbers match, the frame is square. If they don’t, push gently on the corners of the longer diagonal until they do. Leave the frame alone for 1 hour.
5. Wash and dry the drop cloth before you use it
Straight out of the package, a drop cloth is stiff, full of fold lines, and still able to shrink. Wash it in hot water and dry it on high heat so it shrinks now instead of on your frame. No washer? Soak it in a bathtub of hot water for 30 minutes, wring it out, and hang it to dry.

Wash the drop cloth by itself. A new one sheds a surprising amount of lint, so empty the dryer lint trap halfway through the cycle.
6. Iron the drop cloth completely flat
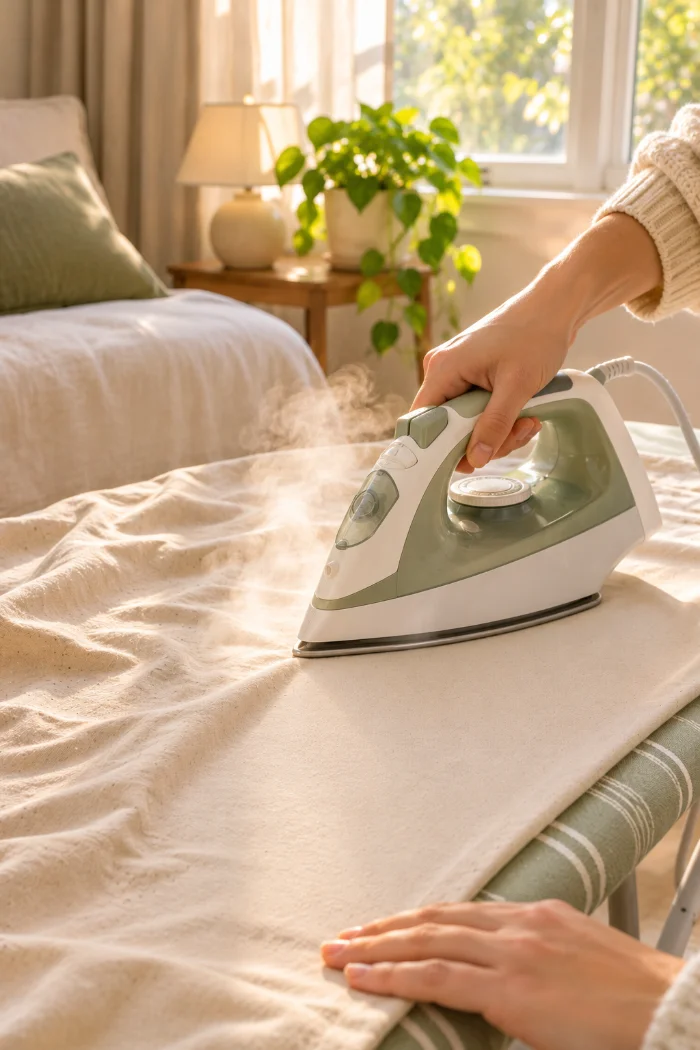
Ten minutes with an iron now saves you from wrinkles that show through the paint forever. Set the iron to cotton with steam on. You only need to iron the middle of the cloth, an area about 42 x 54 inches, because that’s all you’ll use. If the fabric dried too stiff, mist it with your spray bottle as you go. No ironing board? A thick towel on the floor works fine. No iron at all? Pull the cloth from the dryer while it’s warm, lay it flat, and weigh the creases down with heavy books for an hour.
7. Staple the fabric to the back of the frame
If you staple one whole side first, the fabric pulls crooked and ripples. Work from the centers out instead:
- Cut the fabric to 42 x 54 inches.
- Lay it flat and center the frame on top, braces facing up.
- Staple the middle of one long side.
- Pull the opposite side snug and staple its middle.
- Do the same on the short sides, then work toward the corners with a staple every 2 inches.
Stop 3 inches from each corner. Snug means firm, not stretched as far as it will go. If you pull too hard on one side, diagonal lines will show up across the front.
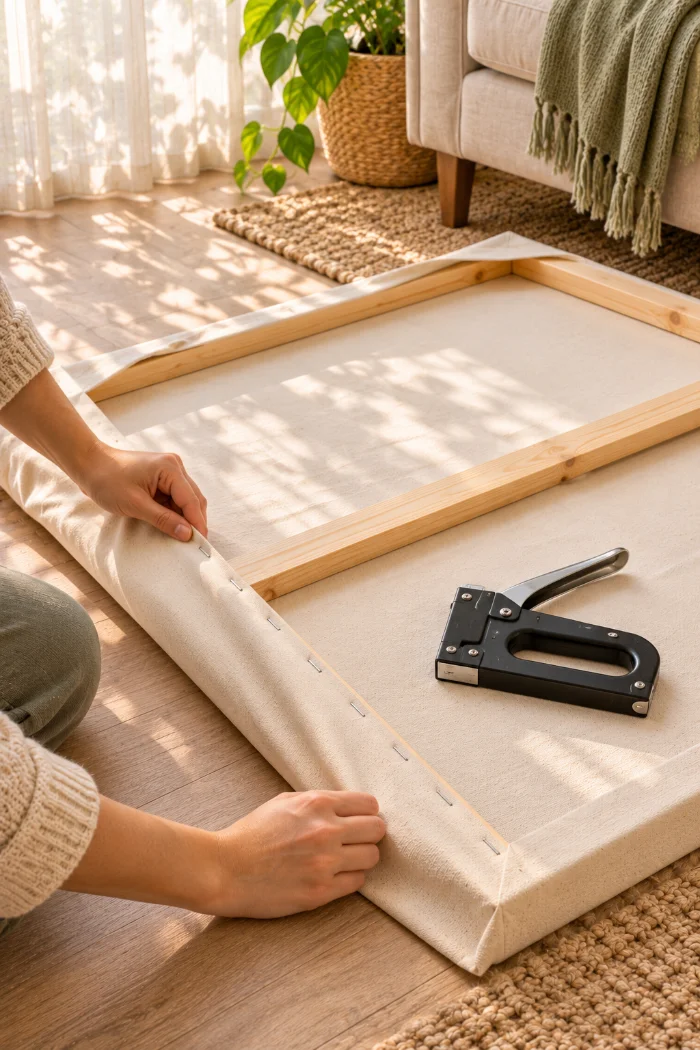
When the stapling is done, lightly mist the back of the fabric with your spray bottle. Cotton tightens a little as it dries, which pulls out small sags.
8. Fold the corners like a wrapped gift
Each corner takes about 2 minutes and three or four staples. Pull the tip of the fabric straight across the corner and staple it to the back. Before you fold, trim away thick extra fabric with scissors, or the corner will stick out from the wall. Fold one side flap in at a neat angle, crease it with your fingers, and staple it down. Fold the second flap the same way. Put the staples next to the metal braces, not on top of them.
9. Prime the canvas so paint doesn’t soak in
Raw cotton drinks paint like a sponge. Without primer, you’d need about three times the paint, and the color would still look patchy. Roll on a thin coat of gesso with the 4 inch foam roller, and cover the sides too. Wait 1 hour, then add a second thin coat. Out of gesso? White water-based primer or a white sample pot of wall paint works too.
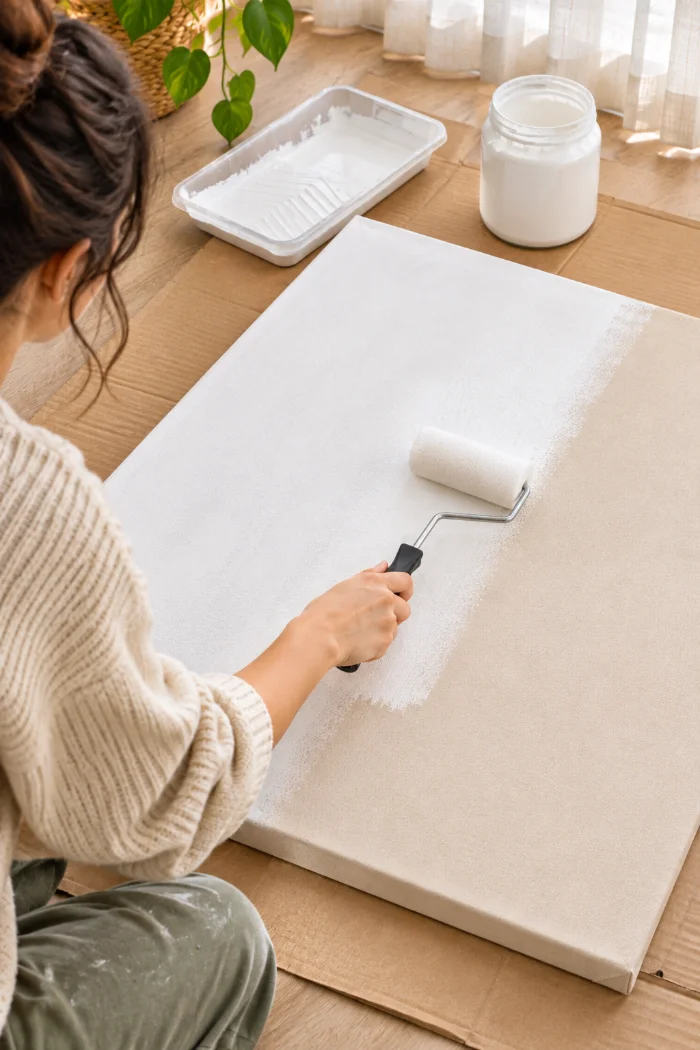
Gesso soaks through the weave and onto whatever is underneath. Before you start, put the leftover drop cloth or some flattened cardboard under the frame.
10. Roll on your base color
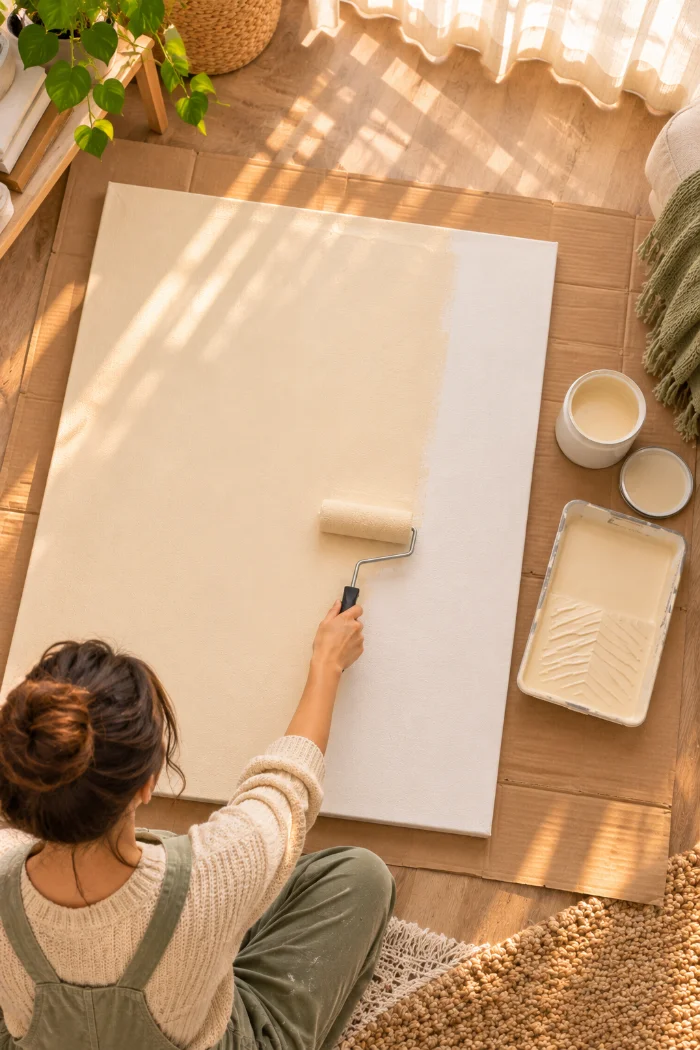
Not sure which colors to pick? Choose three: a light base, a middle shade, and one dark accent. Warm white, sage green, and deep clay make a safe trio for small rooms. Roll the base color over the whole front and the sides in long, overlapping strokes. One 8 oz sample pot covers two coats at this size. Wait 1 hour between coats.
11. Block in big shapes with a wide brush
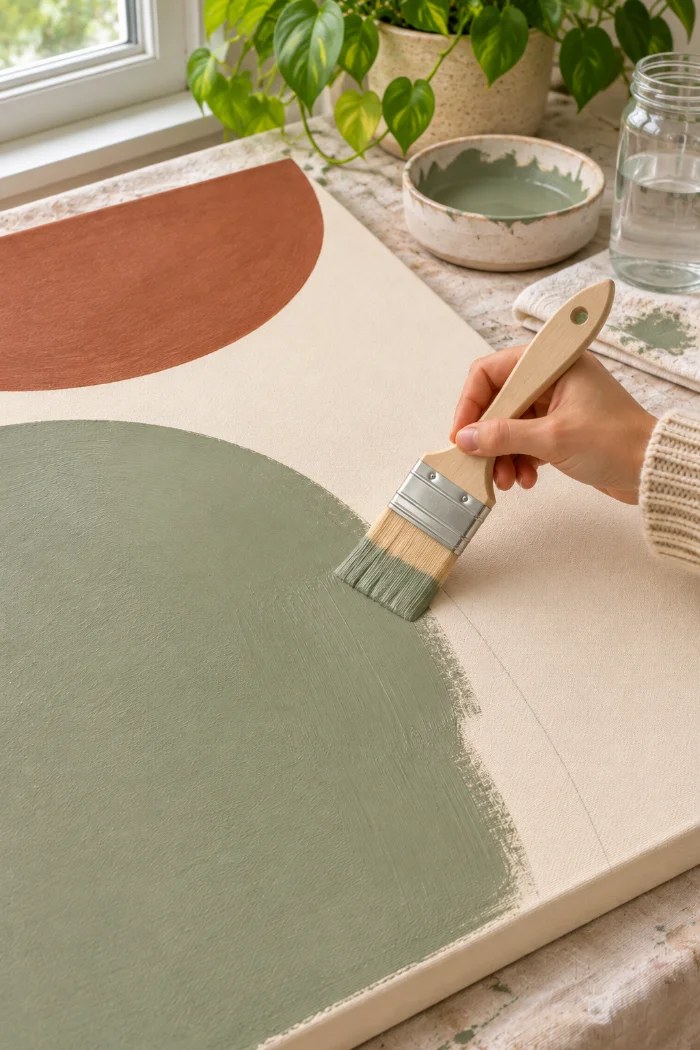
Once the base is dry to the touch, aim for three to five big shapes, like arches, half circles, or soft blobs. Ten small ones look busy. For each shape:
- Sketch it lightly with a pencil.
- Outline the edge with the 1 inch brush.
- Fill the middle with the 2 inch brush.
Let at least one shape run off the edge of the canvas so the design feels bigger than the frame. Nervous about freehand curves? Trace around a large mixing bowl or a dinner plate. Every few minutes, step back about 6 feet and look again.
Using painter’s tape for straight lines? Let the base coat dry for at least 4 hours first, or the tape can peel it right off. Pull the tape while the new paint is still wet, slowly and at a low angle.
12. Add texture with a dry brush
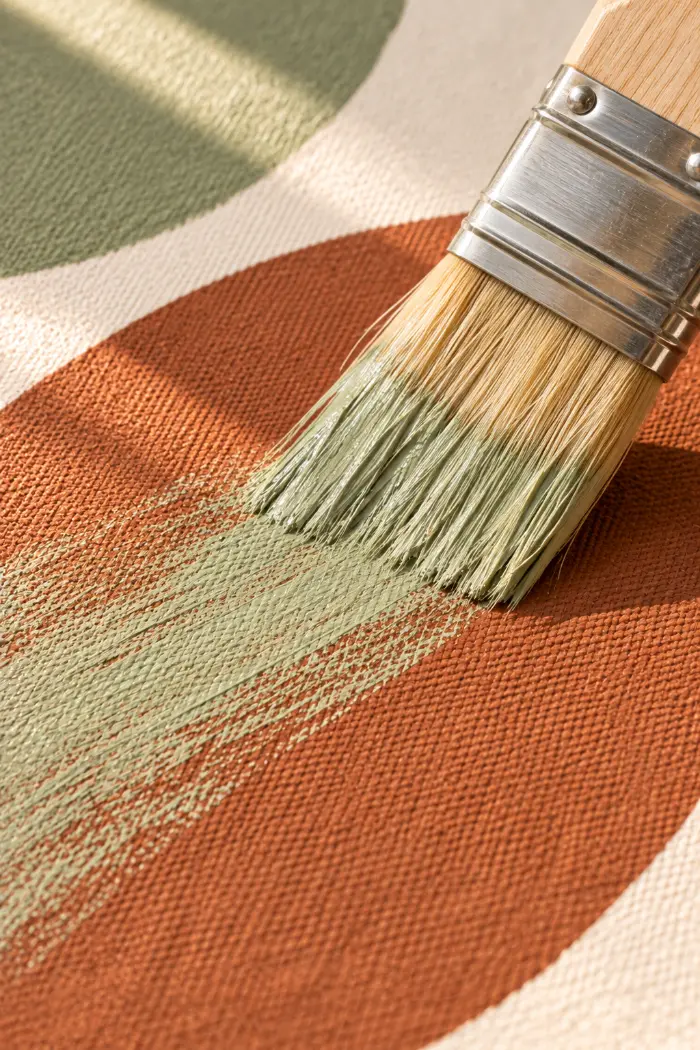
Flat color looks like a painted wall. Texture is what makes it look like art. Dip only the tips of a dry 2 inch brush into a lighter or darker shade, then wipe most of the paint onto a rag. The brush should feel almost empty. Drag it lightly across your shapes in quick, crisscross strokes, and the weave of the drop cloth will catch the paint. Stop a little before you think you’re done. Let everything dry overnight.
13. Seal the paint with a matte topcoat
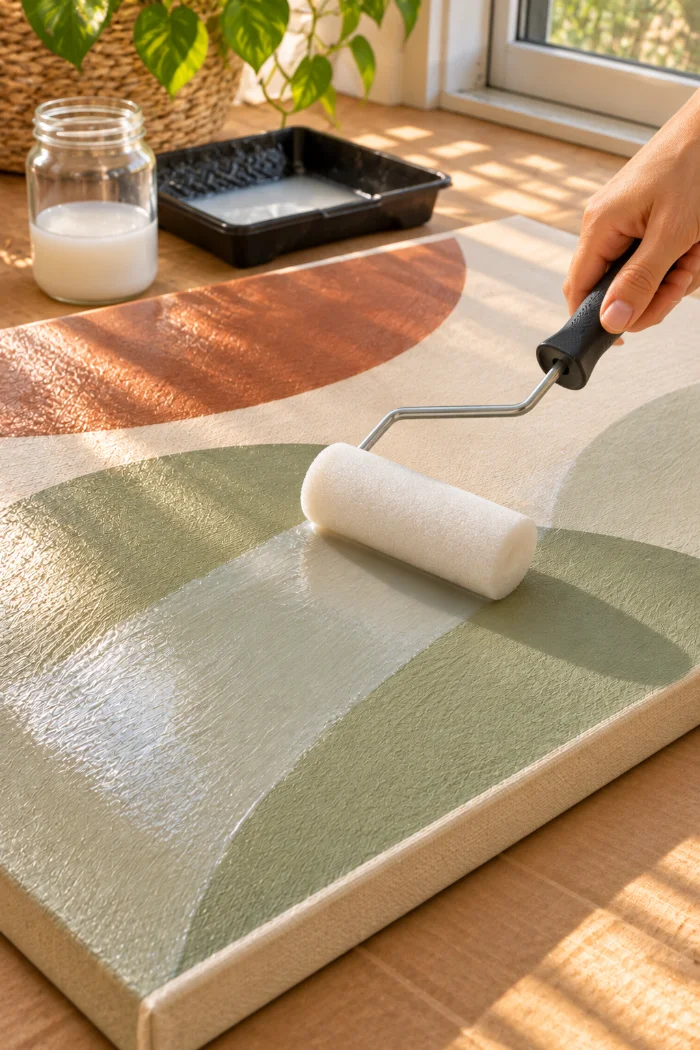
Sample pots dry to different sheens, so right now some shapes may look shiny and others chalky. A matte topcoat evens that out. It also lets you wipe off dust and fingerprints later. Roll one thin coat of matte Mod Podge or matte varnish over the front and sides with a clean foam roller. It goes on milky and dries clear, but only if the coat stays thin. Let it dry for 3 hours.
14. Hang your DIY large wall art with renter-friendly strips
At about 6 pounds, this canvas is well under the 16 pound limit of four large strip pairs. Before you peel off your tape outline from Step 1, put a light pencil dot at each top corner. Then:
- Wipe the wall with rubbing alcohol and let it dry.
- Stick four strip pairs to the back, one on the wood near each corner.
- Line the top corners up with your dots and press for 30 seconds.
- Lift the canvas off from the bottom and press each strip to the wall for 30 seconds.
- Wait 1 hour, then snap the canvas back on.
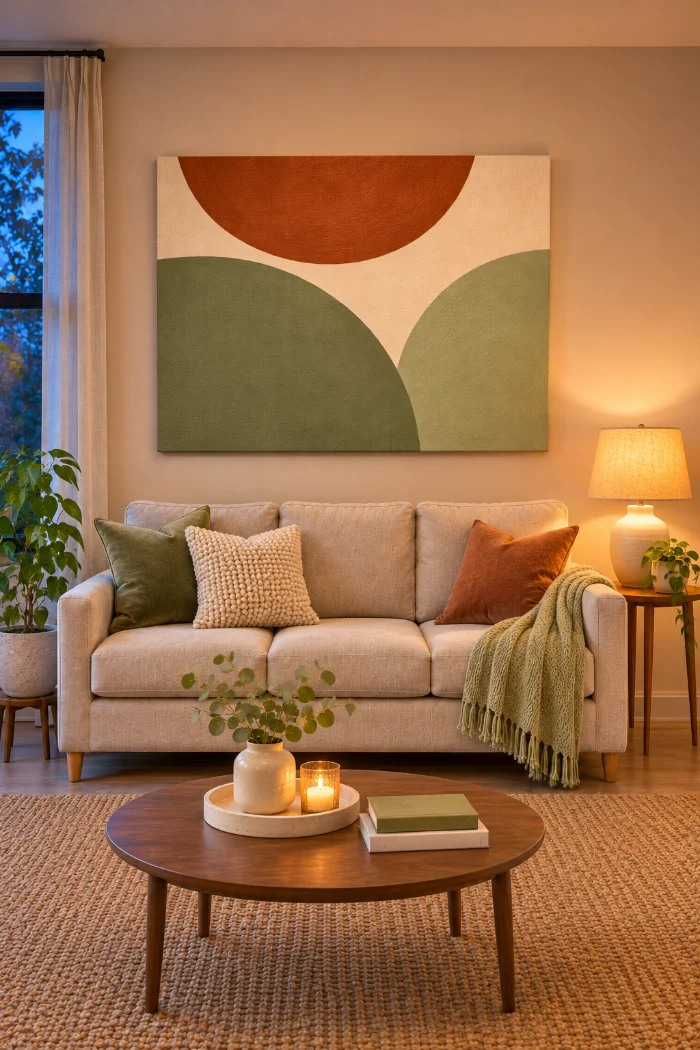
Strips don’t hold well on textured walls, wallpaper, or paint less than 7 days old. On those walls, use one small nail and a sawtooth hanger on the back of the frame instead. The hole fills with a dab of spackle when you move out.
Frequently Asked Questions
Can I make it bigger than 36 x 48 inches?
Yes. A 6 x 9 ft drop cloth covers a frame up to about 48 x 60 inches. Cut the short pieces to your width minus 3 inches, and add one center brace for every 24 inches of length.
Do I need real artist paint?
No. Wall paint sample pots cost less per ounce and are made to cover big areas. Craft acrylics work too, but you will go through several bottles.
Will the strips damage my walls when I move out?
Not on most smooth painted walls, if you remove them the right way. Pull each tab slowly straight down along the wall, never out toward you.
How do I clean it?
Dust it with a dry microfiber cloth. Because it is sealed, you can wipe small marks with a cloth that is barely damp.
What if I get tired of the design?
Paint right over it with a new base coat and new shapes. Or pull the staples, keep the frame, and stretch a fresh piece of drop cloth for under $15.
DIY 36 x 48 Inch Canvas
- 6 x 9 ft cotton drop cloth
- 3 furring strips, 1 x 2 x 8 ft
- Wood glue + 6 corner braces
- Staple gun + 3/8 inch staples
- Gesso or white primer
- 2 to 3 paint sample pots
- Matte Mod Podge or varnish
- Foam roller, 1 and 2 inch brushes
- 4 large picture-hanging strip pairs
Fabric: 42 x 54 in
- Tape the size on your wall
- Cut five wood pieces
- Glue and brace the corners
- Add a center brace, check square
- Wash and dry the drop cloth
- Iron it flat
- Staple from the centers out
- Fold and staple the corners
- Prime with 2 thin coats
- Roll on the base color
- Paint 3 to 5 big shapes
- Dry brush texture, dry overnight
- Seal with matte topcoat
- Hang with strips
Your Wall Is Finally Ready
You built a gallery-size canvas from a drop cloth and three strips of wood, and that blank wall finally has something worth looking at. That’s real DIY large wall art, made by you for about $45. Have drop cloth left over? There’s enough for a smaller matching canvas to hang over a dresser or beside your bed.
Save this pin so the cut list is ready when you make your next one.