
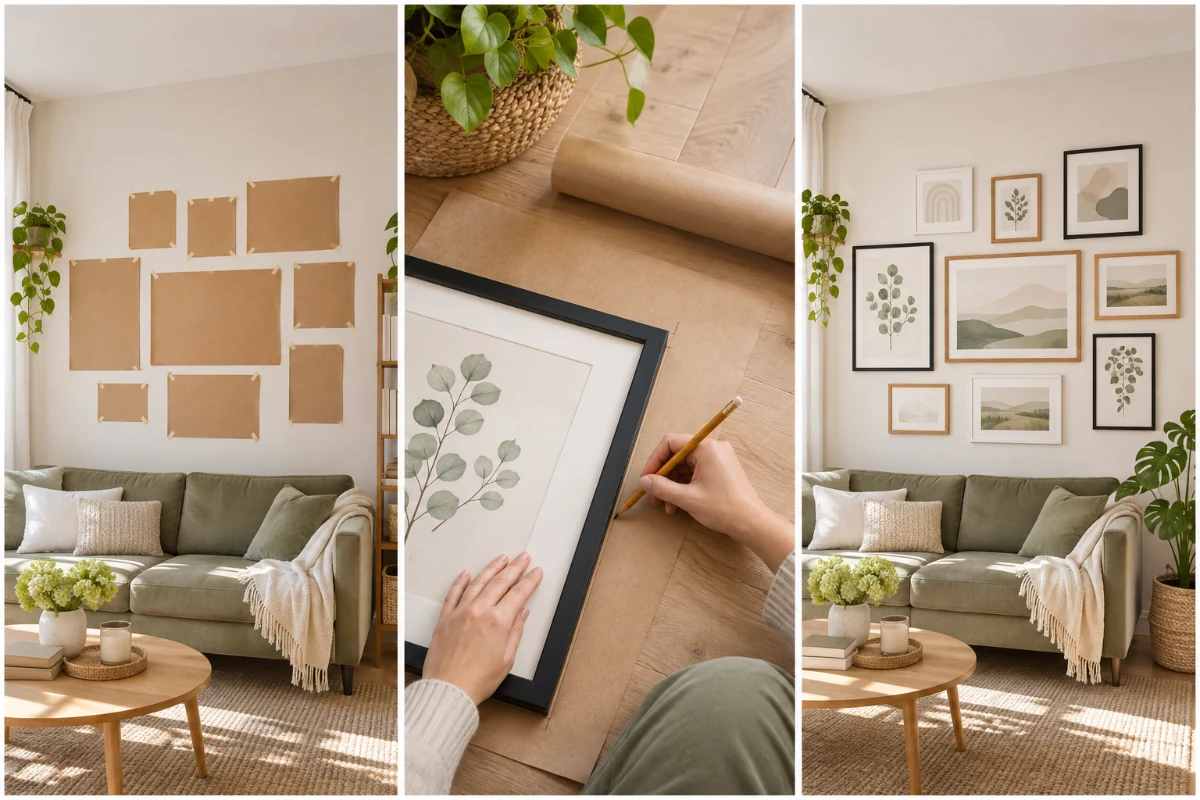
You bought the frames. You picked the prints. Now you are standing in front of a blank wall with a hammer, and you have no idea where the first nail should go. That fear makes sense. One wrong guess leaves a hole you have to patch, and in a rental, that can cost you part of your deposit.
Learning how to plan a gallery wall with paper templates solves this before it starts. You trace each frame onto paper, cut it out, and tape the paper shapes to your wall. Then you can move them around as many times as you want. Painter’s tape peels off clean. Paper costs almost nothing. Your wall stays untouched until you are 100% sure.
By the end of this guide, every nail will land in the right spot on the first try. You will know how high to hang the group, how far apart each frame should sit, and where the nail goes behind each frame, even on frames with a wire on the back.
The hands-on part takes about 1.5 to 2 hours for 8 to 10 frames. The hardest part is waiting a day before you pick up the hammer. That wait is where the best layouts come from.
- Measure your wall and the furniture below it
- Plan the layout on the floor
- Snap a photo of the floor arrangement
- Trace each frame onto kraft paper
- Cut out every template
- Mark the hanging point on each template
- Label each template with its frame
- Mark the center point at 57 inches
- Tape templates up, largest first
- Check spacing and level
- Leave the paper up for 1 to 2 days
- Hammer nails through the marked points
- Tear away the paper and hang your frames
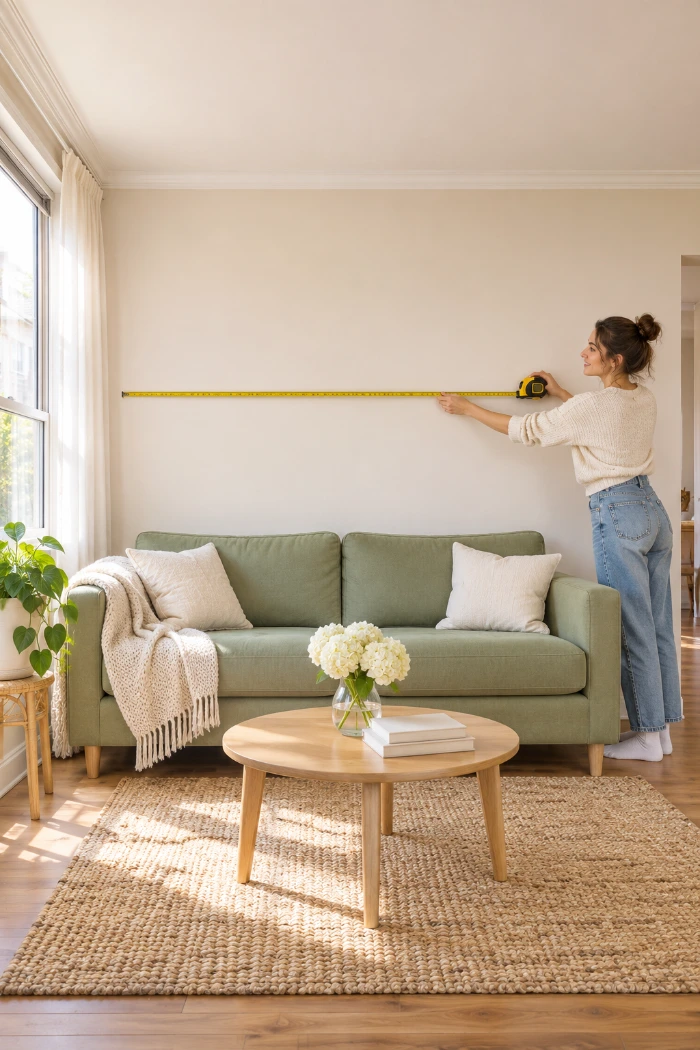
1. Measure your wall and the furniture below it
Grab your tape measure and a scrap of paper. You need two numbers: the width of the wall space, and the width of whatever sits below it, like a sofa, bed, or dresser. Aim for a gallery wall about two-thirds as wide as that furniture. Under an 84-inch sofa, that is about 56 inches across. No furniture below? Leave at least 12 inches of bare wall on each side so the group doesn’t look squeezed into the space.
2. Plan your gallery wall layout on the floor first
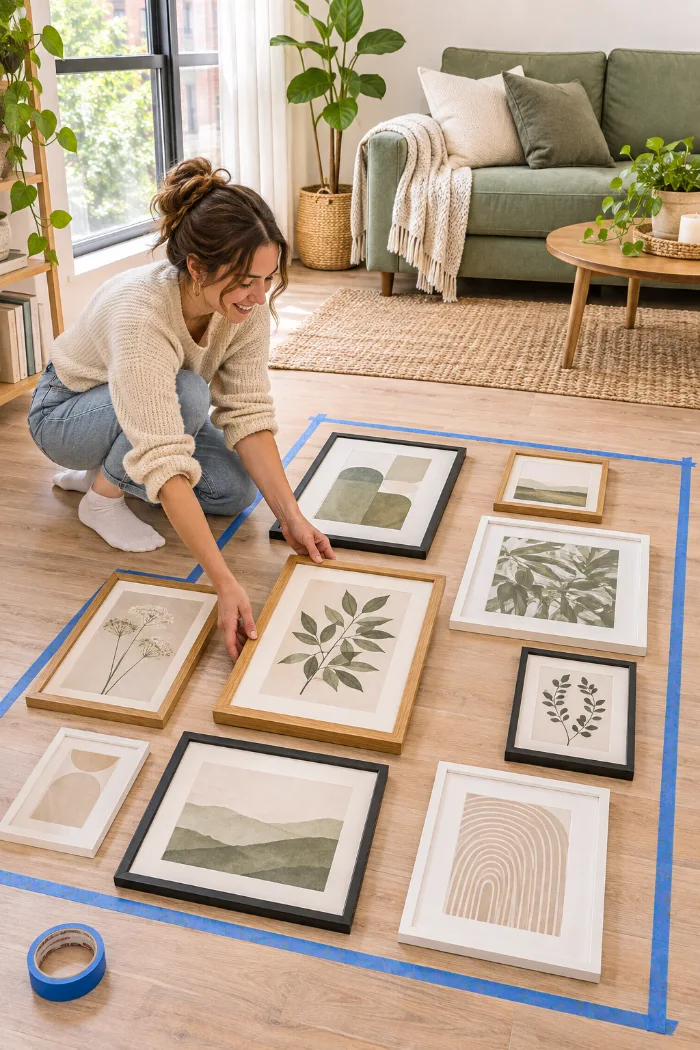
The real frames are faster to shuffle than paper, so start with them. Clear a patch of floor and mark a box the size of your wall space with painter’s tape. Inside that box:
- Place your largest frame near the center
- Fill in around it with medium pieces
- Tuck small frames into the leftover gaps
- Keep 2 to 3 inches between every frame
Gaps wider than that make the frames look like strangers instead of a set.
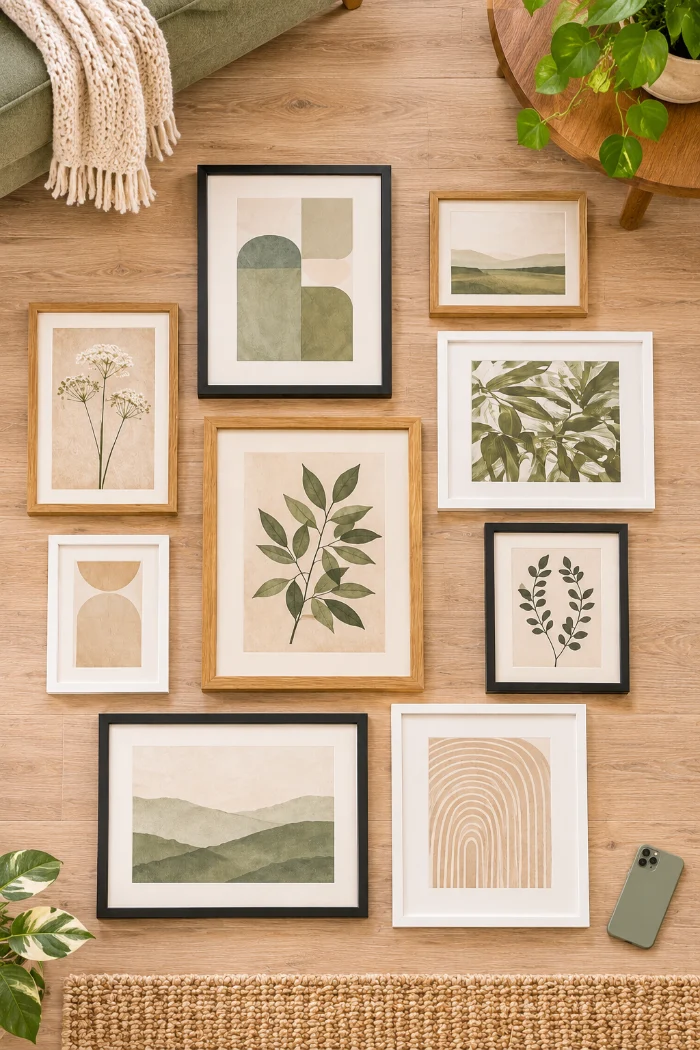
3. Snap a photo of the floor arrangement
Once you love the layout, climb onto a sturdy chair or step stool and shoot straight down so every frame fits in one picture. This photo becomes your map. In about 20 minutes, the frames will be stacked in a pile while you trace them, and you will not remember which one sat where. A photo from an angle won’t help much. Straight down is the view that matches the wall.
4. Trace each frame onto kraft paper
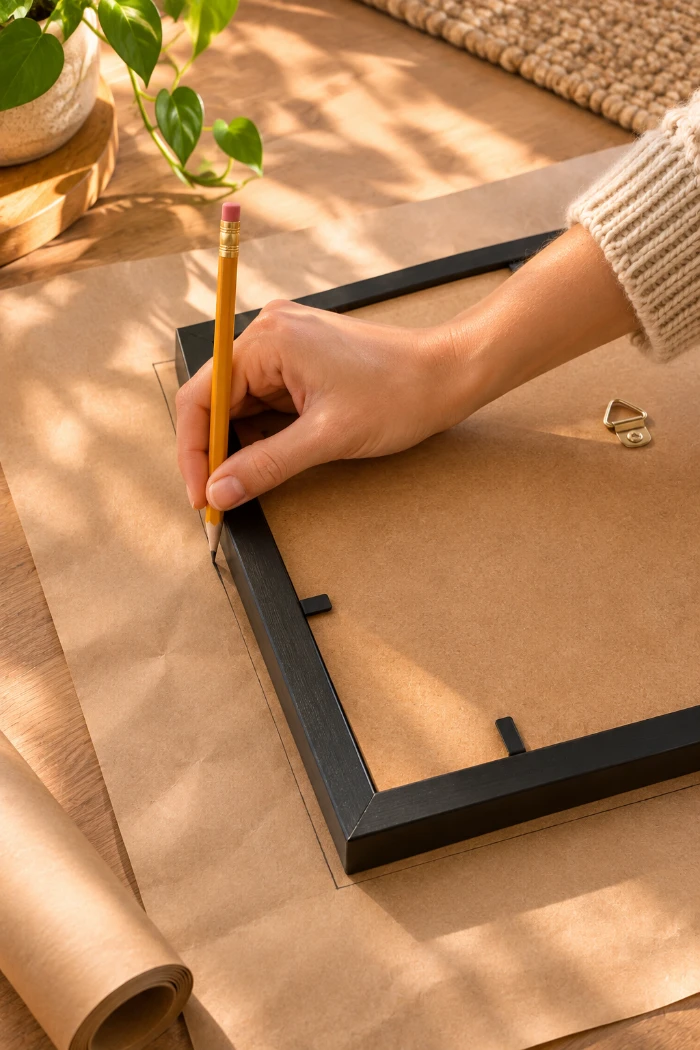
One template per frame, even when two frames look like the same size. Small differences add up once they’re on the wall. Lay the paper flat on a hard floor, set the frame face down on it, and trace around the outer edge with a pencil. Hold the pencil straight up and down. If it tilts in under the frame, the template comes out smaller than the real thing and your spacing will be off. No kraft paper? The plain back of wrapping paper works fine.
5. Cut out every paper template
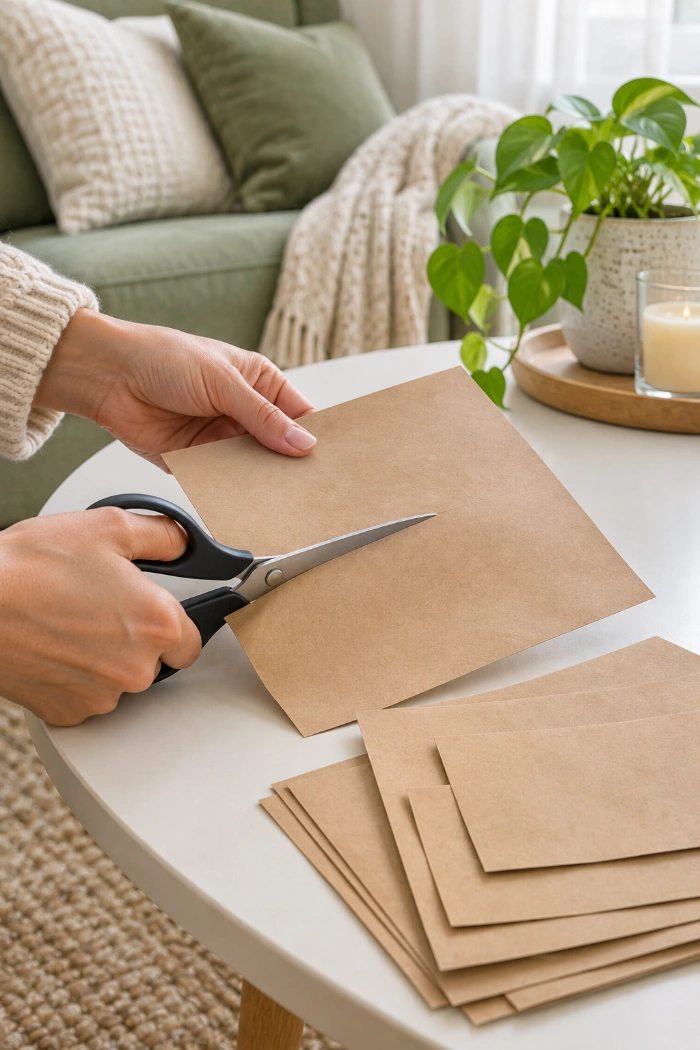
The pencil line is your cutting line, not a rough guide. An extra ¼ inch on every side sounds tiny, but between two frames it eats a quarter of a 2-inch gap. Keep the corners sharp and square. Rounded corners make the templates hard to line up with a level later.
6. Mark the hanging point on each template
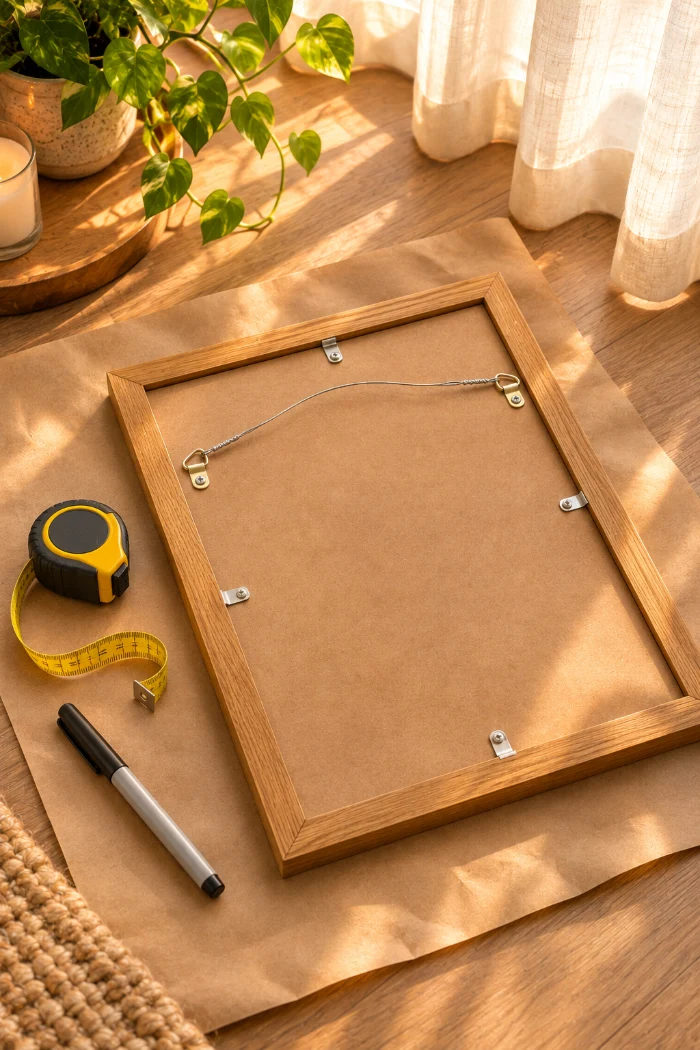
Most first nails land too high because people measure to the top of the frame. The nail actually goes wherever the hanger sits. Flip each frame over, measure down from its top edge to the hanger, and mark that same spot on the template with a marker X:
- Sawtooth: measure to the center of the teeth
- D-rings: measure to the top of each ring, and mark both
- Wire: pull it up tight like it’s on a nail, then measure to the peak
7. Label each template with its matching frame
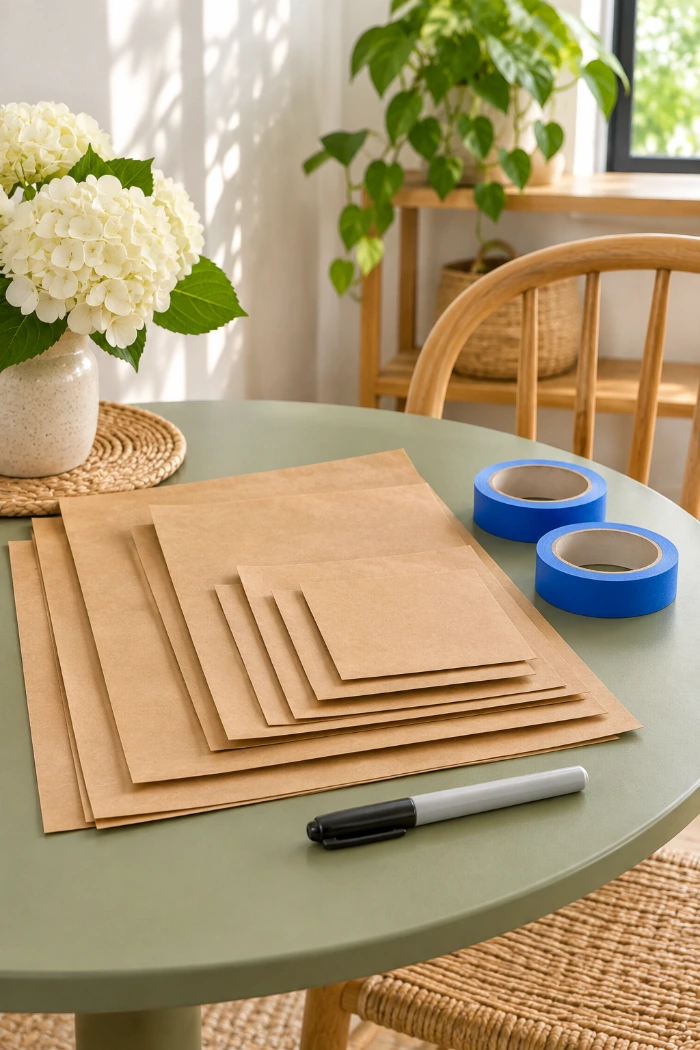
Ten blank paper rectangles start to look alike fast. With the marker, write a short name on each one, like “beach print” or “black 8×10,” plus an arrow pointing up. The arrow matters. A template taped on sideways puts your X in the wrong place. Then stick a matching number on the back of each real frame with a small piece of painter’s tape, so pairing them up later takes seconds.
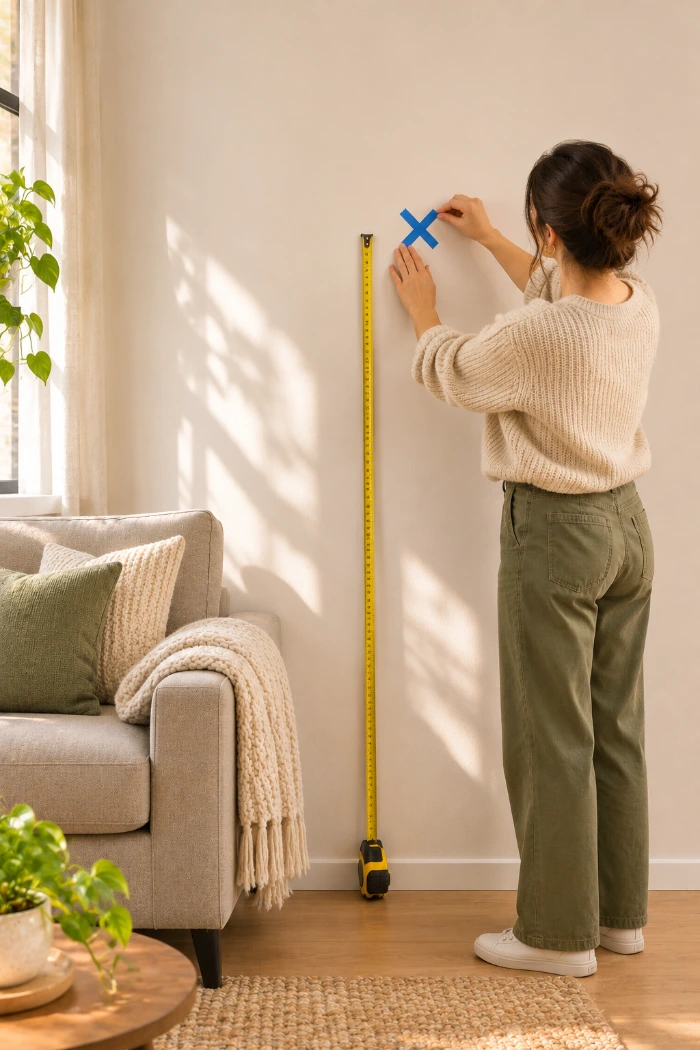
8. Mark the center point at 57 inches with painter’s tape
Museums hang art so its center sits about 57 inches off the floor, which is eye level for most adults. Find the middle of your wall space side to side, measure 57 inches up from the floor, and mark it with a small X of painter’s tape. That X is the center of the whole group, not its top edge. Over a sofa or bed, the rule changes. If the bottom of your layout would sit less than 8 inches above the furniture, skip the 57 and start the bottom row 8 to 10 inches above it.
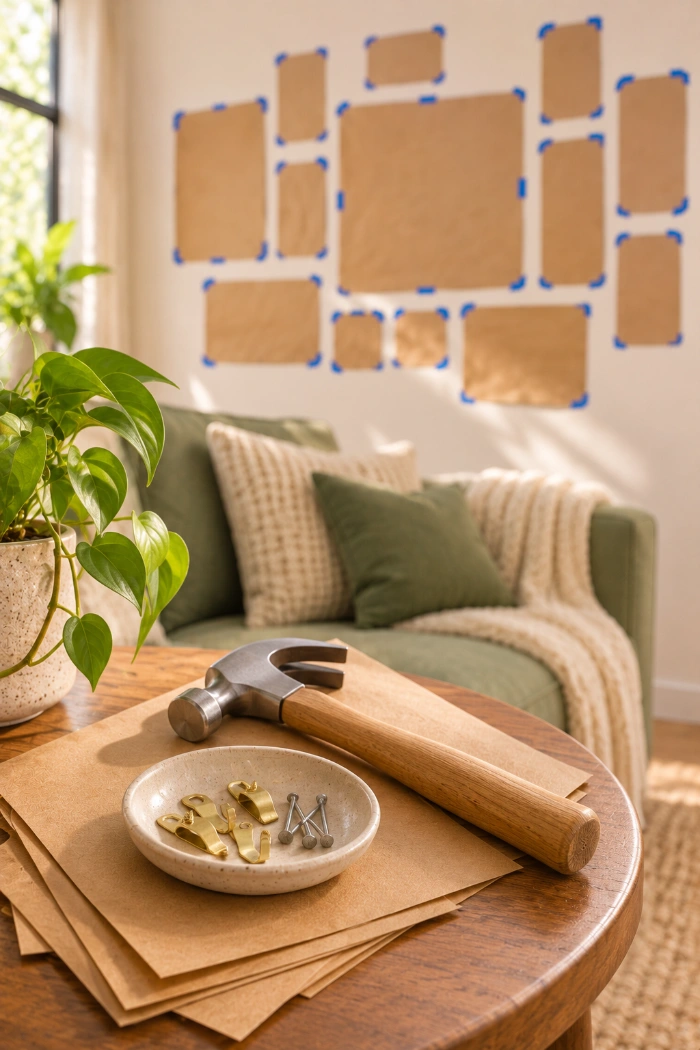
9. Tape the templates up, starting with the largest piece
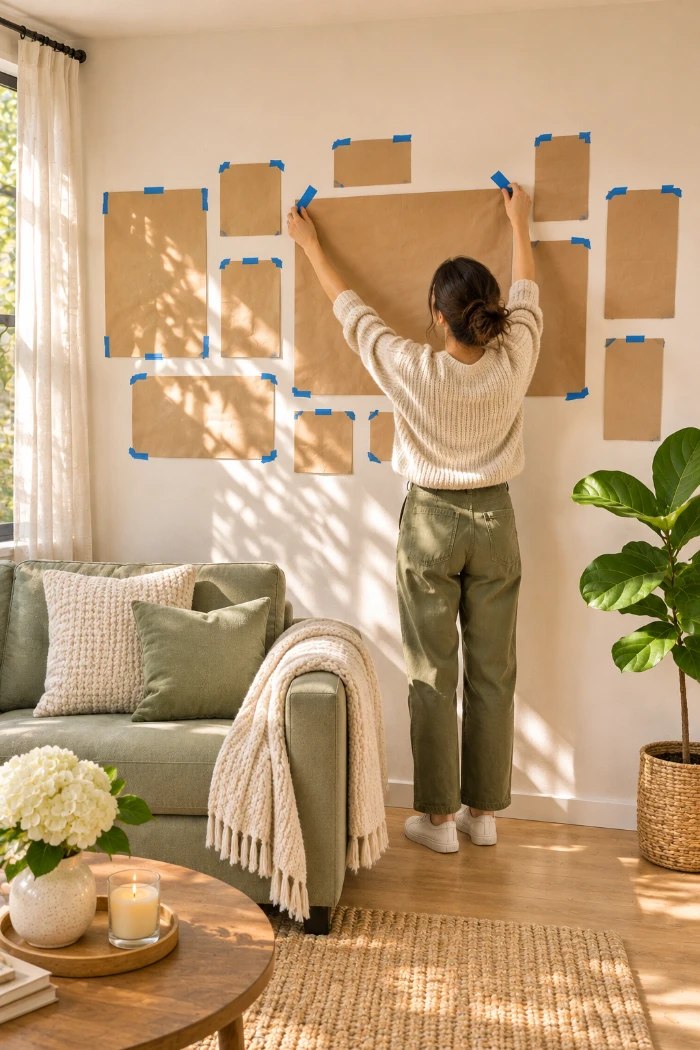
With your floor photo open on your phone, place the biggest template first, close to your tape X. Every other piece will line up off this one, so take your time getting it right. Work outward from there, matching the photo and keeping 2 to 3 inches between templates. A ruler held against the wall makes a quick spacer. Tape all four corners. Paper that came off a roll tends to curl, and a curled corner hides where the next template’s edge should go.
10. Check the spacing and level on every template
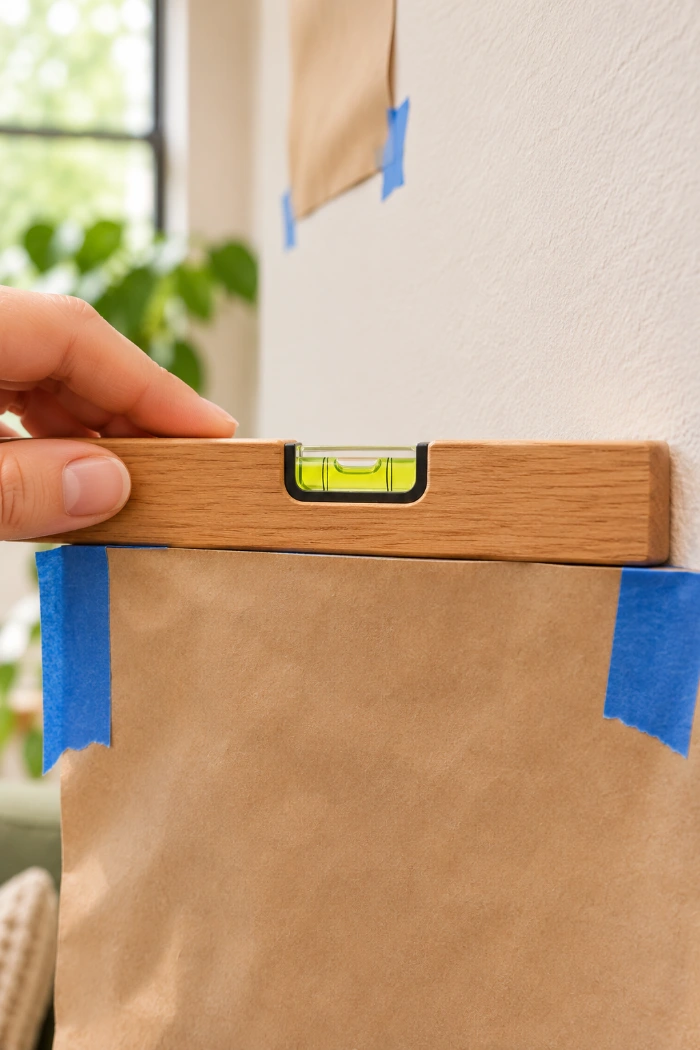
Five minutes of checking now saves an hour of patching later. Paper is still free to move, so run through these checks:
- Set the level on top of each template
- Measure the gap between every pair of edges
- Confirm the middle of the group still lands near your tape X
- Step back 8 to 10 feet and look from where you’ll usually sit
A gap that’s 2 inches in one spot and 4 inches in another will bug you every day.
11. Leave the paper up for 1 to 2 days before committing
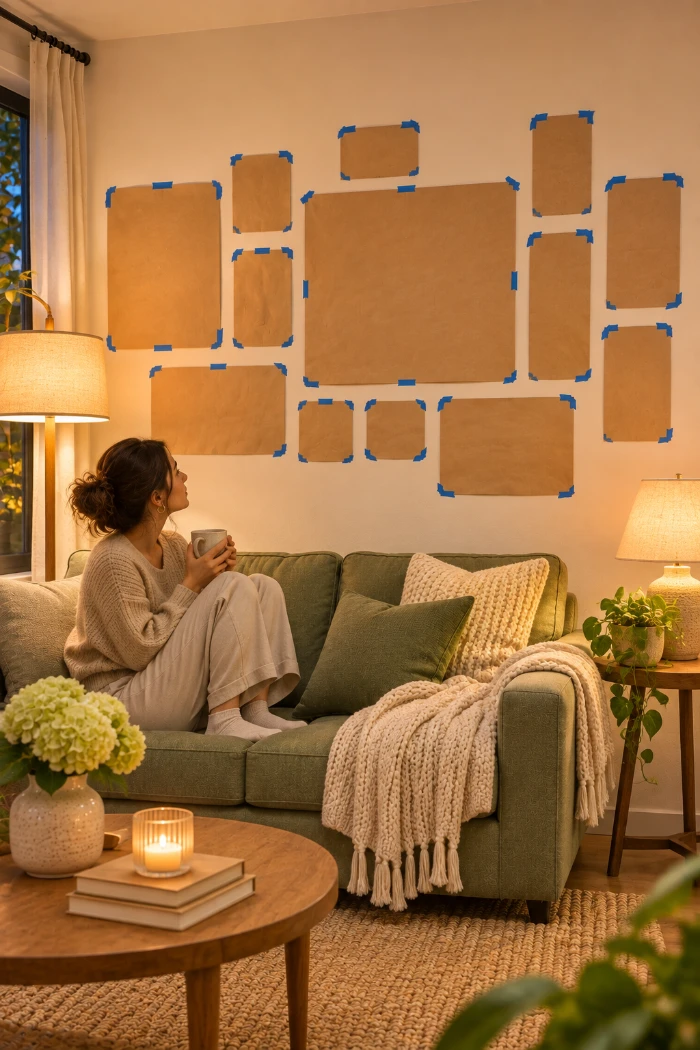
Things look different by the next morning. Walk past the wall a few times, sit on the couch, and check it at night with the lamps on. If one piece keeps catching your eye the wrong way, move its template. Right now that costs nothing. After the hammer comes out, it costs a hole.
12. Hammer nails straight through the marked points
With the paper still on the wall, hold a nail on the first X and tap it in right through the paper. The paper keeps every mark exactly where you planned it. Picture hooks set the right angle for you. With plain nails, angle them slightly downward so the wire can’t slide off. Leave about ¼ inch sticking out to catch the hanger. Anything heavier than 20 pounds needs a stud or a wall anchor, because one nail in drywall can pull loose over time.
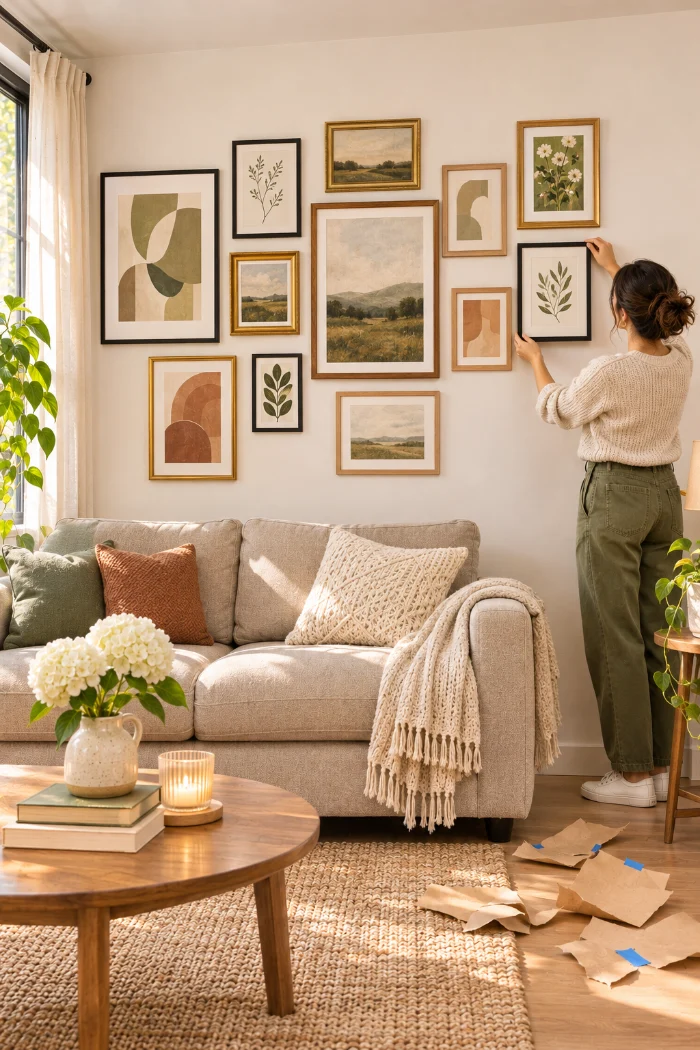
13. Tear away the paper and hang your frames
Go slow here, because a yanked template can bend a nail. Pull each sheet downward while you hold the nail steady with your other hand, and the paper will rip cleanly around the nail head. Match each numbered frame to its spot, hang it, and give it a quick check with the level. Does a frame keep drifting crooked? Press a small dab of poster putty or a clear rubber bumper behind its bottom corners to hold it straight.
Troubleshooting Your Gallery Wall
Gallery Wall FAQ
- Kraft paper (or wrapping paper)
- Painter’s tape
- Pencil and dark marker
- Scissors
- Tape measure and ruler
- Level or phone level app
- Hammer and nails or hooks
- Your frames
- Stud finder (optional)
- Measure the wall and furniture (aim for 2/3 of furniture width)
- Lay out frames on the floor, 2 to 3 in apart
- Photograph the layout from straight above
- Trace each frame onto paper
- Cut on the pencil line
- Mark each hanger spot with an X
- Label templates and add an up arrow
- Tape an X at 57 in high (or 8 to 10 in above furniture)
- Tape templates up, largest first
- Check level and spacing
- Wait 1 to 2 days
- Nail through each X
- Tear off paper and hang frames
You did it. Your frames are on the wall exactly where you planned, and you didn’t make a single extra hole.
Now that you know how to plan a gallery wall with paper templates, you can use the same trick for a big mirror, a row of floating shelves, or even a headboard.
Next time, try working in one piece with texture, like a small woven hanging or a round mirror, to break up all those rectangles.
Save this pin to your apartment decor board so the steps are ready the next time you find a frame you love.