
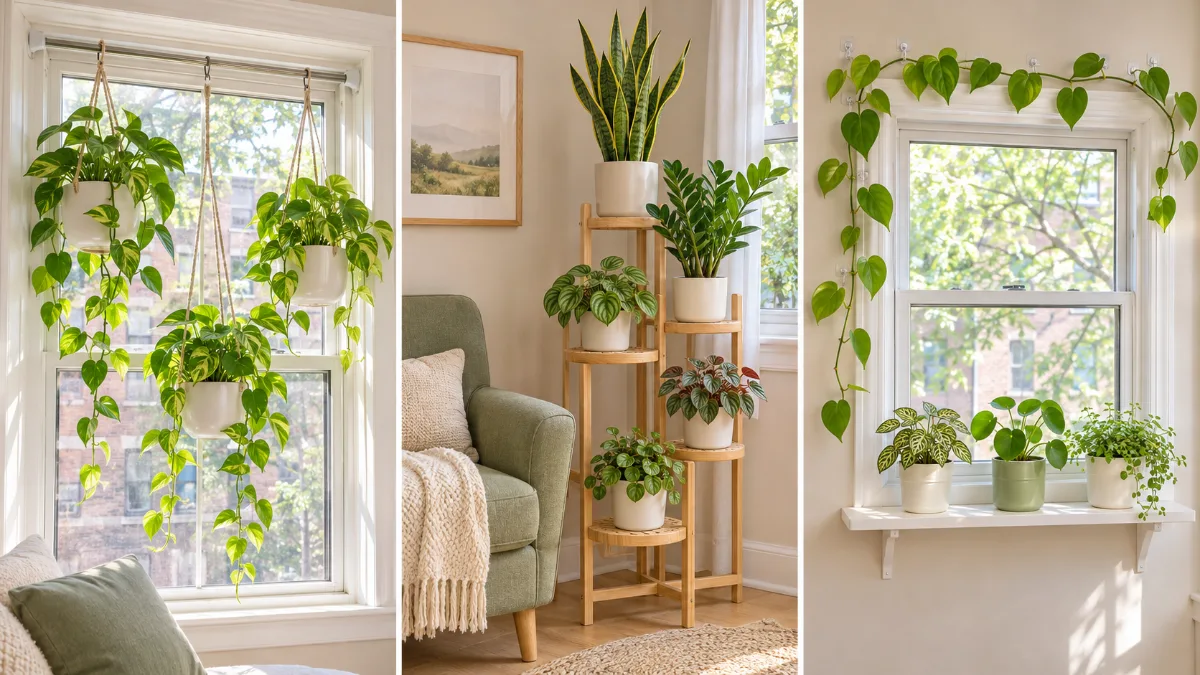
Your windowsill has three pots on it. The kitchen counter has two more. The pothos you bought last weekend is on the floor because there’s nowhere else to put it. I lived like that for two years in a 450-square-foot studio where every flat surface was fighting for space.
The fix is not fewer plants. The fix is moving them up. Learning how to display plants in a small apartment comes down to one idea: use the space your furniture can’t reach. In most small homes, the windows, walls, ceilings and tall corners sit empty.
By the end of this guide, your plants will hang in your window, climb your wall and fill one tall corner. Your counters and shelves will stay clear. Most of the hardware is renter friendly. When a step needs a drill, I’ll say so and give you a no-drill option.
Here’s the honest part. You need one day to watch your light before you buy anything. The hands-on work takes about 2 to 3 hours after that. None of it is hard, but the order matters, so follow the steps as written.
- Track your light for one day
- Pick plants that trail or grow tall
- Map your empty vertical spots
- Check your lease and your walls
- Repot into lightweight planters
- Fit a tension rod in your window
- Hang trailing plants with S-hooks
- Install one ceiling hook
- Add a narrow shelf or wall planters
- Train vines with clear hooks
- Fill a tall corner stand
- Water hanging plants in the sink
1. Track how sunlight moves through your apartment for one day
If you only check your windows once, you’ll guess wrong. A spot that looks bright at noon can sit in shade all morning. Check every window three times:
- 9 a.m.
- 1 p.m.
- 5 p.m.
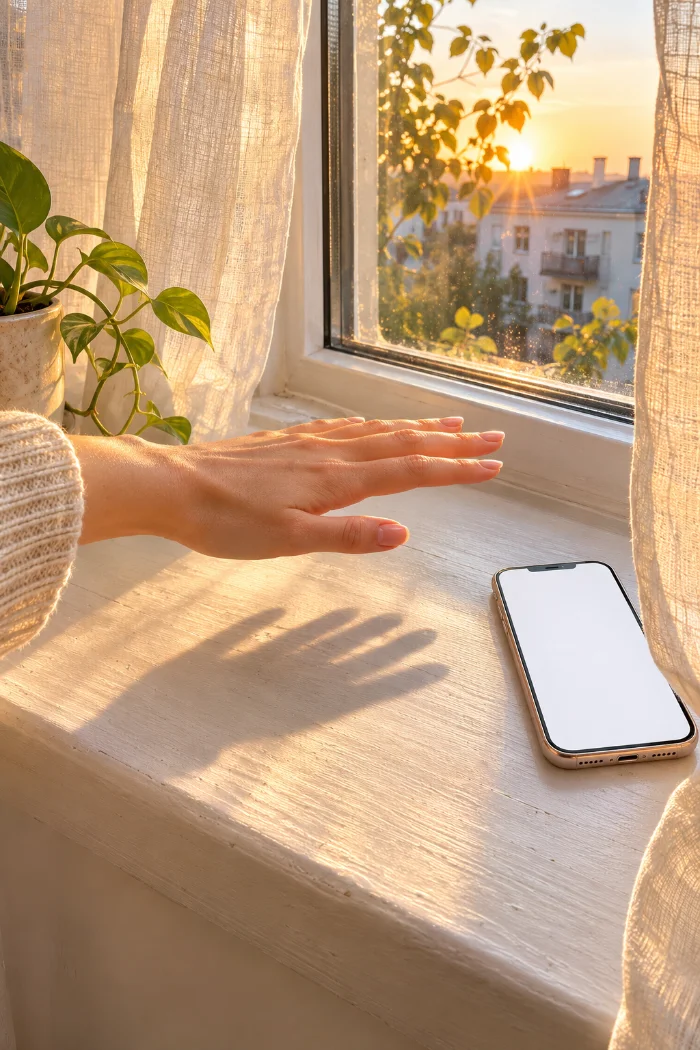
Each time, hold your hand 12 inches above the sill. A sharp shadow means bright direct light. A soft, fuzzy shadow means bright indirect light. If you barely see a shadow, that’s low light. Write it down in your phone notes, room by room.
2. Pick plants that grow up or trail down, not out
Wide, bushy plants are usually what ate your counter space in the first place. For a vertical display, you want plants that grow in a line.
Trailing plants spill downward, so they’re made for hanging. Pothos and heartleaf philodendron handle anything from low to bright indirect light. String of hearts needs your brightest window.
Upright plants grow tall and narrow. Snake plants and ZZ plants fit tight corners and put up with low light.
Match each plant to a spot from your light notes. Skip monsteras and bird of paradise for now, because both can spread 2 to 3 feet wide.
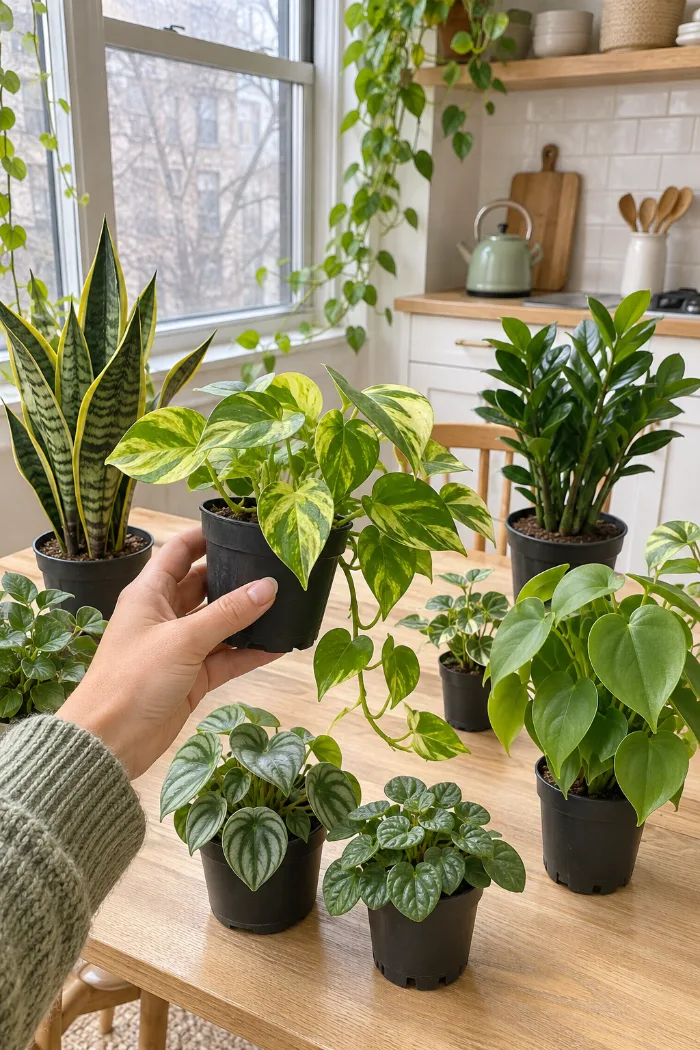
Buy plants in 4-inch or 6-inch nursery pots. They cost less, weigh less once they’re hanging, and grow into their spot instead of showing up too big for it.
3. Map the empty vertical spots where you can display plants in a small apartment
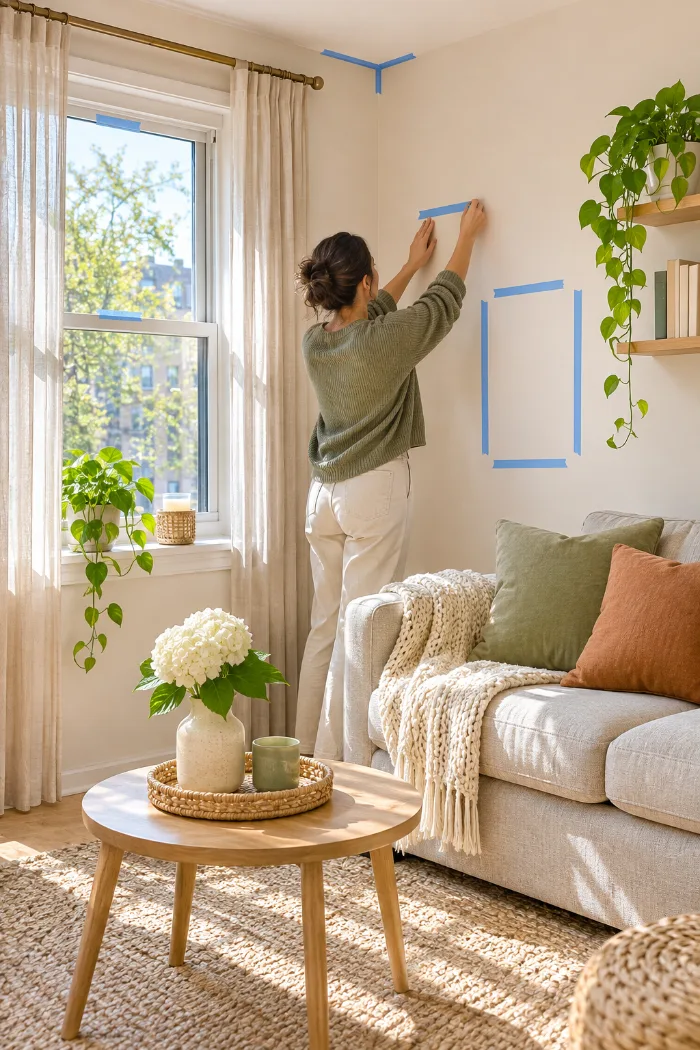
Most small apartments have four or five spots holding nothing at all. Look inside a window frame, at the bare wall beside it, in a ceiling corner and on top of a bookcase. Mark each one with a strip of painter’s tape. A spot only counts if its light matches a plant you picked in Step 2.
4. Check your lease and wall type before you buy any hardware
Two things decide which hardware you can use: your lease and your walls. Search your lease for the words “nails,” “holes” and “alterations.” Then knock where you want your plants. A hollow sound means drywall, which can hold light shelves with anchors. A dull, solid thud means plaster or concrete. On those, skip the drill and stick with tension rods and adhesive hooks.
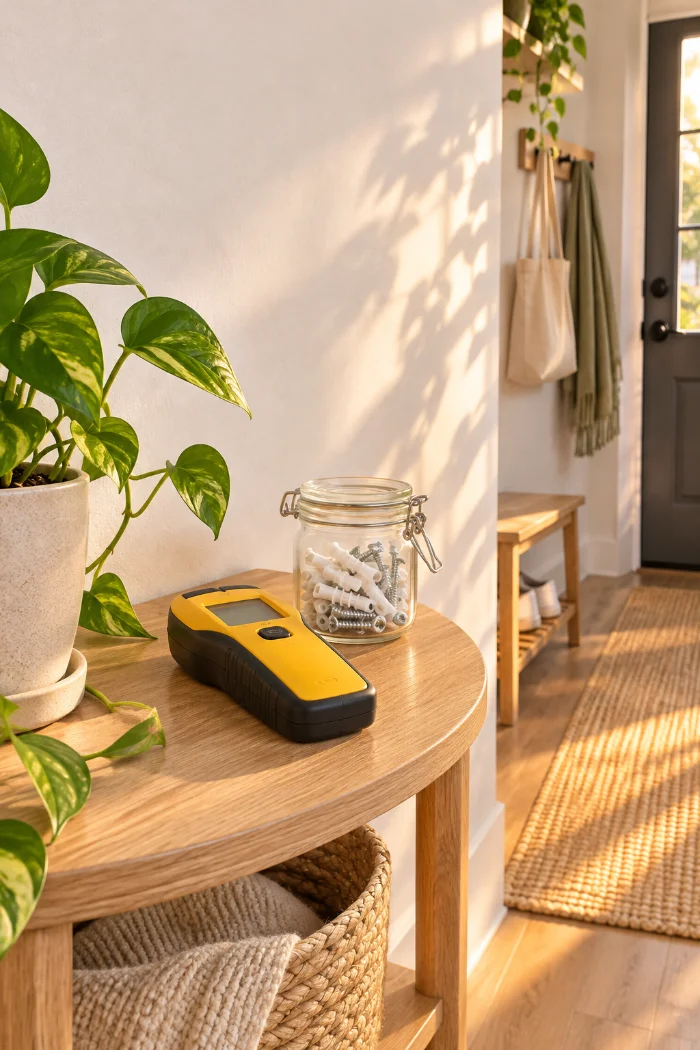
Adhesive hooks won’t hold on textured walls, wallpaper or paint less than 7 days old. Before you trust one with a plant, stick up a test hook and leave it empty for 24 hours.
5. Repot into lightweight planters with a built-in drip catcher
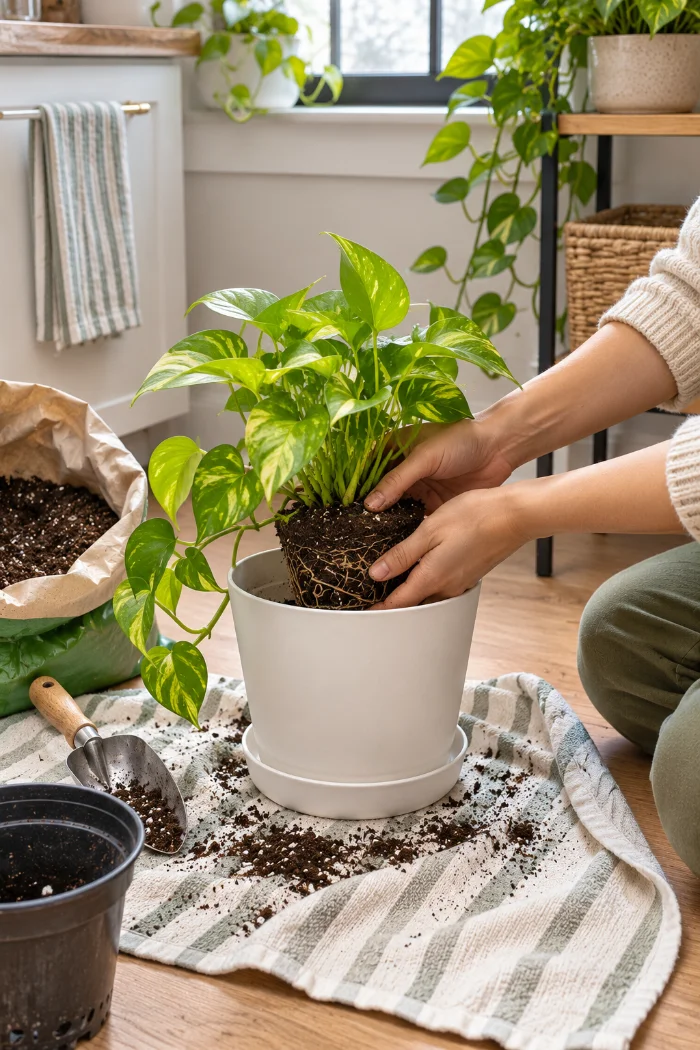
A 6-inch ceramic pot can weigh over 3 pounds before you add any soil. The same size in plastic weighs a few ounces, and that difference decides whether your hook holds. Lay down your towel, then work through each plant:
- Add 1 inch of fresh potting mix to the new planter.
- Ease the plant in so its soil sits 1 inch below the rim.
- Fill in the sides and press down lightly.
- Water it in the sink until water runs out the bottom.
No planter with a drip catcher? Set the plastic nursery pot inside a slightly larger decorative pot. The outer pot catches the water.
6. Fit a tension rod inside your sunniest window frame
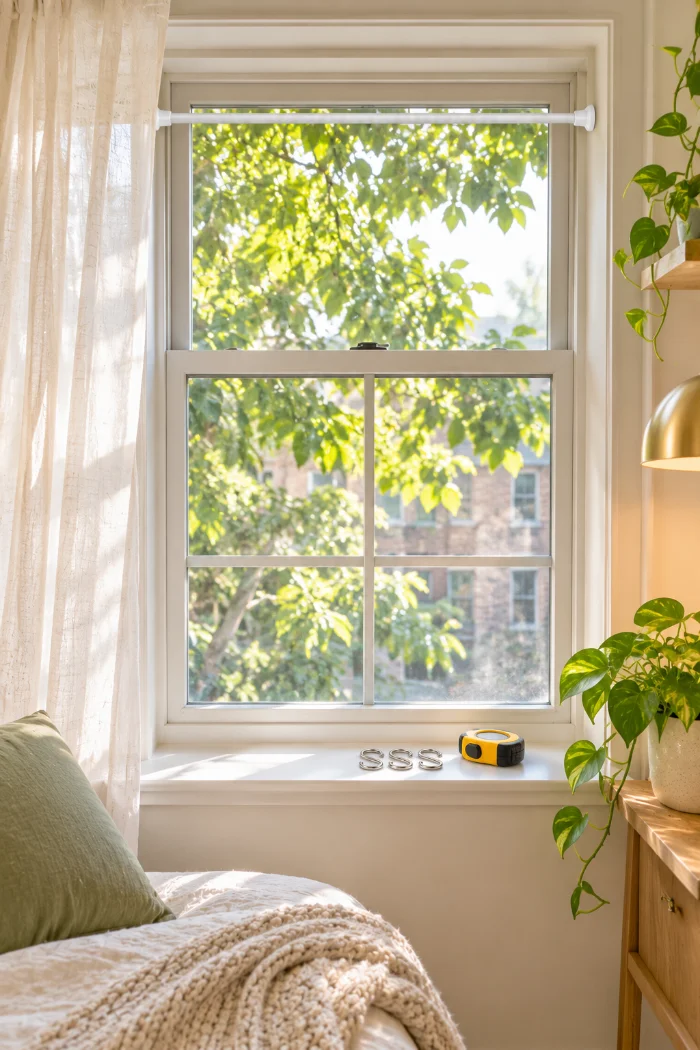
Measure the inside of the window frame side to side, about 6 inches below the top. Choose a rod where your measurement lands in the lower half of its size range, because a rod stretched to its limit holds less weight. Twist it until it’s snug, then give it one more quarter turn. Press down hard in the middle. If it slides on glossy paint, wrap each end in a scrap of rubber shelf liner and reset it.
7. Hang trailing plants from the rod with S-hooks
On a 36-inch rod, three plants is the sweet spot. Space the S-hooks 10 to 12 inches apart, then loop each hanger over a hook. Hang the middle plant 4 to 6 inches lower than the two beside it. When the pots sit at different heights, they don’t shade each other, and the window looks styled instead of crowded.
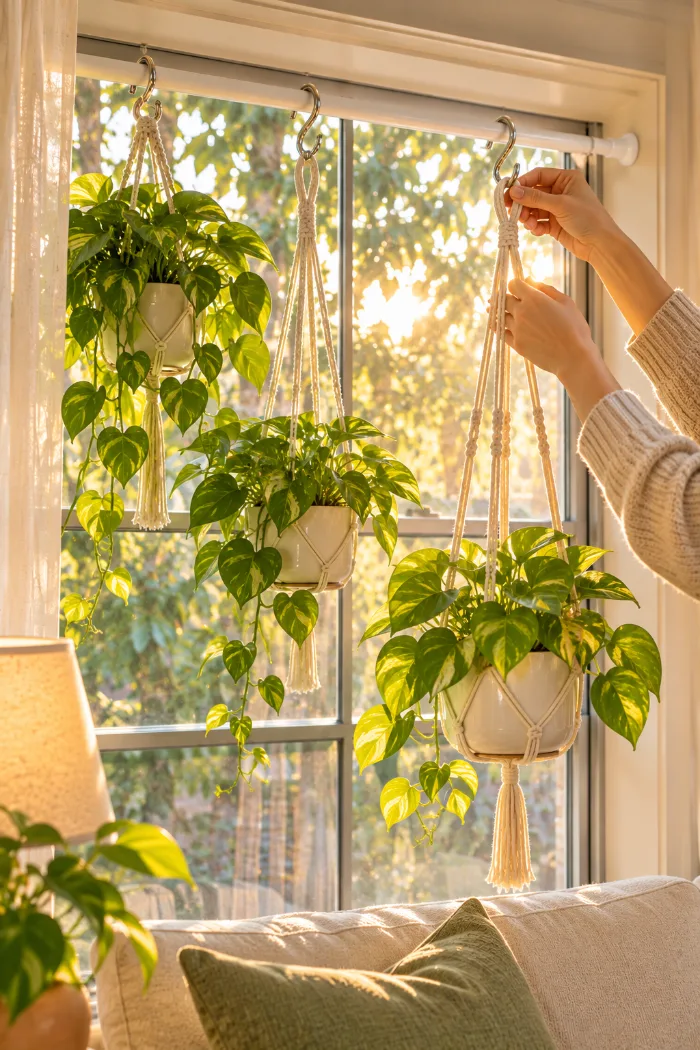
Give each hanging plant a quarter turn once a week. Plants lean toward the glass, and turning them keeps the growth full on every side.
8. Install one ceiling hook for a statement hanging plant
If your lease allows a drill, one ceiling plant in a bright corner pulls the eye up and makes the room feel taller. Pick a spot at least 12 inches from the wall so the leaves don’t rub the paint.
- Run the stud finder across the ceiling and mark the joist in pencil.
- Drill a pilot hole the size printed on the hook’s package.
- Twist the hook in by hand until the threads disappear.
- Hang the planter and tug down gently to test it.
Can’t drill? A floor-to-ceiling tension pole with plant hooks does the same job with zero holes.
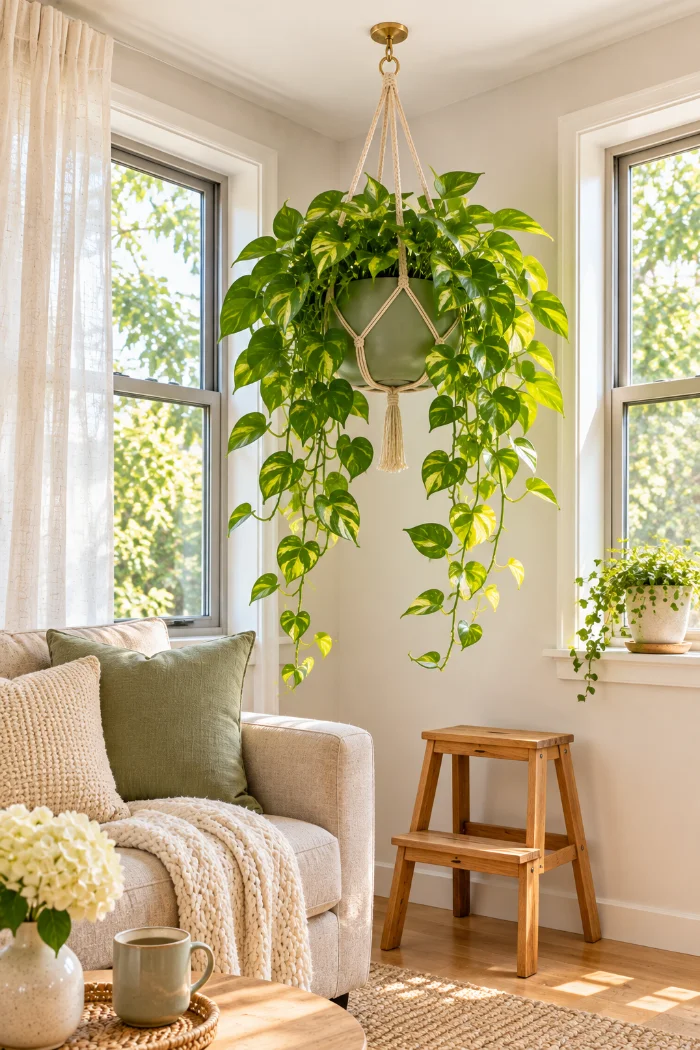
Wet soil is heavy. A 6-inch hanging plant can weigh 5 pounds or more after watering. A hook screwed into drywall alone can pull out of the ceiling, so always go into a joist or use a toggle bolt rated for 20+ lbs.
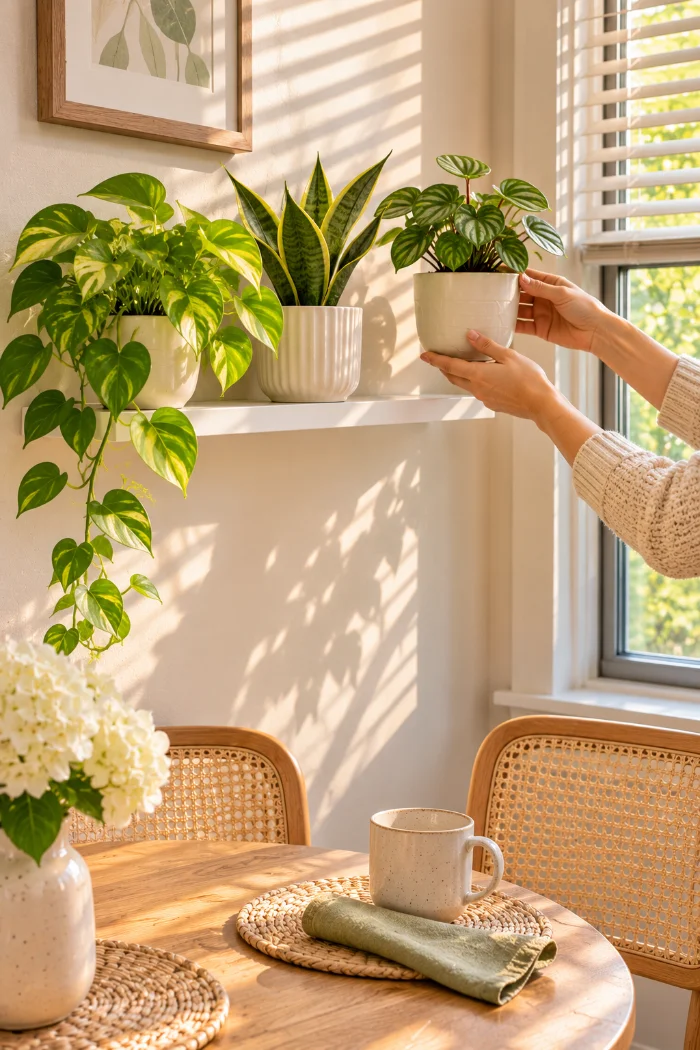
9. Mount a narrow wall shelf or adhesive planters for small pots
Small pots are the ones crowding your counters, so give them their own strip of wall. If you’re allowed to drill, use your level to mount a shelf 4 to 6 inches deep at eye level beside your brightest window. If you’re renting with no drill, wipe the wall with rubbing alcohol so the adhesive grips clean paint. Then press each adhesive planter on for 30 seconds, and wait 1 hour before you add a plant. Peperomia and small pothos cuttings fit these spots well.
10. Guide long vines along the wall with clear adhesive hooks
Left alone, a pothos vine grows straight down and starts to tangle once it passes 18 inches. Lead it sideways instead. Wipe each spot with rubbing alcohol. Then stick a small clear hook every 8 to 12 inches along the path you want, like across the top of your window frame. Rest the vine over each hook. The vine follows your line and takes up zero surface space. Don’t tie or pinch the stems, because squeezed stems bruise and turn brown.
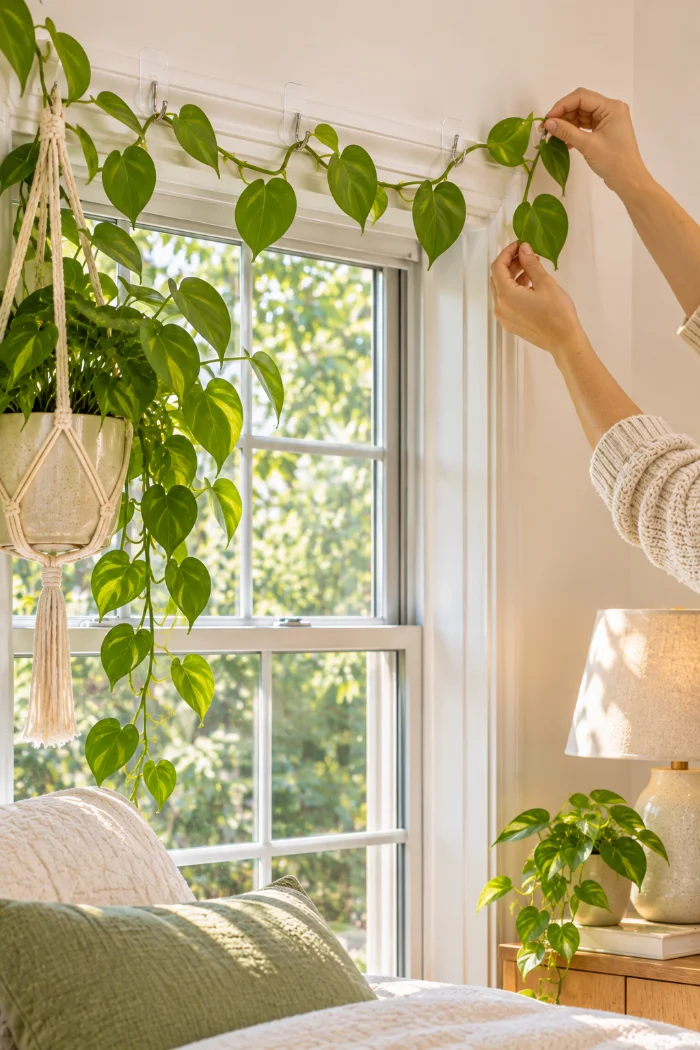
Plan the vine’s path with painter’s tape first. Peel and move the tape until the line looks right, then put a hook at every bend.
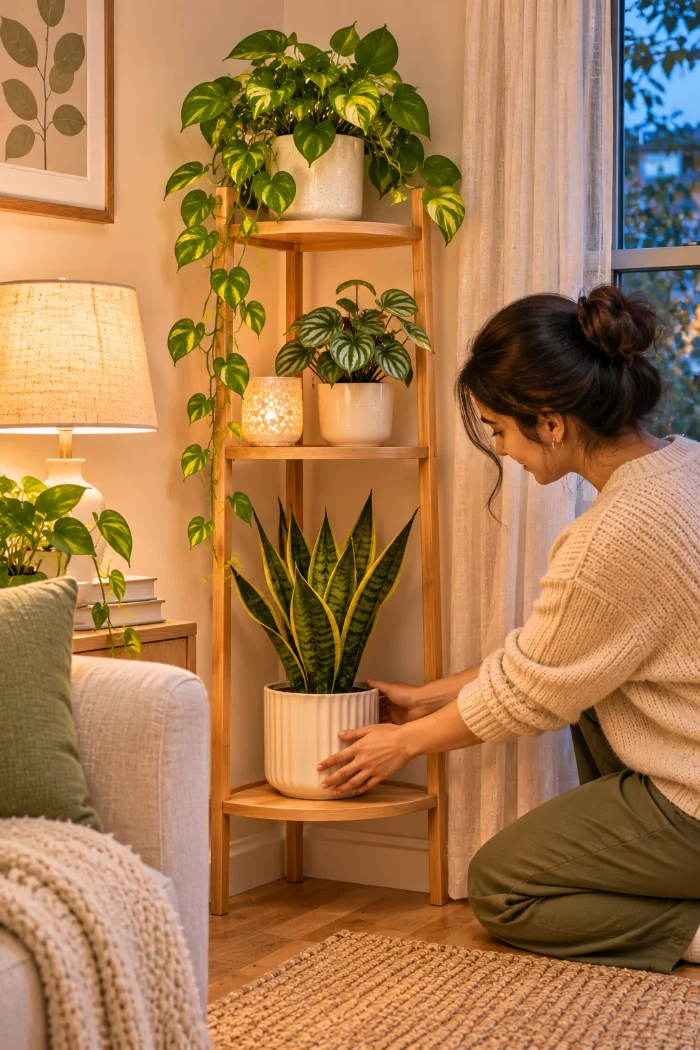
11. Stack the leftover plants on a tall corner plant stand
Every plant that didn’t get a wall spot goes here. A tall stand holds 4 to 6 pots on about 1 square foot of floor. Set it within 3 to 5 feet of a window. Heavy snake plants and ZZ plants go on the bottom tier so the stand won’t tip. The sun lovers go up top.
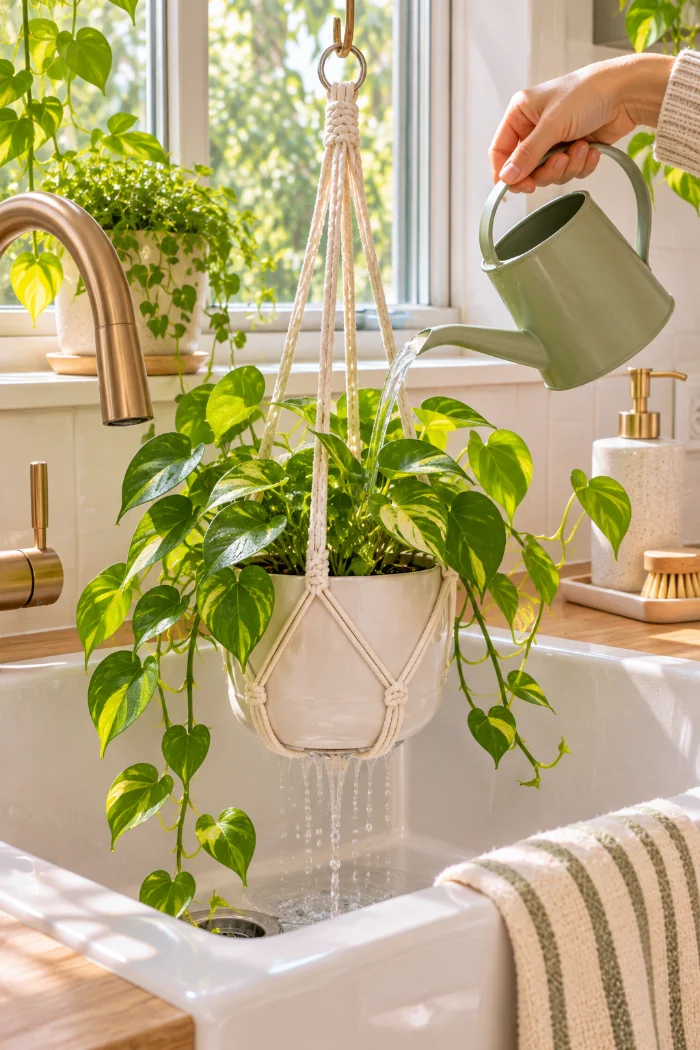
12. Water hanging plants in the sink so nothing drips on your floor
About once a week, push a finger 1 inch into each pot. If the soil feels dry, it’s watering day. Hanging pots drip for up to 15 minutes after watering, so move them first:
- Lift the plant off its hook.
- Carry it to the sink or tub.
- Water slowly until water runs out the bottom.
- Let it drain for 15 minutes, then hang it back up.
If the ceiling plant is hard to reach, water it in place with a long-spout watering can. Pour slowly, with a towel spread on the floor underneath.
Troubleshooting Your Vertical Plant Display
Frequently Asked Questions
Can I display plants without drilling any holes?
Yes. A tension rod, adhesive hooks, adhesive wall planters, a floor-to-ceiling tension pole and a corner stand cover every spot in this guide without a single hole.
What if I only have one good window?
Build everything around it. Put trailing plants on the rod, a shelf on the wall beside it, and the corner stand within 3 to 5 feet. Anything farther away should be a low-light plant like a snake plant or ZZ plant.
How many plants can a small apartment hold?
That depends on your light more than your floor space. Using one window, one wall and one corner, most studios can comfortably hold 8 to 12 plants without touching a counter.
Will this damage my walls when I move out?
Adhesive hooks come off cleanly if you pull the tab slowly, straight down along the wall. A ceiling hook leaves one small hole, and a dab of spackle fills it.
Are these plants safe for cats and dogs?
Pothos, philodendron, snake plants and ZZ plants are toxic to pets if chewed. Hang those out of reach, and save the lower tiers of your corner stand for pet-safe picks like peperomia.
Quick Reference Card
Enjoy Your Clear Counters
Your plants now live on the window, the wall and one tall corner, and your counters are yours again. That’s how to display plants in a small apartment without giving up the surfaces you use every day.
Give everything two weeks to settle in, and keep up those weekly quarter turns.
When you’re ready for more, try a small herb garden on a tension rod in your kitchen window. It’s one of my favorite small space decorating projects for renters.
Save this pin to your apartment ideas board so it’s there on watering day.