
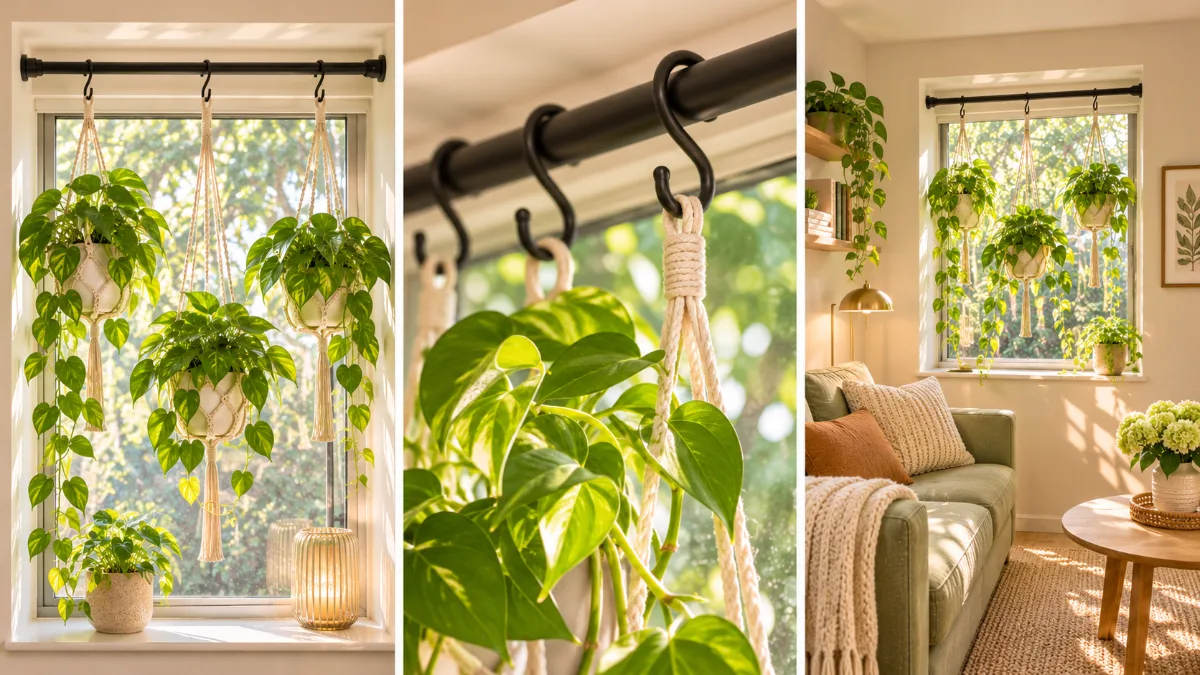
You bought a trailing pothos and pictured it spilling down from the ceiling. Then you read your lease: no holes. Maybe you tried an adhesive hook on the ceiling, and two days later the plant was on the floor with soil everywhere. I’ve been there, and the hook wasn’t really the problem. A watered plant is heavier than most people guess, and adhesive isn’t made to hold that kind of downward pull.
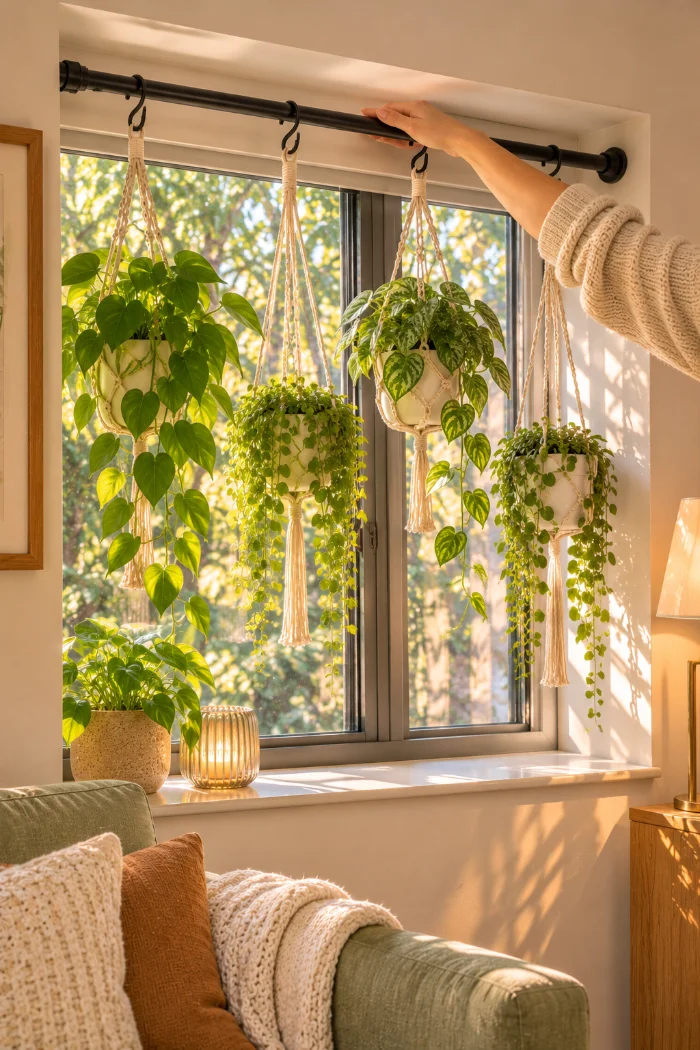
This guide shows you how to hang plants in a rental using a tension rod set inside your window frame. You won’t need a drill or screws, and there’s nothing to patch when you move out. The rod pushes outward against both sides of the frame, and that pressure holds the weight. It also puts your plants right where the light is, which matters more than how pretty the hook is.
By the end, you’ll have a row of hanging plants in your window, and you’ll have tested the rod before trusting it with them. The hands-on work takes about 40 minutes. Most of that is measuring and testing, and that’s what keeps your plants from crashing down. Grab a tape measure and a bathroom scale, pick your sunniest window, and let’s start.
- ●Heavy-duty tension rod with rubber end caps
- ●Tape measure
- ●Bathroom scale (kitchen scale for small pots)
- ●Metal S-hooks, 3 to 4 inch, one per plant
- ●Plastic nursery pots with drainage holes
- ●Plant hangers (macramé or hook-top pots)
- ●Two 1-gallon water jugs for load testing
- ●Damp cloth and a dry towel
- ●Rubber shelf liner (optional, extra grip)
- ●Small step stool
- ●Pen and paper for weights and widths
- ●Your plants, trailing types work best
- Pick a recessed window with square sides
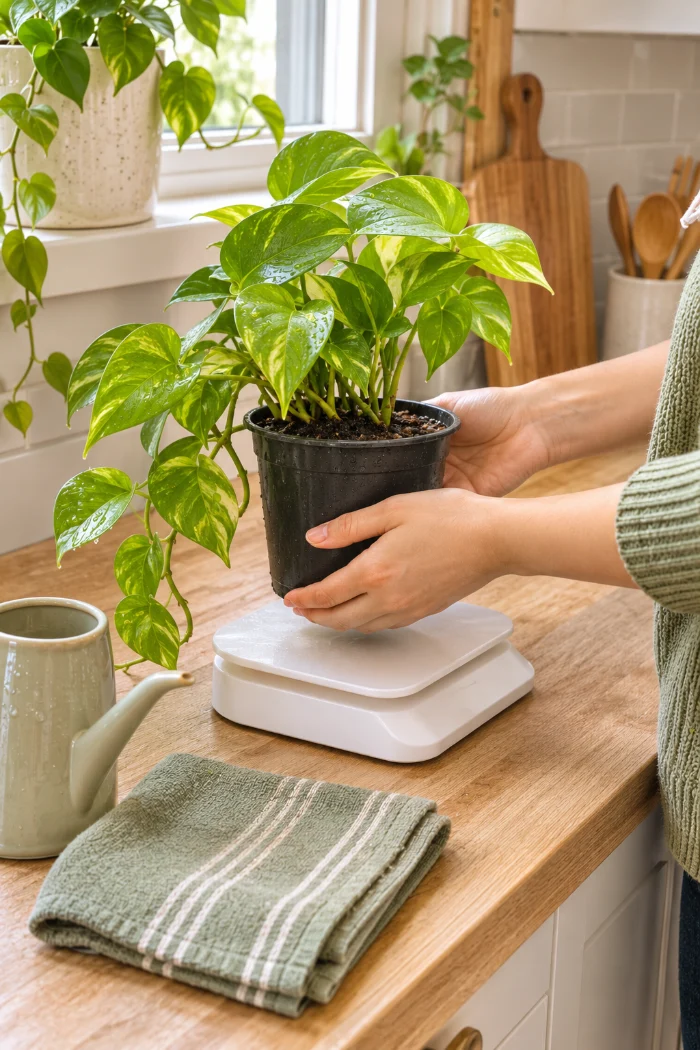
- Weigh each plant right after watering
- Measure the inside width of the frame
- Buy a rod rated above your total weight
- Repot into lightweight plastic pots
- Wipe the frame where the rod ends press
- Twist the rod tight inside the frame
- Load-test with water jugs first
- Space S-hooks evenly along the rod
- Water and drain each plant
- Hang the heaviest plants near the edges
- Check the rod’s grip once a week
1. Pick a window with a deep, square inner frame
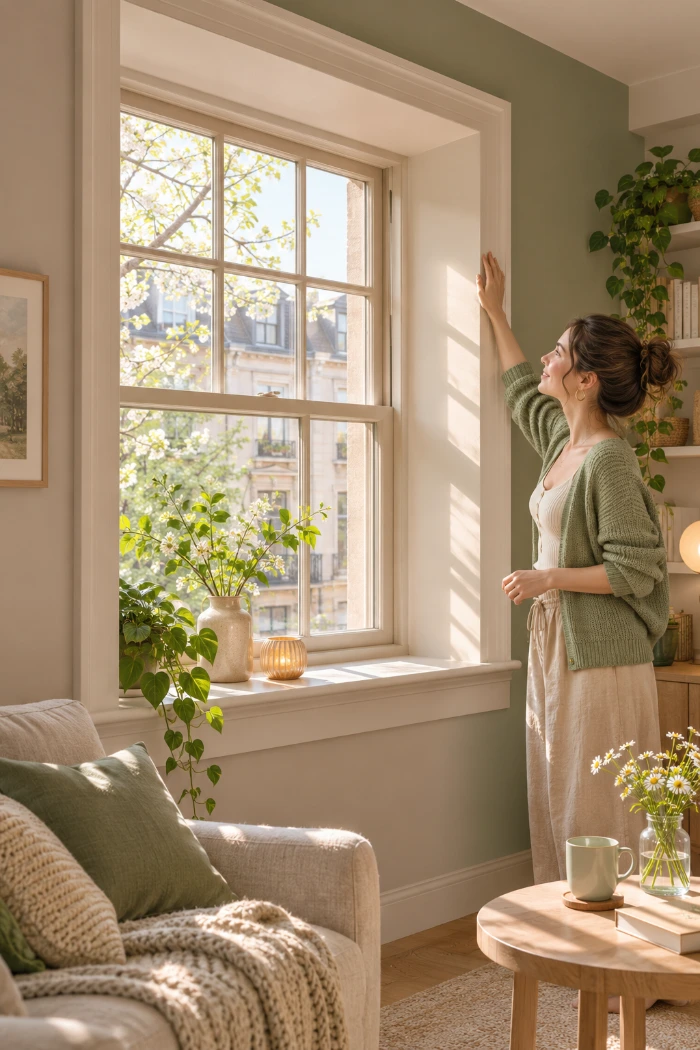
If the rod has nothing solid to push against, nothing else in this guide works. Look for a window set into the wall at least 2 inches deep, with straight wood or drywall sides. Thin vinyl trim bends under pressure, and that bending is how rods slip. Your plants will also want 4 to 6 hours of bright, indirect light, so the sunniest recessed window usually wins.
2. Weigh each plant right after watering
Plants are heaviest right after watering, and the rod has to hold them at their heaviest. Use a bathroom scale on watering day:
- Water the plant and let it drain for 15 minutes.
- Step on the scale alone and note the number.
- Step on again holding the plant.
- Subtract the first number from the second.
Write each weight down and add them all up. That total decides which rod you buy in Step 4.
3. Measure the inside width of the window frame
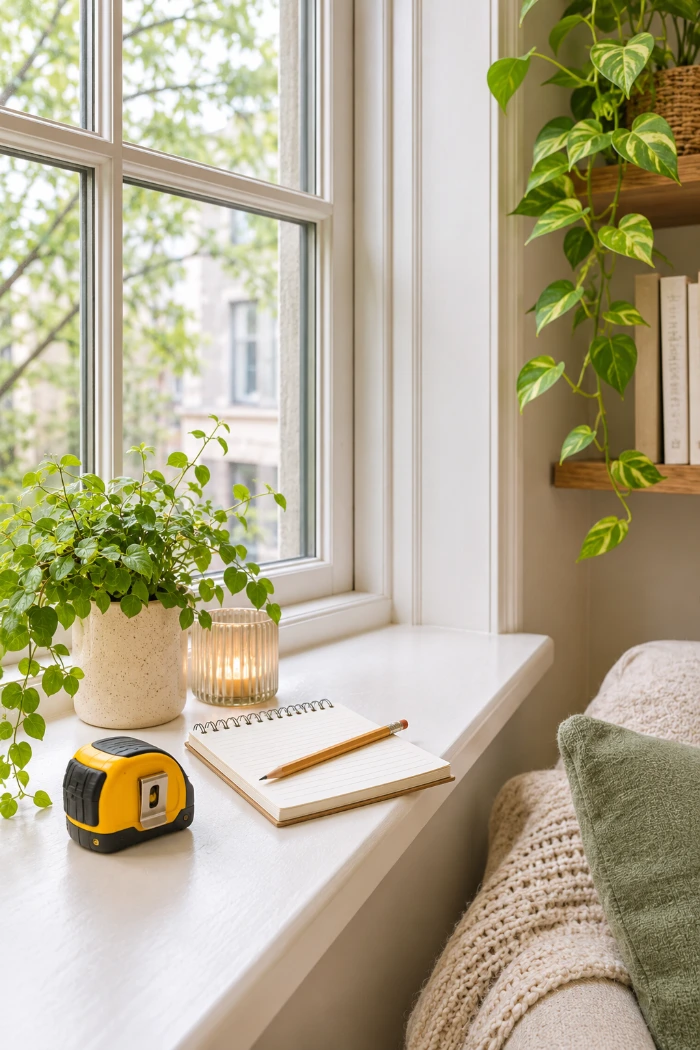
Hold the tape across the inside of the frame, side wall to side wall, about 3 to 4 inches below the top. That gap above the rod gives you room to lift hangers on and off later. If blinds hang inside the frame, measure below them instead. Older frames are often a little out of square, so measure at that exact height, not at the top. Write the width down to the nearest 1/4 inch. Tension rods are sold by length range, and you want one where your number falls near the middle. A rod stretched close to its maximum length is at its weakest, so it’s the first to slip.
4. Buy a heavy-duty tension rod rated above your total plant weight
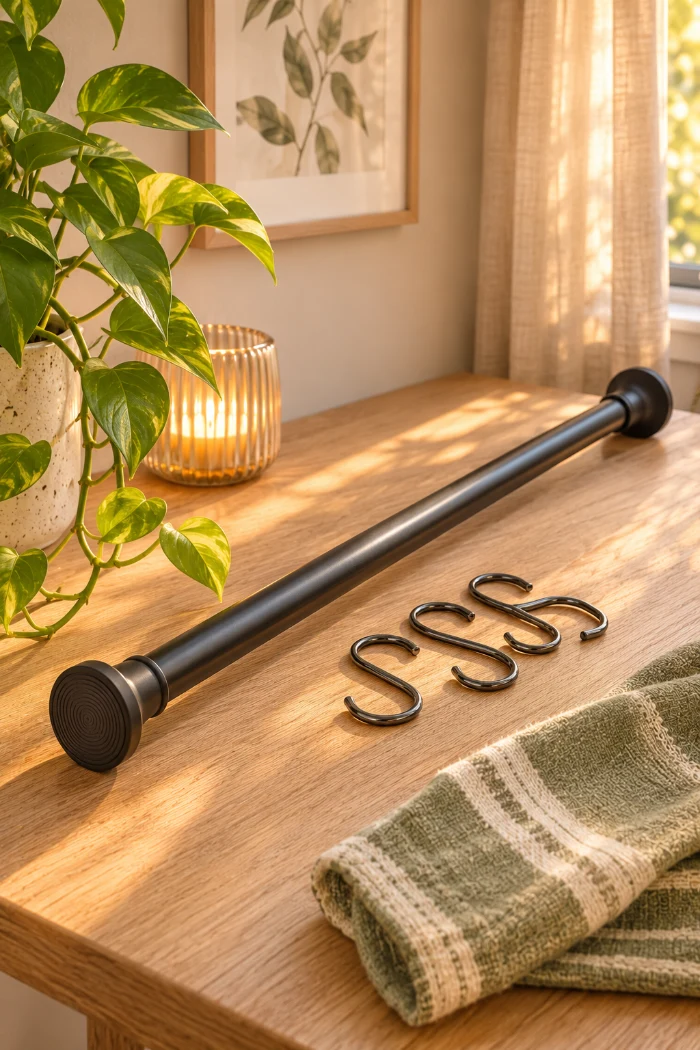
Two times your total plant weight is the rating to look for. If your plants add up to 12 lb watered, shop for a rod rated for at least 24 lb. Check the package for “heavy duty” and a twist-and-lock design, where you turn the rod to tighten it rather than relying only on a spring inside. Spring-only rods are made for shower curtains and lose grip as the spring wears out. A thicker rod, around 1 inch across, also bows less in the middle. Bring your width measurement so you can confirm it falls near the middle of the size range.
5. Repot heavy plants into lightweight plastic nursery pots
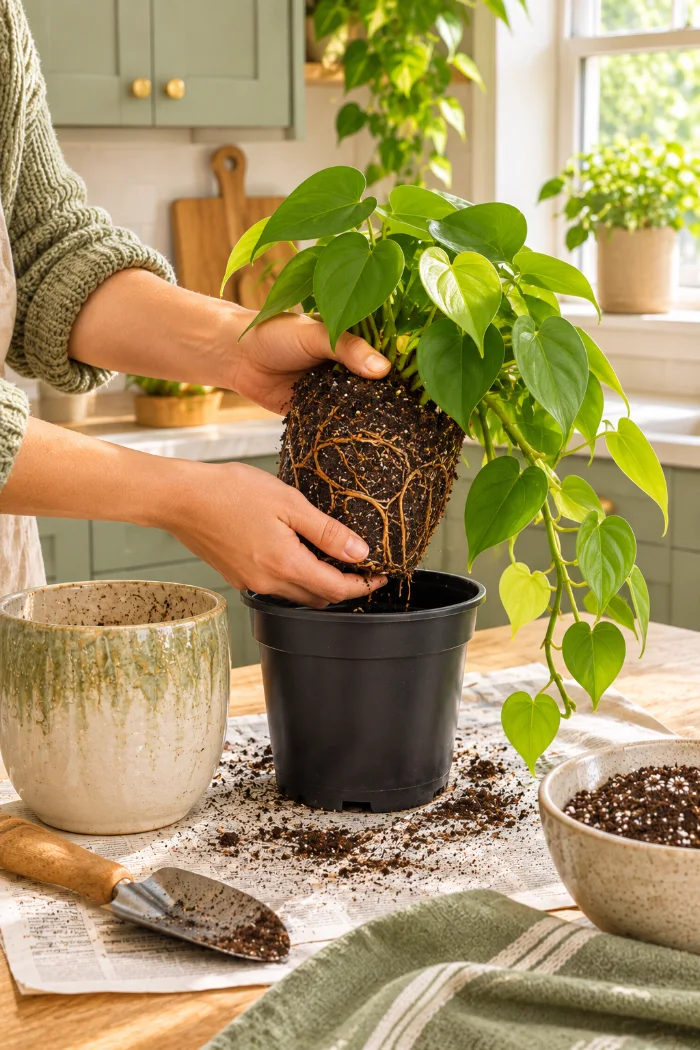
A glazed ceramic pot can weigh more than the plant living in it. Slide each plant out and settle it into a plastic nursery pot the same size, filling any gaps with fresh potting mix. Keep the drainage holes open. For a nicer look on the rod, drop the plastic pot into a woven basket or macramé hanger. Weigh again afterward, and your rod will likely have room to spare.
6. Wipe the frame where the rod ends will press
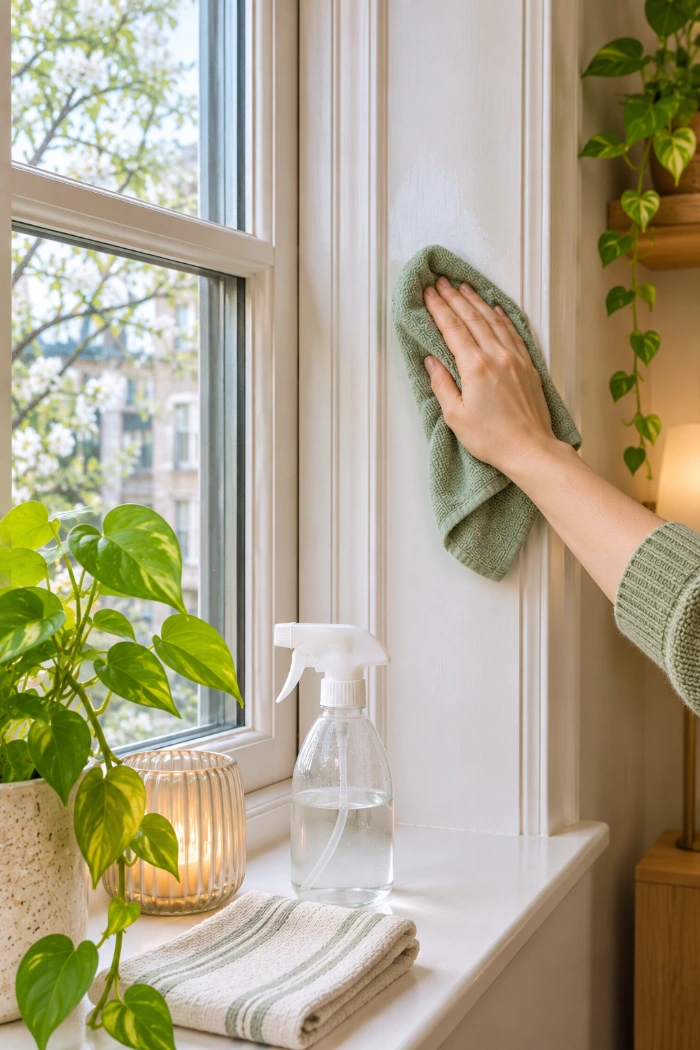
On a dusty frame, even a well-sized rod slides. Prep the two spots where the end caps will sit:
- Wipe each side of the frame with a damp cloth.
- Dry both spots completely with a towel.
- Cut two 2-inch squares of rubber shelf liner to go between the caps and the frame.
The liner grips better than bare paint. It also keeps the rubber caps from leaving gray marks, which helps when you want your deposit back.
7. Twist the rod tight to hang plants in a rental window with zero holes
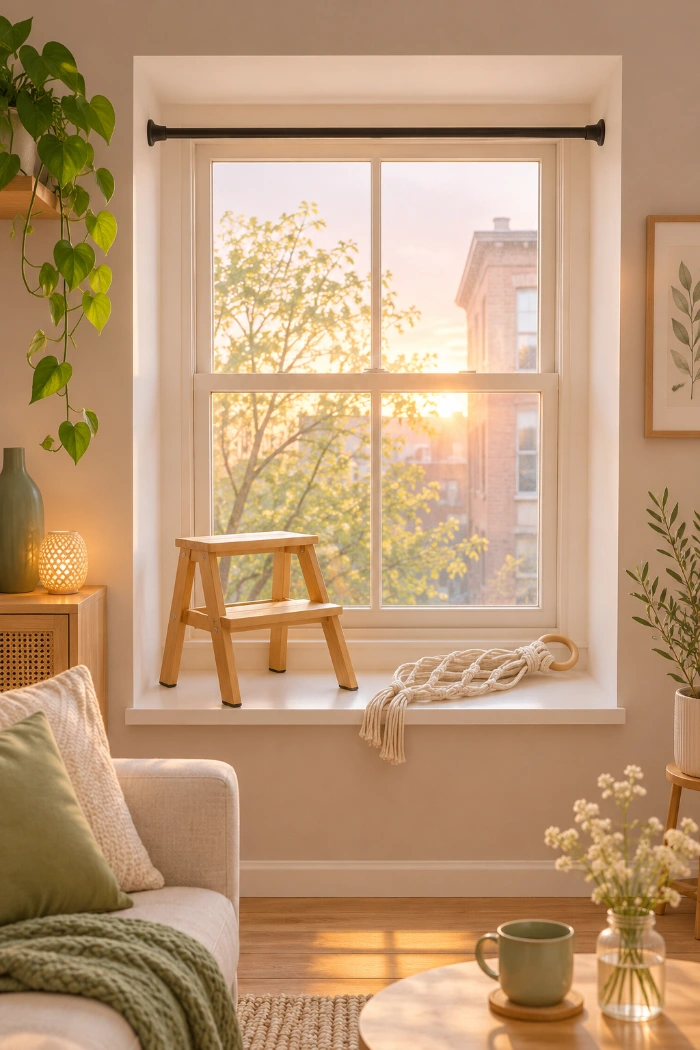
This part takes about 5 minutes, and it does most of the holding. Stick a shelf liner square to each side of the frame with a small piece of painter’s tape so it stays put. Set the rod at your height mark and extend it until both caps touch the liner. Then twist until the rod feels firm and won’t turn when you grip it. Stop there. Twisting harder can dent drywall or pop trim loose. Check that the rod is level with a level app on your phone, because a crooked rod sends every plant sliding to one end.
8. Load-test the rod with water jugs before any plant goes up
A full gallon of water weighs about 8.3 lb, so jugs make a cheap stand-in for plants. Hang both jugs on S-hooks at the very center of the rod, where it bends the most. Leave them for 30 minutes, then press down gently on the rod with one hand. If nothing moves, you’re ready. If the caps slide even 1/4 inch, twist the rod tighter and test again. If your plants weigh more than 17 lb in total, add a third jug.
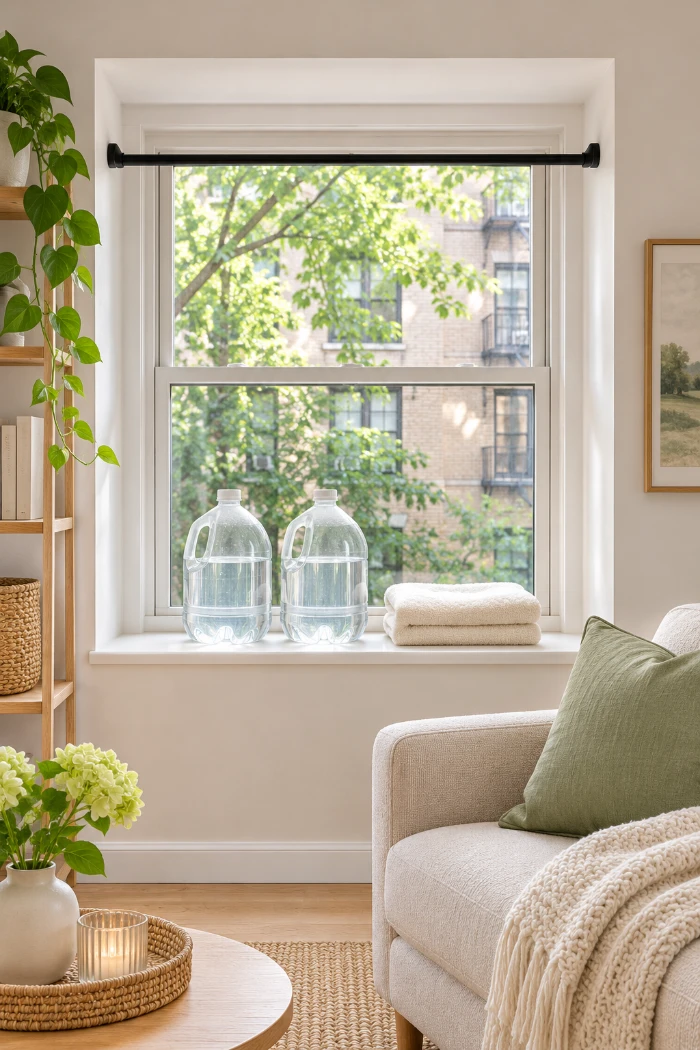
9. Slide S-hooks onto the rod and space them evenly
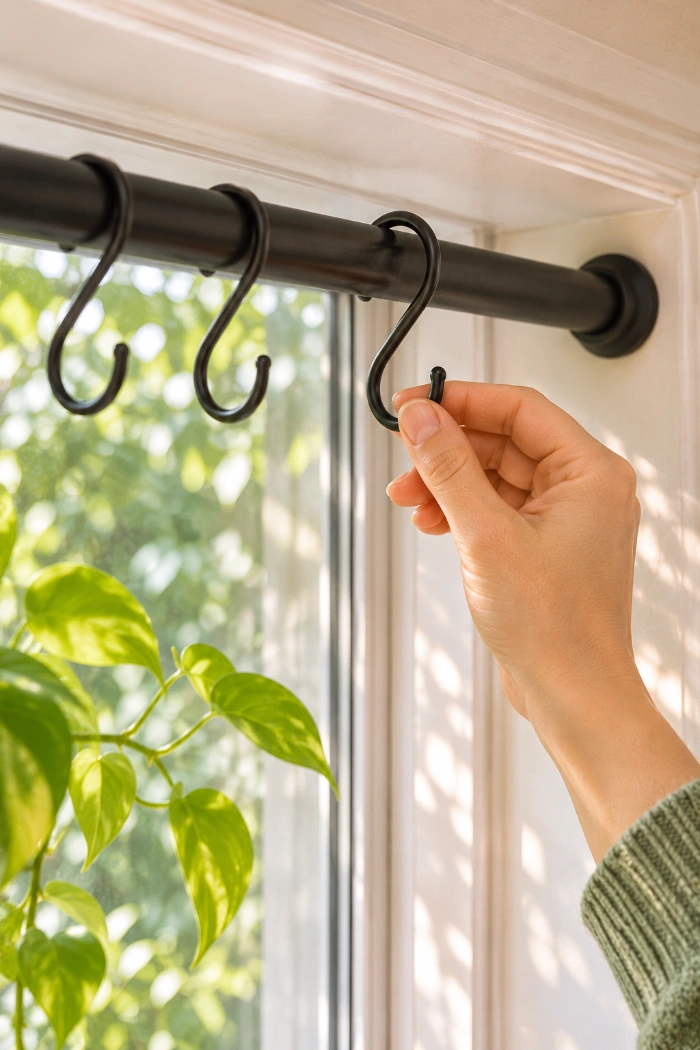
Once the jugs are down, add one hook per plant. Leave about 8 to 10 inches between hooks for 6-inch pots, so the leaves don’t tangle and each plant gets its own light. Squeeze the top curve of each hook a little tighter around the rod with pliers so it won’t jump off when you lift a hanger. Thin hooks bend fine by hand.
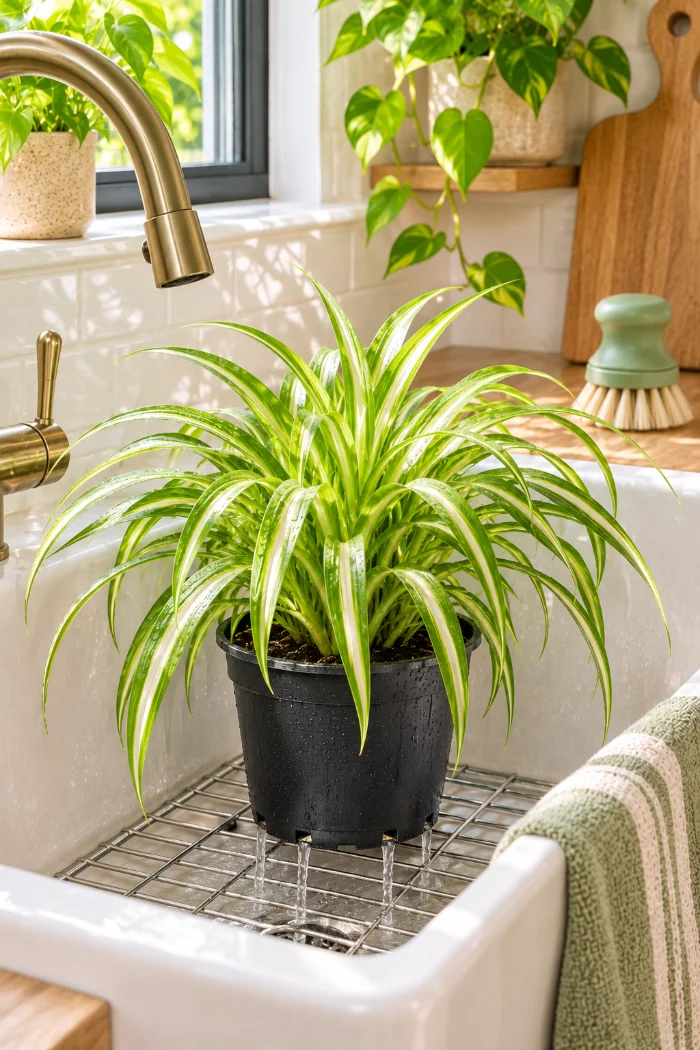
10. Water and fully drain each plant before hanging
Hanging plants drip, and every drop lands on your sill. Water each plant in the sink or tub until it runs out the bottom. Let it sit there for 20 to 30 minutes until the dripping stops, then wipe the bottom of the pot dry. This is your routine from now on: take plants down to water them, drain them, and hang them back up. It takes a minute per plant and saves your window trim from water stains.
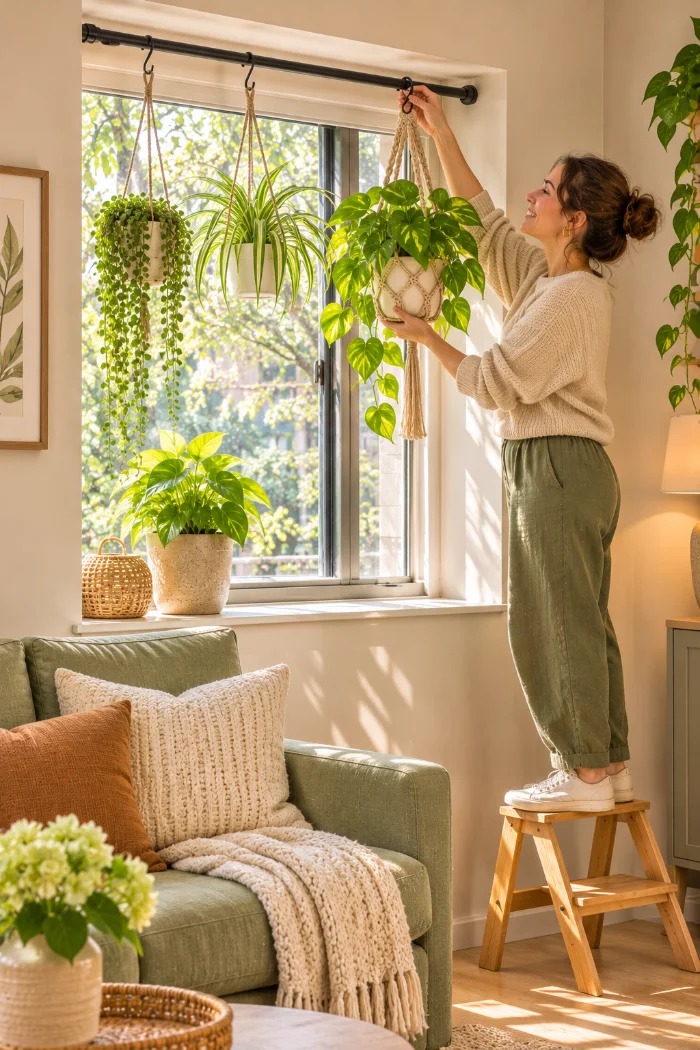
11. Hang the heaviest plants closest to the frame edges
A rod bends most in the middle and hardly at all near the ends, where the frame holds it. Put your two heaviest plants on the hooks closest to each side, and keep the lightest ones in the center. Try to split the weight about evenly between left and right. Stand on the step stool, lift each hanger with both hands, and set its loop over the S-hook. Let go slowly, then watch the rod for 10 seconds. If the middle dips more than about 1/2 inch, move a plant closer to the edge.
12. Check the rod’s grip once a week
Window frames swell on humid days and shrink in dry winter heat, which can loosen a rod a little at a time. Once a week, give it a one-minute check:
- Press down gently on the center of the rod.
- Look at both end caps for any gap or slide.
- Give the rod a quarter turn tighter if it feels loose.
Do it on watering day when the plants are already down, and it never feels like an extra chore.
| If This Happens | Try This |
|---|---|
| The rod slides down after a few days | Clean the frame again, add the shelf liner squares, and give the rod a quarter turn. If it’s stretched near its max length, swap it for a shorter size range. |
| The rod bows in the middle | Move the heaviest plants to the hooks nearest the frame. Still bowing? Take one plant off or switch to a thicker rod. |
| Water drips onto the sill | Let plants drain a full 30 minutes before hanging. A small clear saucer inside the hanger catches the last few drops. |
| Plants slide along the rod to one end | Re-level the rod. For extra hold, wrap a rubber band around the rod on each side of every hook. |
| Plants grow lopsided toward the glass | Turn each plant a quarter turn every time you water so all sides get light. |
| Leaves touching the window turn brown in winter | Cold glass damages leaves. Shift the hooks so foliage hangs at least 2 to 3 inches away from the window. |
- Heavy-duty twist-lock tension rod
- Tape measure + bathroom scale
- 3 to 4 inch metal S-hooks
- Plastic nursery pots + hangers
- 2 gallon jugs of water
- Cloth, towel, shelf liner
- Step stool
- Pick a window recessed 2+ inches
- Weigh plants right after watering
- Measure width 3 to 4 inches below the top
- Buy a rod rated for 2x your total weight
- Repot into plastic nursery pots
- Wipe the frame and add liner squares
- Twist the rod firm and level it
- Test with water jugs for 30 minutes
- Space hooks 8 to 10 inches apart
- Drain plants 20 to 30 minutes
- Hang heaviest plants near the edges
- Check the grip once a week
Your plants are hanging in the light now, and you didn’t make a single new hole to get them there.
You know how to hang plants in a rental, and the rod comes down in seconds when you move.
For a next step, try a second rod in another window, or add the trailing plant you’ve had your eye on.
Save this to your apartment ideas board so it’s ready for your next place. 🌿