
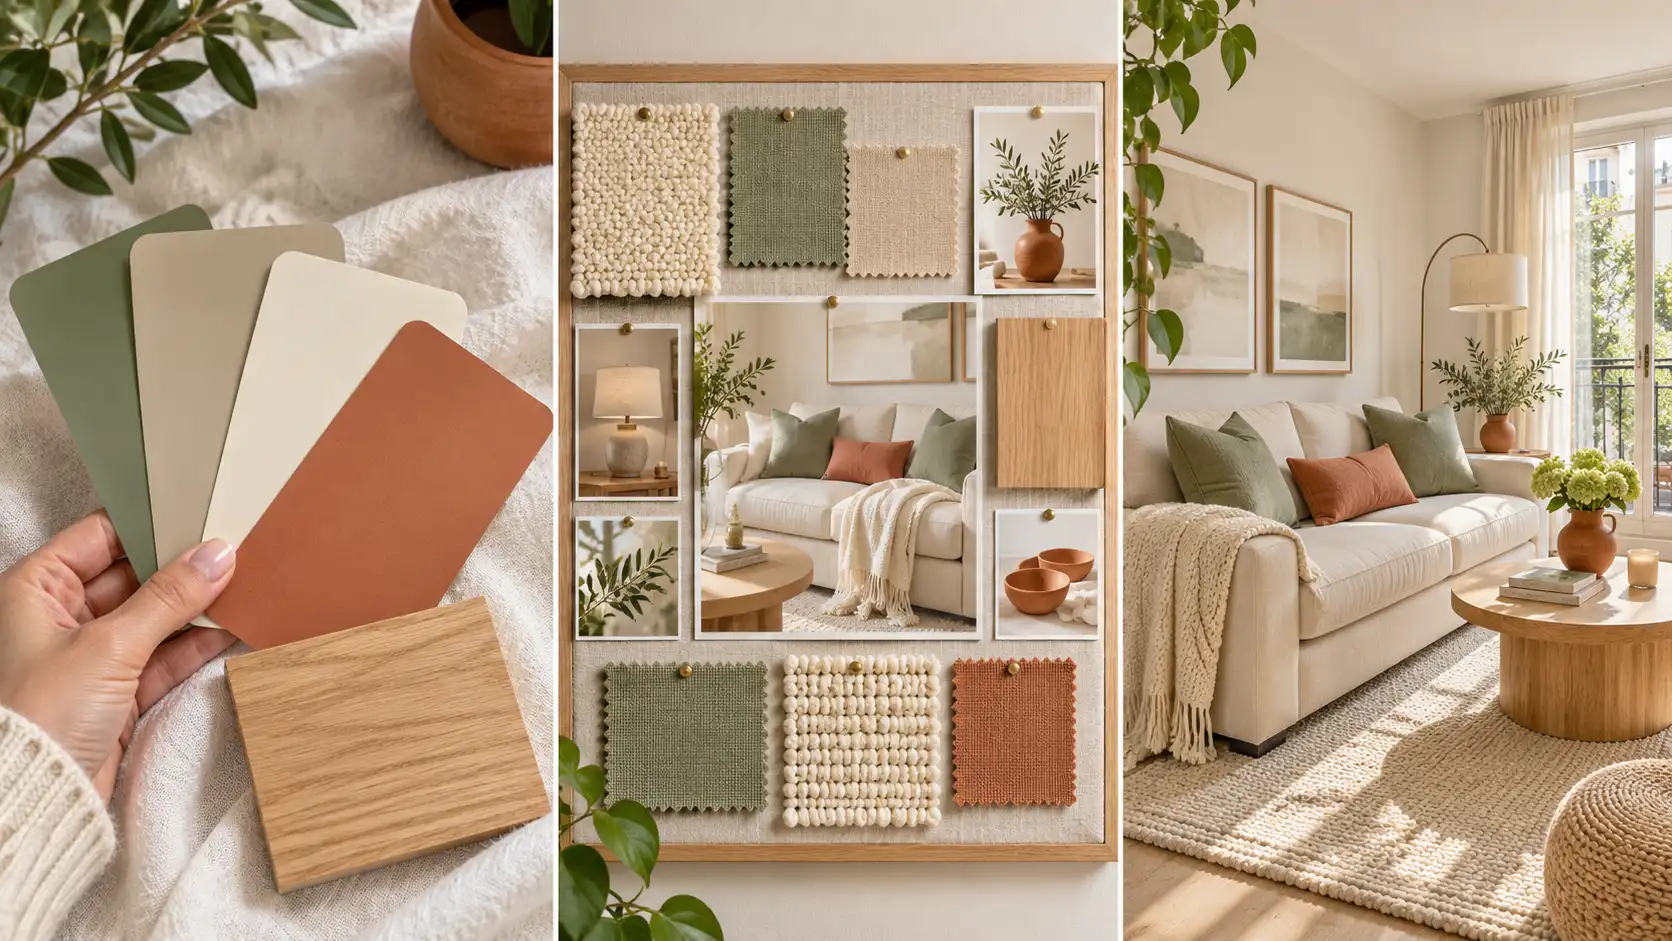
You found the perfect rug online. Then it showed up, covered half your living room, and fought with the couch you already own. Sound familiar? In a small apartment, every piece has to earn its spot, and guessing gets expensive fast.
That is why learning how to make a mood board is worth one afternoon. A mood board is a single page that shows your room, your colors, and every piece you plan to buy, all side by side. You can spot a clash before you pay for it.
This guide walks you through building one in free Canva, one step at a time. You start with your real room: its size, its light, and the furniture you are keeping. Then you collect ideas, pick a color palette, and lay it all out. Last, you test real paint and fabric samples on your own walls, because colors never look the same on a screen as they do in person.
You need zero design skills. The hands-on part takes about 2 to 3 hours. Give yourself about a week in total if you order samples. Grab a tape measure and your phone, and let’s plan a room that fits.
- ✓Tape measure (25 ft works well)
- ✓Notebook or phone notes app
- ✓Phone camera
- ✓Free Pinterest account
- ✓Free Canva account
- ✓Phone, tablet, or laptop
- ✓Your total budget, written down
- ✓2 to 3 paint samples or peel-and-stick swatches
- ✓Fabric swatches for big pieces
- ✓Painter’s tape
- Measure your room and list what is staying
- Photograph the room in daytime light
- Save 30 to 50 pins to a secret Pinterest board
- Cut your saves down to your top 10
- Pick three words for how the room should feel
- Pull a four-color palette from your top pins
- Collect photos of the pieces you plan to buy
- Open a free Canva canvas to make your mood board
- Place your room photo and color palette first
- Arrange furniture, textures, and decor around one anchor piece
- Check every item against your measurements and budget
- Test real paint and fabric samples in your room
1. Measure your room and list what is staying
Your mood board is only as good as the numbers behind it. Write down the length and width of the floor first. Then add:
- Ceiling height
- Width and height of each window
- How far each door swings open
- Where outlets and radiators sit
Last, list every piece you are keeping, with its size and color. That old dresser is part of the plan, whether you love it or not.
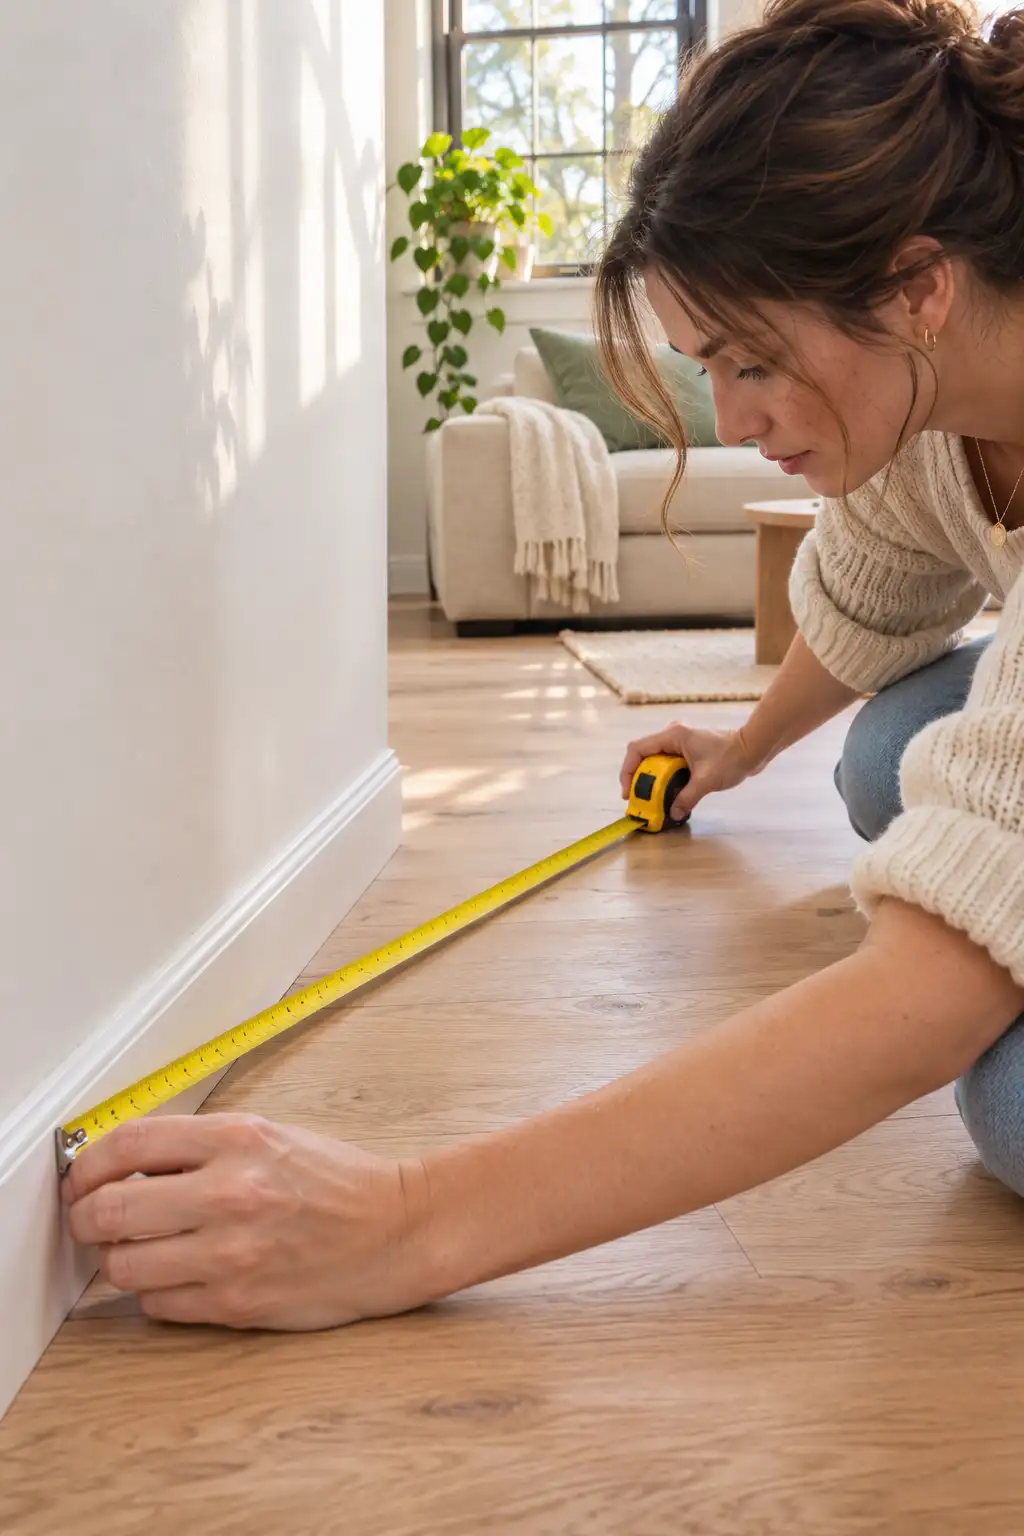
Measure your front door, hallway, and any tight turns too. A sofa that fits the room is no help if it gets stuck at a 30-inch doorway on delivery day.
2. Photograph the room in daytime light
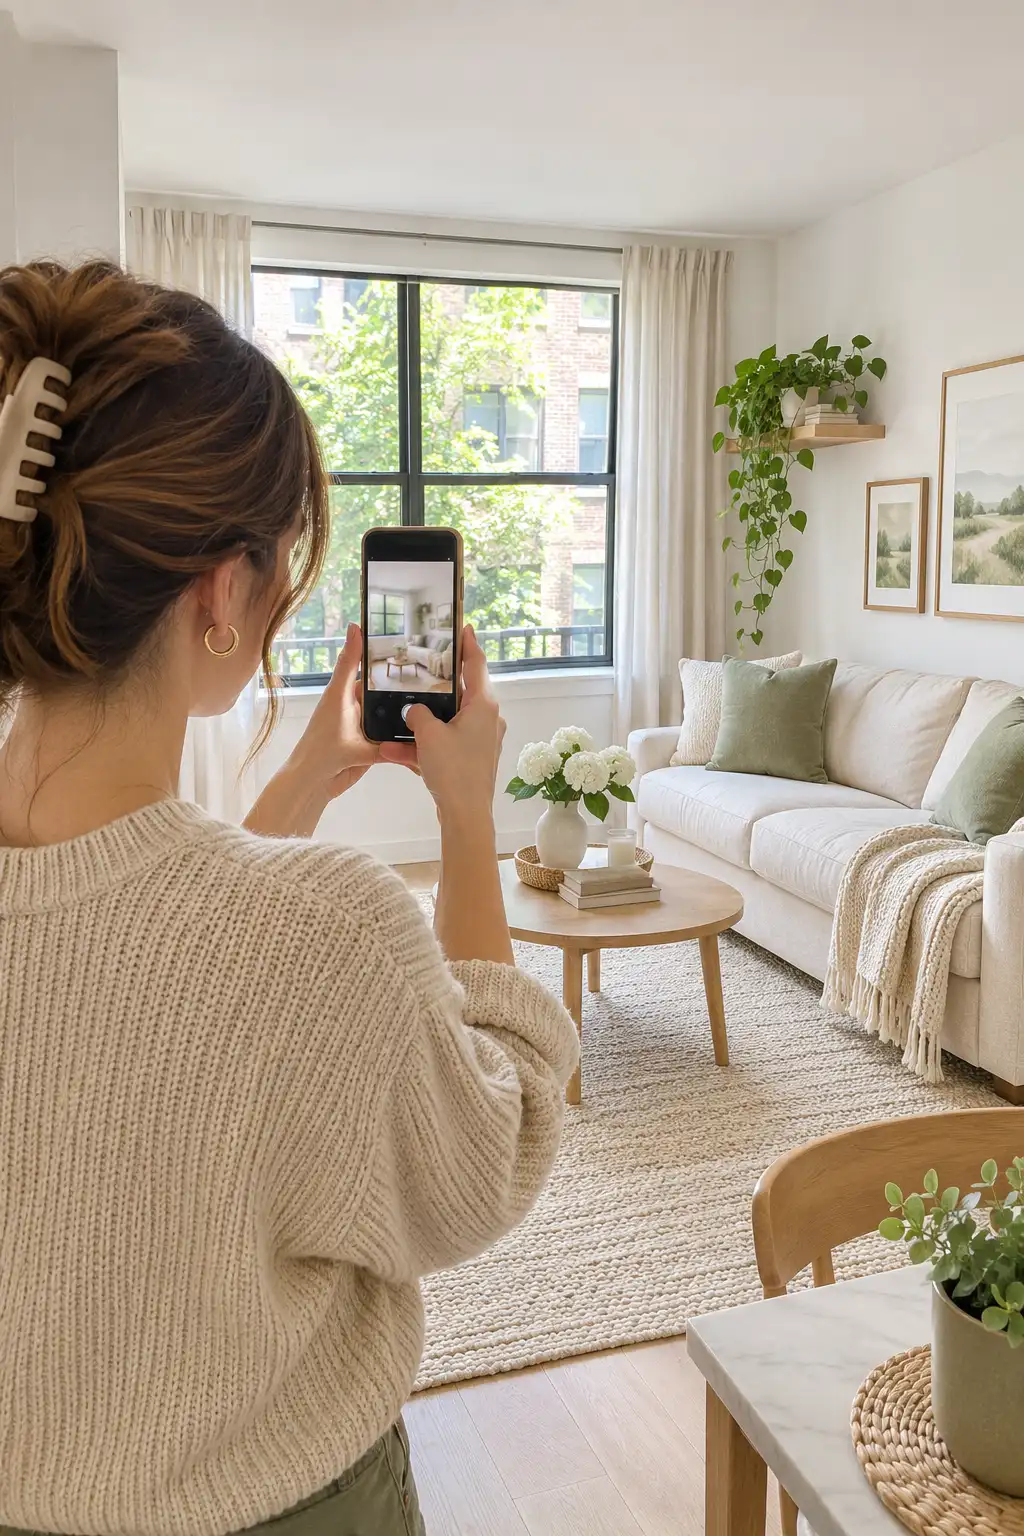
Pick a bright day and shoot around noon with every lamp switched off. Lamps throw a yellow tint that hides your true wall and floor colors. Stand in the corner farthest from the door and take one wide photo. Take a second one from the doorway. These two shots become the base of your whole board, so you can see new colors next to your real walls. No wide lens? Tap the 0.5x setting on most phone cameras.
3. Save 30 to 50 pins to a secret Pinterest board
Fifty pins is plenty. More than that and you will drown in choices. Create a new board, switch on “Keep this board secret,” and give it a plain name like “Living Room Plan.” A secret board keeps your messy brainstorm out of your public profile. Search phrases that match your space, like “small living room ideas” or “studio apartment layout.” Save fast and do not judge yet. If a room makes you stop scrolling, save it. You will sort through everything in the next step, so this part should feel loose and fun.
4. Cut your saves down to your top 10
If a pin shows a room twice the size of yours, delete it. Big open lofts rarely shrink down well. Then keep the rooms that share your layout, your window light, or your floor type. Look at the ten that are left. You will start to see the same colors and shapes show up again and again. That pattern is your style.
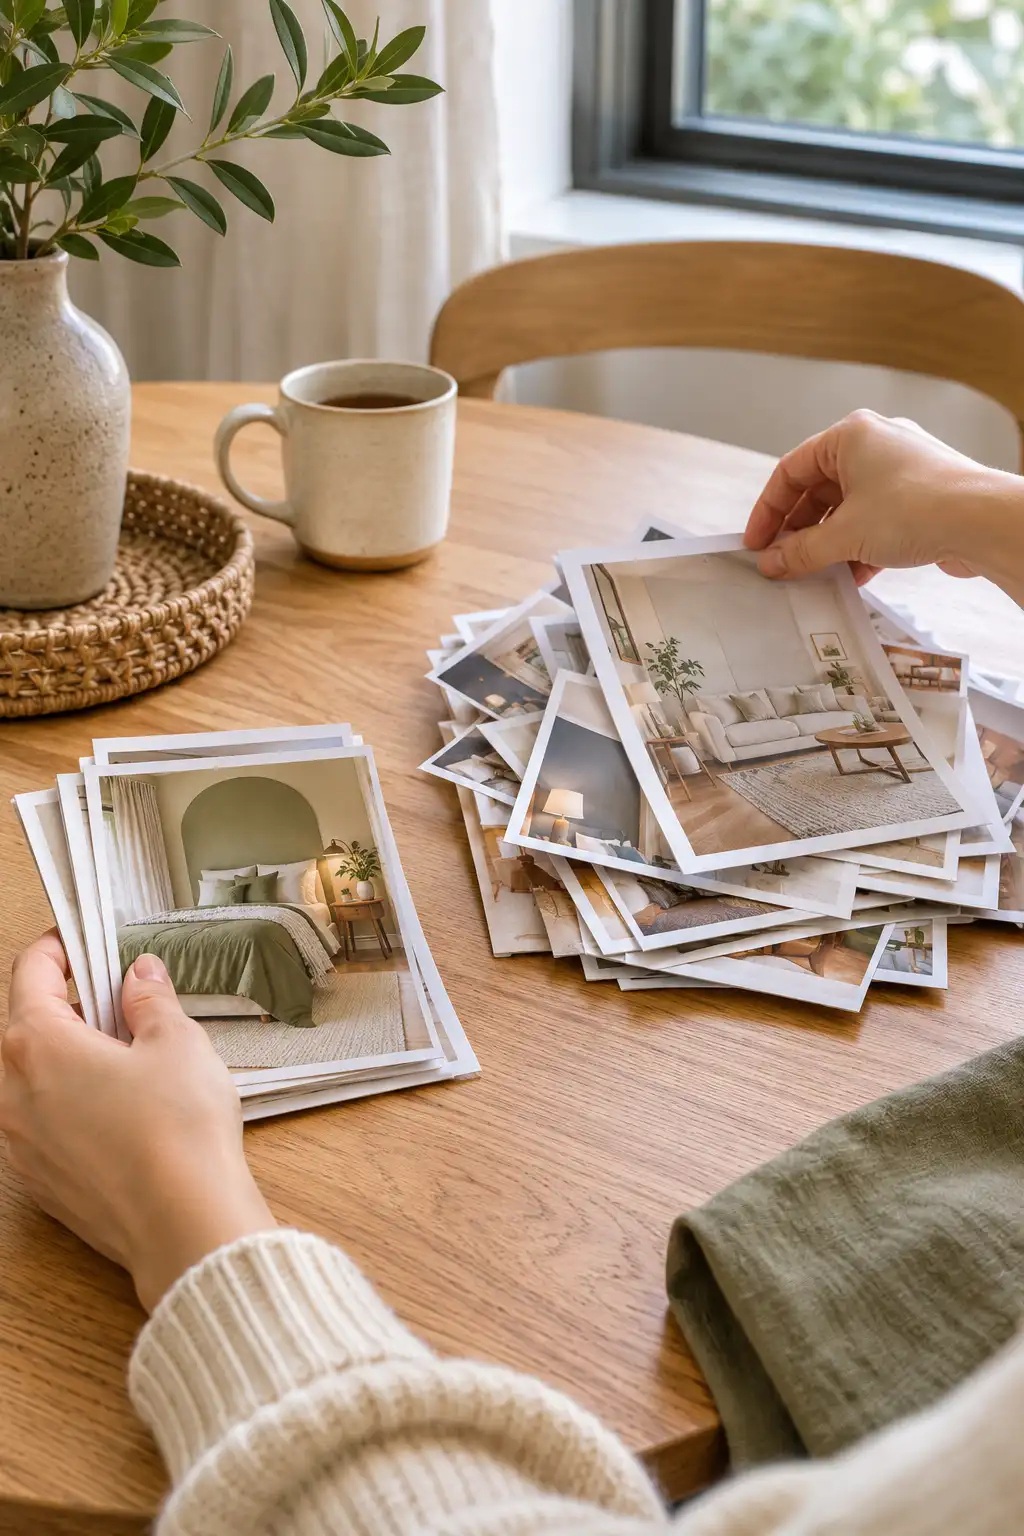
Add a board section called “Top 10” and move your winners there. The rest of your saves stay on the board, so nothing is lost if you change your mind later.
5. Pick three words for how the room should feel
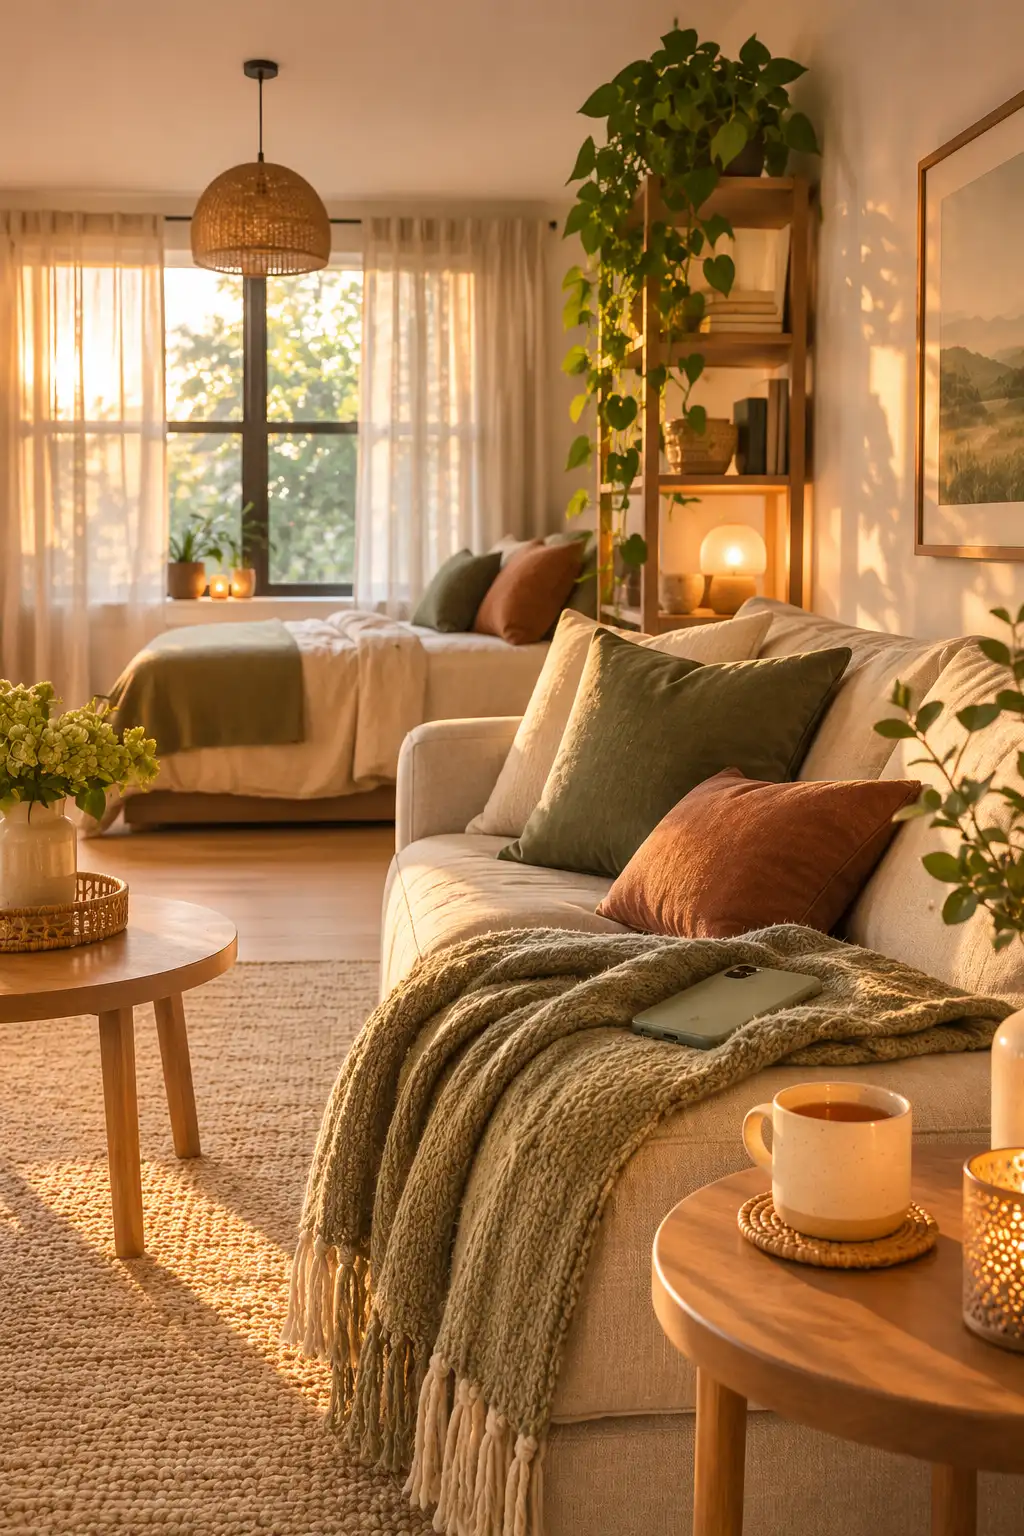
How do you want to feel when you walk in the door after a long day? Look at your top 10 pins and answer in three words. A few examples: “calm, warm, airy” or “cozy, bold, playful.” Write your three words at the top of your notes. From here on, every pillow, lamp, and rug has to match at least one of them. This one rule stops impulse buys that do not belong, which matters more in a small room where clutter shows fast.
6. Pull a four-color palette from your top pins
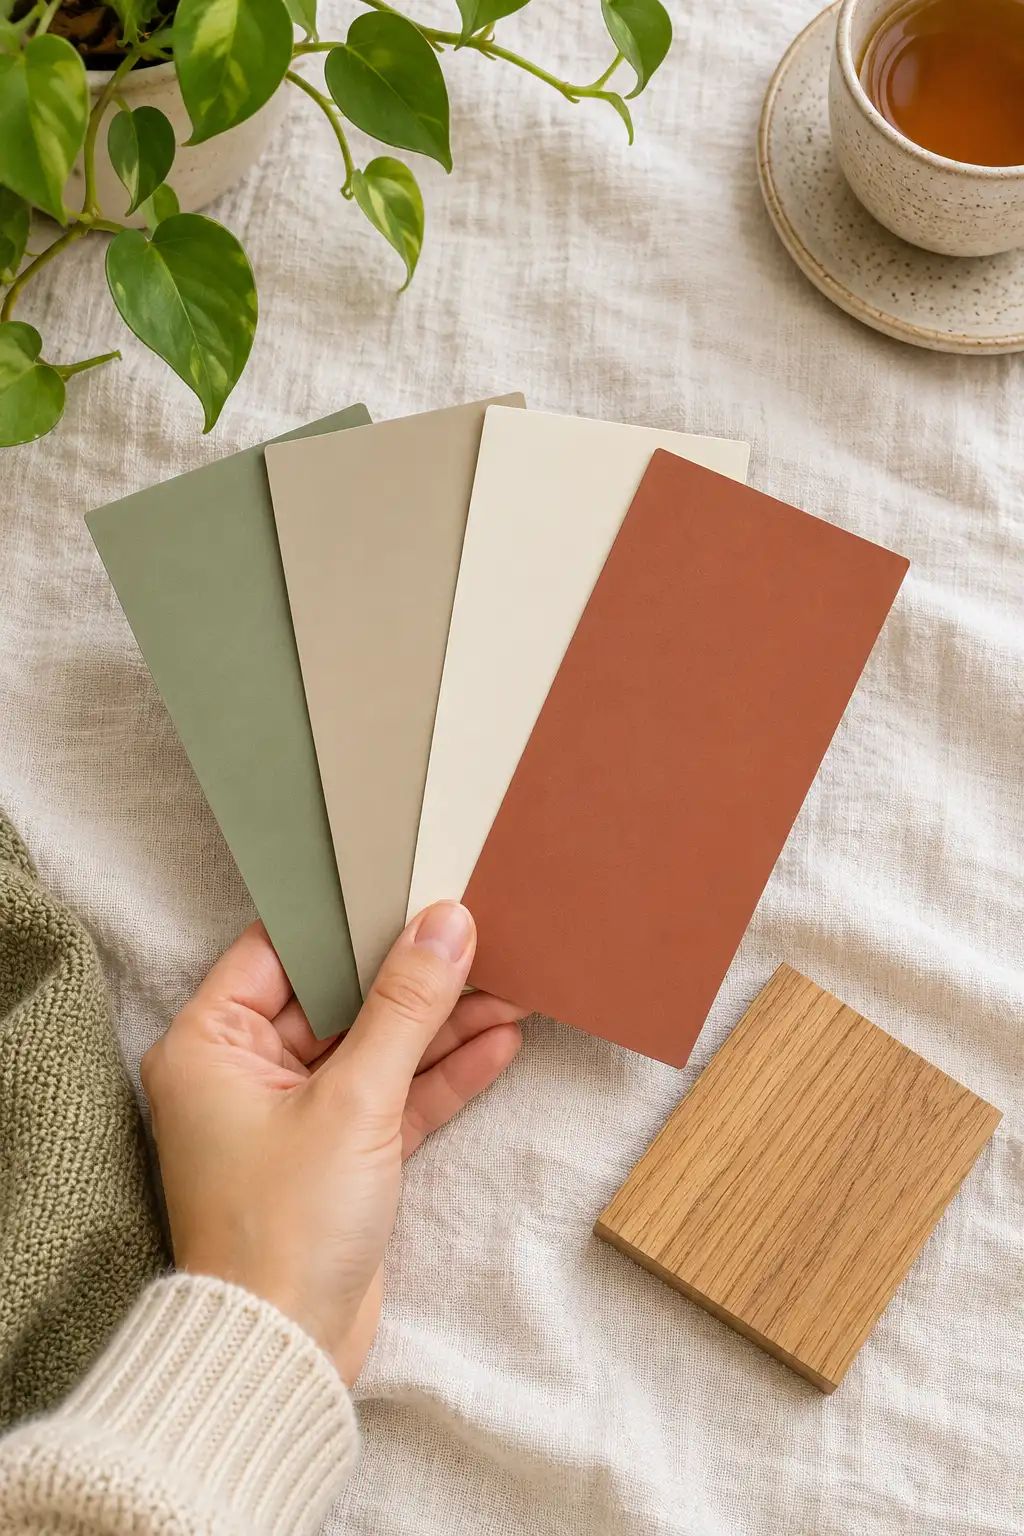
Most small rooms look best with a short, tight color list. Open Canva’s free Color Palette Generator, upload your favorite pin, and it will pull out the main colors for you. Pick four:
- A main shade for walls and big pieces, about 60% of the room
- A support shade for rugs and curtains, about 30%
- An accent color for pillows and art, about 10%
- One wood or metal finish
Make sure the furniture you are keeping fits in, too. If your dresser is dark walnut, that is your wood finish. Save each color’s six-digit code (like #8C9687) so you can match it exactly later.
7. Collect photos of the pieces you plan to buy
Five to eight pieces is enough for one room. Go to the store websites and save a product photo of each item, like a sofa, rug, lamp, curtains, and one piece of art. Look for photos on a plain white background. They sit cleanly on your board without any paid editing tools. As you save each one, write its price, width, depth, and link in your notes. You will need those numbers in Step 11. Snap a quick photo of the pieces you are keeping too, so the old and the new can sit side by side.
8. Open a free Canva canvas to make your mood board
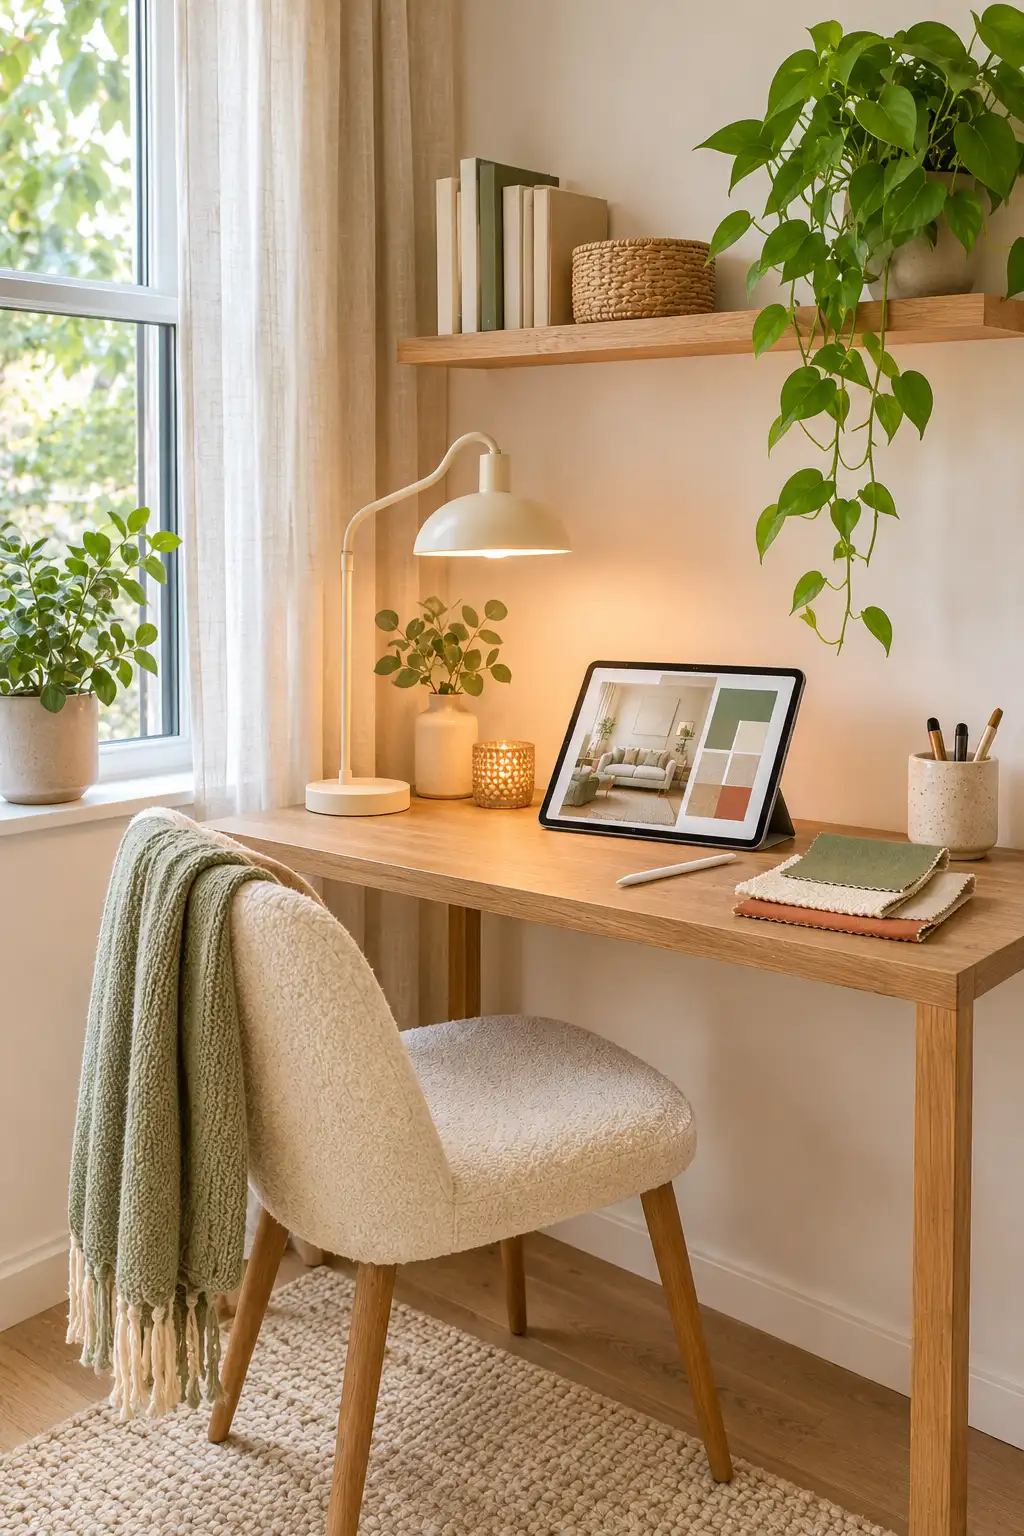
Tap “Create a design,” choose “Custom size,” and enter 1920 x 1080 pixels. A blank page works better than a template here. Templates arrive full of stock photos and fonts you would have to delete one by one. Name the file after your room, like “Bedroom Plan,” so it is easy to find on your phone later.
9. Place your room photo and color palette first
Everything else on the board has to work with your real room, so the room goes down before anything else. Upload your two daytime photos from Step 2 and place them in the top left corner, filling about one quarter of the canvas. Next, add four squares from the Elements tab and line them up along the bottom edge. Fill each square with one of your color codes from Step 6.
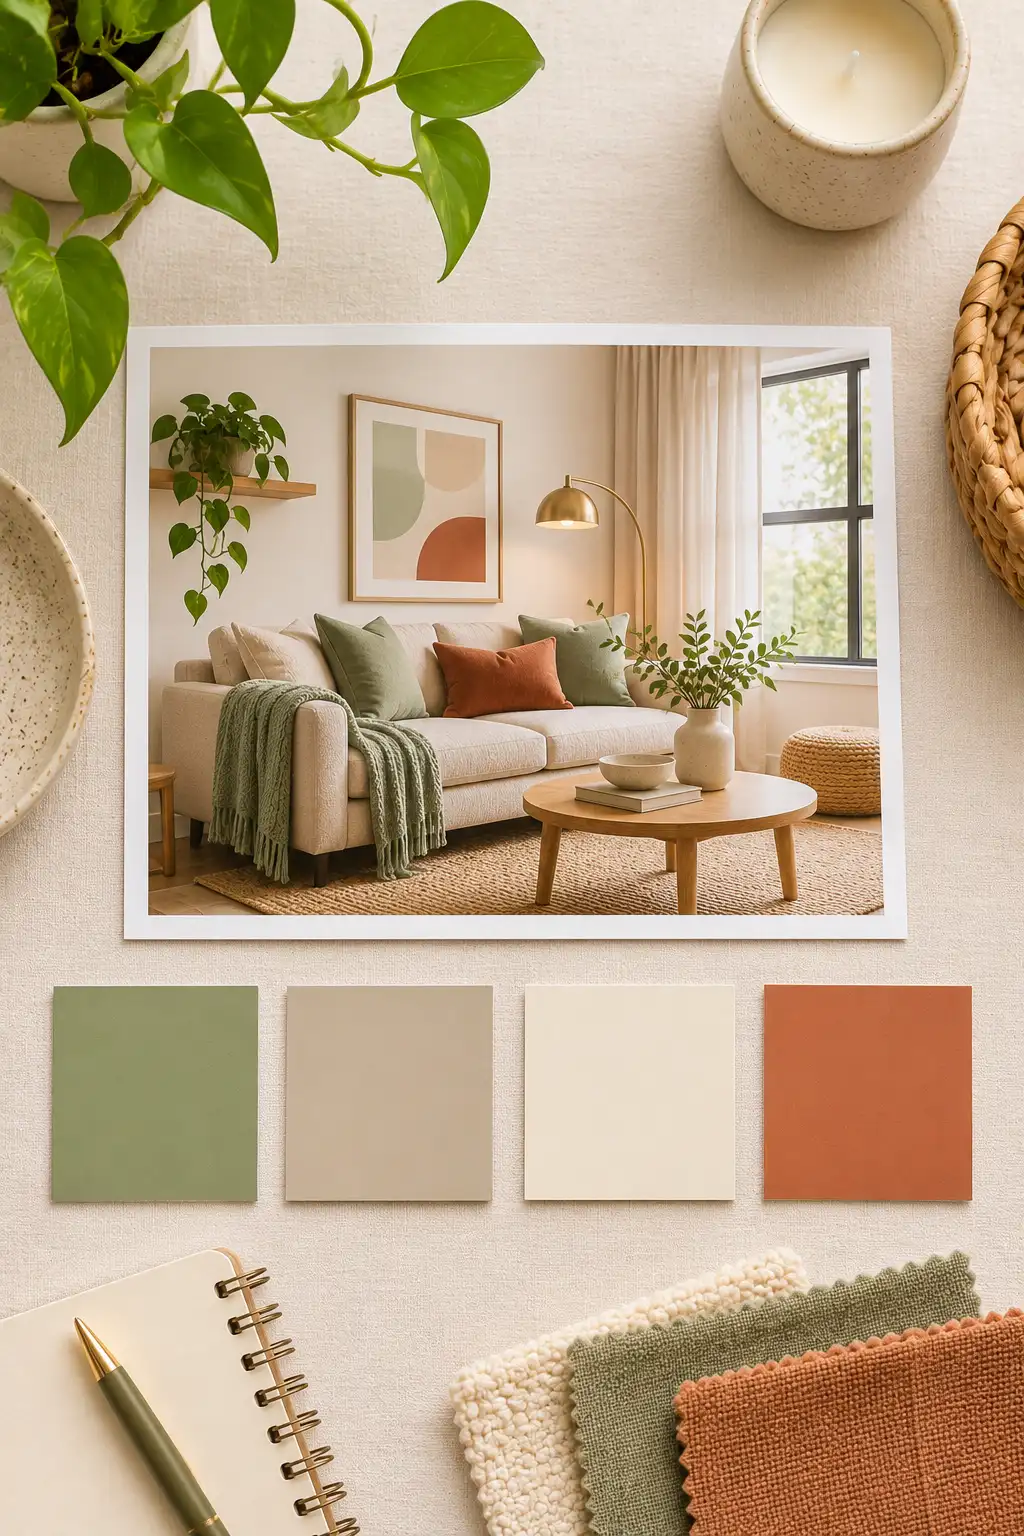
Select your room photos and color squares, then tap the padlock icon to lock them. Now they stay put while you drag everything else around them.
10. Arrange furniture, textures, and decor around one anchor piece
Every room has one star. In a living room it is usually the sofa, and in a bedroom it is the bed. Drag that photo to the center of your board and make it the biggest item there. Place the smaller pieces around it, sized by how much space they will take up in real life. A rug gets more room on the board than a candle. Then fill the gaps with texture: search Canva’s Elements tab for words like “linen,” “oak wood,” or “boucle.” Texture is what stops a calm, low-color room from looking flat.
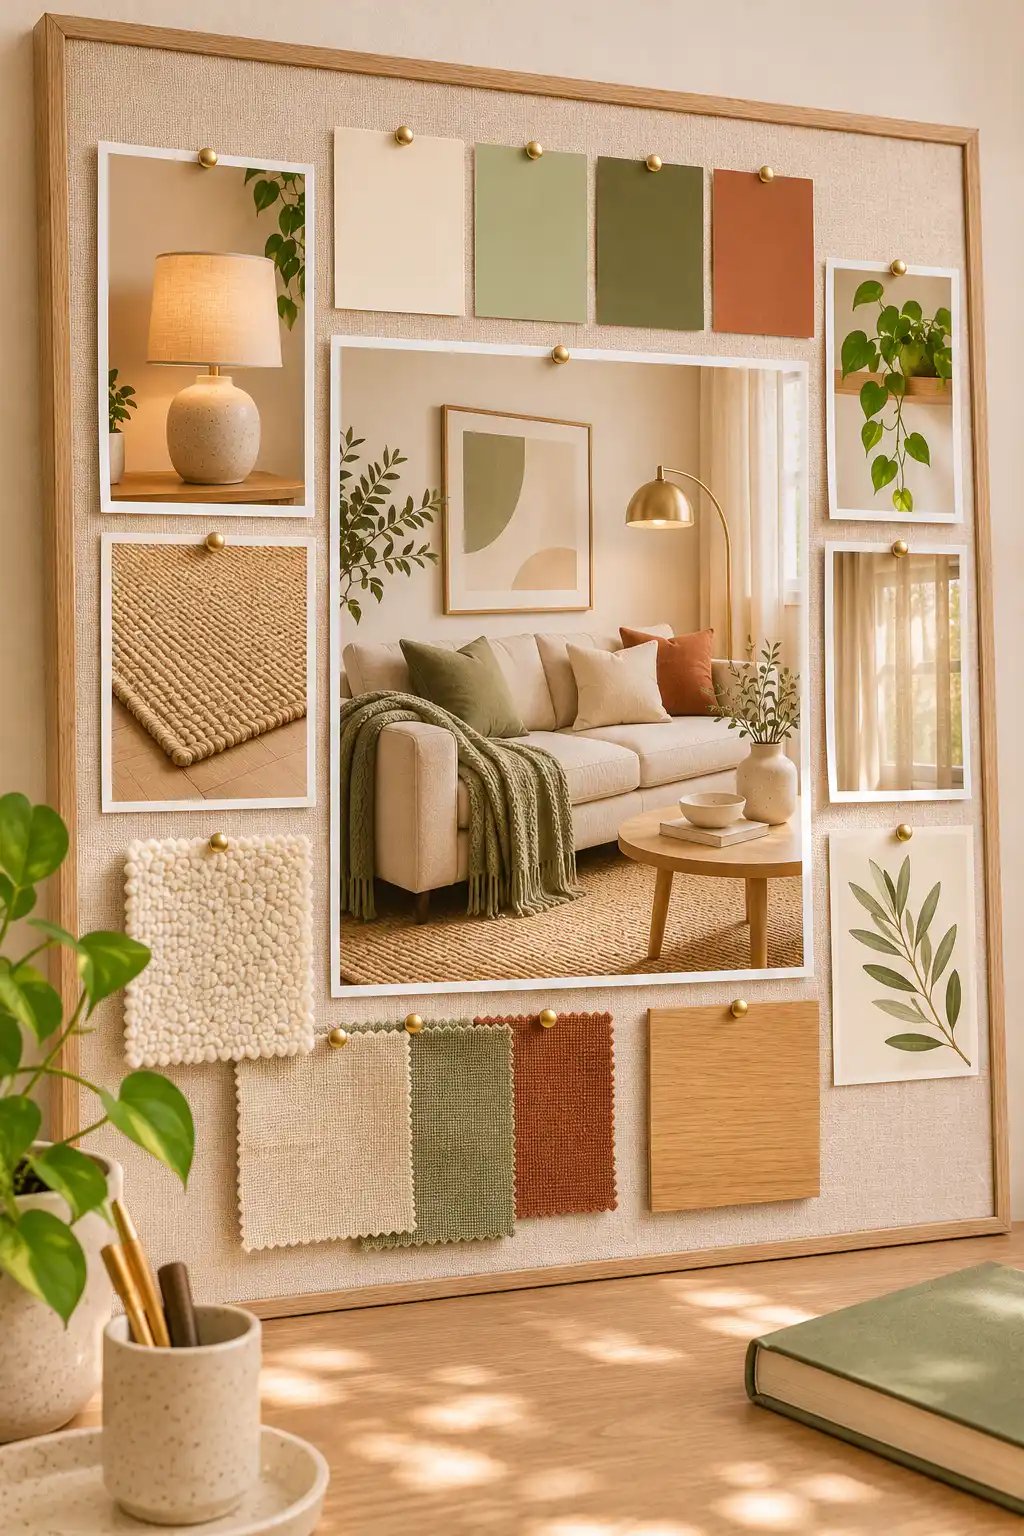
11. Check every item against your measurements and budget
Will that sofa really fit, with room left to walk around it? Grab your notes from Steps 1 and 7 and run each piece through four checks:
- It fits the wall or floor space you have
- It leaves a walkway of at least 30 inches
- The running total stays under your budget
- It matches at least one of your three words
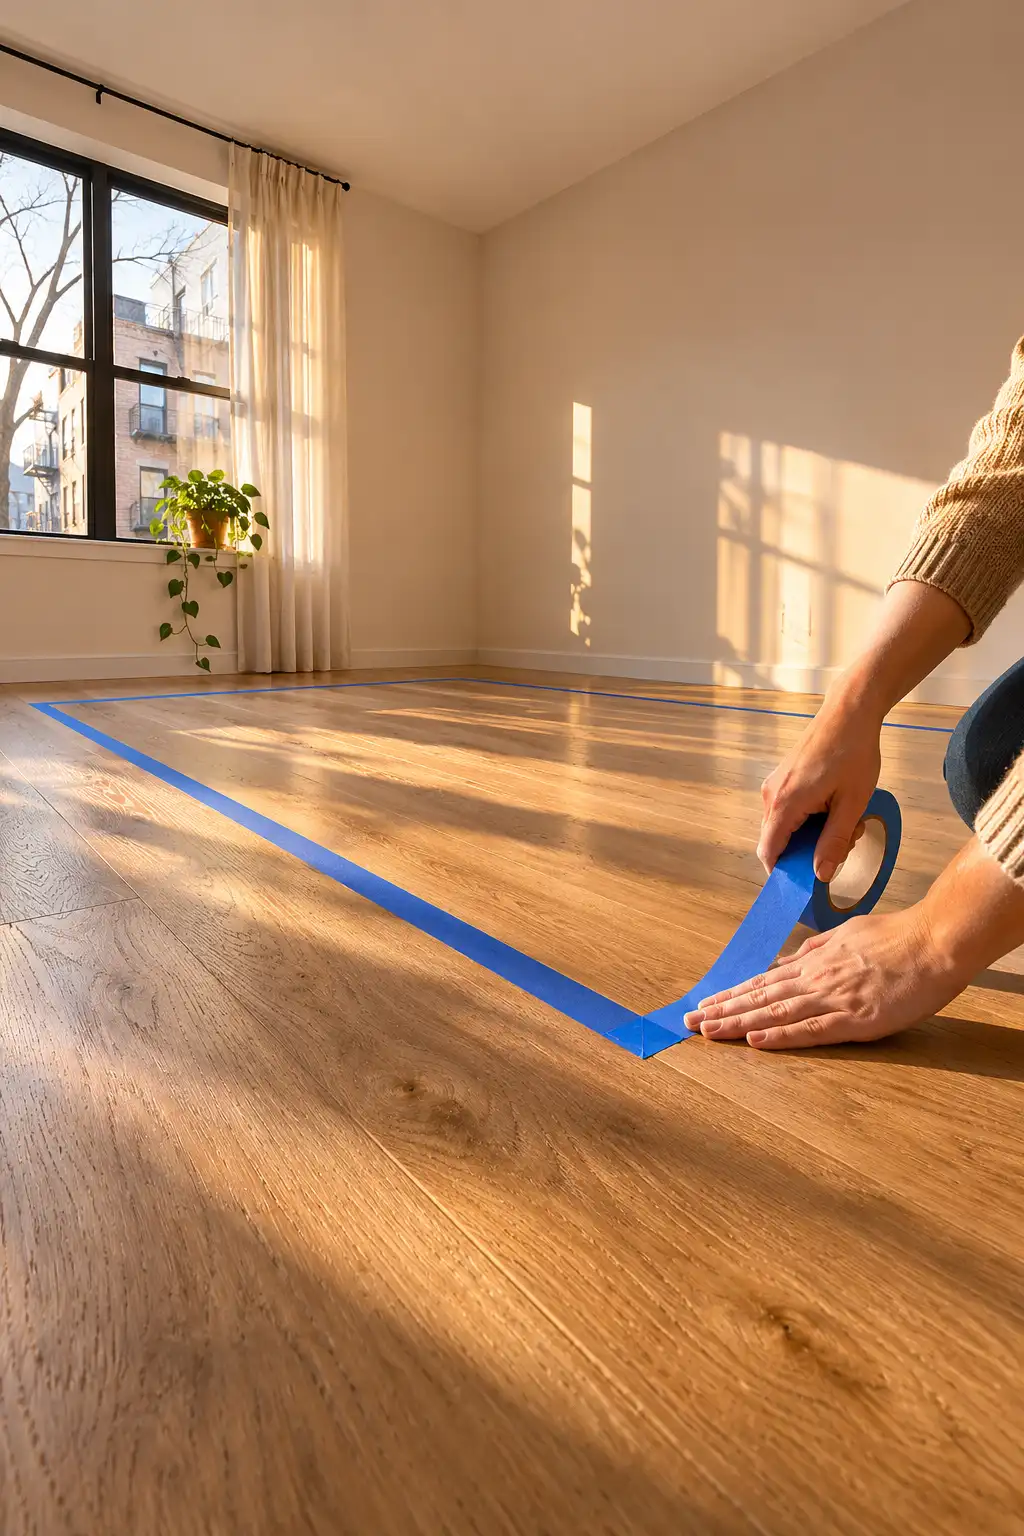
Any piece that fails one check comes off the board. For big items, mark their real size on the floor with painter’s tape. Seeing an 84-inch sofa outlined on your floor is a very different feeling than reading the number.
Renting? Read your lease before a paint color goes on the board. Many leases need written approval to paint, and some charge you to repaint when you move out.
12. Test real paint and fabric samples in your room
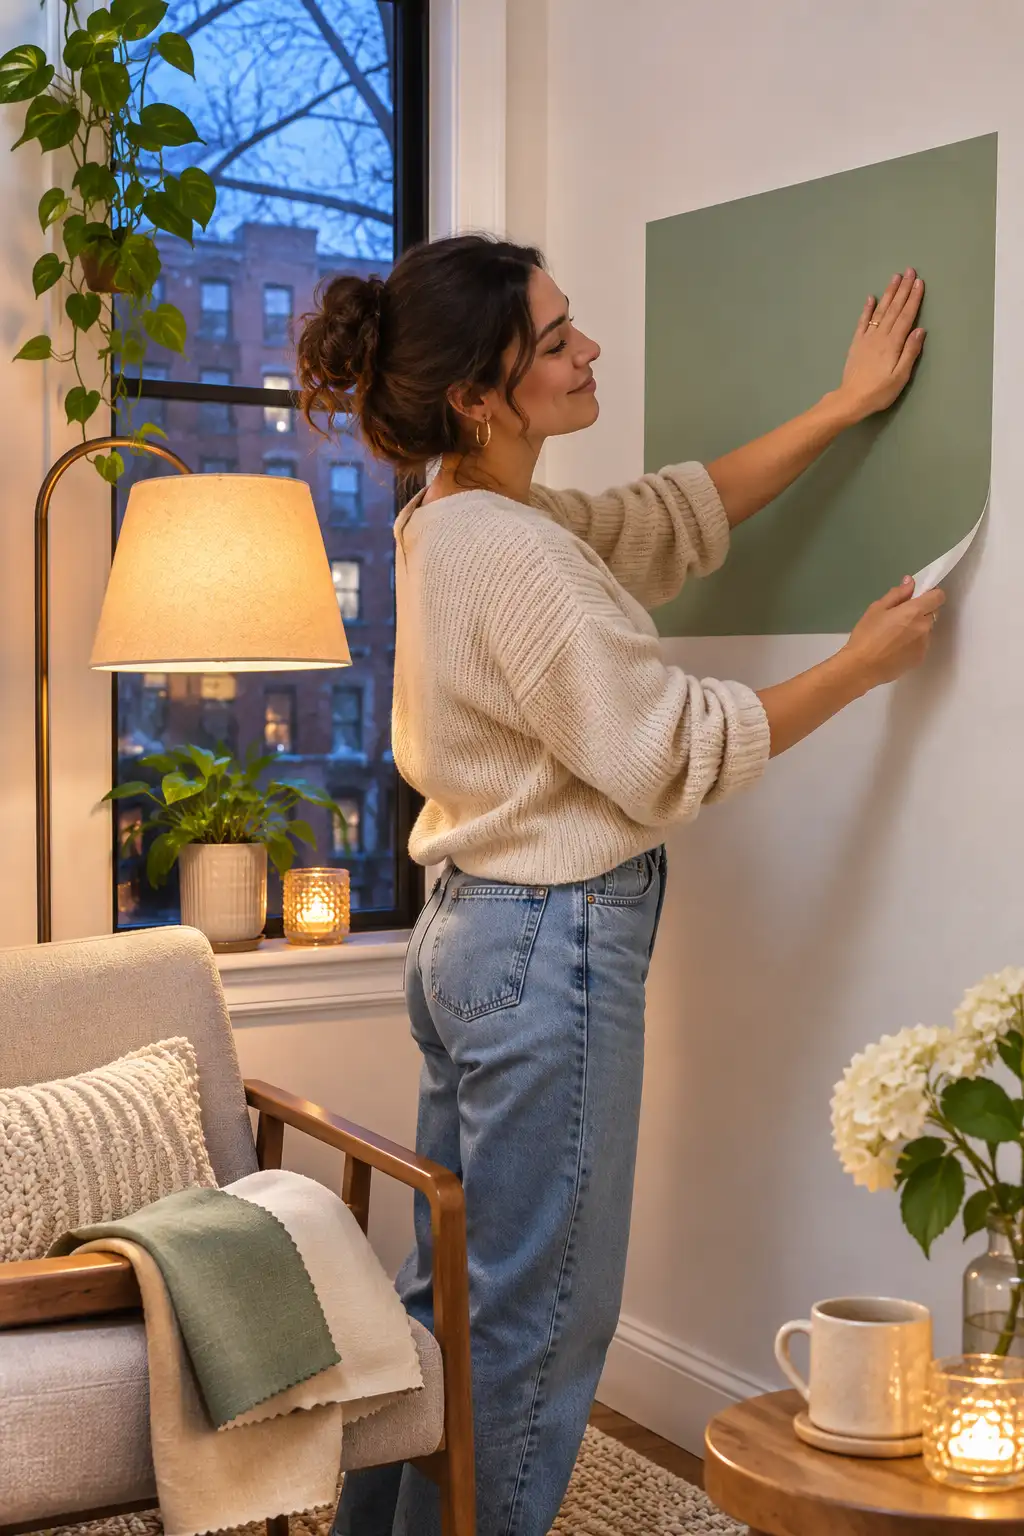
Two or three days with a sample will teach you more than an hour of staring at a screen. Order peel-and-stick paint samples, or paint a 12 x 12 inch square on poster board. Tape each one to the wall with painter’s tape, so no real paint touches your walls. Look at it in the morning, at noon, and at night with the lamps on. Hold fabric swatches next to the window and against the furniture you are keeping. If a color looks muddy or too bright in your light, swap its square on the Canva board for a better match.
A big loft with tall windows will never look the same in a studio. Keep only pins with a room size and light close to yours.
A board can look perfect and still hold a rug that blocks your closet door. Every piece needs a real width and depth next to it.
In a small room, every extra color fights for attention and makes the space feel busy. Stay at four, including your wood or metal finish.
Phone screens make most colors look brighter and cleaner than they are. Test real samples in your own light before you buy paint or big fabric pieces.
A board full of new pieces ignores the couch and dresser that are staying. Put them on the board too, so the new things are chosen to work with them.
No. The free plan covers every step in this guide, including the color palette tool, shapes, and texture images.
Yes, the Canva app works fine. A laptop or tablet makes dragging and resizing photos a bit faster, but it is not required.
Aim for about 15 to 20 things in total, counting photos, color squares, and textures. More than that and the board gets as cluttered as the room you are trying to fix.
Make one board per room, but repeat at least two of your colors across every board. In a small apartment, you can often see two rooms at once, so shared colors make the whole place feel connected.
Yes. Follow the same steps, but print your photos and pin them to a corkboard with your real paint and fabric swatches. It takes longer to change, but you get to touch every texture.
- Tape measure
- Phone camera
- Free Pinterest and Canva accounts
- Notes app and your budget
- 2 to 3 paint samples
- Fabric swatches
- Painter’s tape
- Measure the room and list what stays
- Photograph it at noon, lamps off
- Save 30 to 50 pins to a secret board
- Cut down to your top 10
- Pick 3 words for the feeling
- Pull a 4-color palette (60/30/10 + finish)
- Save product photos with sizes and prices
- Open a 1920 x 1080 Canva canvas
- Place room photos and color squares, then lock them
- Center the anchor piece, arrange the rest
- Check fit, 30-inch walkways, and budget
- Test samples in morning, noon, and night light
Conclusion
You now have a one-page plan for your room, built on real measurements, real light, and colors you tested on your own walls.
That is how to make a mood board that actually fits a small apartment, and it will save you from returns, regrets, and rugs that swallow the floor.
Your next step: turn the board into a shopping list and buy your anchor piece first. Everything else will be easier to choose once it is in place.
Save this guide to your apartment ideas board on Pinterest, so it is ready when you plan your next room.