
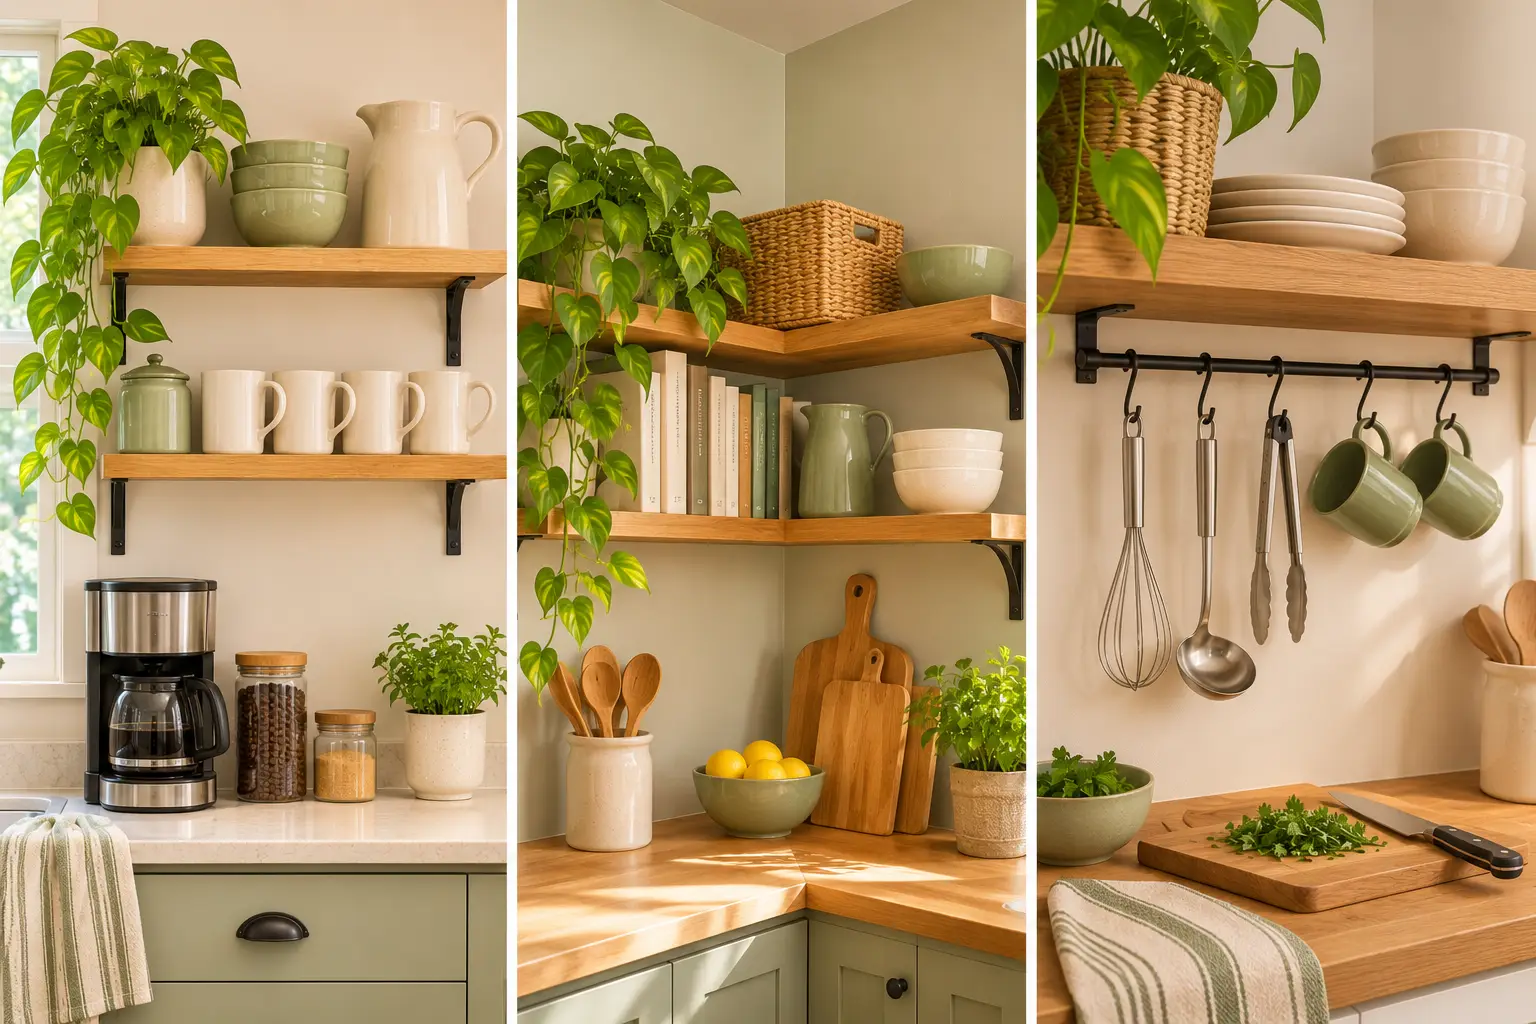
Most open shelves look great for about a week. Then the mail lands on them, the mugs stop matching, and a fine layer of grease settles on anything you don’t use often.
That isn’t a reason to skip them. In a tight kitchen, a couple of shelves can hold more than you’d think, and they make a narrow room feel wider because your eye can see the wall behind them. The trick is knowing what goes up there, how deep the boards should be, and where the dust really comes from.
A good open shelving small kitchen setup comes down to small choices made on purpose. Shallow boards. Fewer colors. Everyday dishes near the sink, and the holiday platter somewhere you can’t knock it off with an elbow.
Below are 12 ideas that work in real apartments, including a few for renters who can’t drill a dozen holes. Pick two or three that fit your space and start there.
1. Swap Just One Upper Cabinet for Two Open Shelves
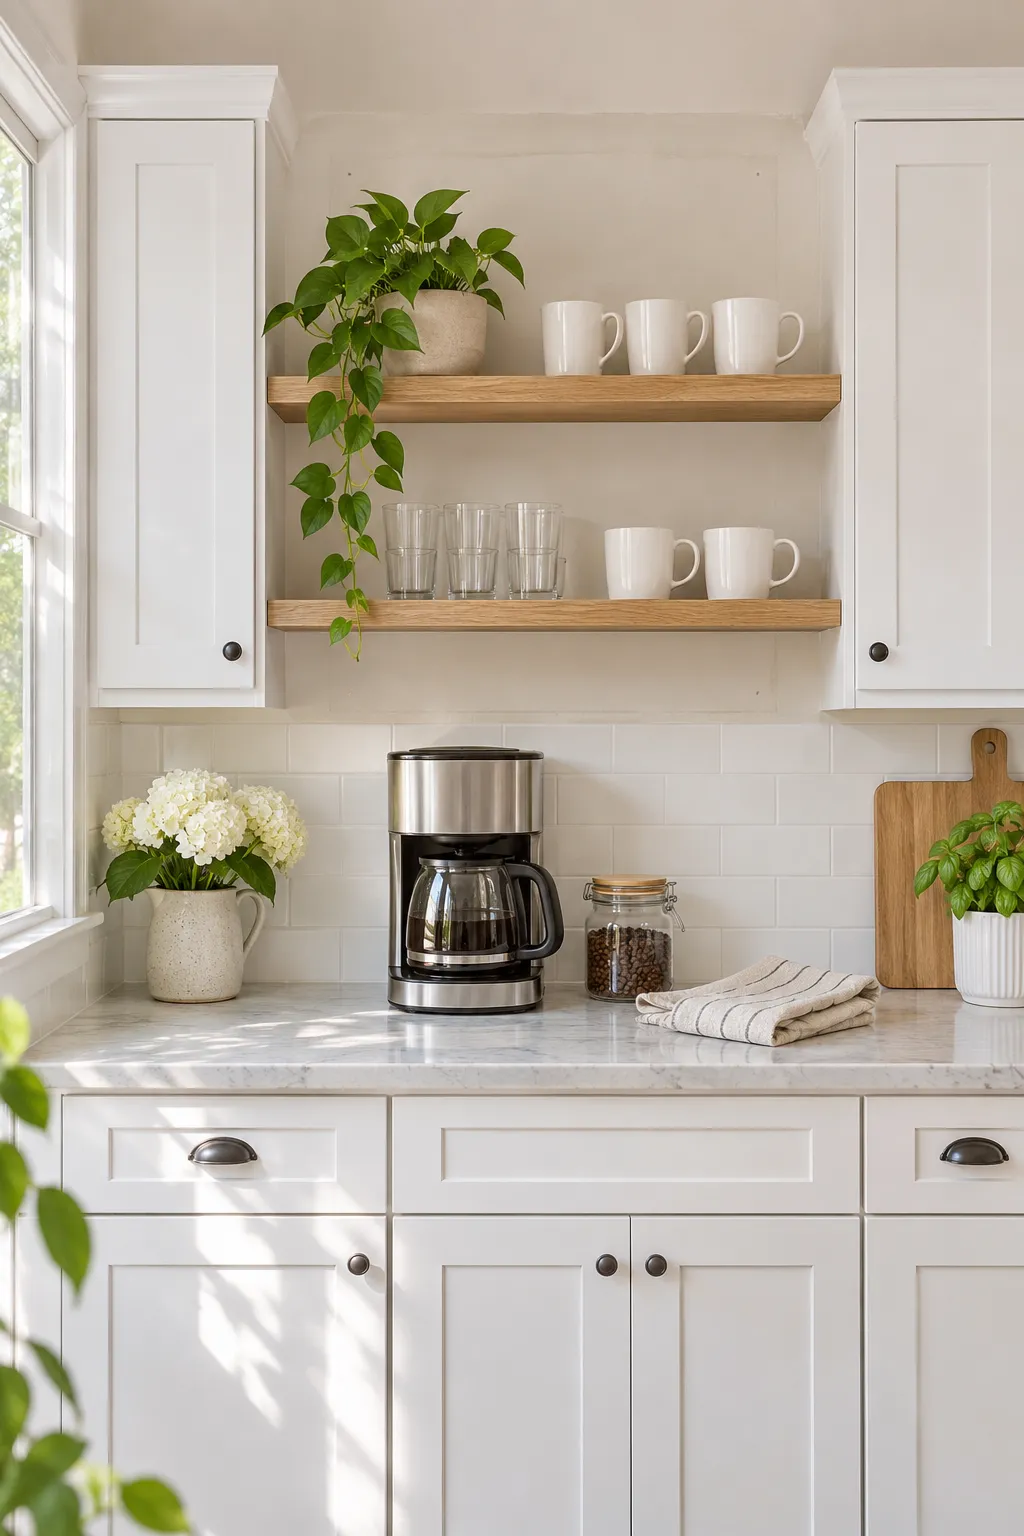
The usual mistake is going all in. People pull down every upper cabinet, love it for a month, then have nowhere to hide the cereal boxes and the mismatched food containers.
Take down just one. The best spots to swap are usually:
- the cabinet above your coffee or tea spot
- the one next to a window, which tends to feel the most cramped
- a short single cabinet at the end of a run
Two shelves in that gap give you the open look, and everything messy still lives behind a door. If you rent, ask before you remove anything and keep the cabinet so it can go back up.
A solid row of upper cabinets. The wall feels heavy, the corner by the window stays dark, and your daily mugs hide behind a door you open all morning.
One cabinet becomes two open shelves. Light reaches the counter, the mugs sit right where you make coffee, and the messy stuff still lives behind the doors next to it.
2. Choose Your Brackets Based on What the Shelf Will Hold
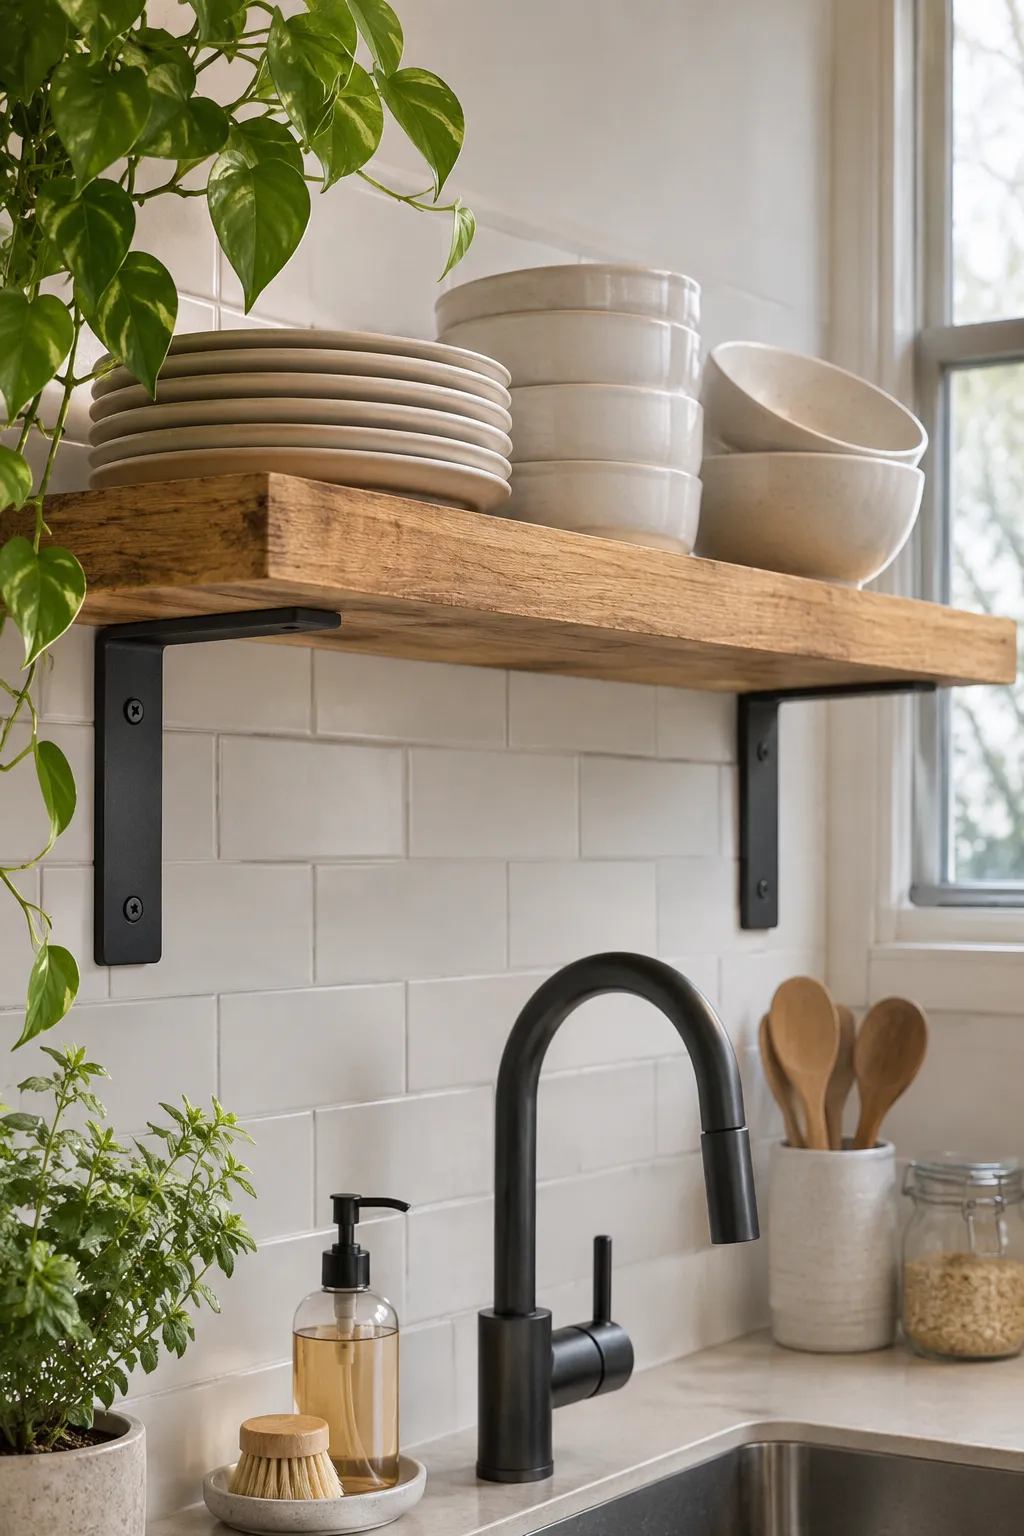
Floating shelves look cleaner. Bracket shelves hold more.
That’s most of the choice, and it matters more in a kitchen than in any other room, because a stack of dinner plates is surprisingly heavy. Floating shelves rely on a hidden rod inside the board, so they do best with light things. If you want plates and bowls up there, visible brackets screwed into the wall studs are the safer bet. They’re also easier to level when your walls aren’t quite straight, which in older apartments is most of the time.
Whichever you pick, find the studs first. A cheap stud finder costs less than one broken plate.
| Compare | Floating shelf | Bracket shelf |
|---|---|---|
| Look | Clean, no hardware showing | Brackets show, so match them to your faucet or handles |
| Holds best | Glasses, spice jars, a small plant | Plates, bowls, stacked mugs |
| Install | Trickier, needs studs and a dead level line | More forgiving and easy to adjust |
| Watch out | Can droop if you overload it | Chunky brackets look busy in a tiny room |
3. Keep Shelves Shallow and Hang Them Higher Than You Think
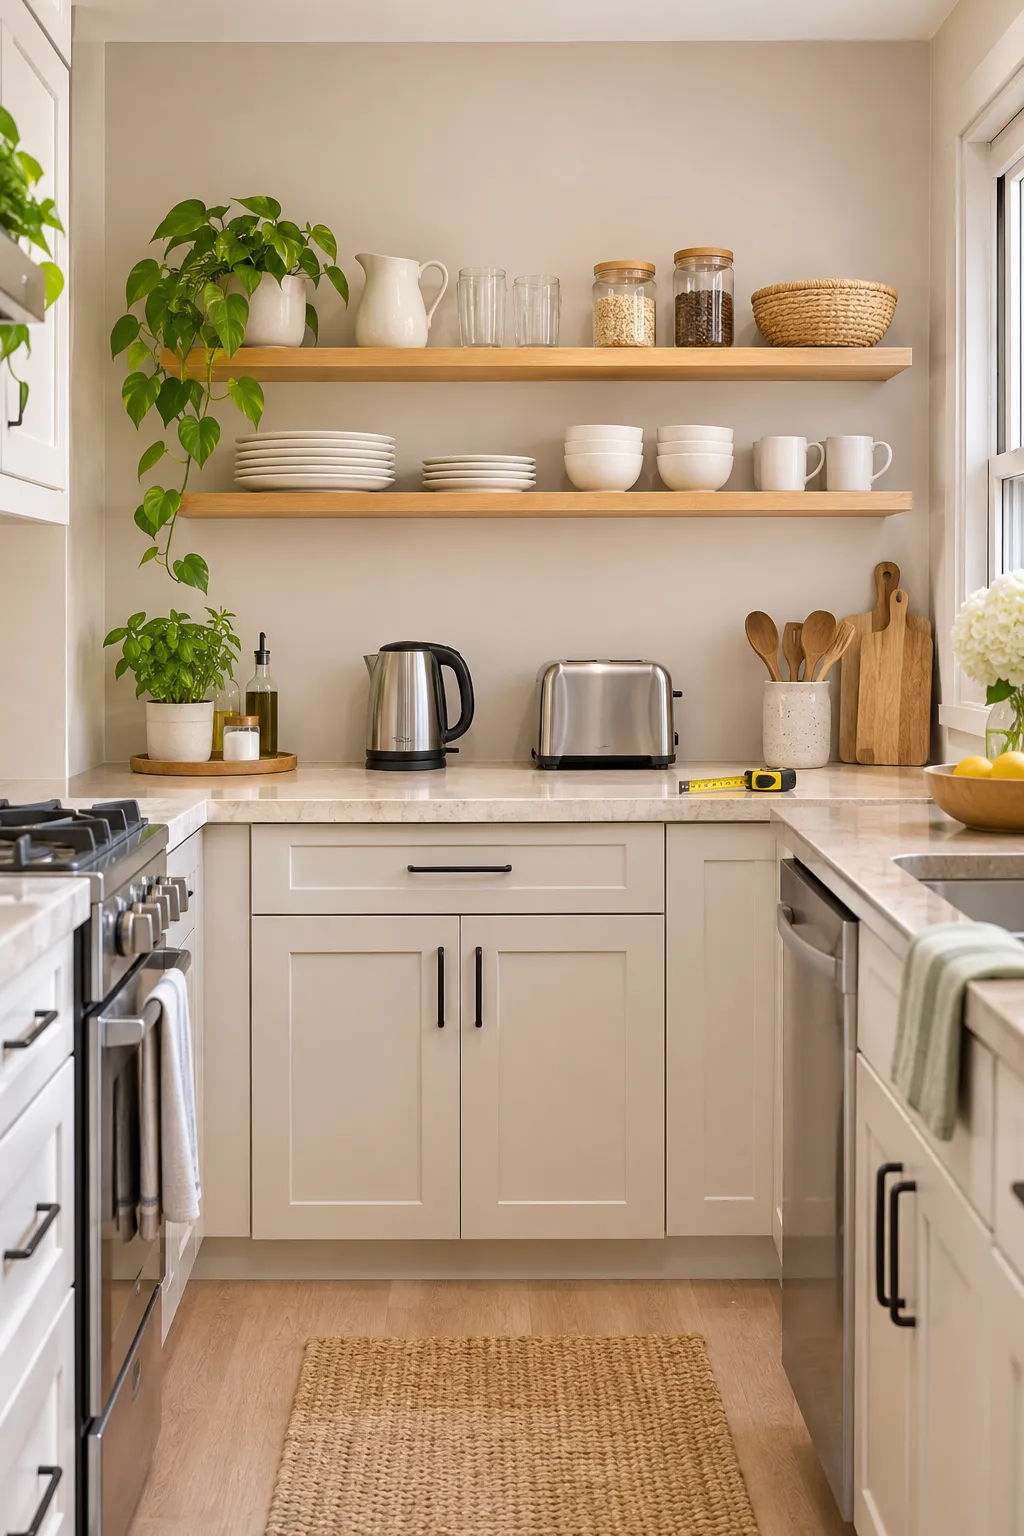
Here’s a simple rule: if a dinner plate fits, the shelf is deep enough. Go deeper and things drift to the back, get forgotten, and gather dust. A shallow board also keeps you from bumping your head when you lean over the counter to wipe it down.
Height matters just as much. The lowest shelf needs enough room for the kettle and toaster to sit underneath without crowding. The next one only needs space for your tallest everyday item plus a little breathing room.
Measure that tallest item before you drill. That number is your gap.
4. Run a Shelf Above the Window or Door Frame
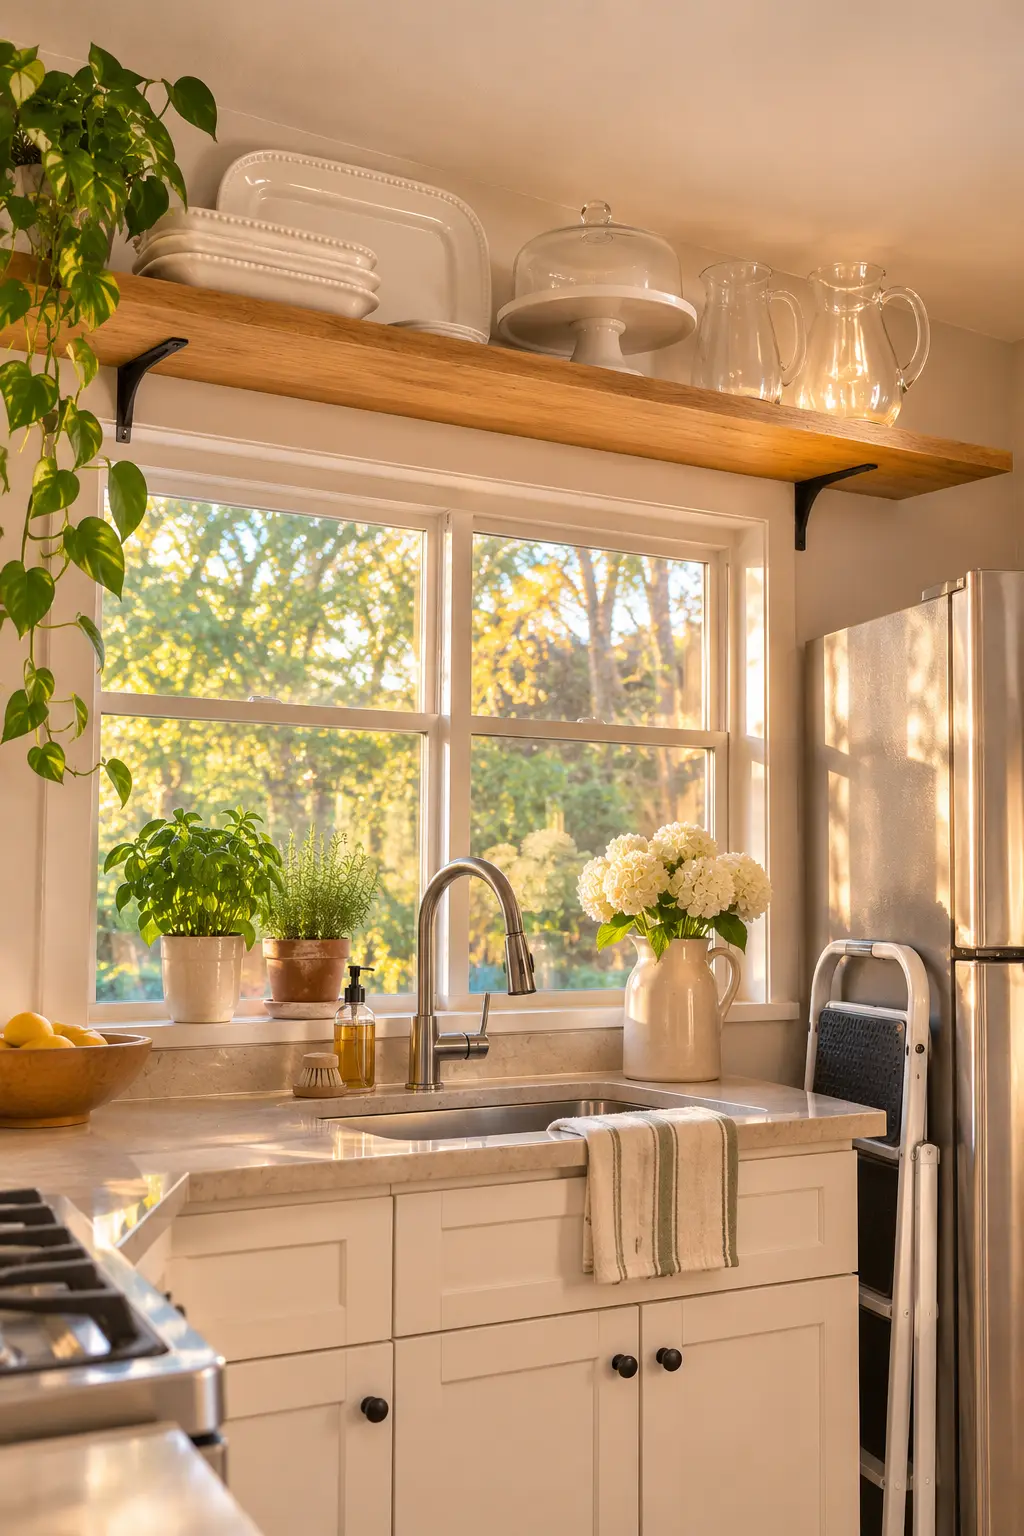
You use the cake stand maybe twice a year, yet it still takes up a whole lower cabinet. Move it up.
The strip of wall above a window or doorway is almost always empty, and one long shelf there can hold the slow movers:
- serving platters you only pull out for holidays
- a cake stand or big salad bowl
- spare pitchers and vases
Keep the heavier pieces near the ends, close to the brackets, and the light ones in the middle. A small folding step stool tucked beside the fridge is what makes this shelf usable instead of decorative.
📌 Good To Know
High shelves get dusty fast because nobody touches them. Flip bowls and pitchers upside down, or tuck small pieces into one lidded basket, so they only need a quick rinse before you use them.
5. Turn the Dead Corner Into Wraparound Shelves
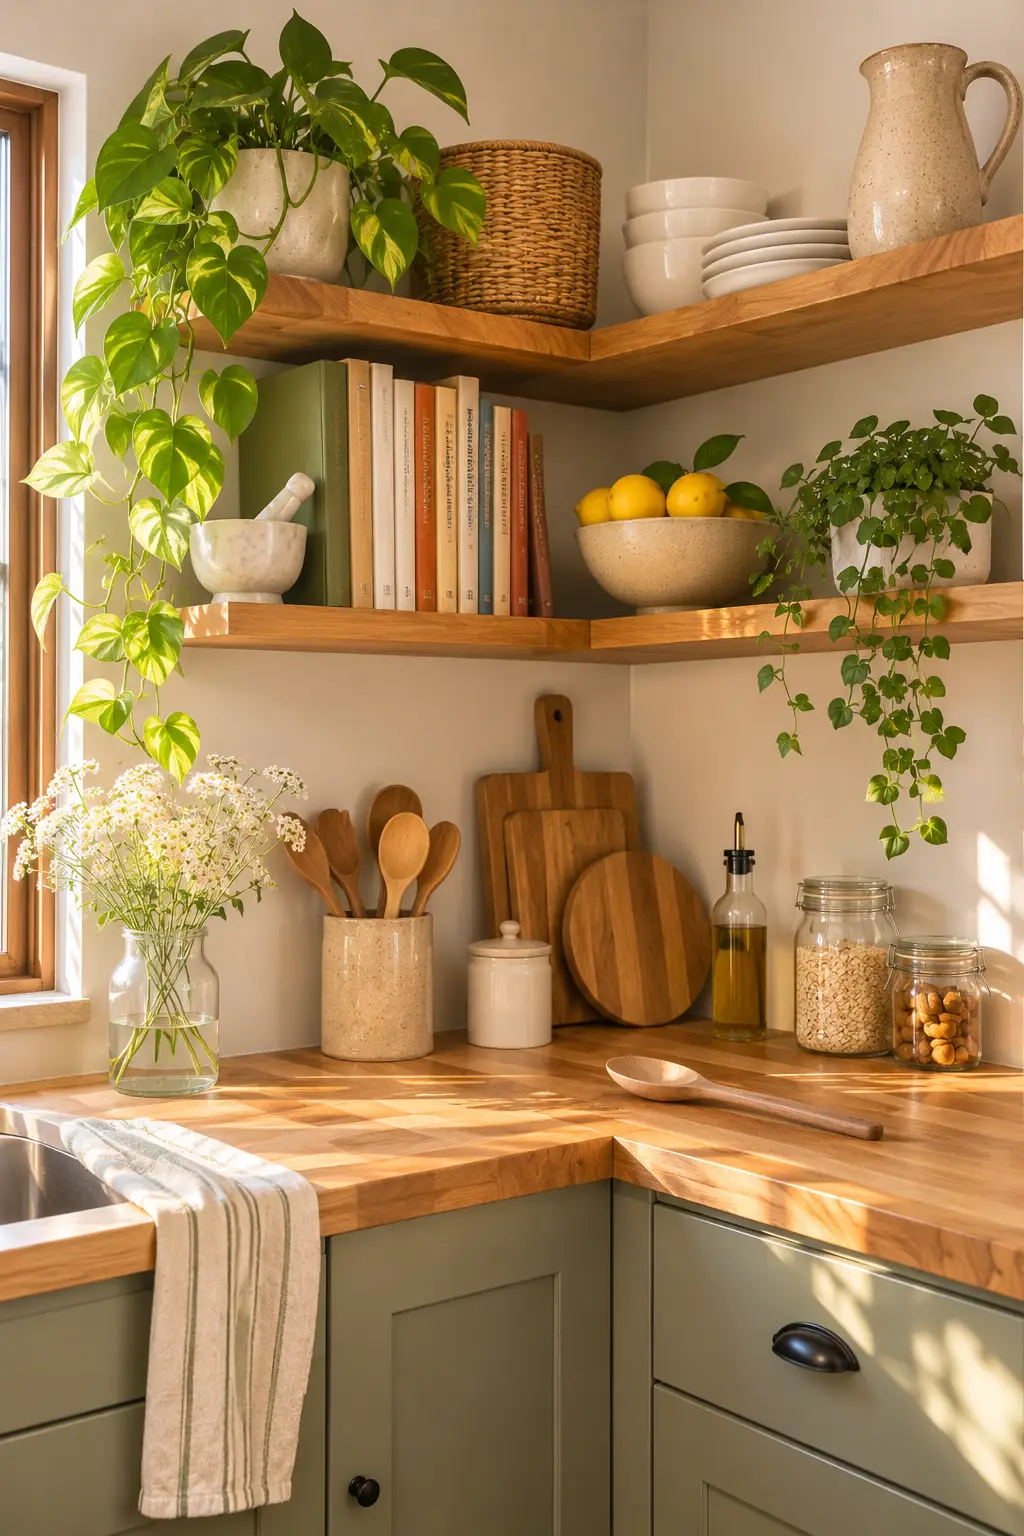
Look at the corner where two walls meet above your counter. In most small kitchens it’s an awkward gap, too tight for a cabinet door to swing open well, so it sits empty or holds one lonely spider plant.
Corner shelves put that space to work. Run two or three boards around the corner in an L shape, or use triangle shelves if the gap is narrow. Since the corner is a little out of the way, save it for things you look at more than you grab.
Skip big square boxes here. They always look jammed in.
6. Add a Narrow Shelf Stack to the End of Your Cabinet Run
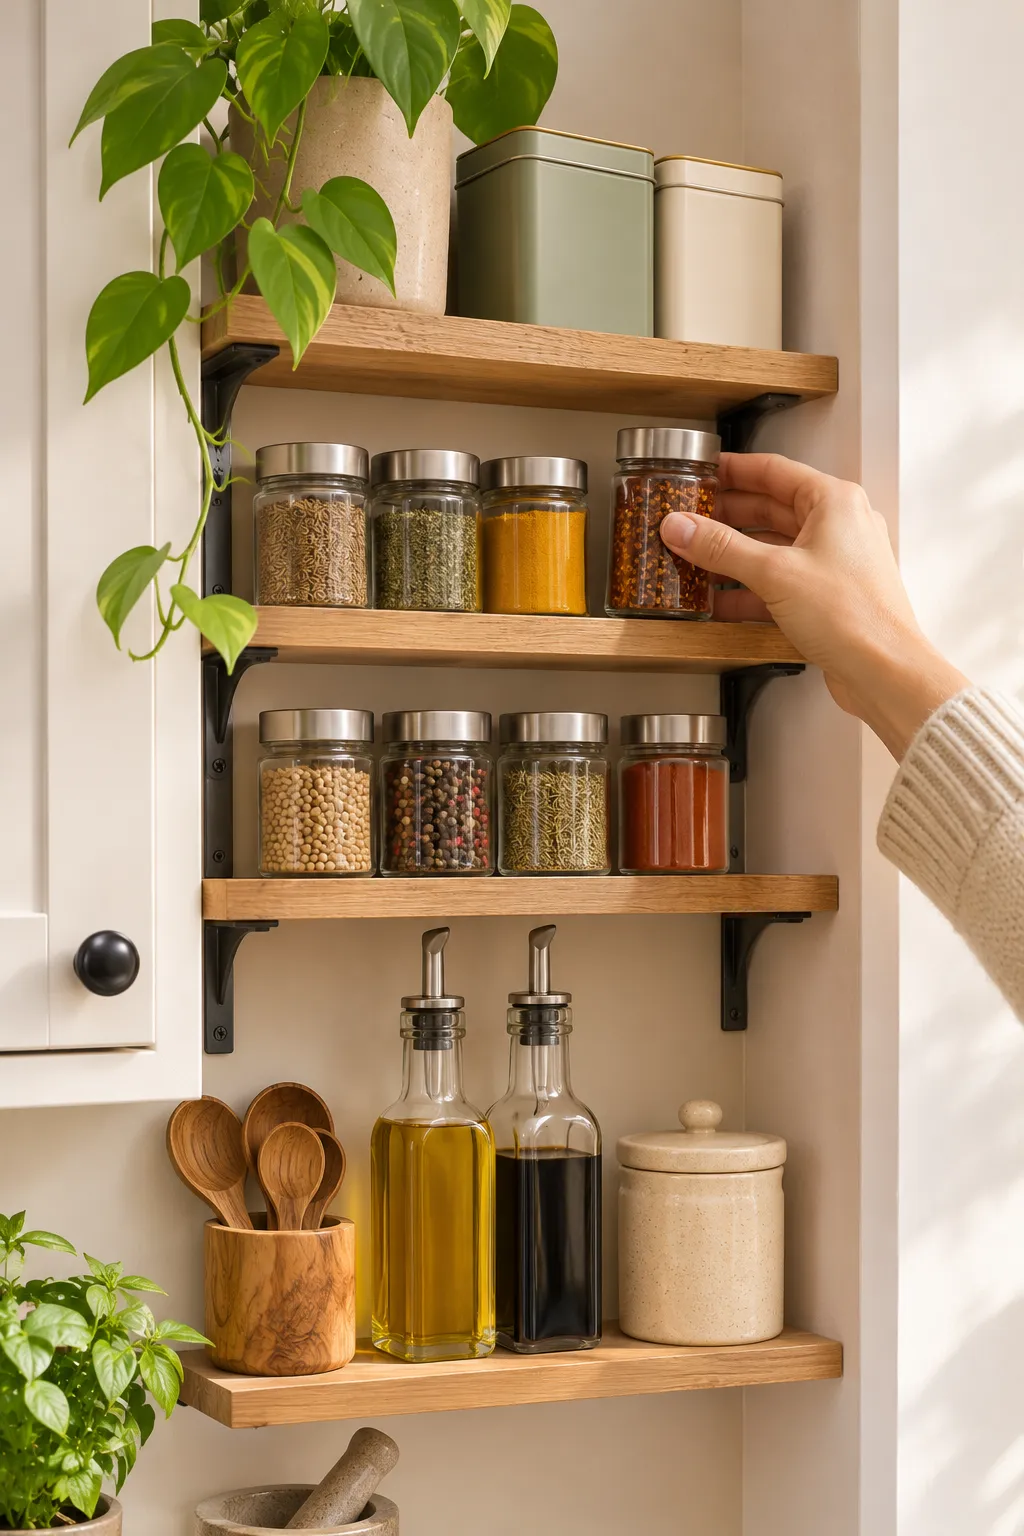
Measure the bare side of your last cabinet, or the skinny gap between the cabinet run and the wall. Even a space about as wide as your hand can hold a short stack of shelves.
Narrow shelves are made for the small things that crowd your counter:
- spice jars in a single row
- tea tins and the coffee bag
- olive oil and vinegar bottles
Keep each shelf one item deep, so nothing hides behind anything else. It’s the kind of storage guests don’t notice until they ask where you found the room.
Measure. Note the width and height of the gap, and knock on the cabinet side to check if it’s solid wood or a thin panel.
Mount. Space small boards to fit your tallest spice jar, and use short screws so nothing pokes through into the cabinet.
Load. One row per shelf, labels facing out, with the heaviest bottles on the lowest board.
7. Give the Shelf Near the Sink Only Your Everyday Dishes
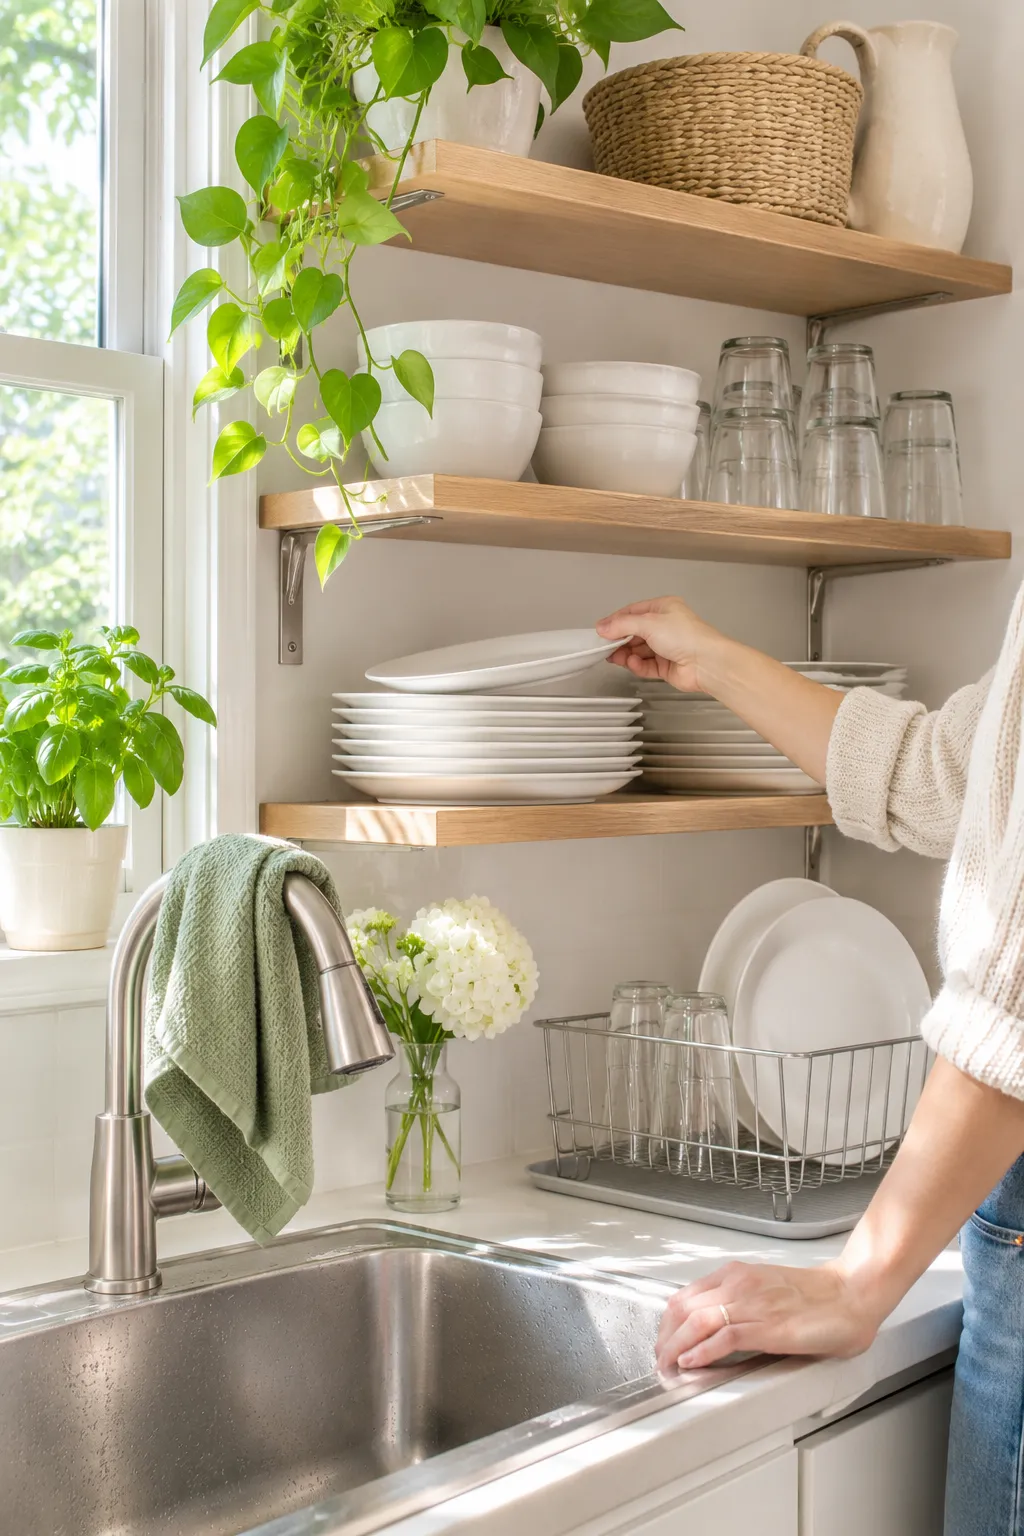
Open shelves don’t get grimy because they’re open. They get grimy because things sit on them untouched for weeks while steam and cooking grease drift past.
So store the dishes you use every day closest to the sink. Plates, bowls, and glasses that cycle through the dishwasher daily never stay up there long enough to collect a film. Used, washed, put back.
Save the slow movers for closed cabinets or the high shelf from idea 4. And if you have a choice, keep open shelves away from the wall right above the stove, where grease is heaviest.
Store glasses mouth down so dust can’t settle inside.
Wipe the shelf with warm soapy water whenever you clean the counter.
Holiday platters and display pieces right by the sink.
Paper napkins or cookbooks where steam rises every night.
8. Hang a Rail and S Hooks Under the Lowest Shelf
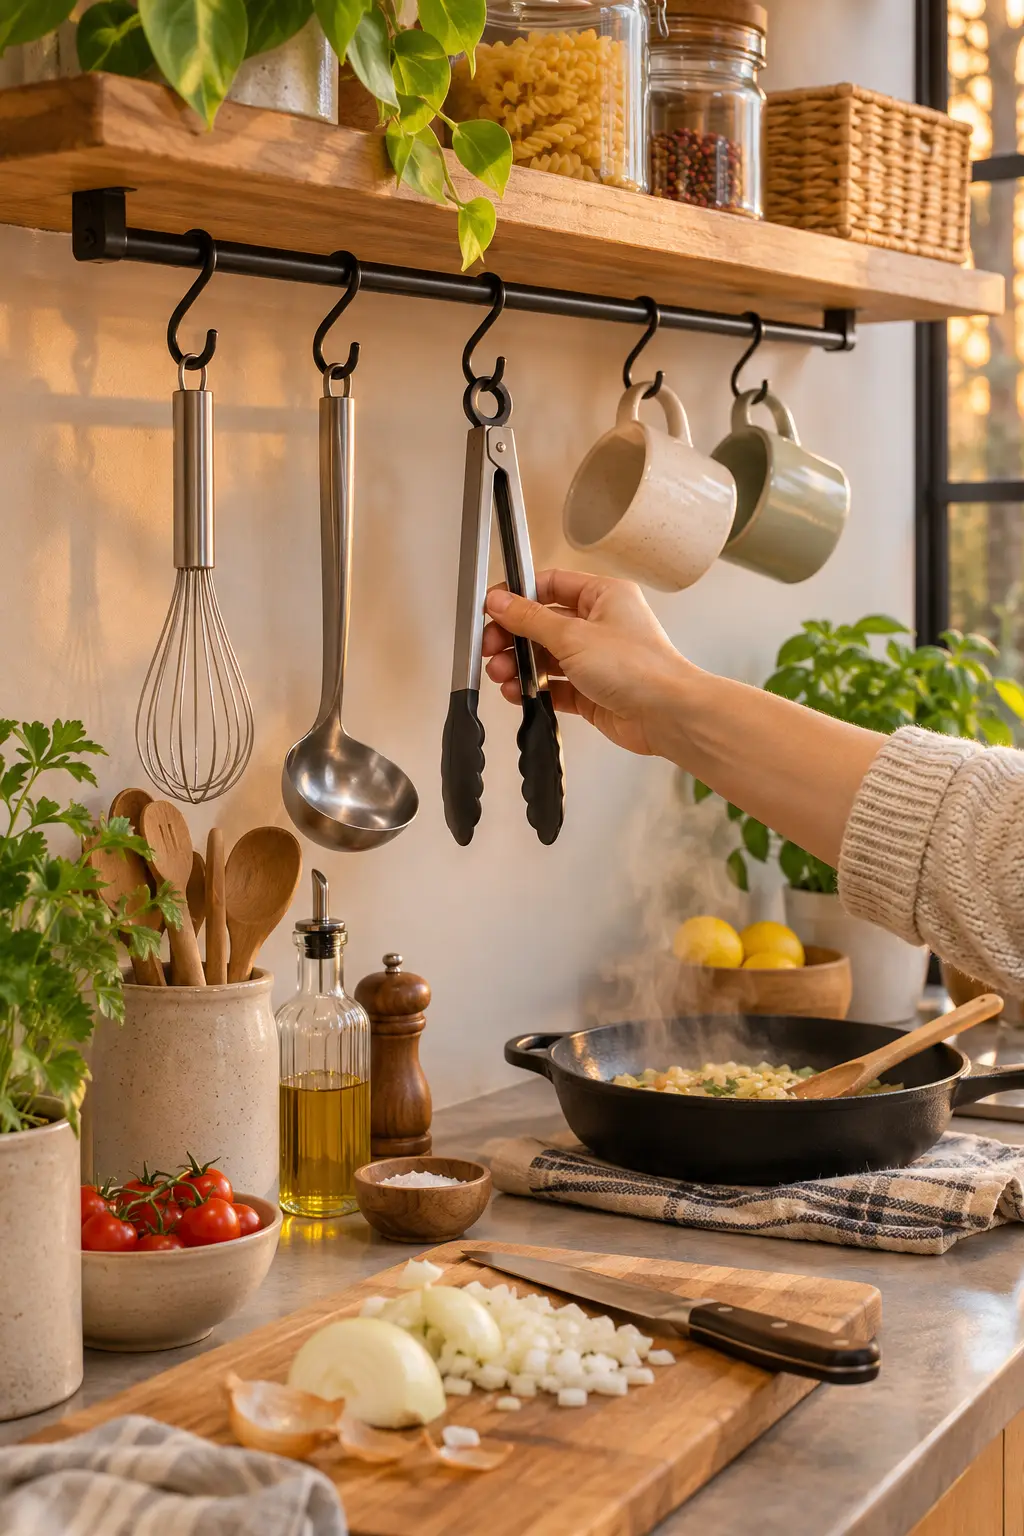
A thin metal rail under the bottom shelf can clear out half a utensil drawer. It turns the underside of the shelf, a spot nobody ever uses, into hanging storage.
Hang the tools you grab mid cooking, like the whisk, ladle, and tongs, plus a couple of mugs if the rail sits near the coffee spot. They stay in sight, so you stop digging through a jammed drawer with one hand while the onions burn.
Leave enough room under the rail for a hand and a mug to slide through. Six hanging tools look handy. Fifteen look like a hardware store.
What to grab first
9. Edit Your Shelf Dishes Down to Two Colors
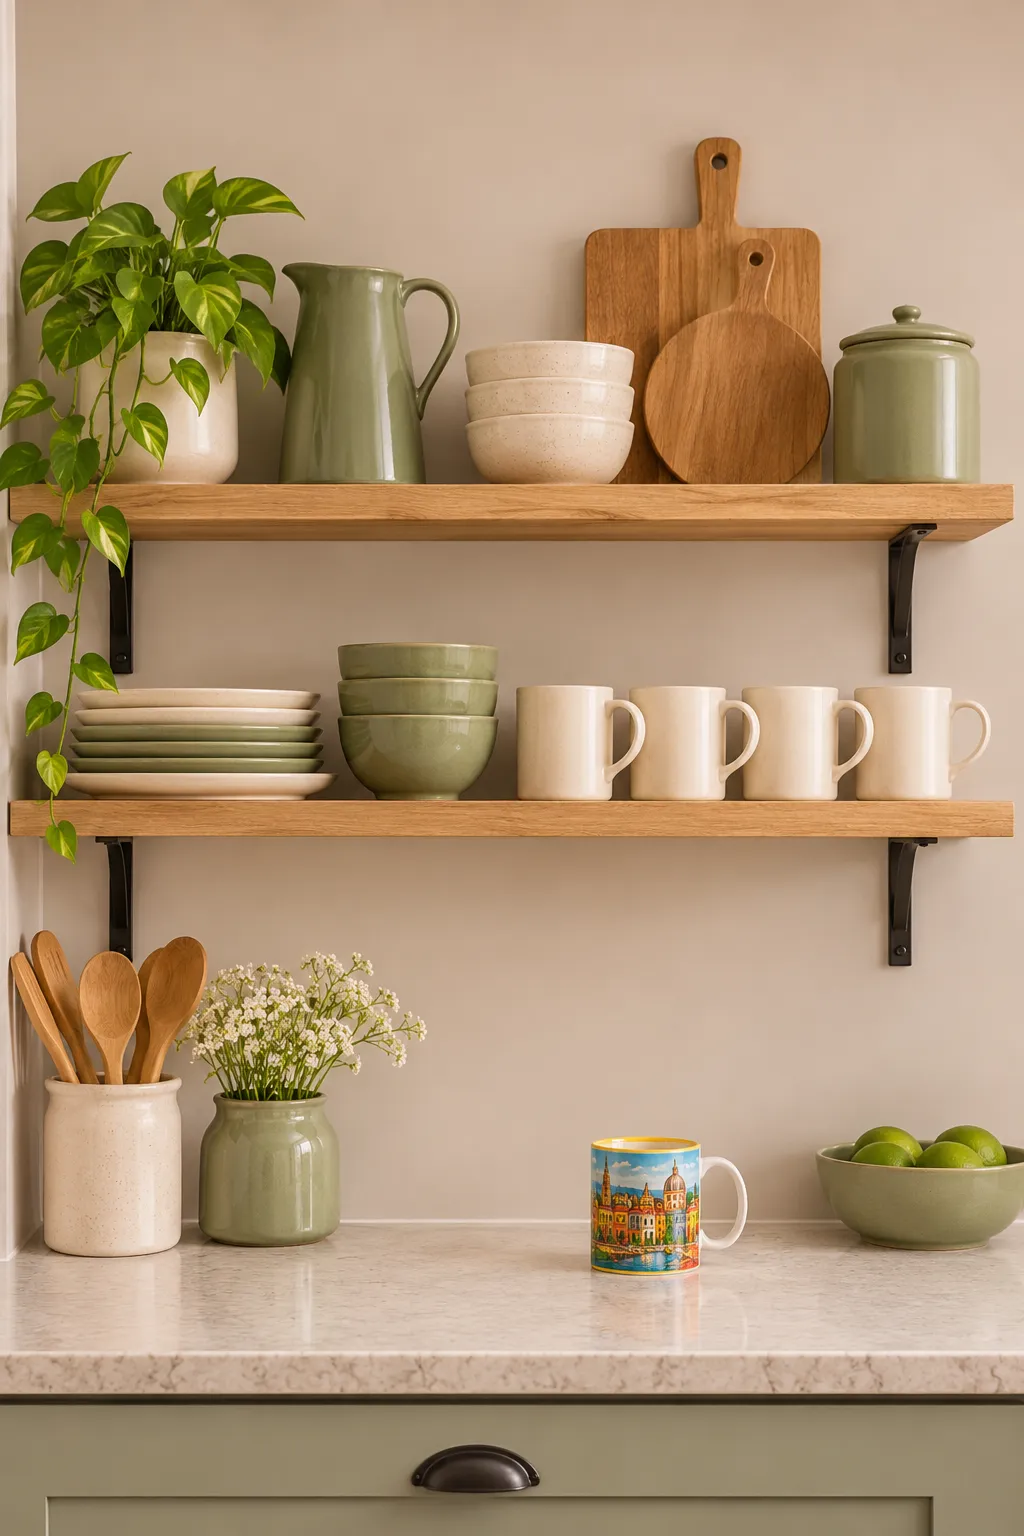
Most shelves that look calm in photos aren’t full of special pieces. They just aren’t showing nine different colors at once.
Pick two colors for everything that lives on the open shelves, and count wood or clear glass as a free bonus. Pull out the mugs that don’t fit and move them into a closed cabinet. Nothing needs to be thrown out, and nothing new needs to be bought.
The bright souvenir mug can still come out every morning. It just doesn’t have to live where everyone sees it.
10. Renting? Try a Freestanding Open Shelf Unit Instead
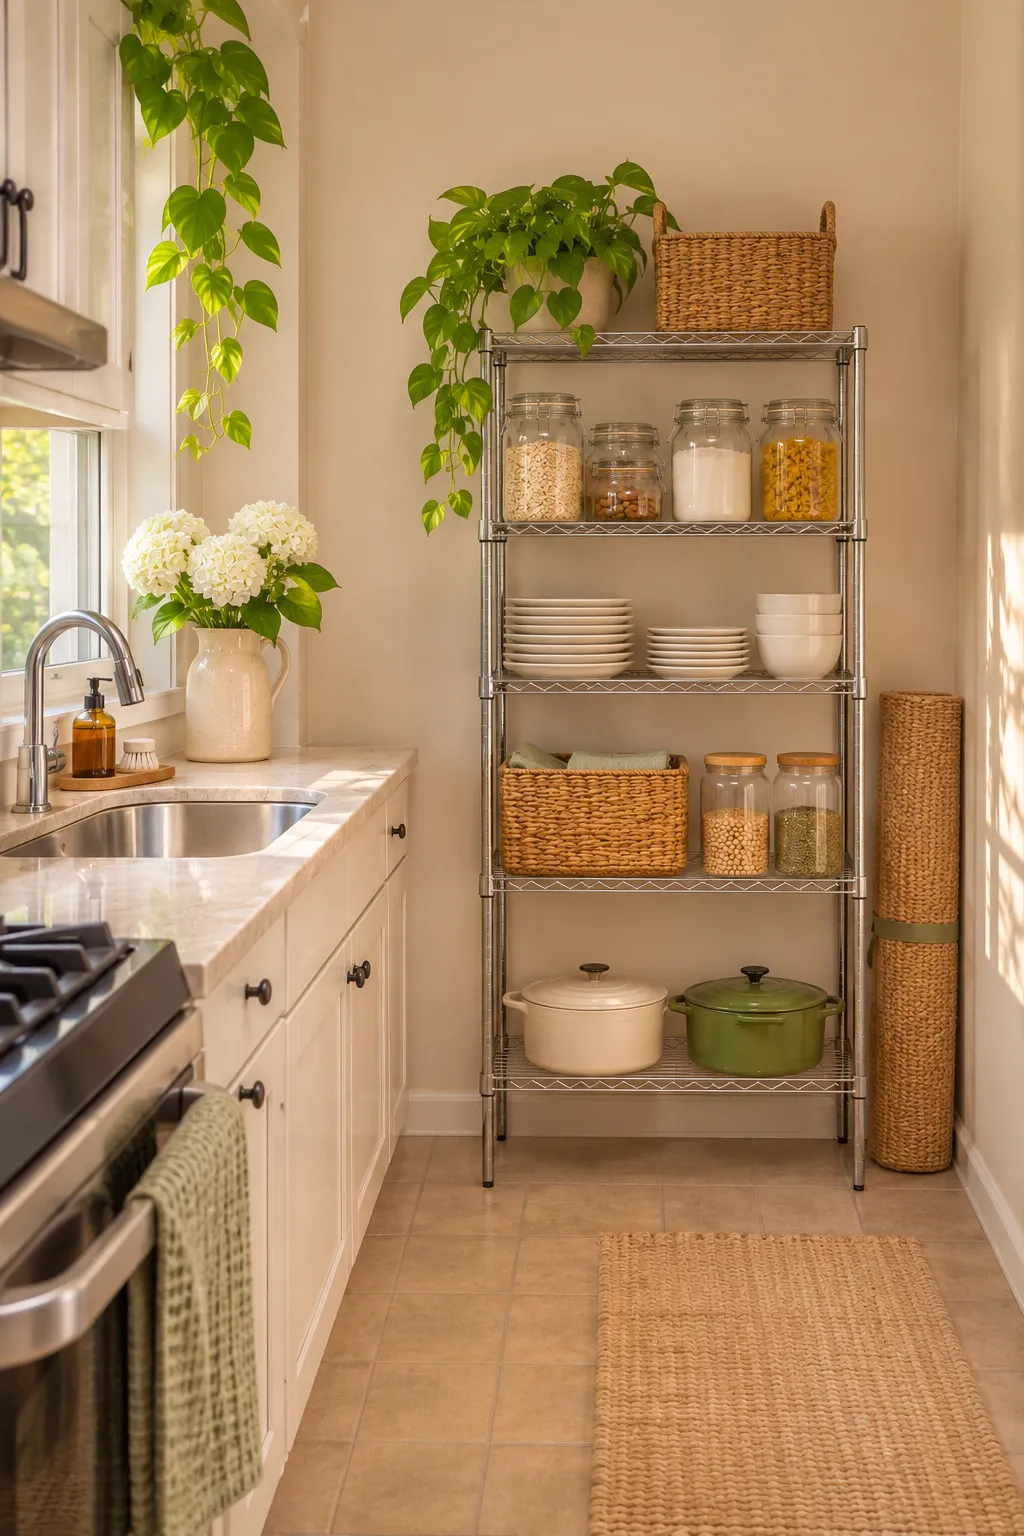
A lease that says no holes in the walls rules out most of these ideas. It doesn’t rule out open shelving.
A freestanding unit gives you the same look with almost no drilling. A slim metal baker’s rack, a narrow bookcase with no back panel, or a wooden ladder shelf can all sit against a bare wall or at the end of the counter. Choose one shallow enough that it doesn’t block the walkway.
Tall units should still be anchored with an anti-tip strap. That takes one small screw, which is easy to patch on move out day.
| Compare | Freestanding unit | Wall rail system |
|---|---|---|
| Holes | None, except a tip strap on tall units | A few screws along one rail |
| Uses up | Some floor space | Wall space only |
| Moving out | Carry it out whole | Unscrew one rail, patch, done |
| Best for | A free wall or the end of the counter | Kitchens with no floor to spare |
11. Leave a Third of Every Shelf Empty
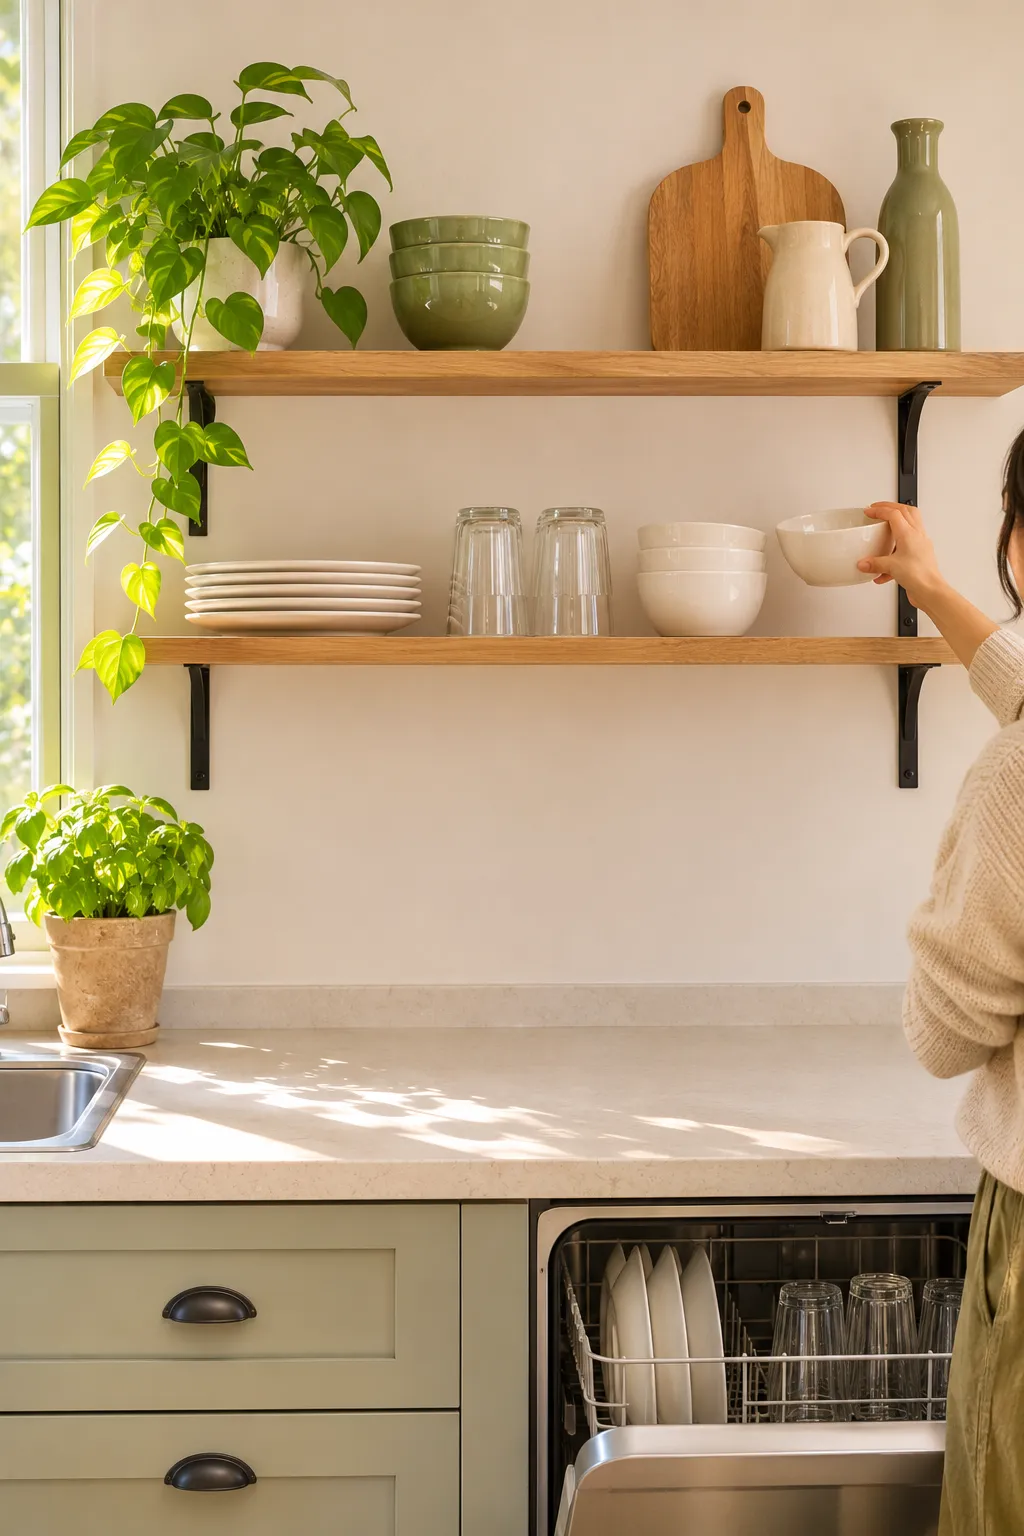
A clean bowl comes out of the dishwasher and there’s no spot for it. So it sits on the counter. Then another one joins it.
That’s what a packed shelf does. Leaving about a third of each shelf empty gives clean dishes somewhere to land, and that open space is what makes a shelf look styled instead of stuffed.
A quick way to check yours:
- Can you put something back with one hand?
- Can you see the wall between groups of items?
- Does every shelf have at least one clear spot?
Any “no” means one stack comes down today.
Empty space on a shelf isn’t wasted. It’s the landing spot that keeps clean dishes off your counter.
12. Stick an LED Strip Under the Shelf You Work Beneath
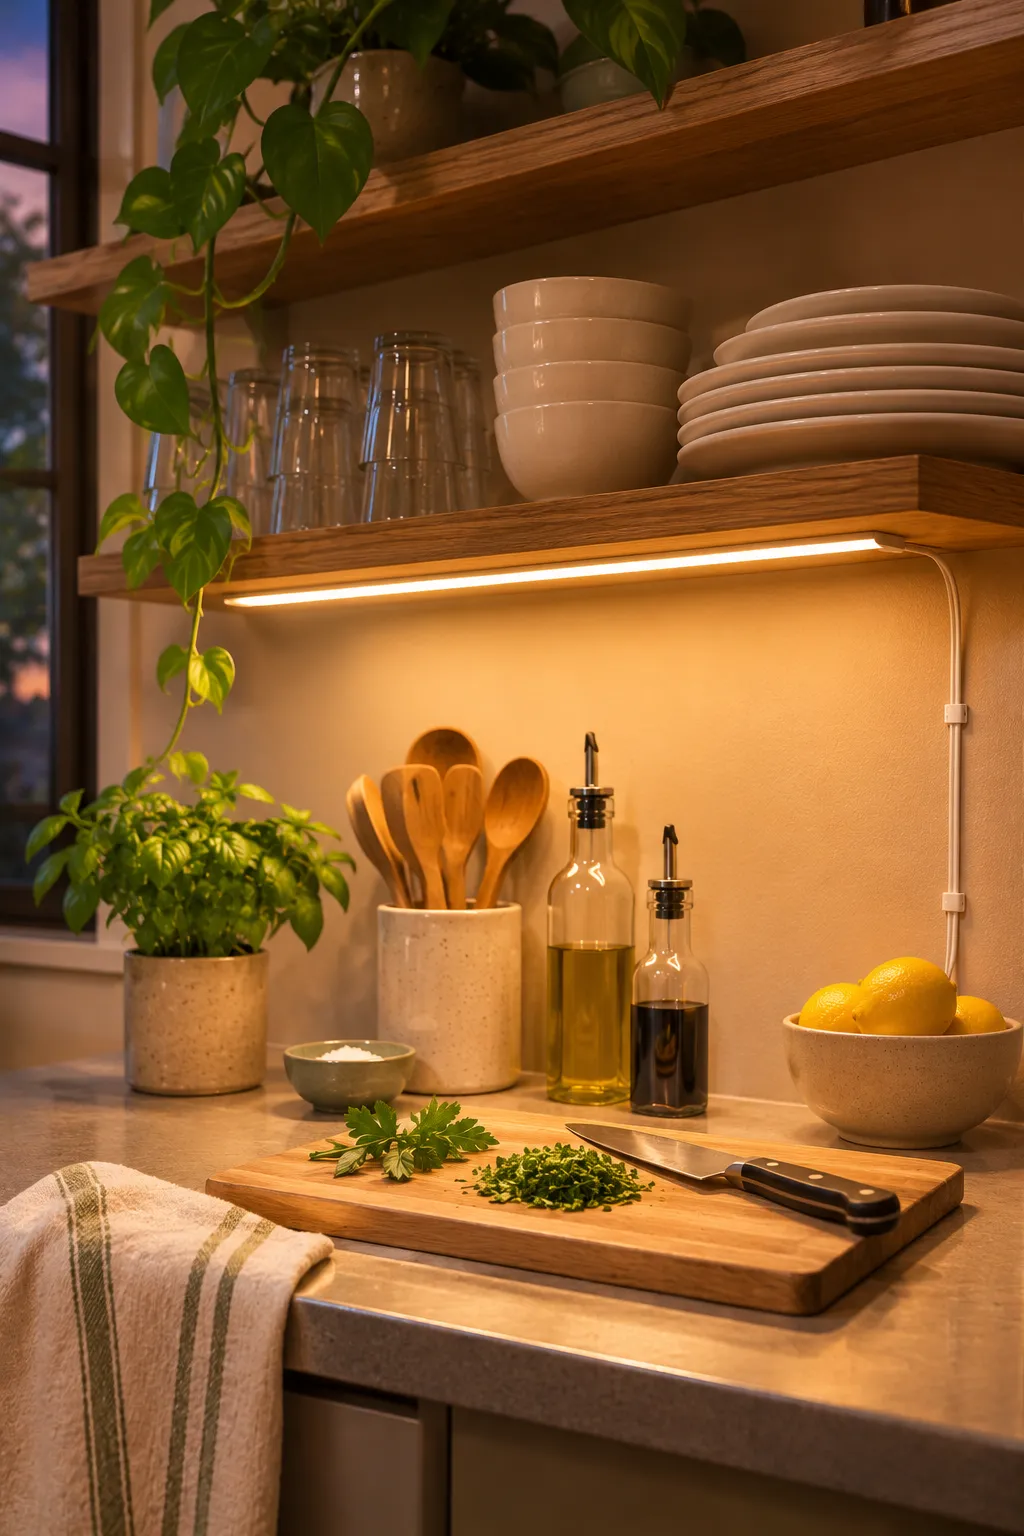
Upper cabinets often hide a light underneath. Open shelves almost never do, so the counter below ends up in your own shadow while you chop.
A plug-in LED strip fixes that in an afternoon. Stick it to the underside of the shelf near the front edge, so the light falls on the cutting board instead of the backsplash. Warm white looks softer on wood and dishes than a cool, bluish tone.
Run the cord down the side of the shelf with small clips and keep the plug well away from the sink. Renters, this one needs zero holes.
What to pick up
Open shelves don’t need a full renovation or a matching set of everything. A single swapped cabinet, a shallow board at the right height, and a little empty space can make a cramped kitchen feel lighter and easier to cook in.
Start with the change that fixes your biggest daily annoyance. Maybe that’s the mugs that never have a home, or the dark stretch of counter where you chop. Live with it for a couple of weeks, then add the next one.
That slow, edit as you go approach is what keeps an open shelving small kitchen looking good long after the first photo.
Save this list for the next time your counters start to feel crowded.