
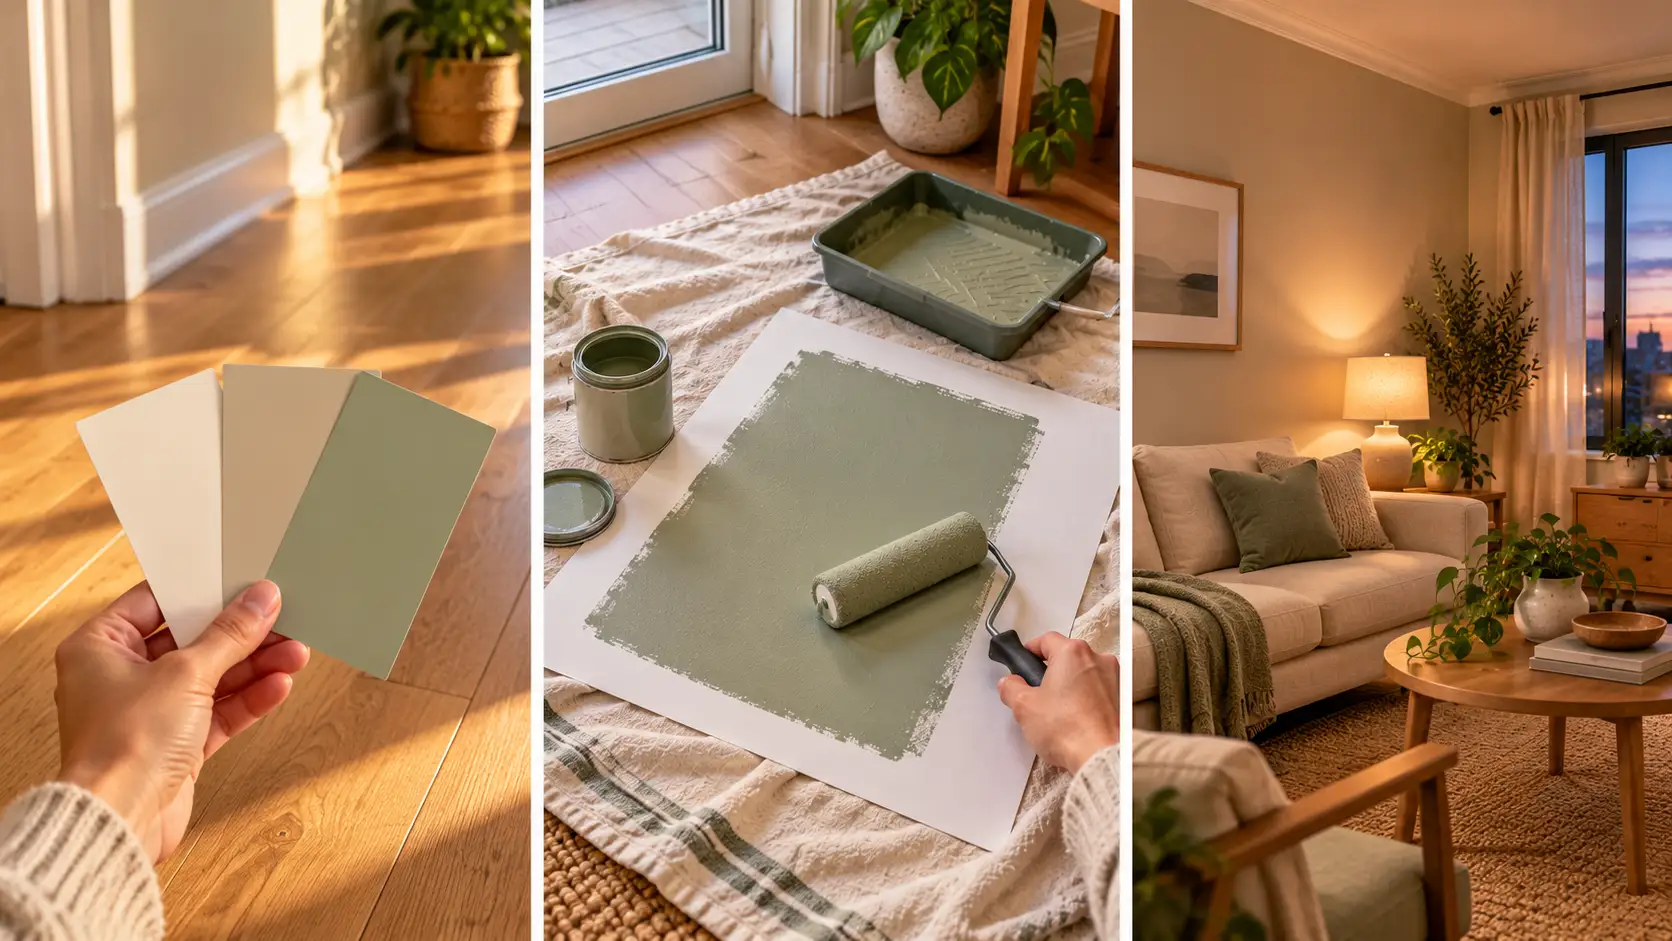
You picked a soft white for your living room because it looked bright and fresh at the store. Then you brought the chip home, and on your wall it turned into a flat, sad gray. This happens to almost everyone who rents a place with small windows or a view of the building next door. Your taste is not the problem. Most people pick paint colors for dark rooms the same way they would for a sunny room, and low light changes how every color looks.
This guide shows you how to read the light in your apartment, check the hidden numbers on the back of a paint chip, and test your top picks without putting a drop of paint on your walls. By the end, you will know which color to buy and why it will work in your space.
The hands-on part takes about two hours, spread over a few days. Most of that time is waiting and looking, because you need to see a color in morning light, afternoon light, and lamp light before you can trust it. You won’t need any painting skills yet. Grab a notebook and your phone, and start with the one thing every renter has to do first.
- Your lease or landlord’s email
- Phone with a compass app
- Notebook and pen
- 10 to 15 free paint chips
- 3 sample pots (about 8 oz each)
- 3 white poster boards (22 x 28 inches)
- 2-inch foam brush or 4-inch mini roller
- Painter’s tape
- 1 sheet of plain white printer paper
- Old towel or drop cloth
- Get written permission from your landlord
- Find your window direction
- Check the light morning, midday, and night
- Read the Kelvin number on your bulbs
- Pick a warm or cool undertone
- Narrow your chips by LRV
- Compare chips to floors, trim, and furniture
- Buy three sample pots
- Paint samples onto poster boards
- Test the boards around the room for 2 days
- Choose an eggshell or satin finish
1. Get your landlord’s okay in writing before you shop
Many leases allow paint only with permission, and some ask you to repaint the original color before you move out. Send your landlord a short email asking if you can paint, and which rooms. A written yes protects your security deposit if a new manager takes over later. While you wait for a reply, keep going. Steps 2 through 10 cost almost nothing and never touch your walls.

A spoken “sure, go ahead” from the building super is easy to forget or deny. If your lease says no alterations, painting without written approval can cost you part or all of your deposit.
2. Find out which direction your windows face
Window direction decides the color of your daylight, and that light tints every paint on your walls. Stand at your main window, open the compass app on your phone, and point the top of the phone straight out the glass. Write the direction in your notebook. Here is what it means:
- North: cool, bluish light all day
- South: warm, bright light most of the day
- East: warm in the morning, dim by afternoon
- West: dim in the morning, warm and golden by evening
No compass app? Notice where the sun sets. That side is west.
3. Watch how the light changes at three times of day
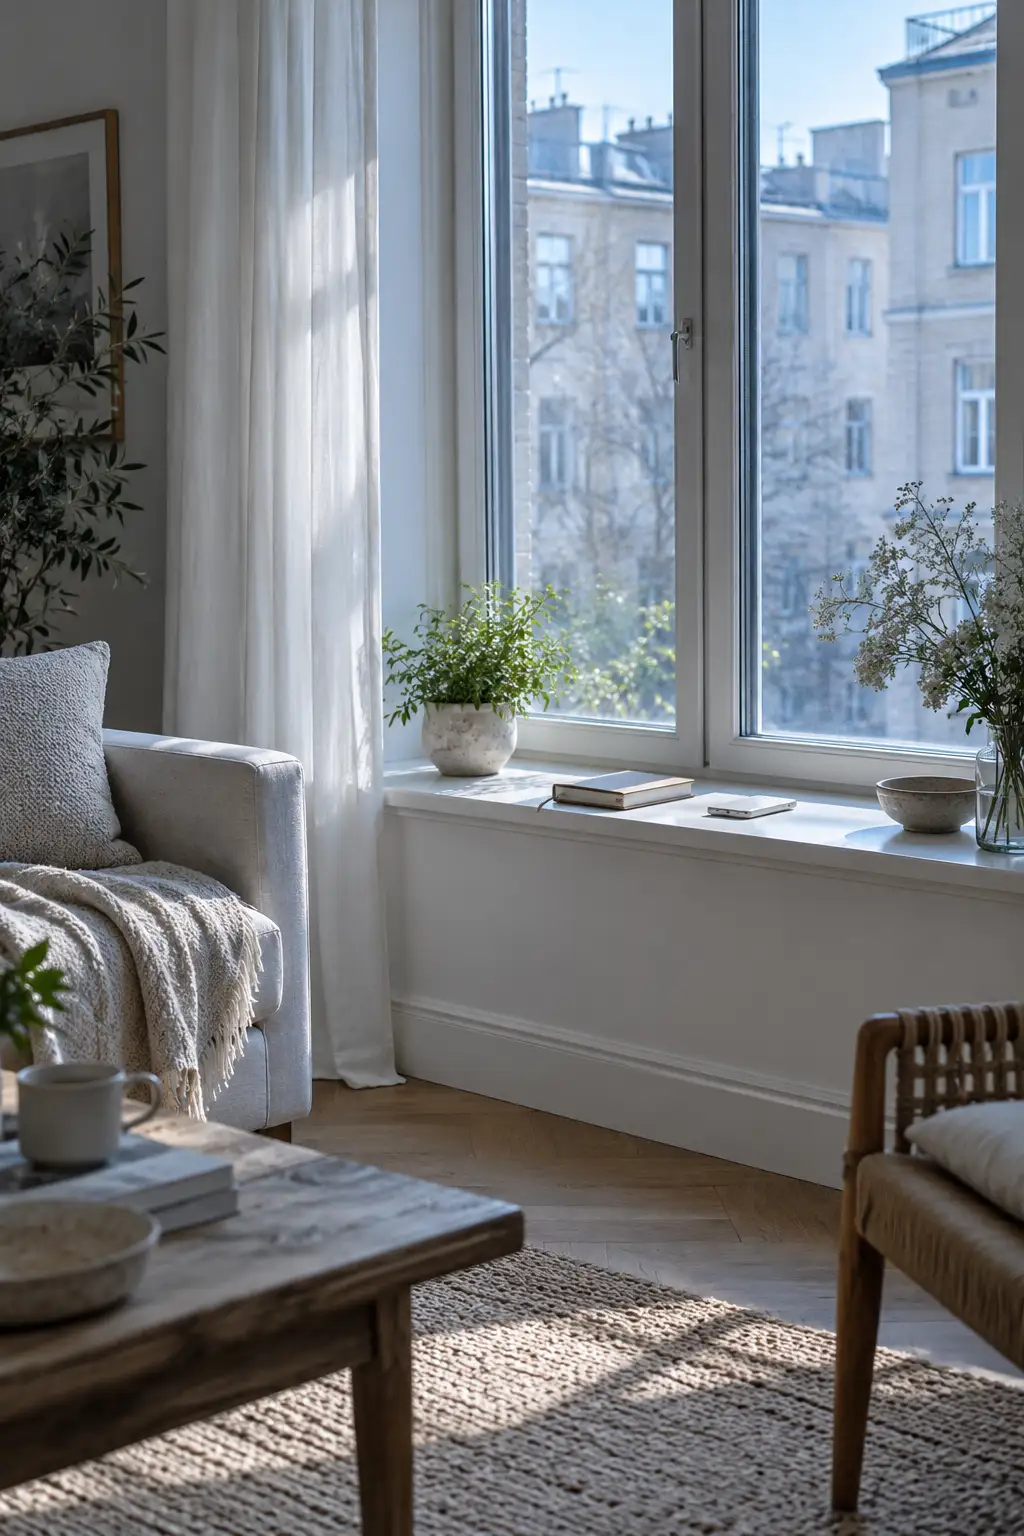
Three check-ins are enough: around 9 a.m., 1 p.m., and 7 p.m. Each time, stand in the doorway and write down two things. Does the room feel bright, dim, or dark? Do the shadows look blue or golden? A color that looks fine at noon can turn muddy by evening. If you work away from home all day, your 7 p.m. note matters most, because that is when you actually see the room.

4. Check the Kelvin number on your light bulbs
If your room gets little daylight, your bulbs do most of the work. Look for a number ending in “K” printed on the base of each bulb or on the box. It tells you the color of the light:
- 2700K: warm and yellow
- 3000K: soft white
- 4000K: neutral to cool
- 5000K: bright and bluish
Write down the number for every lamp in the room. The same paint can look creamy under 2700K and cold gray under 5000K. Numbers worn off? Hold the white printer paper under the lit bulb. A yellow glow means warm, a blue tint means cool.
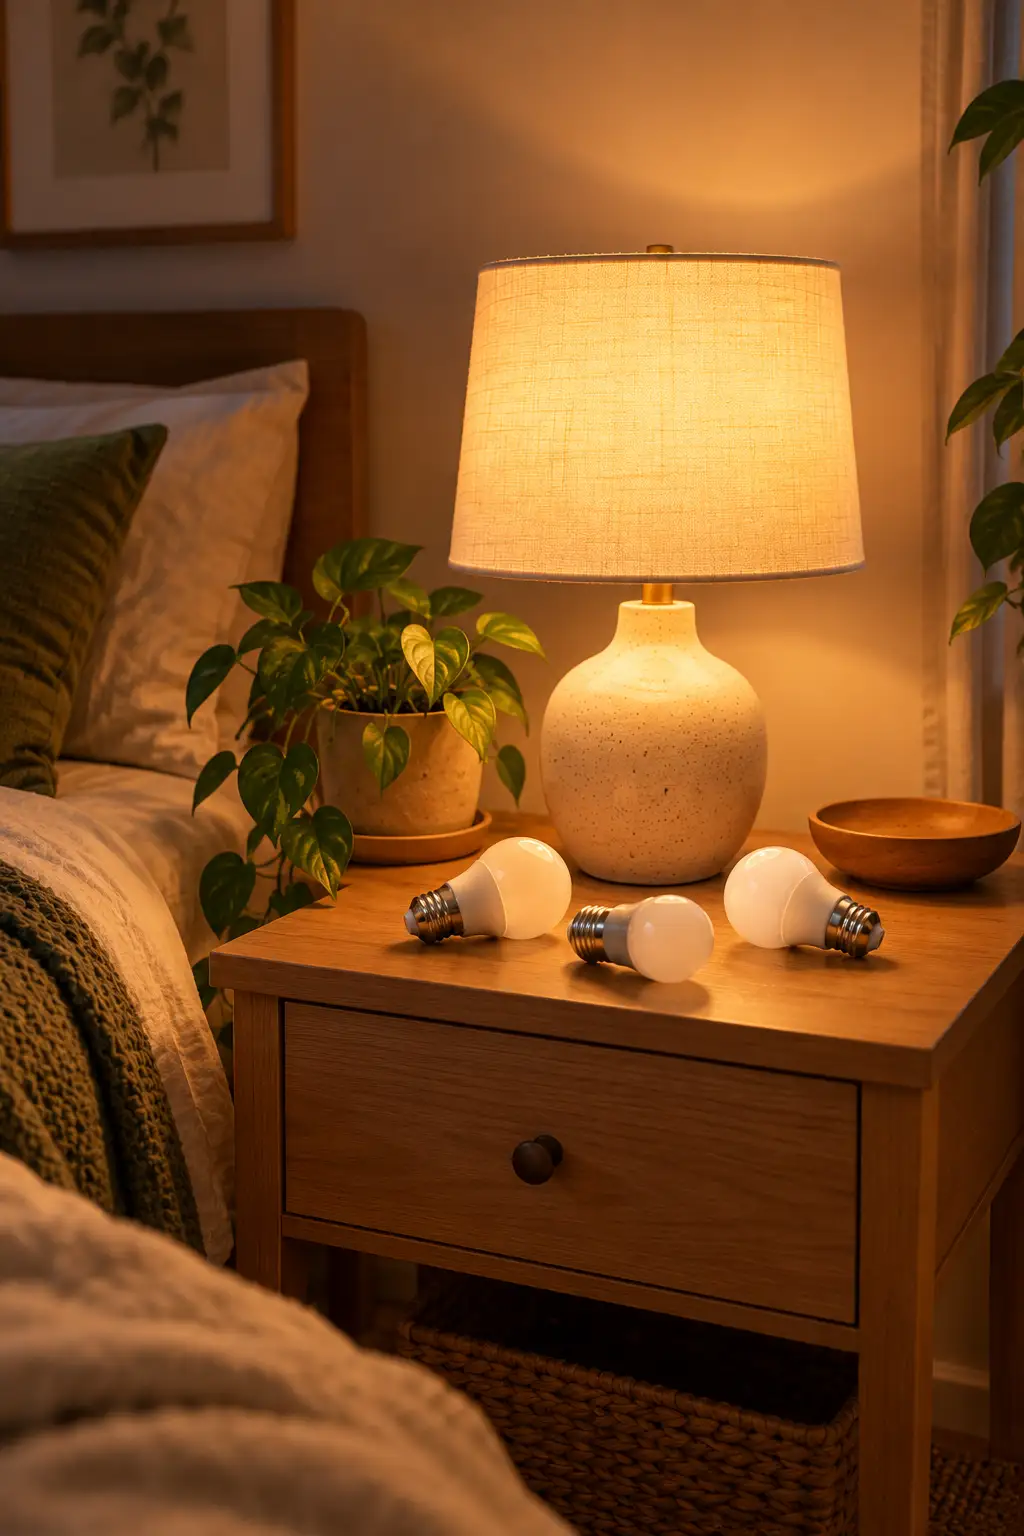
Use one Kelvin number for the whole room. Mixed bulbs make the same wall look like two different colors. For most dark rooms, 2700K to 3000K feels the coziest.
5. Choose a warm or cool undertone to match your window light
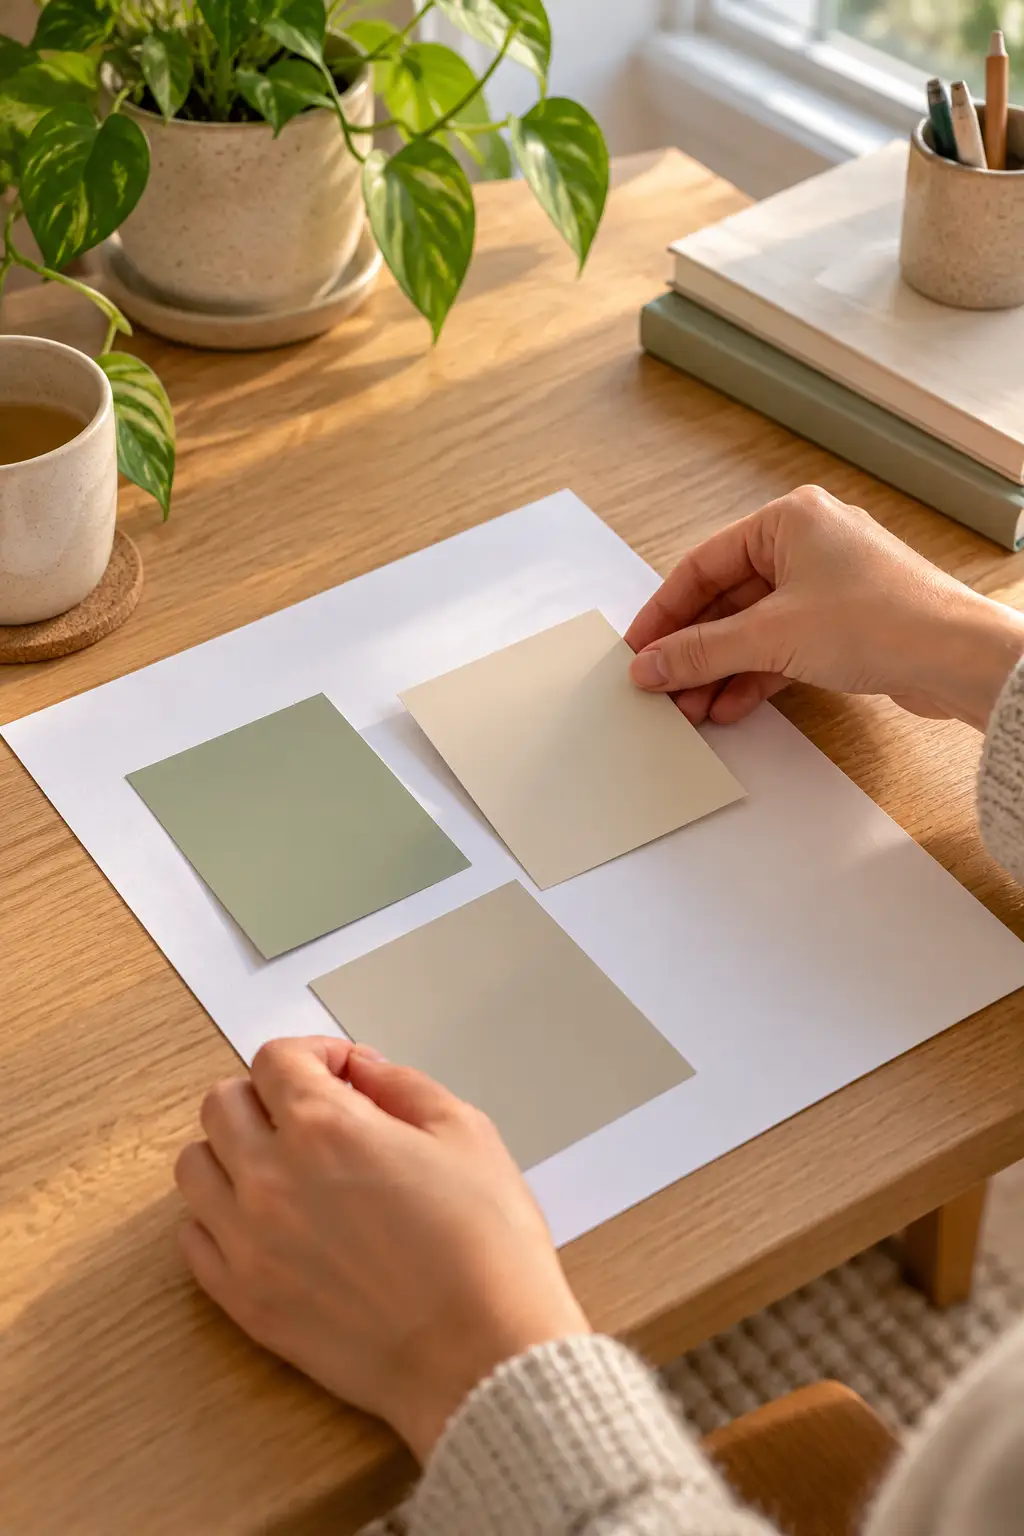
Every color hides a second tint inside it. Lay each chip on the white printer paper and that tint shows up as a hint of yellow, pink, green, or blue. North-facing and dim rooms need warm undertones like yellow, peach, or soft red to cancel out the cool light. South-facing rooms can handle cool or neutral ones.
6. Narrow your paint colors for dark rooms by LRV
Somewhere on the back of each chip is a number between 0 and 100. That is the LRV, or Light Reflectance Value. It tells you how much light a color bounces back into the room. Black sits near 0. Pure white sits near 100.
For a dark room, keep chips with an LRV of 60 to 80. Anything under 50 soaks up what little light you have. Here is the part that surprises people: very bright whites above 85 often look gray in low light, because there isn’t enough light for them to bounce. Set aside every chip outside the range until you have 3 to 5 left.
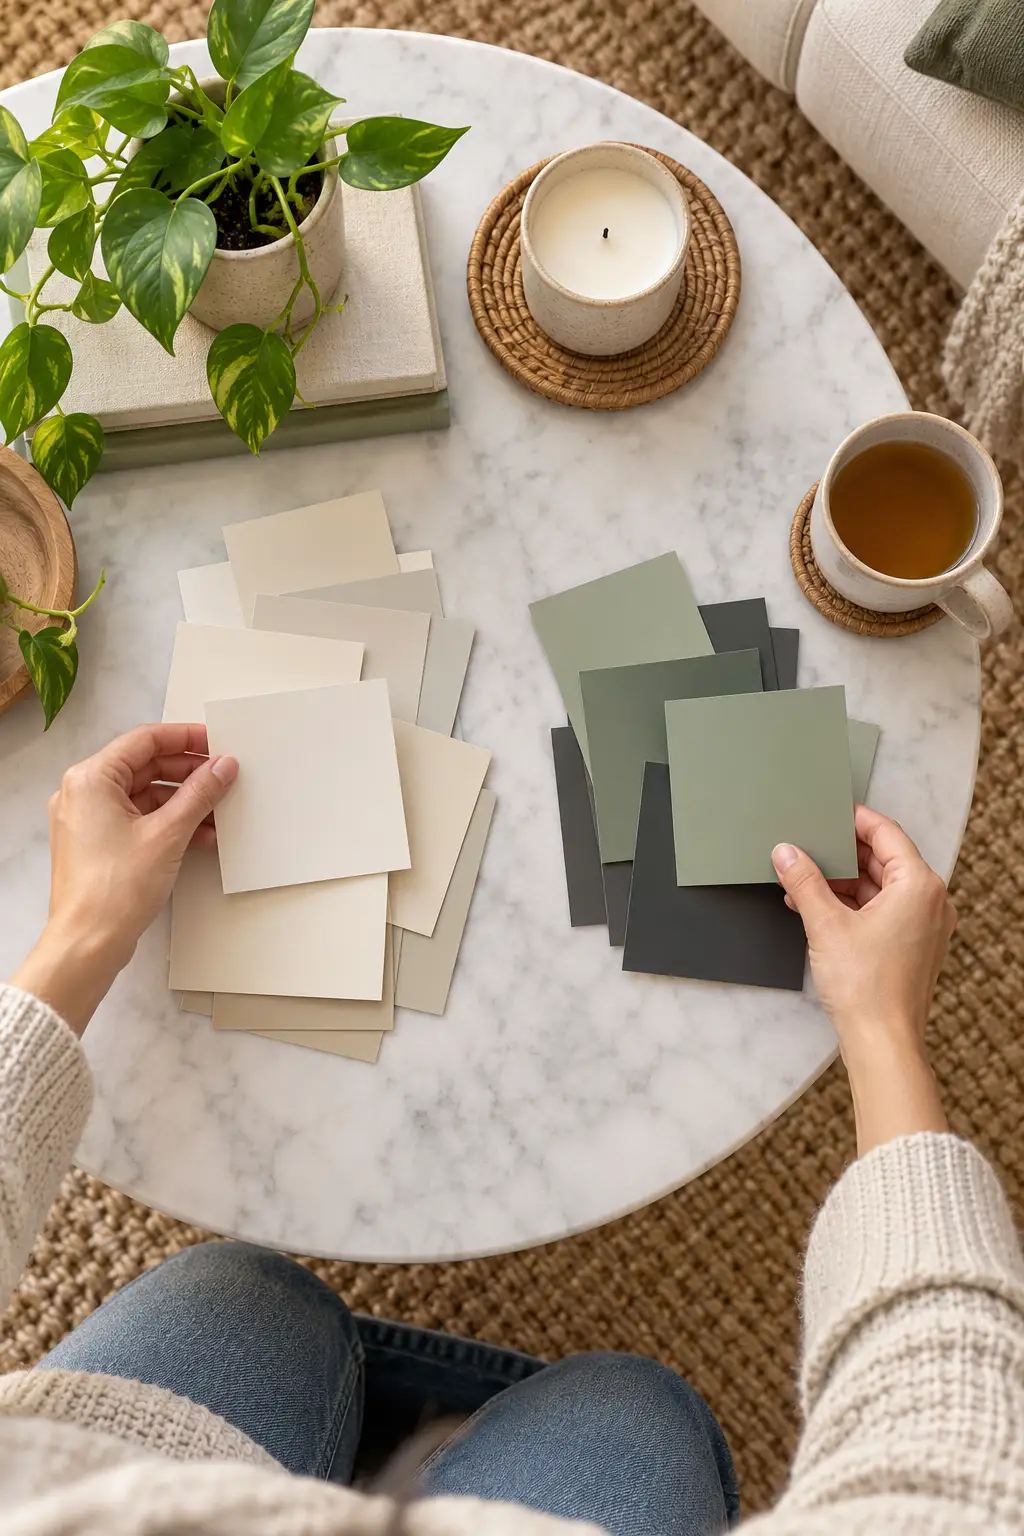
No LRV on the chip? Search the color name plus “LRV” on the paint brand’s website. Most big brands list it on each color’s page.
7. Hold the chips next to your floors, trim, and biggest furniture
Your floor, door trim, and kitchen cabinets are staying no matter what color you pick. As a renter, you can’t change them, so the paint has to get along with them. Take your 3 to 5 chips to each of those spots, plus your sofa or bed. Orange-toned wood floors can make pinkish beiges look rosy. Gray vinyl floors can make yellow creams look dingy. Cut any chip that clashes, and keep your top three.
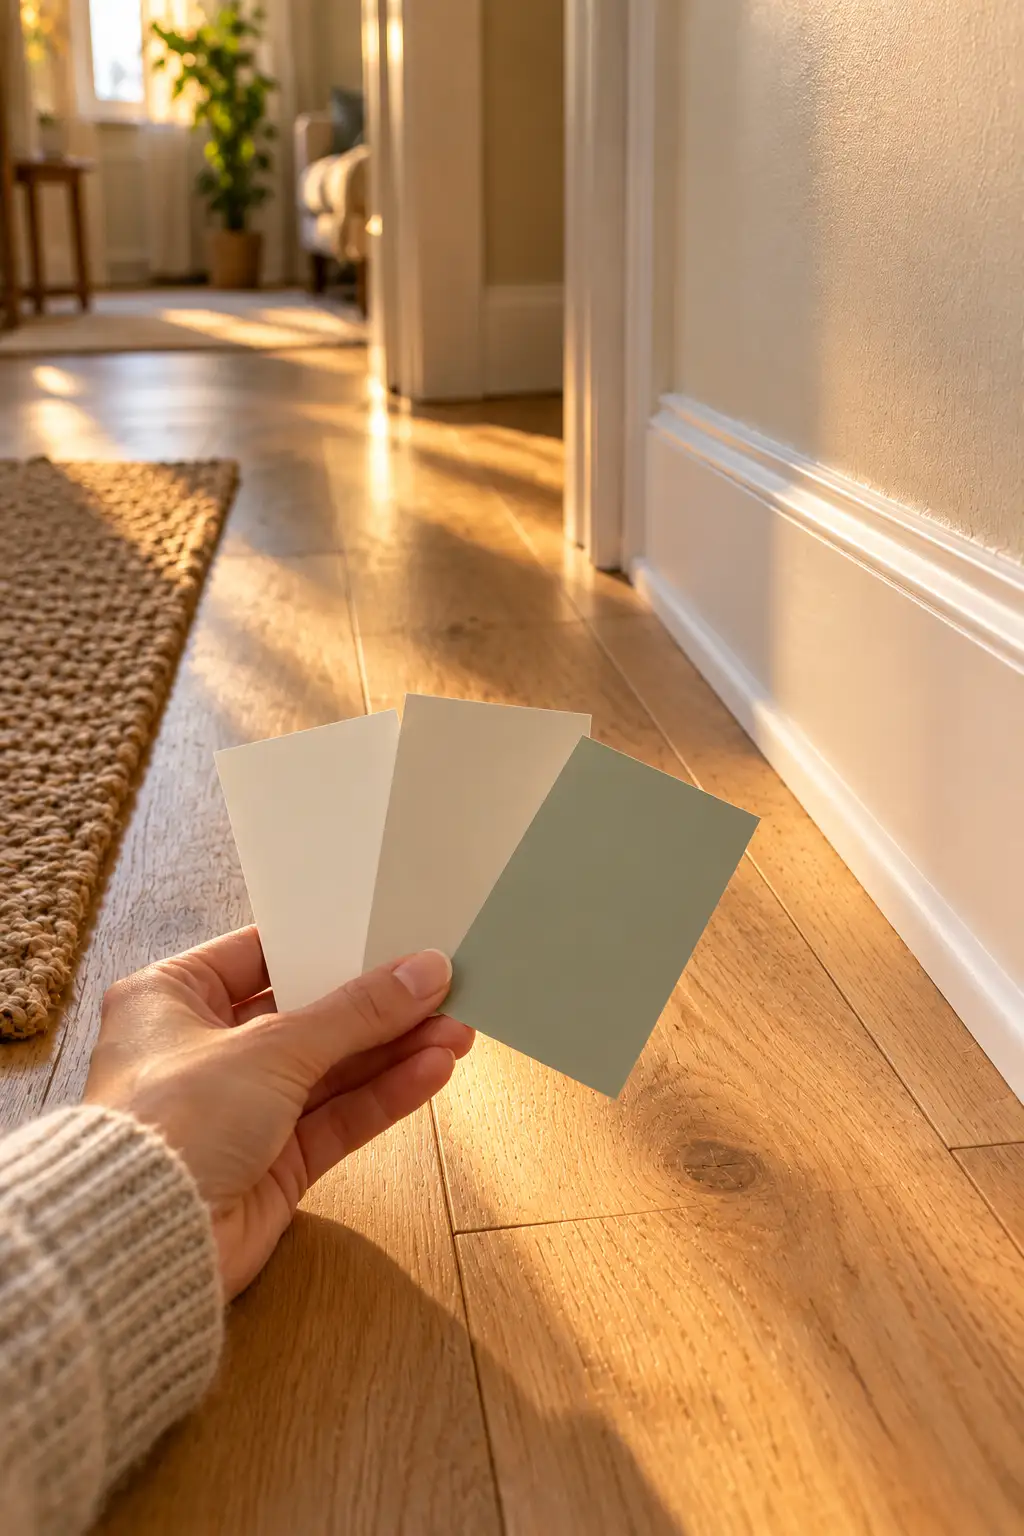
8. Buy sample pots of your top three colors
Three small pots, usually under $10 each, will save you from buying a full gallon of the wrong color. Paint chips are printed with ink, so they never match the real paint exactly. Ask the store to mix the samples in the same brand you plan to buy. Some sample pots only come in a flat finish, so expect them to look a touch darker and duller than your final paint. Prefer less mess? Peel-and-stick paint samples sold online work too, and they let you skip the next step.

9. Paint each sample onto a large poster board
A tiny swatch always looks lighter than a whole wall, so go big. Spread out your towel and work on one board at a time:
- Tape the corners of the board to the towel so it won’t slide
- Roll or brush on a thin first coat
- Wait 1 hour for it to dry
- Add a second coat and write the color name on the back
One coat looks streaky and lighter than the real thing. Two coats show you the true color.
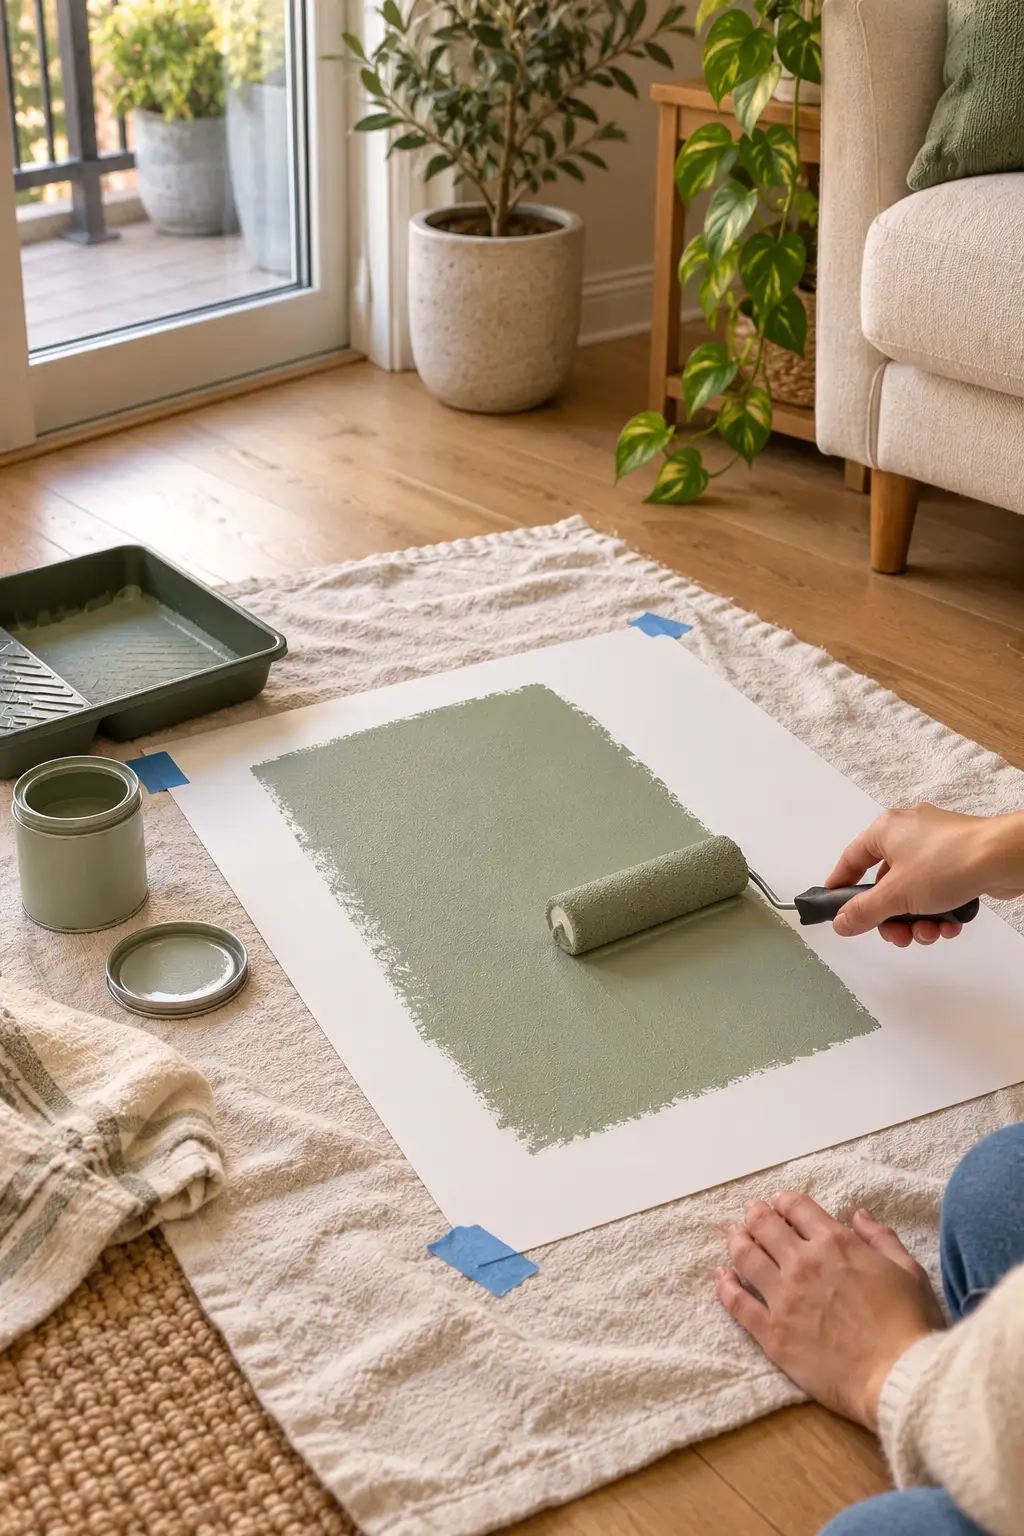
Paint all the way to the edges of the board. A white border tricks your eye and makes the color look darker than it will on your wall.
10. Move the boards around the room for two full days
For the next 48 hours, your poster boards live in this room. Stand each one upright against a wall at floor level. At each of your three check-in times from Step 3, around 9 a.m., 1 p.m., and 7 p.m., look at the boards and then move each to a different wall. Pay extra attention to the darkest corner and the wall beside the window, since those spots show a color at its worst. Write a quick note each time. The winner is the color you still like at night with your lamps on.
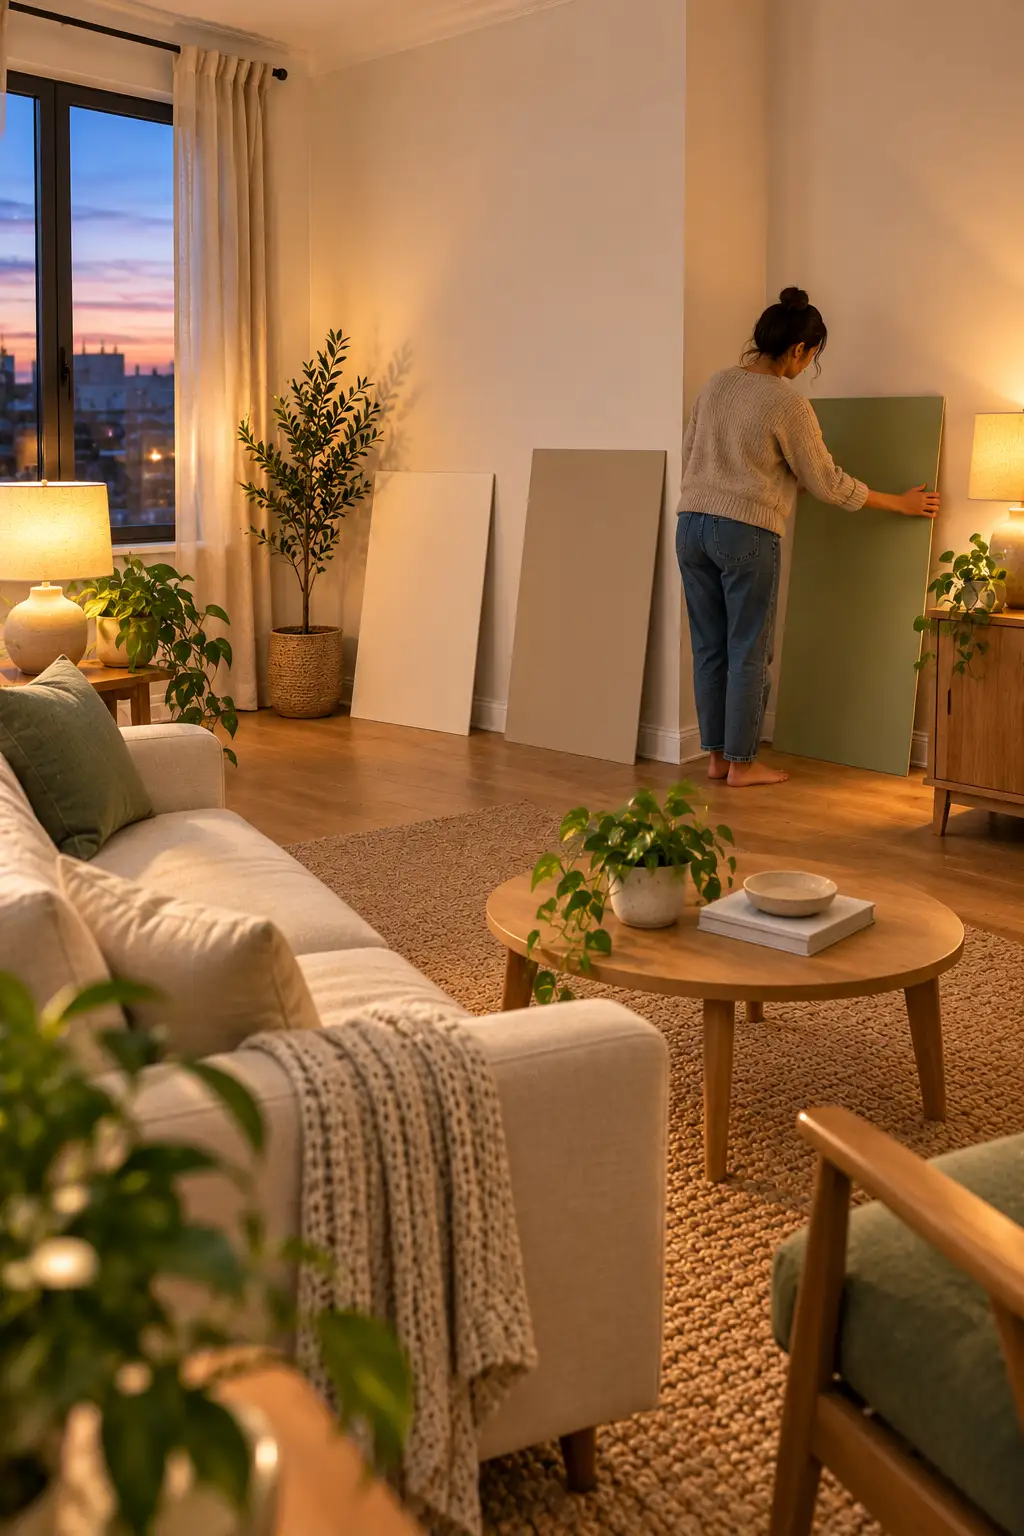
Don’t prop the boards in a sunny window to judge them. That is the brightest the color will ever look, and it hides how gray or muddy it might turn in the corners you see every day.
11. Pick an eggshell or satin finish for your final color
Finish is how shiny the paint looks once it dries, and in a dark room that shine matters. Flat paint soaks up light. Eggshell and satin bounce a little of it back, which helps a dim room feel brighter. Choose eggshell for living rooms and bedrooms, and satin for kitchens and bathrooms, since it wipes clean. Skip semi-gloss on walls. It shows every patched nail hole and roller mark. If your landlord names a specific finish, go with theirs.
Troubleshooting Your Paint Color
| If This Happens | Try This |
|---|---|
| The color looks gray on the wall | Pick a warmer undertone with an LRV of 60 to 75. Very bright, cool whites go gray in low light. |
| It looks too yellow at night | Swap 2700K bulbs for 3000K, or choose a color with a more neutral undertone. |
| It’s darker than the chip | This is normal on a big surface. Go one shade lighter on the same paint strip. |
| The beige turned pink or peach | Your floors or bulbs are pulling out a red undertone. Try a beige that leans slightly green. |
| The sample looked dull and chalky | Sample pots are often flat. Your eggshell or satin gallon will look a bit brighter. |
| It looks different on every wall | That is light doing its job. Judge the color by the wall you look at most. |
Frequently Asked Questions
Should I paint a dark room bright white?
Usually not. Bright whites need lots of light to look white, so in a dim room they turn gray. A soft, warm white with an LRV around 70 to 80 looks cleaner and brighter.
Can I go dark on purpose instead?
Yes. Deep navy, forest green, or warm charcoal can make a dim bedroom feel cozy and planned. Ask your landlord first, since dark colors take more coats to cover when you move out.
What if my landlord says no to paint?
Bring in light another way. Warm 2700K to 3000K bulbs, a large mirror across from your window, and a light rug all help. Removable peel-and-stick wallpaper is another renter-safe option.
Do I need to paint the ceiling too?
No. A flat white ceiling bounces light back down into the room, which helps a dark space. Leave it as is.
How many colors should I test?
Three is the sweet spot. Fewer gives you no real choice, and more than four gets confusing fast.
You read your light, checked the numbers, and tested your colors in the real room. That puts you way ahead of anyone who picks paint colors for dark rooms from a tiny chip under bright store lights. Your next step is buying one gallon of your winner and planning a free weekend to paint. Save this pin to your apartment board so it’s ready when paint day comes.

