
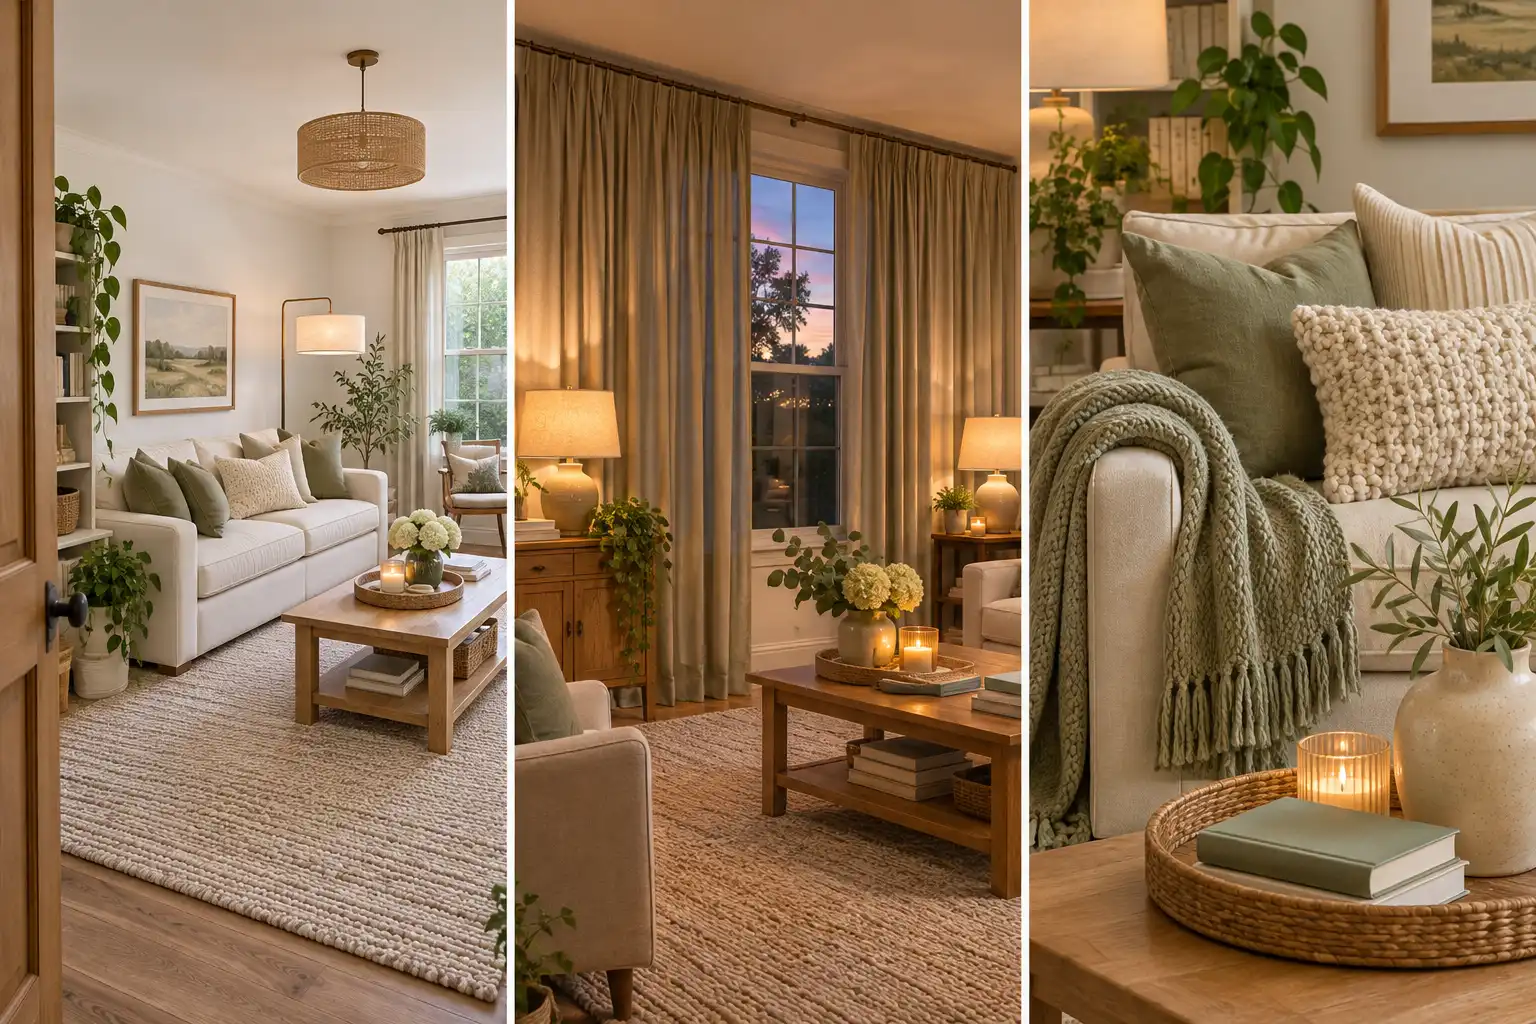
Your rental living room has a sofa, a TV, maybe a rug. Everything you need is there. So why does it still feel like you moved in last week?
It is almost never about money. The room feels unfinished because of a few small gaps: a rug that is too small, curtains hung too low, one harsh ceiling light, and bare white walls. I lived with all four in my first apartment for two years before I figured that out.
This guide walks you through fixing each one in a single weekend. No paint. No drilling. Nothing that costs you your deposit. Friday night is for planning and measuring. Saturday you set the foundation with furniture, the rug, curtains, and light. Sunday is for the finishing layer: art, a mirror, pillows, and a plant.
Plan on about 8 to 10 hours of real work, spread across the weekend. None of it needs special skills. If you can read a tape measure and peel a sticky strip, you can do every step here.
By Sunday night, your living room will look like someone chose every piece on purpose. Because you did.
- Tape measure
- Painter’s tape
- Phone camera and notes app
- Step stool
- Level (or a free phone level app)
- Pencil
- Removable picture-hanging strips
- Adhesive cord clips or a cord cover
- Scissors
- Microfiber cloth
- Area rug plus a rug pad
- 2 curtain panels per window
- Tension rod or no-drill curtain brackets
- 2 to 3 lamps (floor, table, small accent)
- Warm white LED bulbs (2700K)
- 3 to 5 framed art prints
- 1 large floor mirror
- 3 to 5 throw pillows and 1 throw blanket
- Tray, books, and a few small objects
- 1 large plant (real or faux) in a pot
- Read your lease for the decor rules
- Clear the room down to the big pieces
- Measure your floor and windows
- Pull the sofa off the wall
- Lay a rug under the front legs
- Hang curtains high and wide
- Add lamps at three heights
- Swap every bulb to warm white
- Hide cords along the baseboards
- Hang art at eye level
- Lean a mirror across from the window
- Layer pillows and a throw
- Style the coffee table
- Add one big plant near the light
1. Read your lease for the decor rules
Somewhere in your lease is a section about walls, usually called “Alterations” or “Improvements.” Read it before you buy anything. You are looking for what it says about nail holes, adhesive hooks, and changes to windows. Some leases allow small nails. Others ban anything that touches the wall. If the lease says nothing at all, send your landlord a short email and ask. A written answer protects you when you move out.
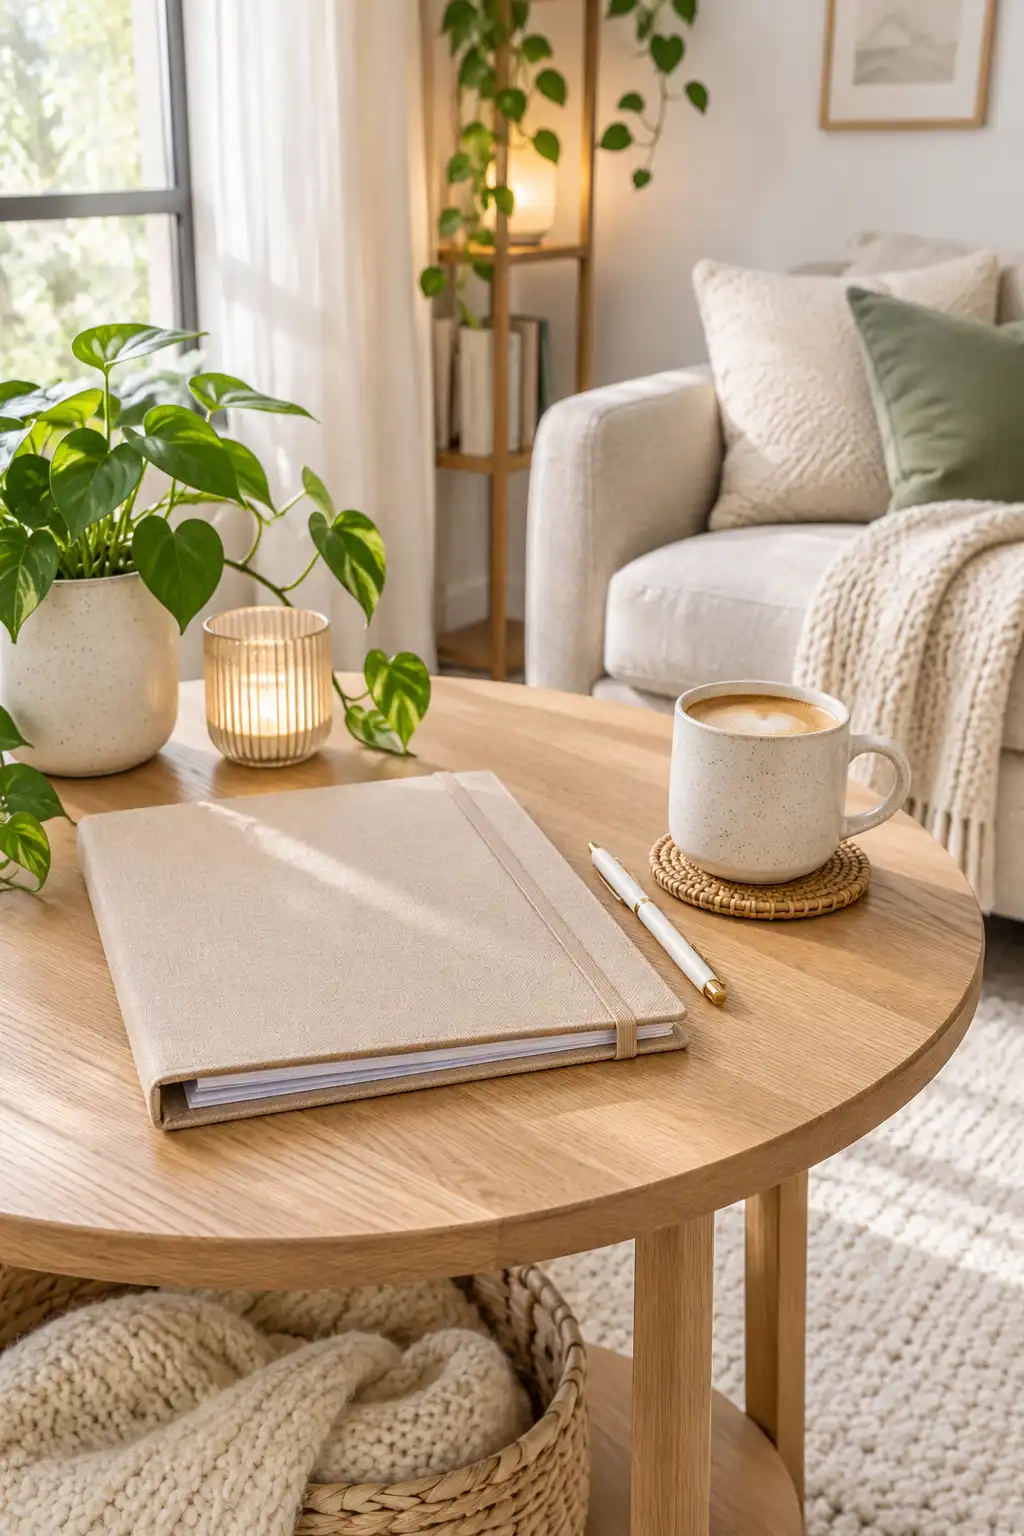
2. Clear the rental living room down to the big pieces
Every pillow, basket, plant, and stack of mail goes to the bedroom or hallway for now. Leave only the sofa, chairs, TV stand, and tables. An empty room shows you its real shape, and you stop working around clutter you planned to replace anyway. Wipe down the bare surfaces while they are clear.

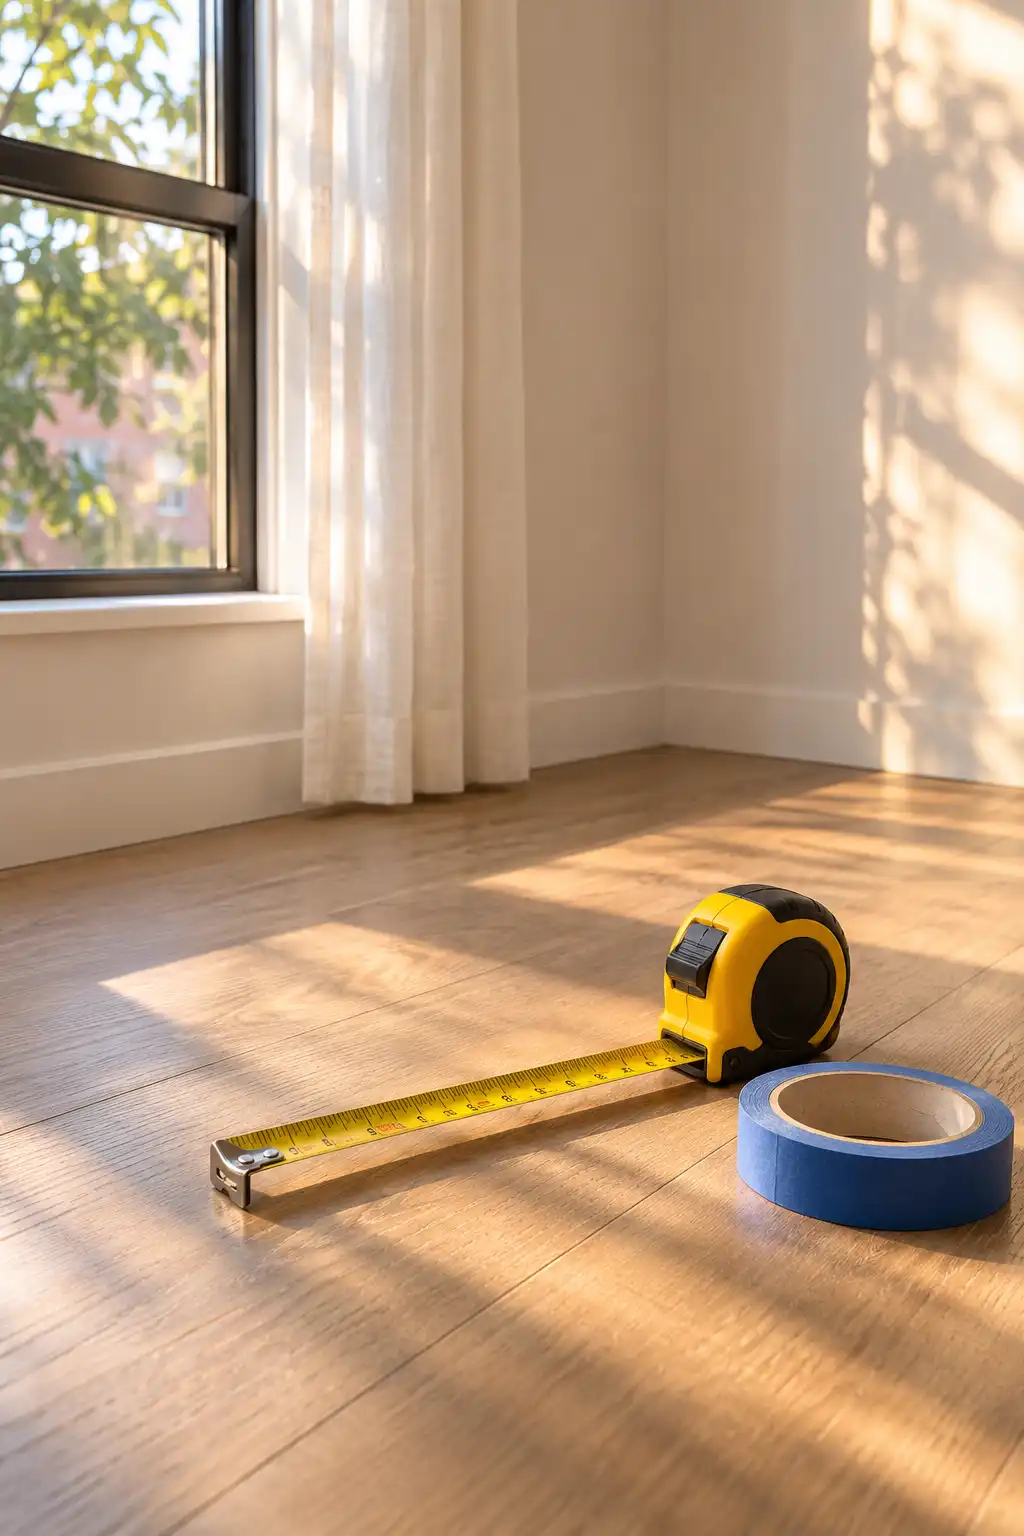
3. Measure your floor and windows before you shop
Three numbers decide most of what you buy this weekend:
- The open floor in front of the sofa, in both directions
- Each window’s width, plus the floor-to-ceiling height beside it
- The sofa, from arm to arm
Save each one in your phone notes with a label. Rugs and curtains are the two things people most often buy in the wrong size, and both are a hassle to return. No tape measure? A sheet of printer paper is 11 inches long and works in a pinch.
4. Pull the sofa off the wall
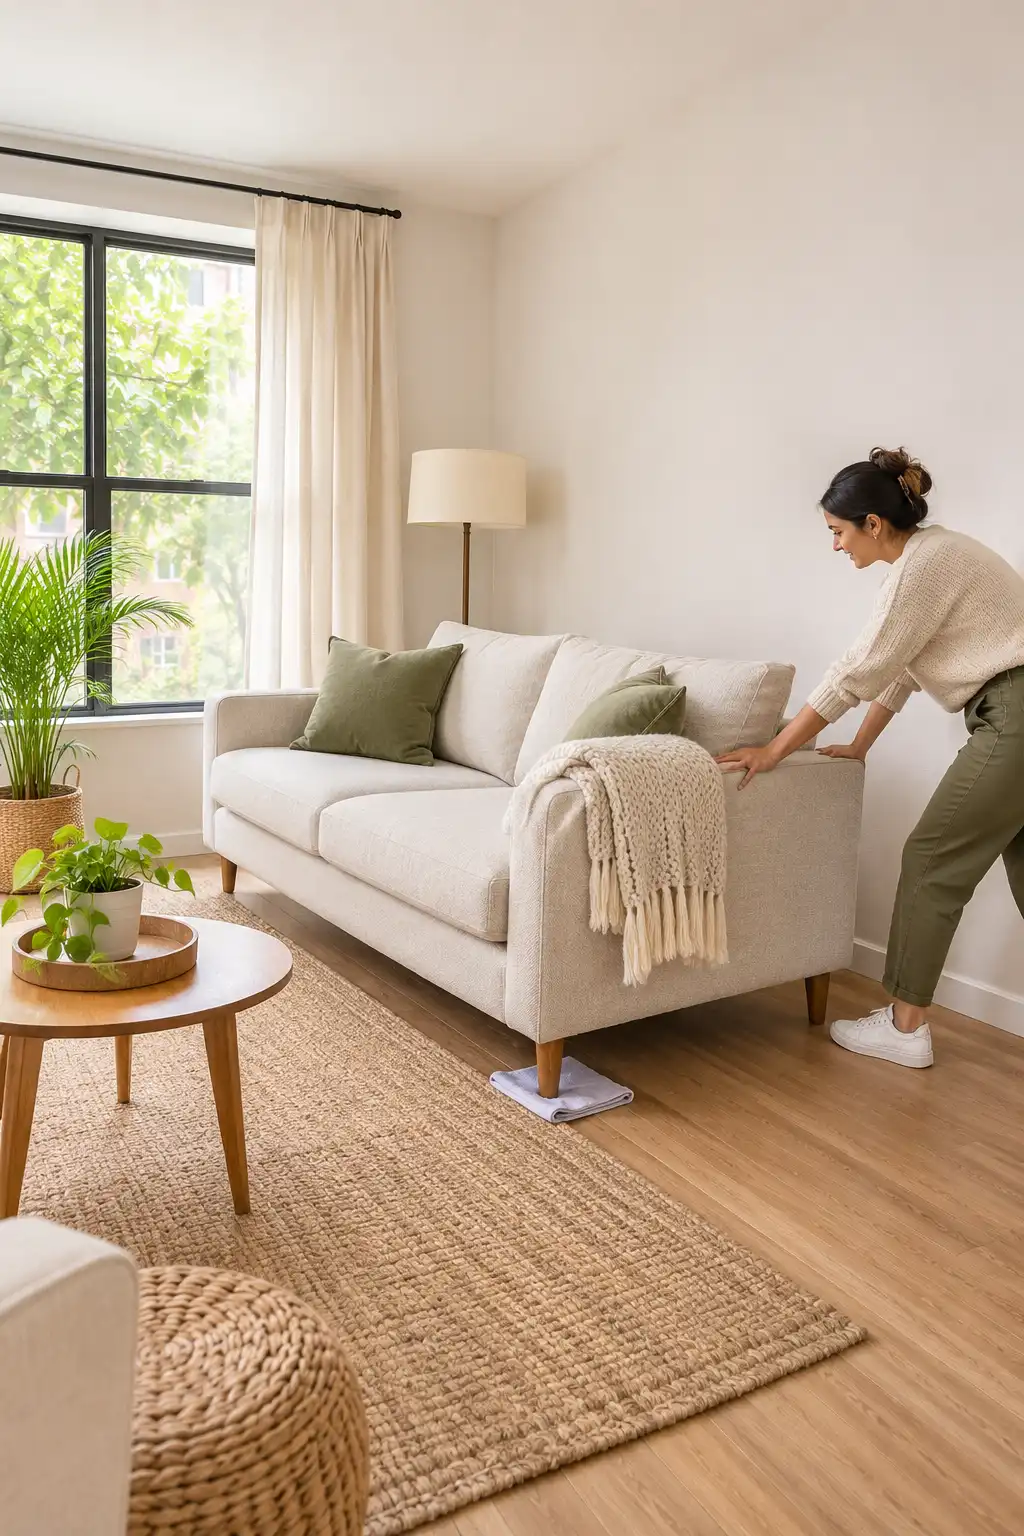
If your sofa sits flat against the wall, the room probably feels like a waiting room. Slide it forward 6 to 12 inches. That small gap adds depth and tells the eye this is a place to sit and talk. Face it toward whatever you look at most, the TV or the window. Put folded towels under the legs before you push. They glide better than you’d expect and keep rental floors free of scratches.
5. Lay a rug that fits under the front legs
A rug that floats in the middle of the room makes everything around it look smaller. The front legs of the sofa and every chair should rest on it. For most small living rooms, that means a 5×8 rug at minimum, or an 8×10 if your Step 3 numbers allow. Leave 10 to 18 inches of bare floor between the rug and the walls. Roll the pad out first, then the rug on top. The pad stops sliding and keeps the corners from curling up.
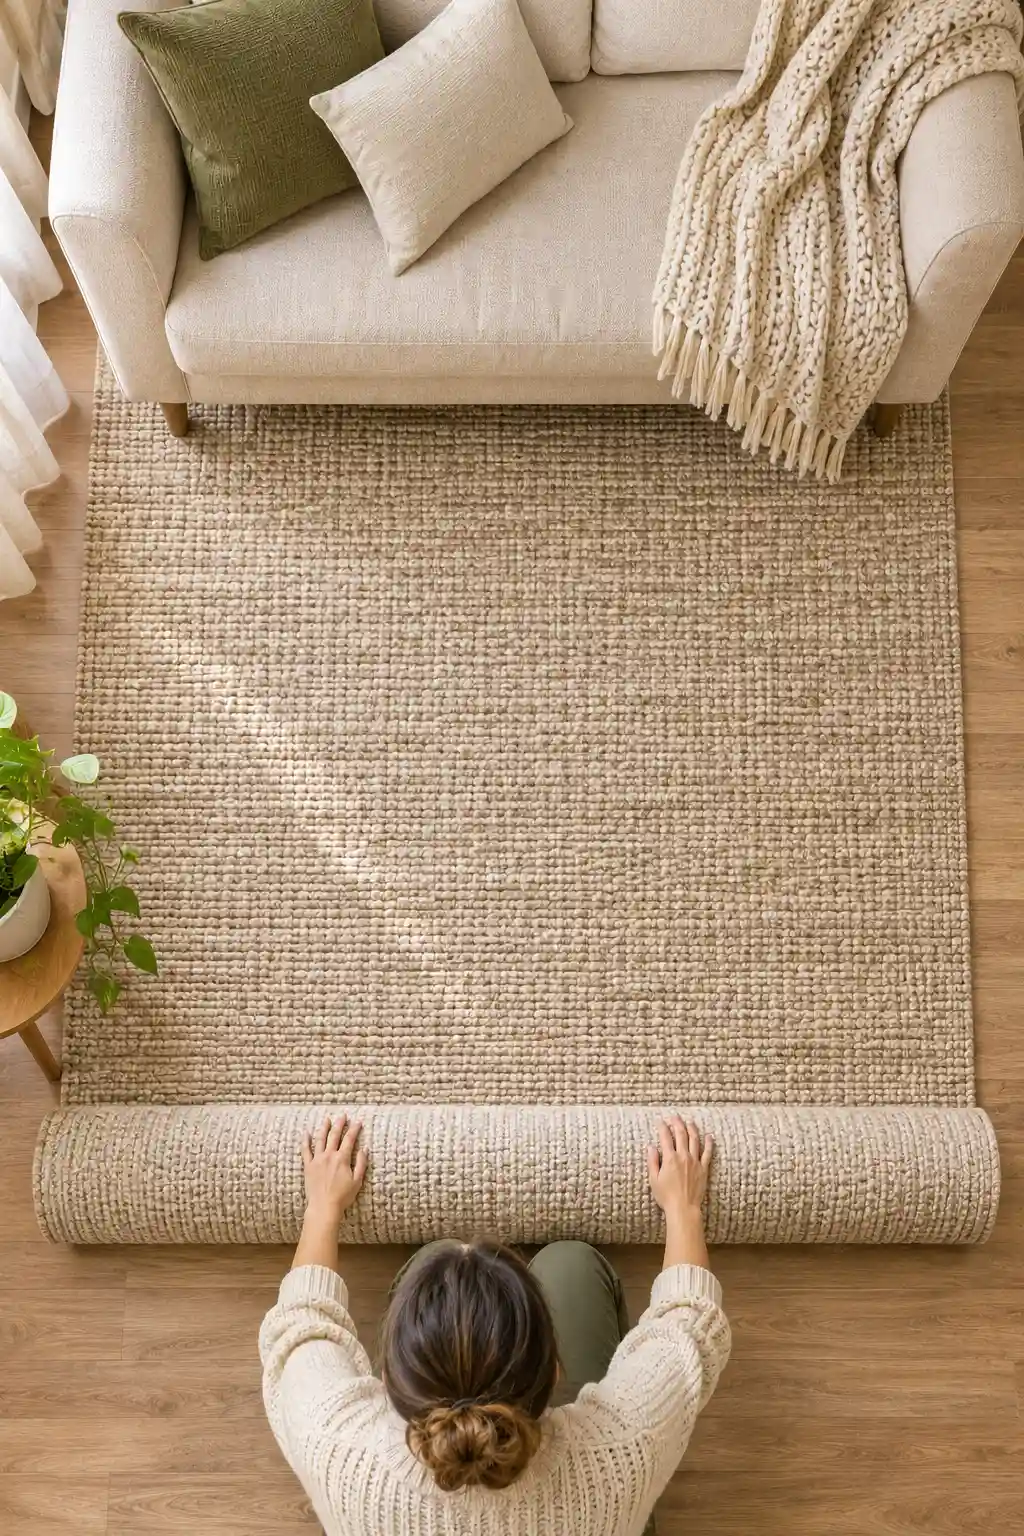
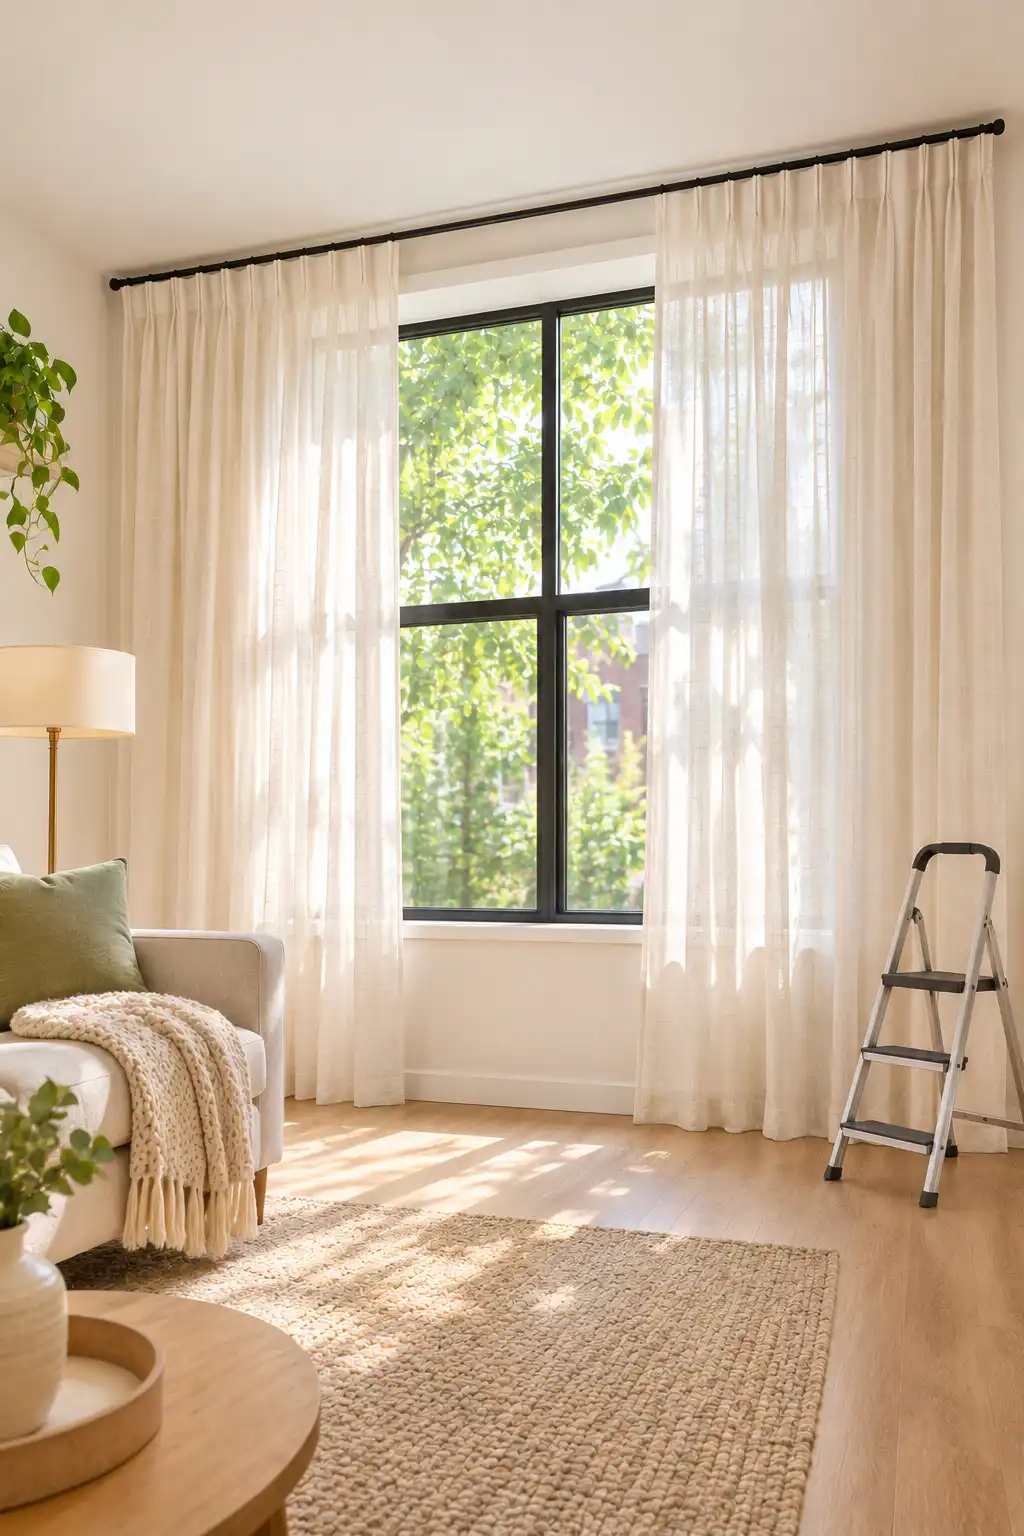
6. Hang curtains high and wide with no-drill rods
4 to 6 inches below the ceiling is where the rod belongs, not right on top of the window frame. Hanging it high makes the ceiling look taller. Stretch it 8 to 10 inches past each side so open panels rest against the wall instead of covering the glass. No-drill brackets, adhesive rod hooks, or a tension rod for a window set into an alcove all work in rentals. Panels come in 84, 96, and 108 inches. Pick the length that brushes the floor.
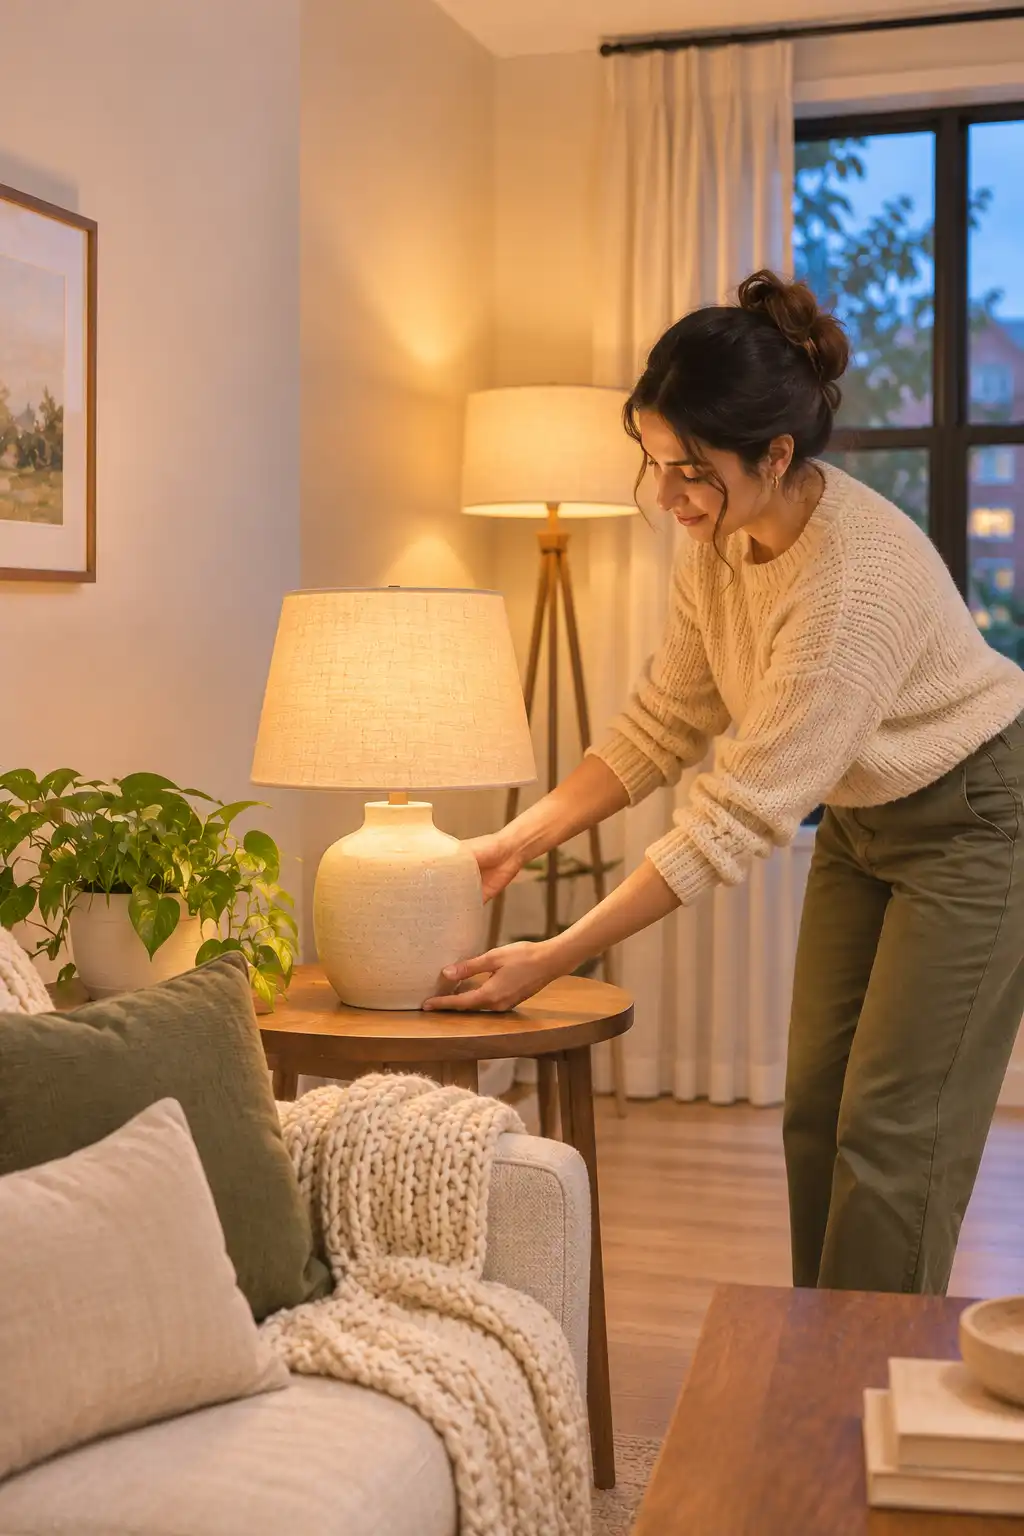
7. Add lamps at three different heights
Most rentals come with one ceiling light, and it lights the room like an office. Lamps at different heights create soft pools of light that make the space feel lived in:
- Tall: a floor lamp beside or behind the sofa
- Middle: a table lamp on a side table or console
- Low: a small accent lamp on a shelf or the TV stand
Spread them in a loose triangle so no corner goes dark. All plug-in, nothing to wire. Only own two? A string of warm fairy lights in a glass jar can play the low one tonight.
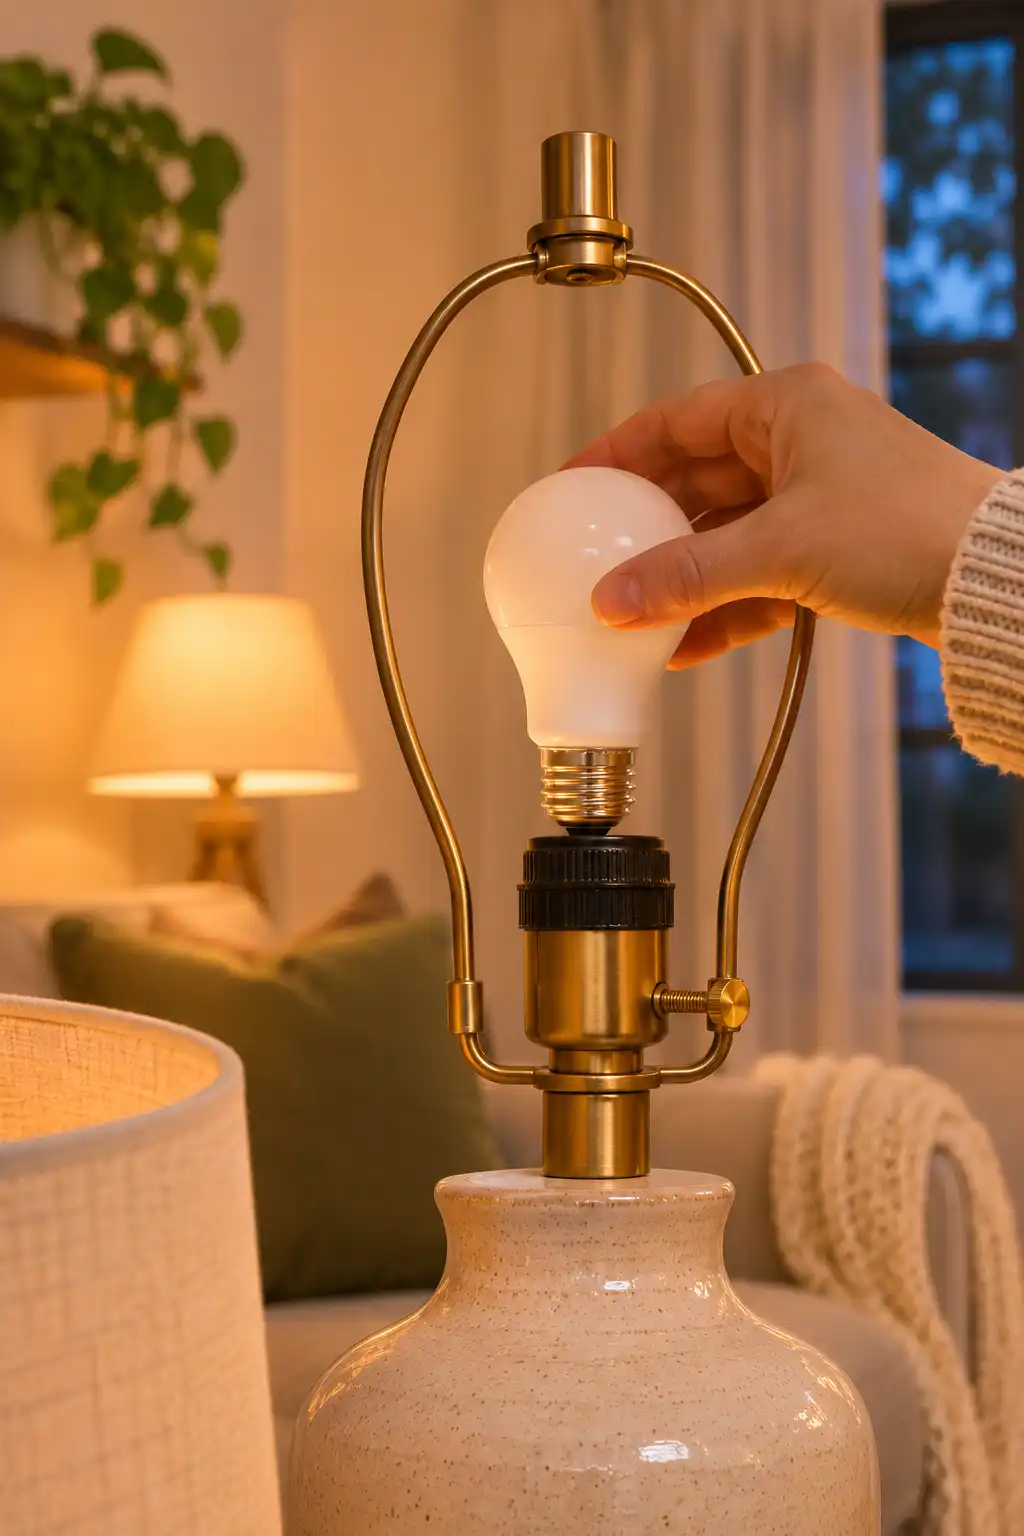
8. Swap every bulb to warm white
Ever notice how a room looks cold and blue after dark? The bulbs are usually to blame. Look for 2700K or “soft white” on the box, and use it in every lamp and the ceiling fixture. Mixed bulb colors make a room look patched together. Put the old bulbs in a labeled bag so you can return them at move-out.
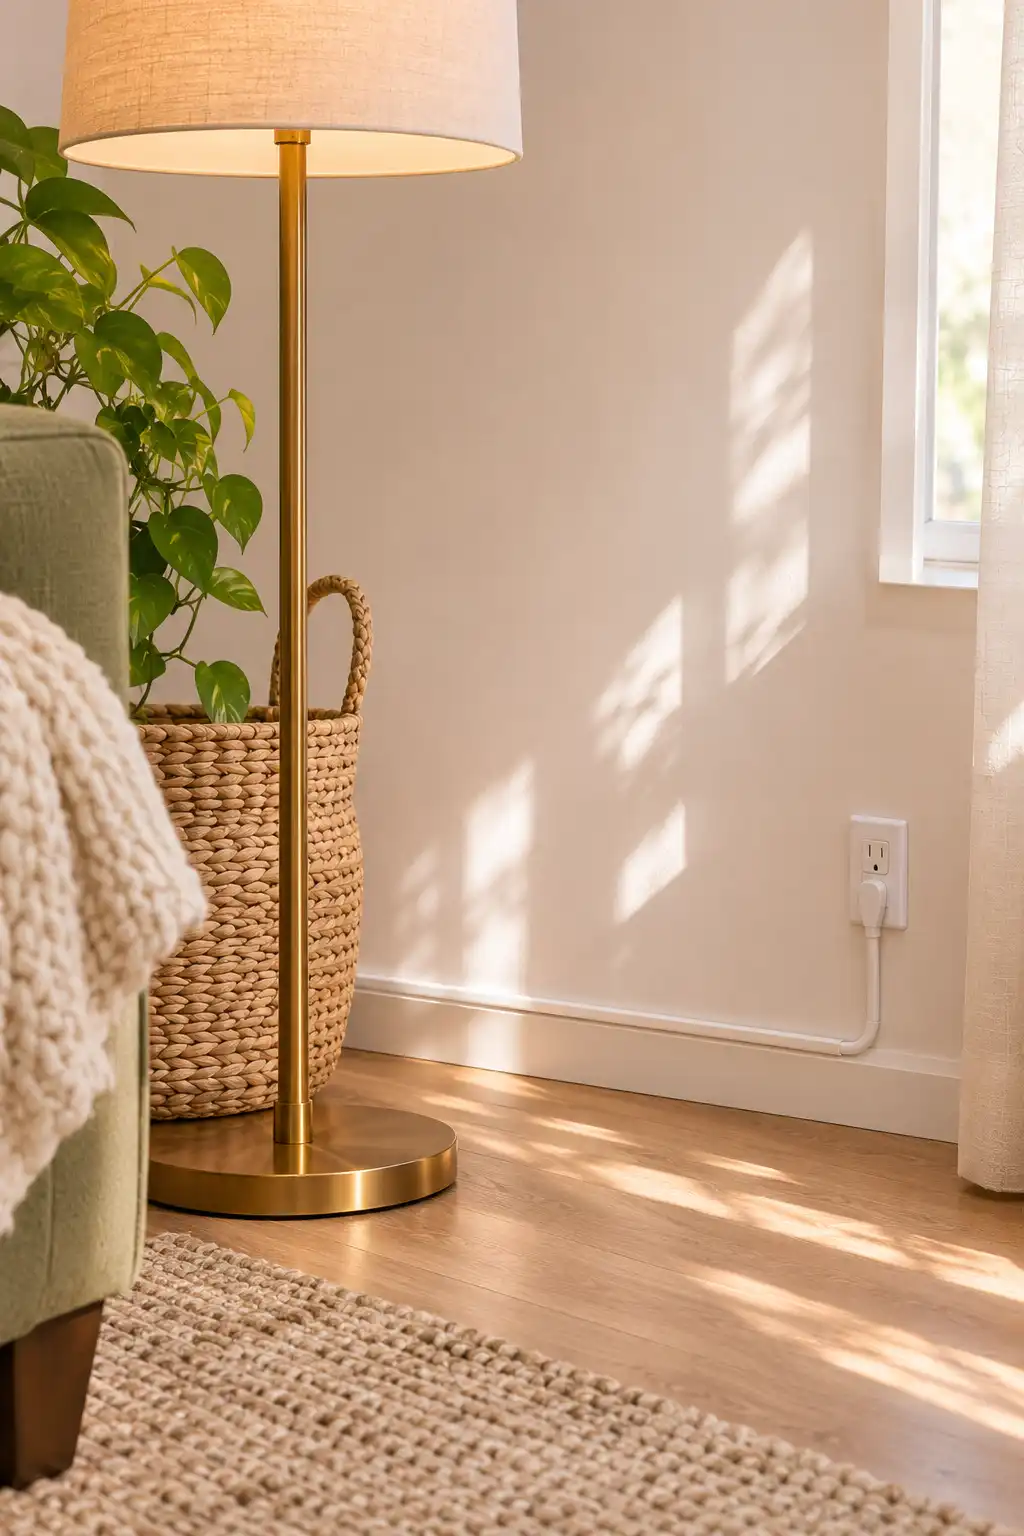
9. Hide cords along the baseboards
Once every lamp is plugged in, the cords are probably snaking across the floor. Pull each one tight along the baseboard to the nearest outlet and press an adhesive cord clip every 12 to 18 inches. For the tangle behind the TV, a white adhesive cord cover blends into most rental walls. Out of clips? Small binder clips taped to the back of the TV stand will hold cords in place for now. Visible wires are one of the biggest reasons a room reads as unfinished.
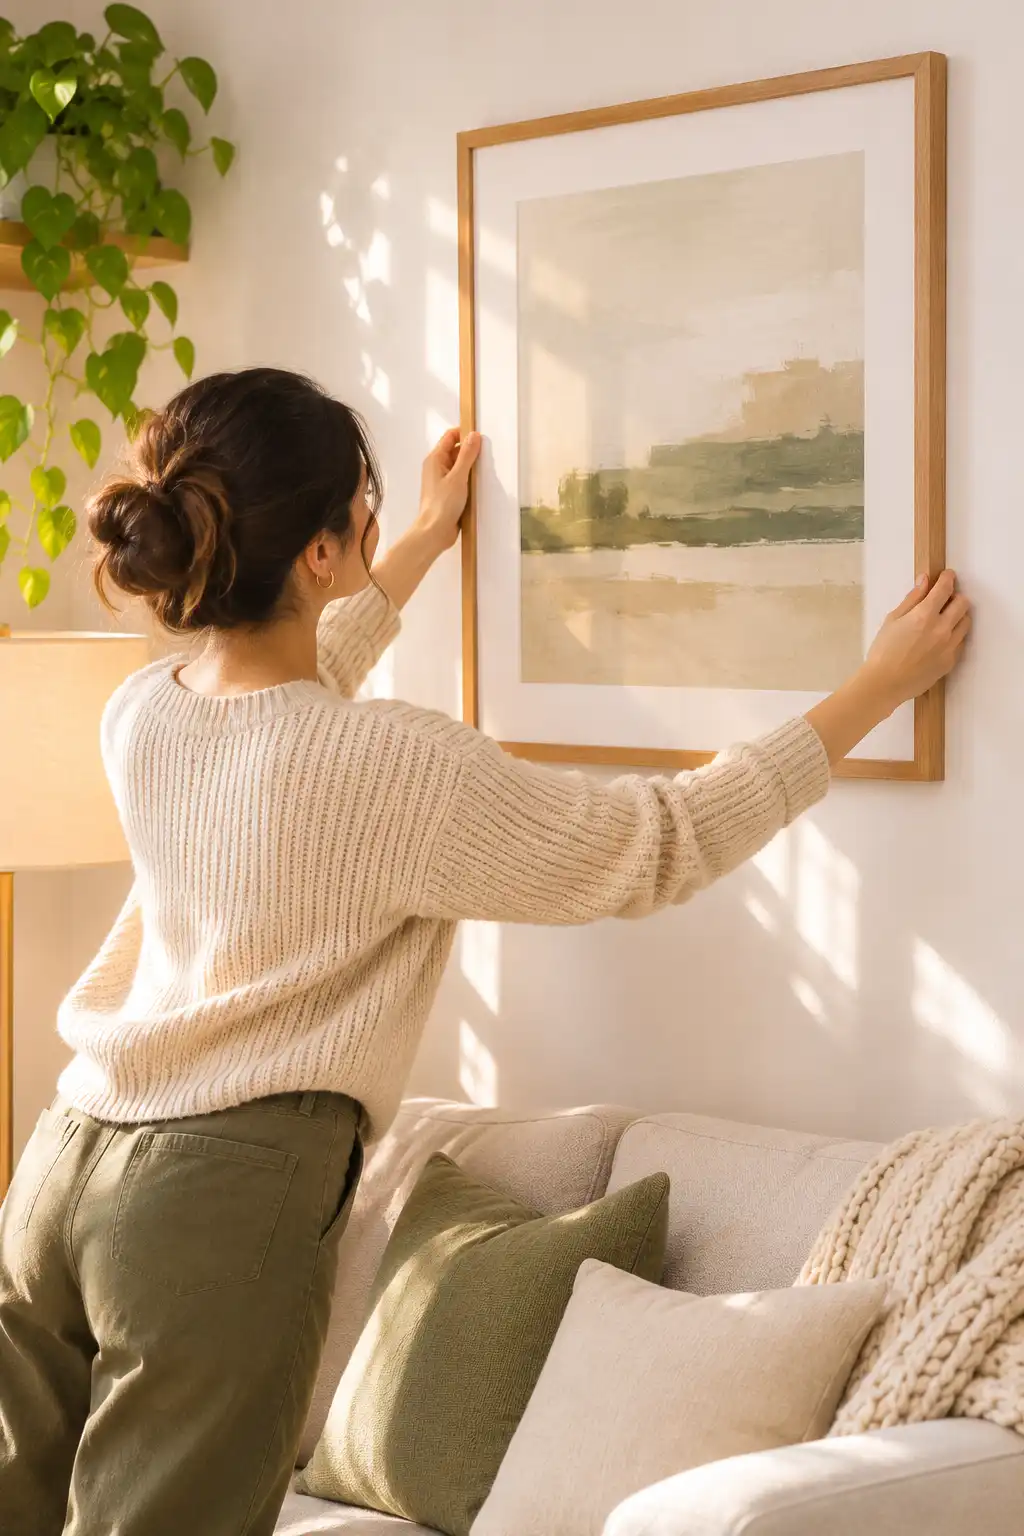
10. Hang art at eye level with removable strips
57 inches from the floor to the center of each piece. That’s the height most galleries use, and it stops art from drifting up toward the ceiling. Above the sofa, leave 8 to 10 inches between the frame and the sofa back. Check the weight rating on your strips, then:
- Wipe the spot with rubbing alcohol (household cleaners leave a slick film)
- Stick the strip pairs to the back of the frame
- Line it up with a level and press it to the wall for 30 seconds
- Wait the full time printed on the package before trusting it
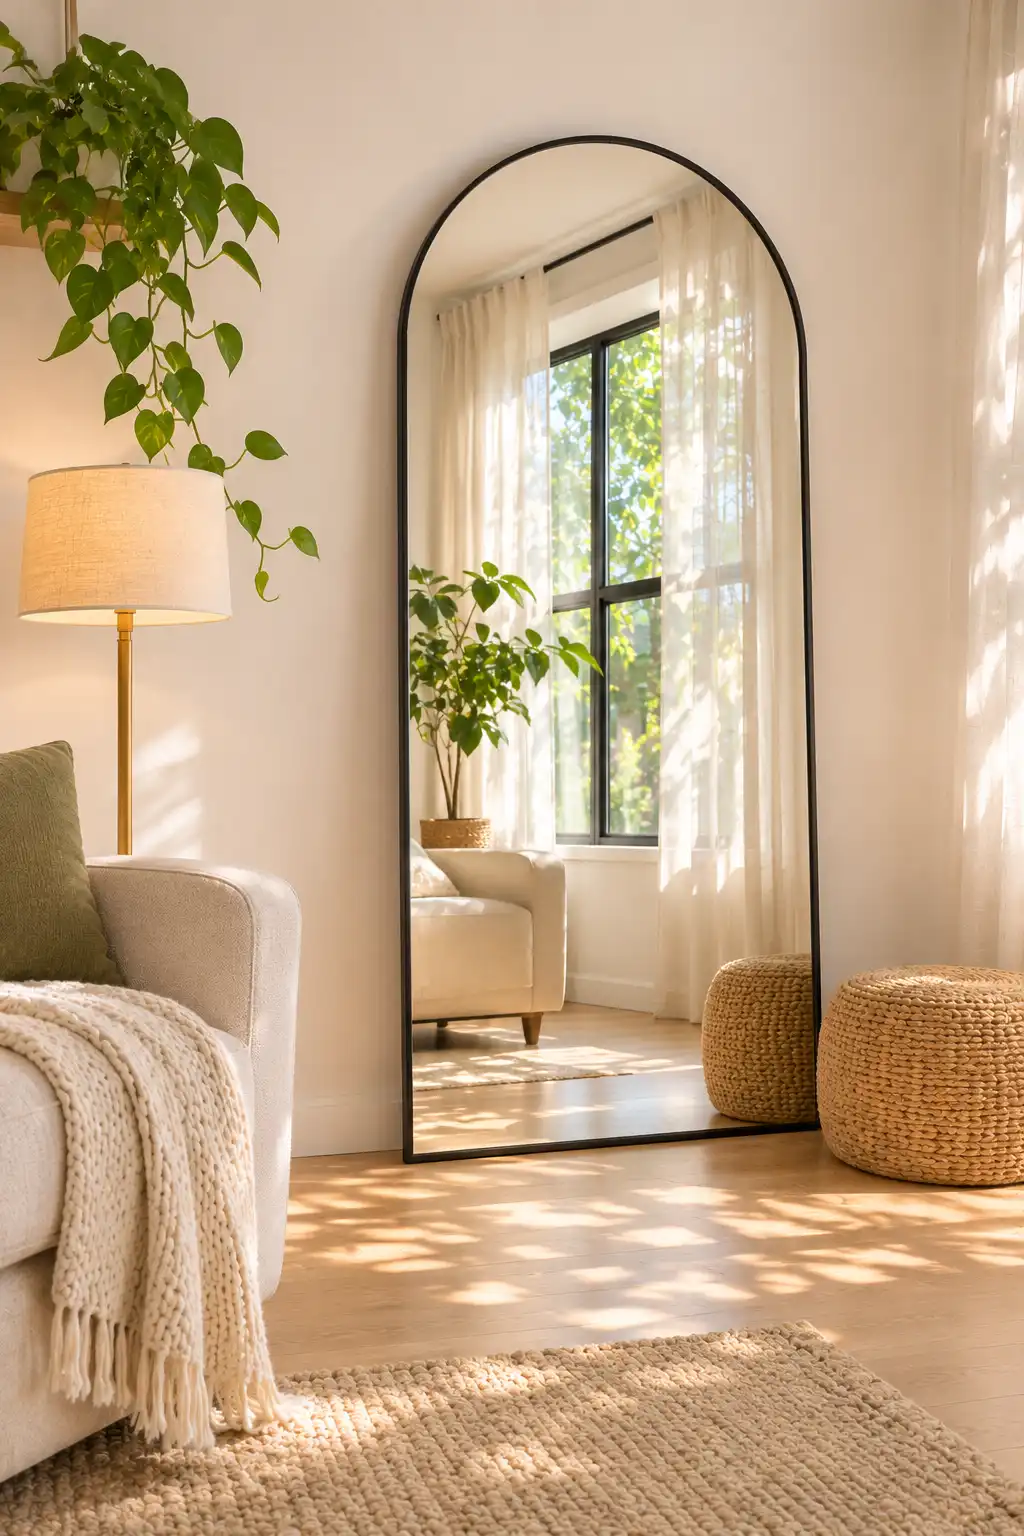
11. Lean a large mirror across from the window
Placed opposite a window, a mirror catches daylight and throws it back across the room. It also makes the space look about twice as deep. Go for one at least 5 feet tall and lean it against the wall with the bottom edge pushed against the baseboard. A rubber furniture pad under each corner keeps it from sliding. Kids or pets at home? Add an adhesive anti-tip strap at the top.
12. Layer pillows and a throw on the sofa
Bare cushions are the last thing standing between you and a finished room. Work from the arms toward the middle: the biggest pillows (22 inches) go in the corners, smaller ones (18 inches) sit in front. Drape the throw loosely over one arm instead of folding it into a neat square. A little looseness looks like someone lives here. On a budget? New covers on your old inserts cost far less than new pillows.

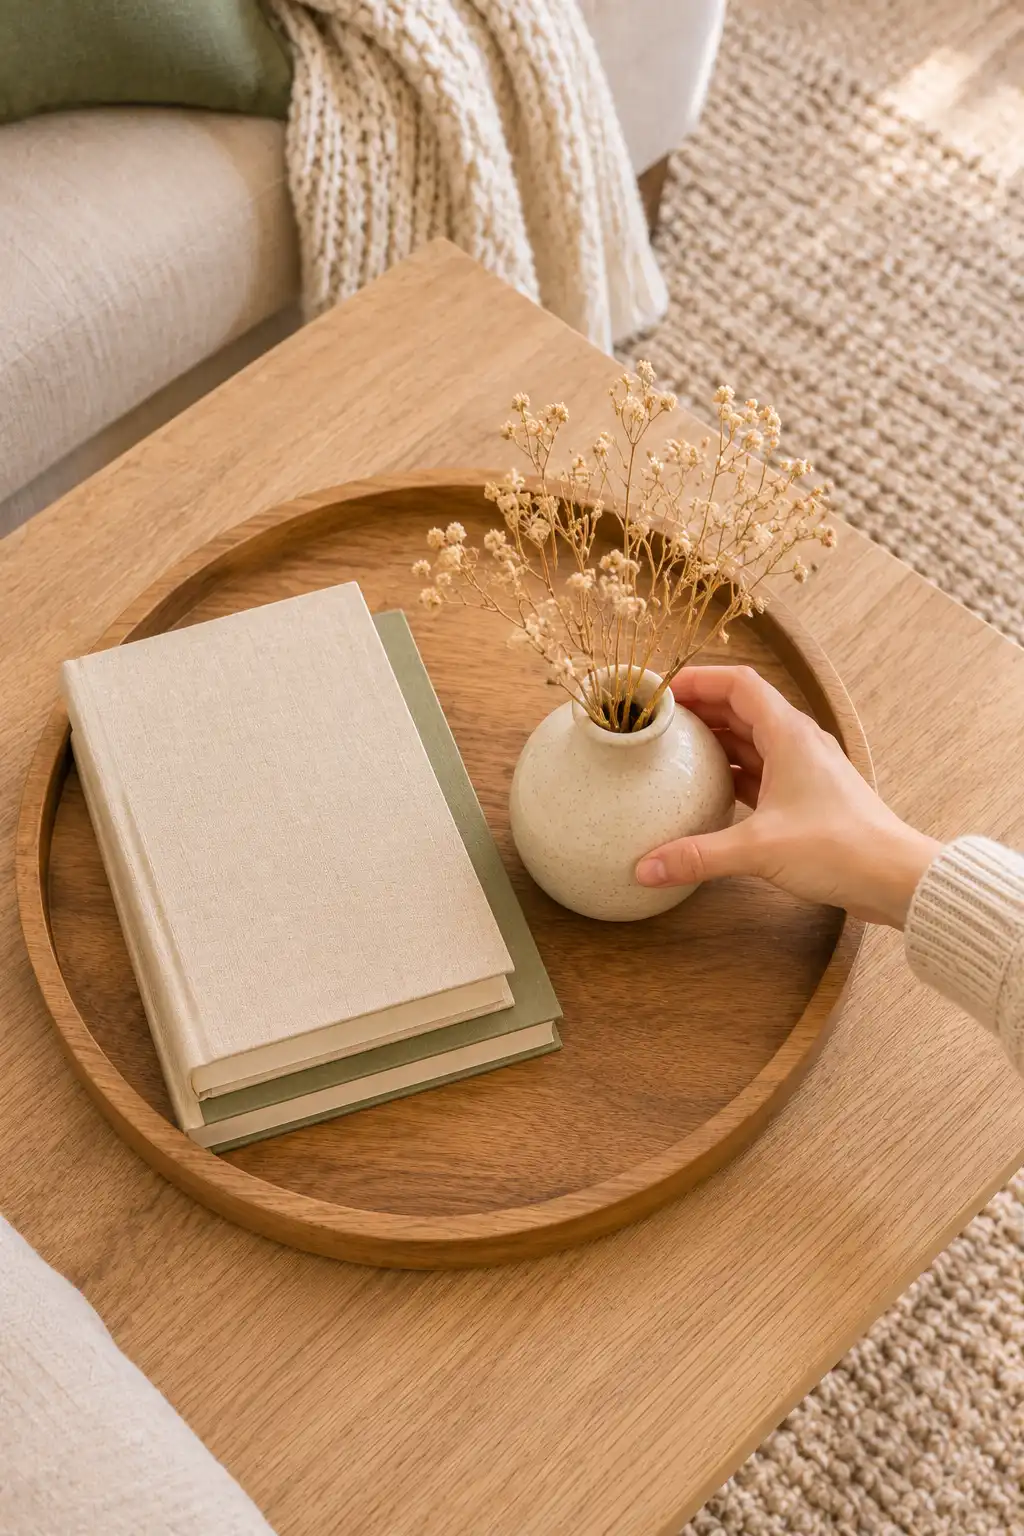
13. Style the coffee table in small groups
Think in groups of three, and keep at least half the table clear for cups and remotes. One group usually does it:
- Something tall: a vase, a candle, or a small plant
- Something flat: a stack of 2 or 3 books
- Something small: a bowl or a little object on top of the books
Set all three on a tray so they read as one group. No tray? A wooden cutting board or a large plate works. It also makes clearing the table a 10-second job.
14. Add one big plant near the light
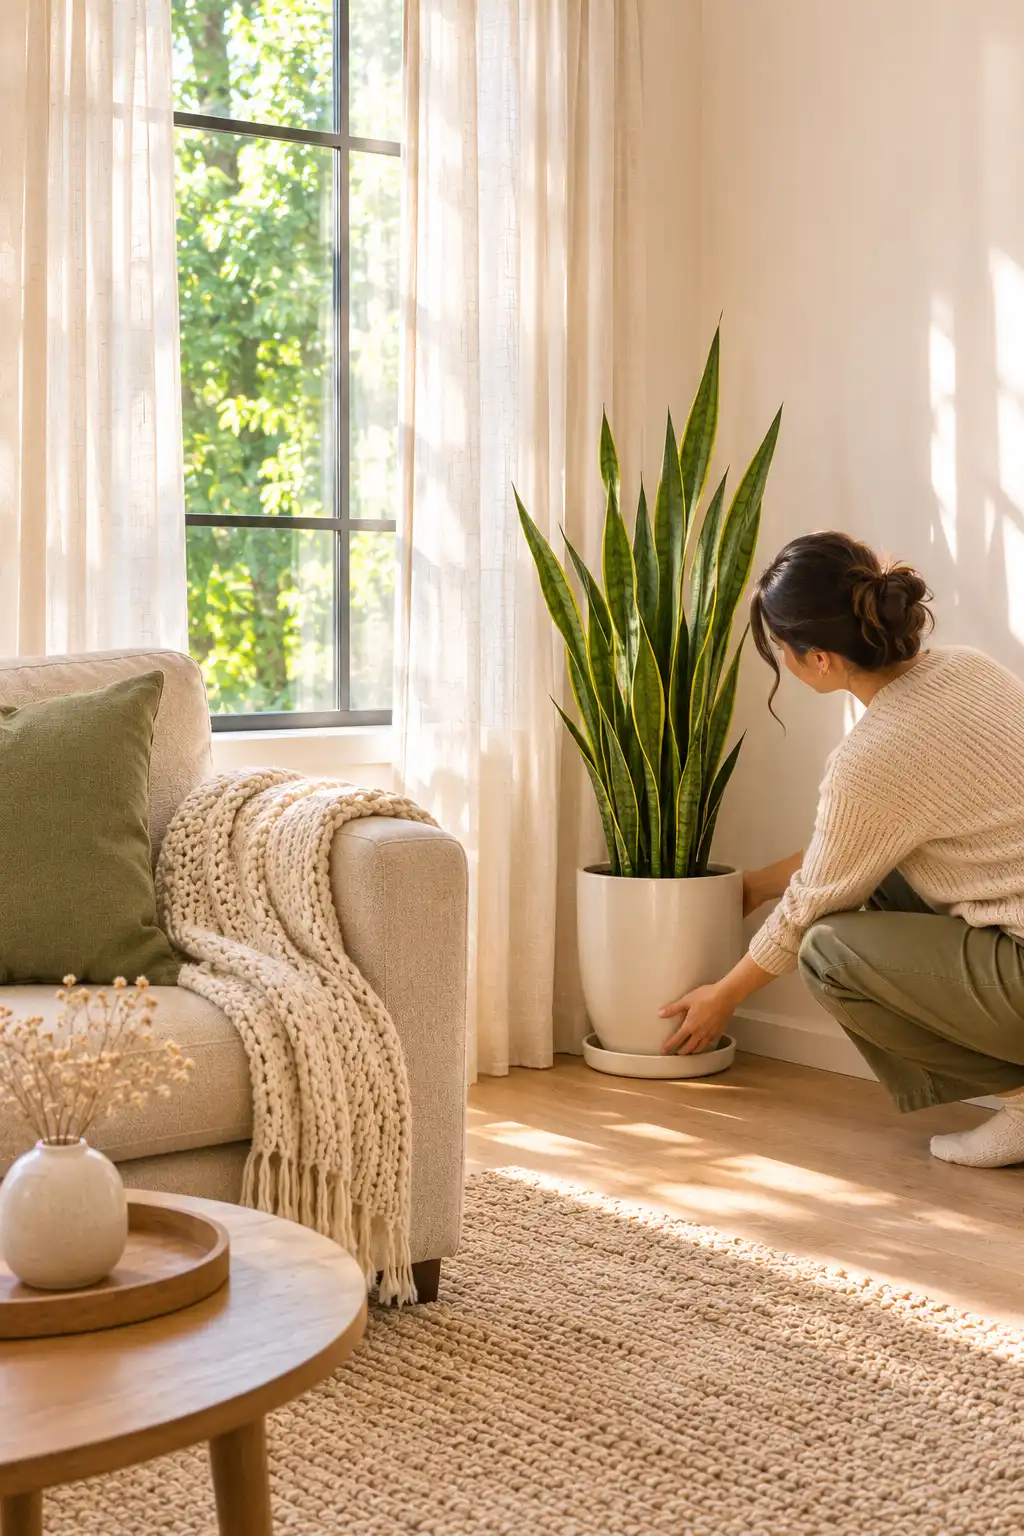
If your window gets even a few hours of sun, the corner beside it is the best spot in the room for something green. One plant 3 to 5 feet tall does more than six small ones. Snake plants and ZZ plants handle low light and missed waterings. A good faux tree works too, and nobody can tell from the sofa. Set real plants on a saucer so water never touches the rental floor.
- Sofa pushed flat against the wall
- Small rug floating in the middle
- Curtains hung right above the frame
- One harsh ceiling light
- Bare white walls
- Cords running across the floor
- Plain sofa, empty corners
- Sofa pulled forward, facing the focal point
- Rug under every front leg
- Curtains near the ceiling and past the frame
- Three lamps glowing warm white
- Art at eye level and a mirror bouncing light
- Cords tucked along the baseboards
- Layered pillows, a styled table, one big plant
- Tape measure, painter’s tape, level
- Removable strips and cord clips
- Rug (5×8 or larger) and rug pad
- Curtains and a no-drill rod
- 2 to 3 lamps, 2700K bulbs
- Art, floor mirror, pillows, throw
- Tray, books, one big plant
- Read your lease
- Clear the room
- Measure floor and windows
- Pull the sofa 6 to 12 in. off the wall
- Lay the rug under front legs
- Hang curtains 4 to 6 in. below ceiling
- Add lamps at 3 heights
- Swap bulbs to 2700K
- Hide cords on baseboards
- Hang art at 57 in. center
- Lean a mirror across from the window
- Layer pillows and a throw
- Style the coffee table in threes
- Add one big plant near the light
Your living room, done
Your rental living room now has the rug, the light, and the finishing touches that make a space feel lived in, all without one paint can or drill hole.
Live with it for a week before you buy anything else. You’ll spot what’s missing faster than any list can tell you.
When you’re ready for the next room, the same rug, curtain, and lamp rules work in a small bedroom too.
Save this pin for your next move so your new place feels like home by the end of the first weekend.