
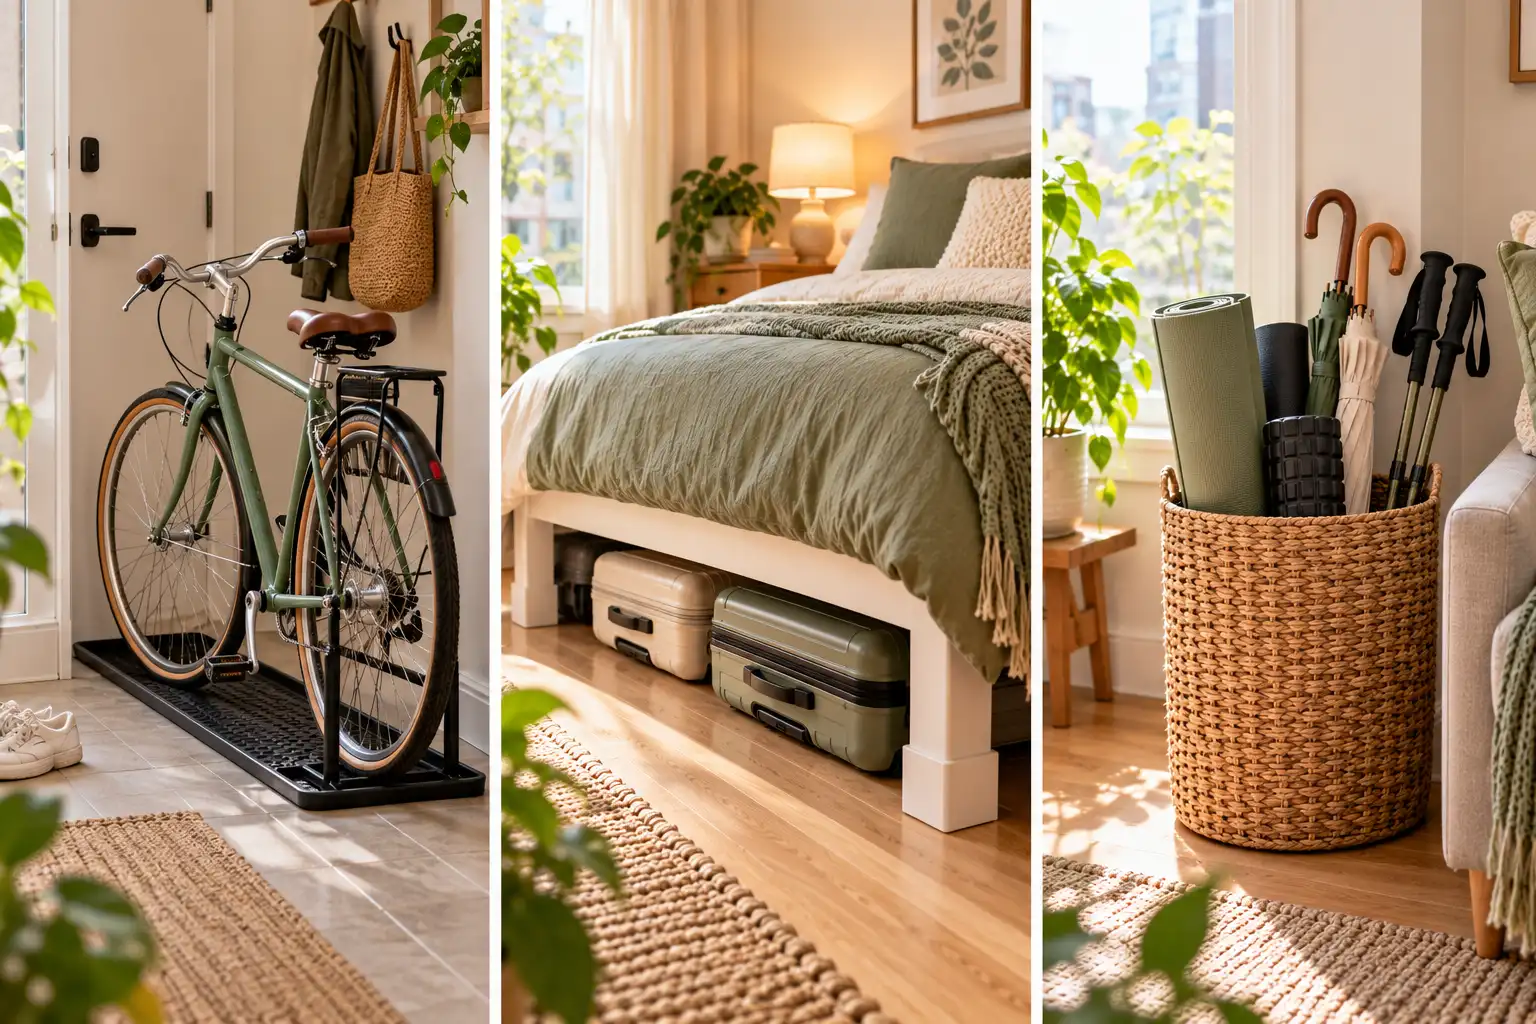
Your bike lives in the hallway. Your suitcase sits in the corner of the bedroom because the closet is already full. Every time you walk to the kitchen, a pedal finds your shin. If you have been trying to figure out where to store bikes in an apartment, along with all the other big stuff that has no home, you are in the right place.
By the end of this guide, your floors will be clear. Your bike will have its own spot that does not block a door or scuff a wall. Your luggage will be stacked, filled, and tucked out of sight. Your bulky bedding and tall gear will take up about half the space they take now.
This method works because it goes in order. You sort first, measure second, and buy third. That way, any stand or riser you pick up fits your real space, not a guess. Most steps need no drilling, so they are safe for renters.
Plan for about 2.5 hours of hands-on work. If you need to order a bike stand or bed risers, give them a few days to arrive. Clear a patch of floor, grab a tape measure, and let’s start.
- ✓Tape measure
- ✓Painter’s tape
- ✓Phone for notes and photos
- ✓Damp rag and an old towel
- ✓Vacuum cleaner with a hose
- ✓Permanent marker
- ✓Freestanding bike stand or tension pole rack
- ✓Rubber boot tray or floor mat
- ✓Clear removable wall guard
- ✓Bed risers, 3 to 6 inches
- ✓Vacuum storage bags
- ✓Tall corner bin or caddy
- ✓Labels or masking tape
- ✓Dryer sheets or cedar blocks (optional)
- Gather every bulky item into one spot
- Sort each item by how often you use it
- Read your lease rules on walls and hallways
- Measure your bike and every spot it could fit
- Pick where to store bikes in your apartment
- Set up a no-drill bike stand or tension rack
- Lay a mat and wall guard around the bike
- Nest your suitcases from largest to smallest
- Pack off-season clothes inside the nested suitcases
- Raise your bed with risers to fit luggage underneath
- Compress bulky bedding and sleeping bags in vacuum bags
- Stand tall gear upright in a corner caddy
- Label every bin, bag, and suitcase
1. Gather every bulky item into one spot
Things hide in small apartments. Before you buy a single rack or bin, you need to see everything that needs a home. Check these 5 spots and carry each big item to one open patch of floor:
- Every closet, including the top shelf
- Under the bed and the couch
- Behind the bedroom and bathroom doors
- The balcony or patio
- Your car trunk or storage unit
If your bike is muddy, leave it by the front door and write it down instead.
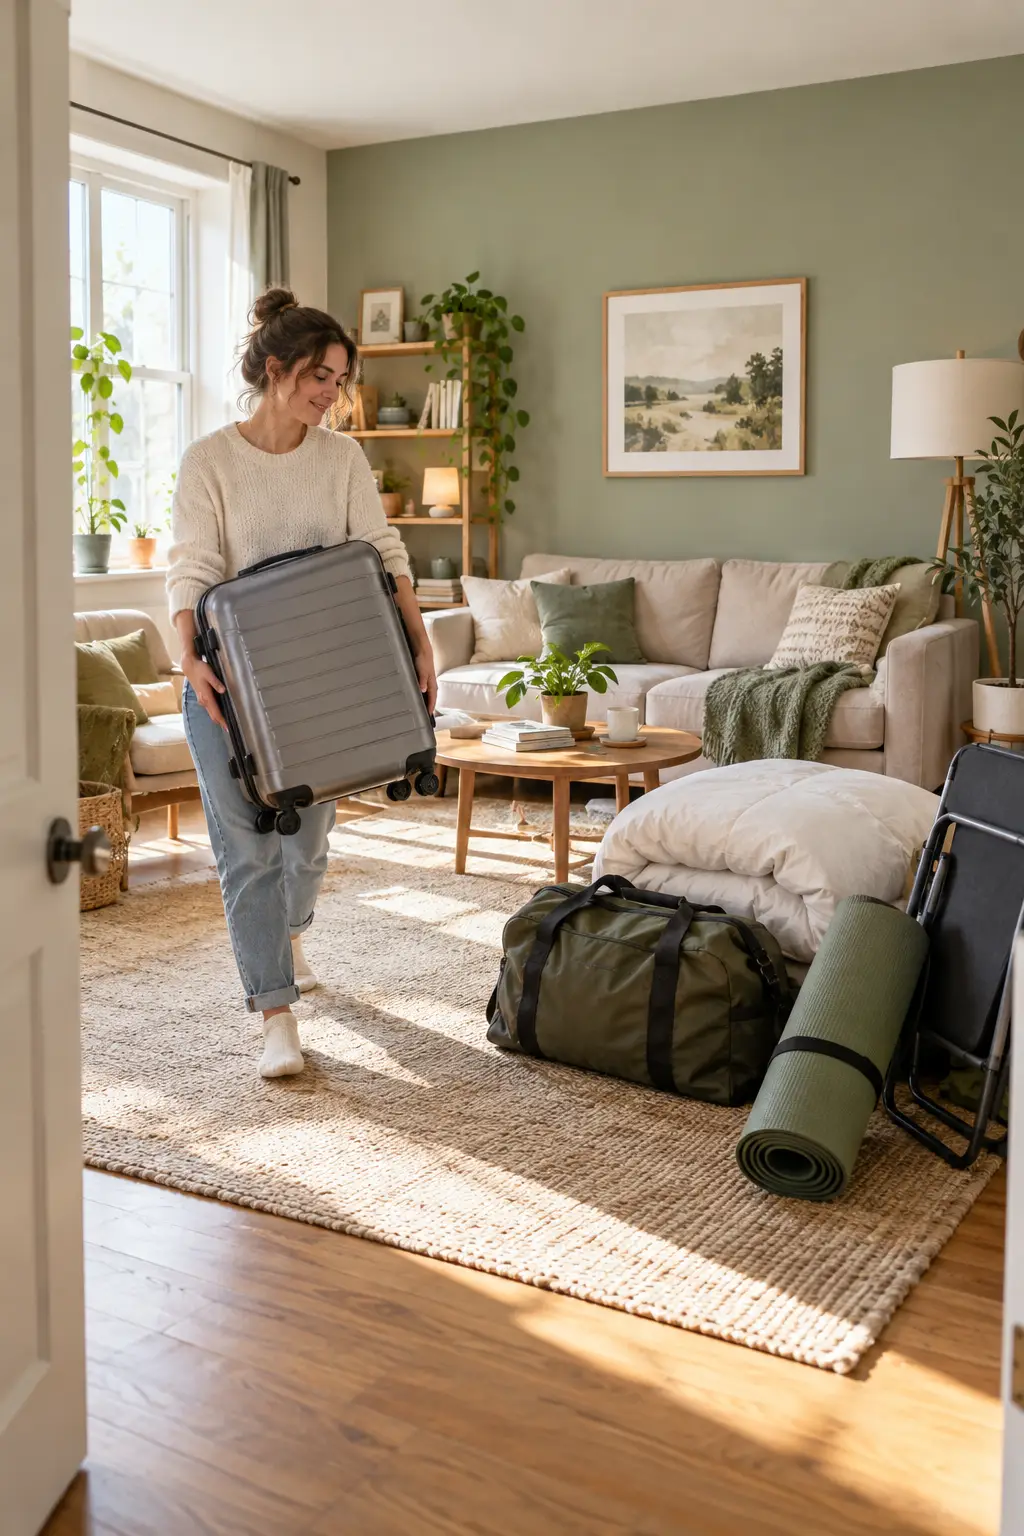
2. Sort each item by how often you use it
Three piles cover it: weekly, a few times a year, and once a year or less. Weekly items need a spot you can reach in under 10 seconds. Yearly items can go up high or under the bed. Haven’t used something in 2 years? Donate it instead of storing it.
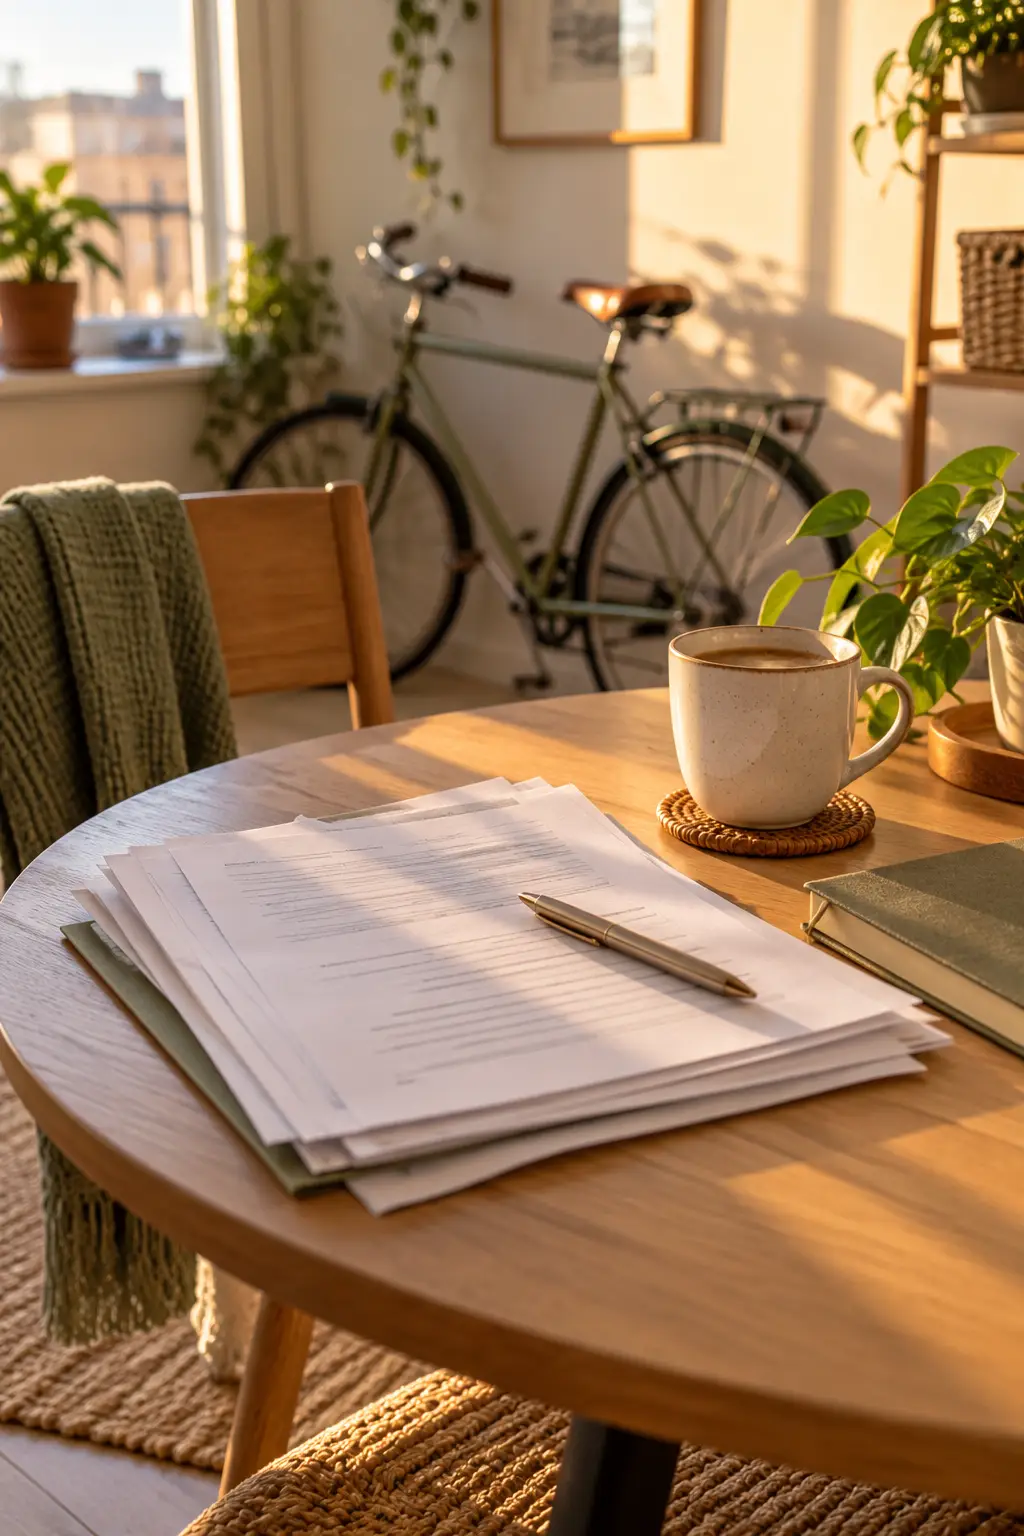
3. Read your lease rules on walls and hallways
Many leases limit holes to small nail holes, and some ban bikes in hallways or on balconies. Find the sections on alterations, common areas, and balconies. Look for words like “wall anchors,” “fixtures,” or “obstructions.” If the wording is vague, send your landlord a short email asking whether a bike hook is okay. Get the answer in writing, because a yes in an email protects your deposit later. A no still leaves you plenty of options, since most of this guide uses no drilling at all.
4. Measure your bike and every spot it could fit
Grab the tape measure and someone to hold the bike steady. Write down three numbers: the length from wheel to wheel, the handlebar height, and the handlebar width. Most adult bikes run about 68 to 72 inches long. If a tension pole is on your list, measure your ceiling height too. Then outline the bike’s size in painter’s tape on the floor of each possible spot. A taped box shows you more than any guess.
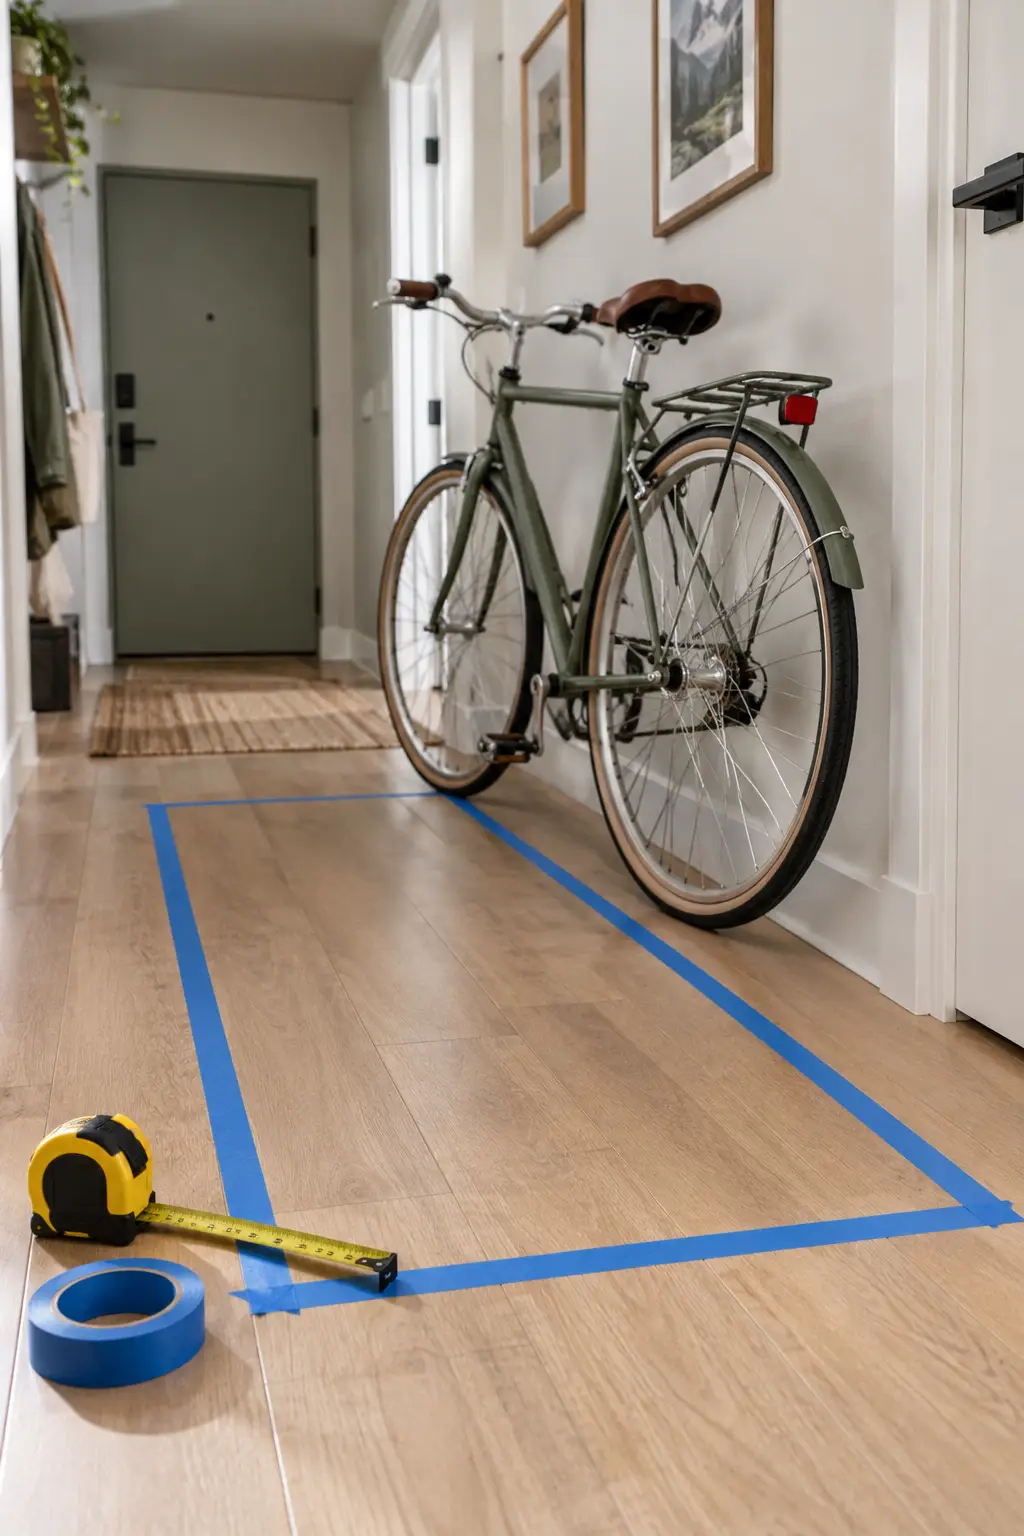
5. Pick where to store bikes in your apartment
If you ride most days, the bike belongs near the front door. Rolling wet tires across the carpet to reach the bedroom gets old fast. Weekend riders have more choices: a bedroom corner, the wall behind the couch, or a deep coat closet all work. Stand in each taped box and open every door nearby. Keep a clear walkway at least 30 inches wide so you can pass without turning sideways. Choose the spot that passes both tests, then peel the tape off the rest.
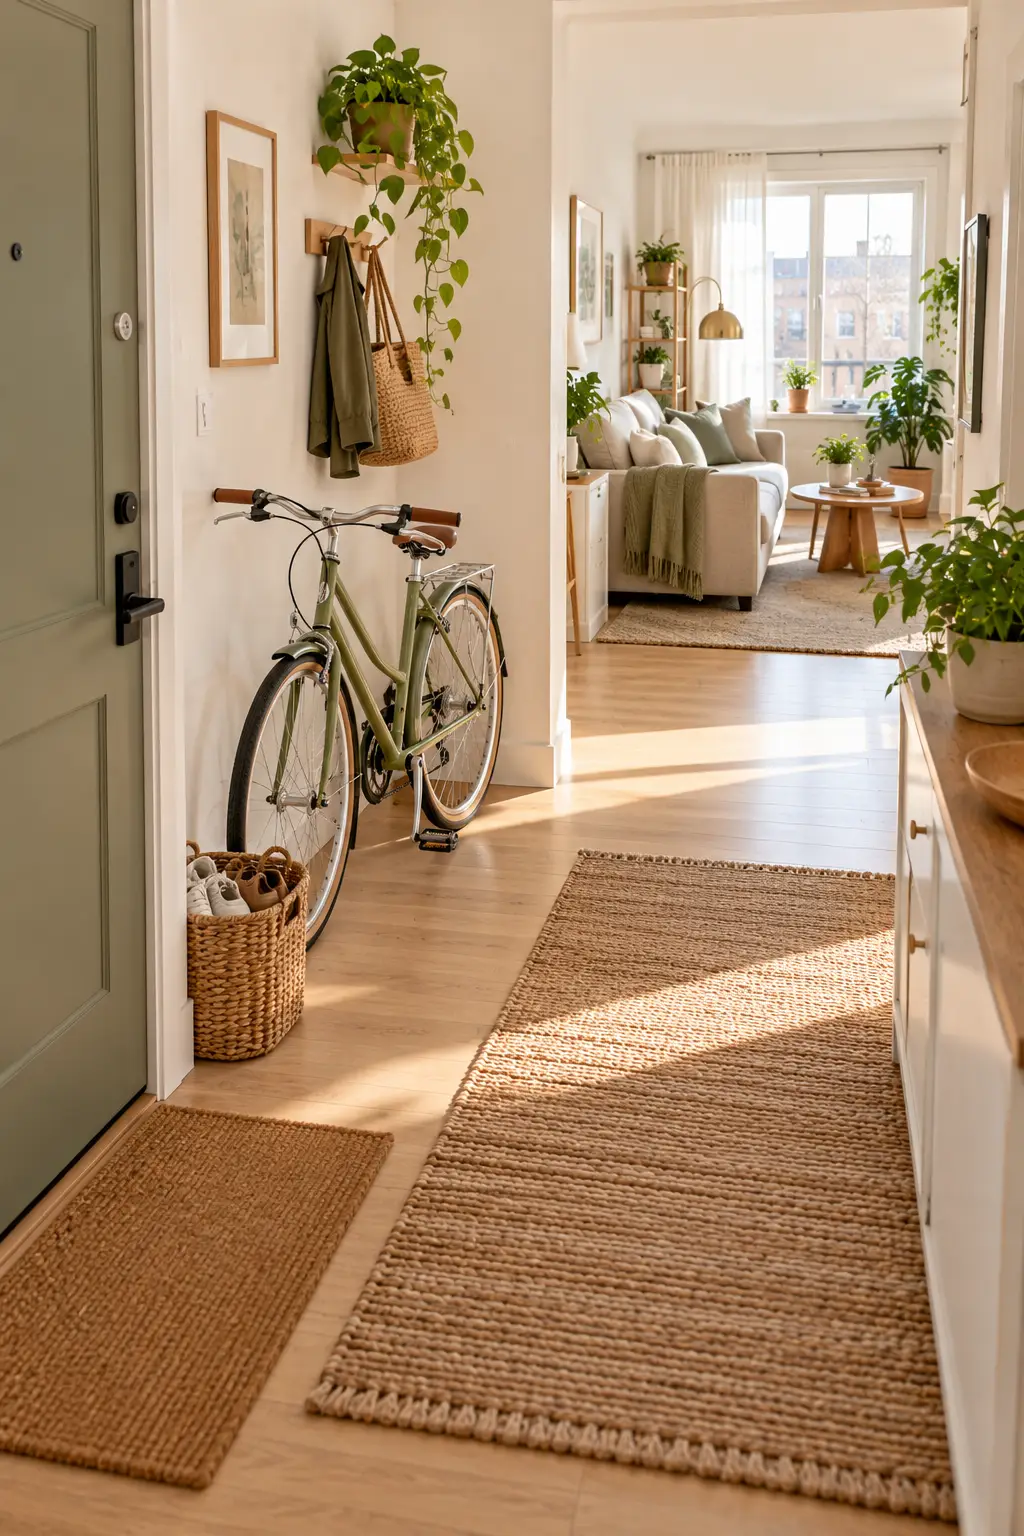
6. Set up a no-drill bike stand or tension rack
Two no-drill options fit most apartments. A gravity stand sits on the floor and grips the rear wheel, so the bike stays upright without leaning on your wall. A tension pole presses between the floor and the ceiling and holds one or two bikes up high, which frees the floor below. Put it together on an old towel so small parts can’t roll under the couch. Tighten a tension pole until you can’t turn it by hand.
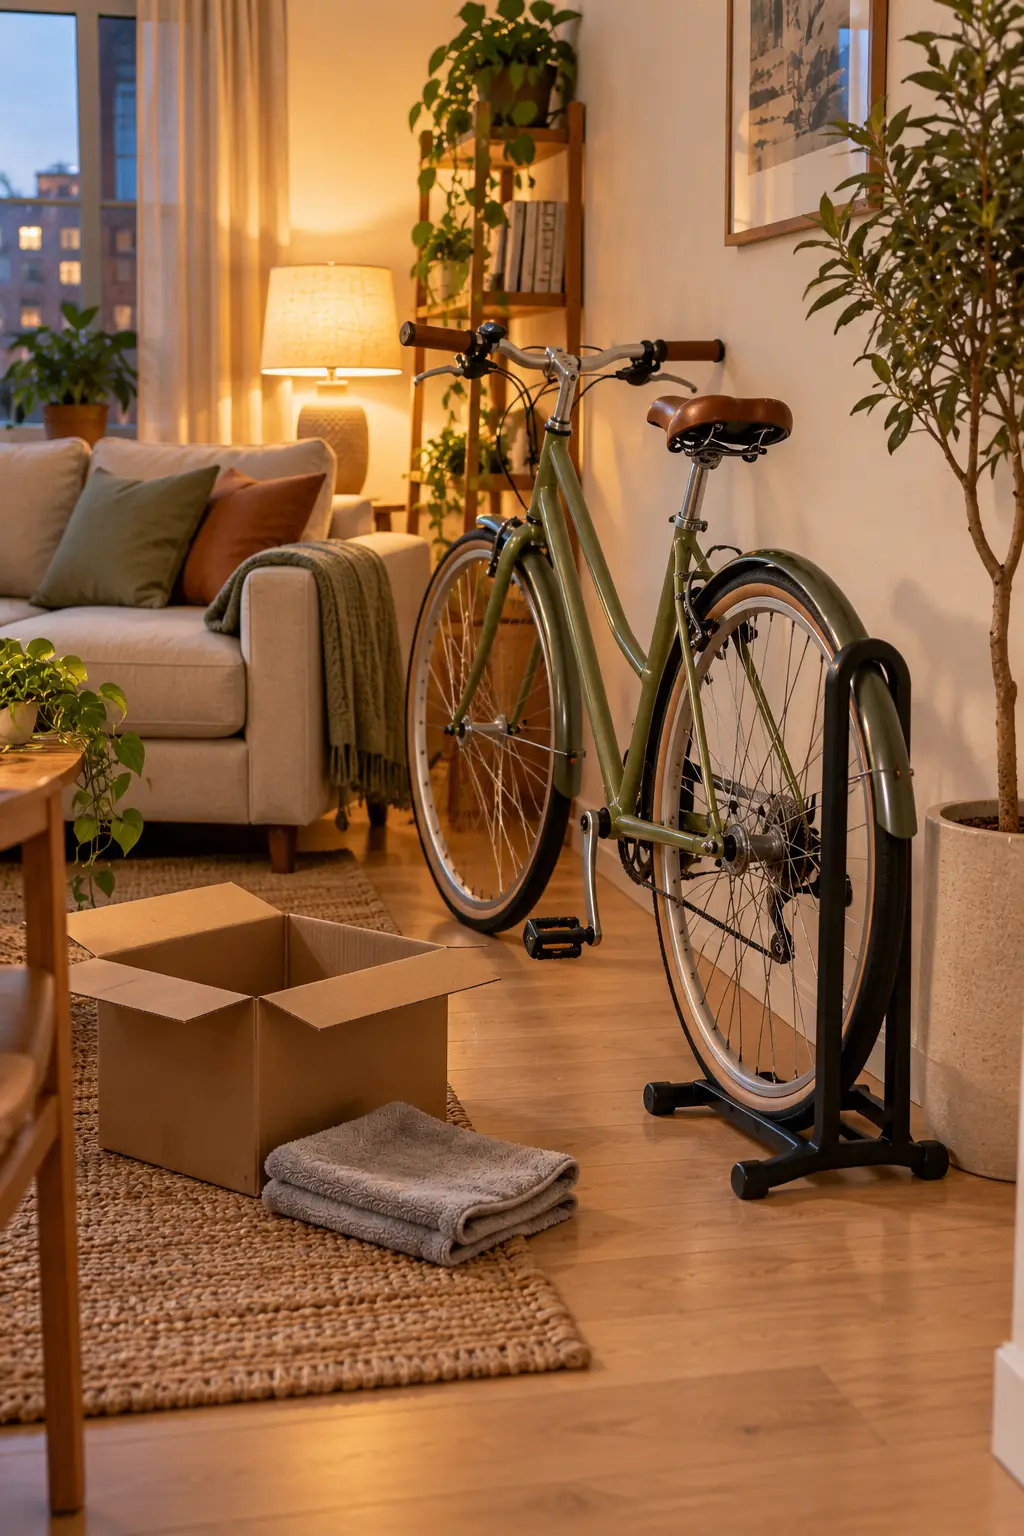
7. Lay a mat and wall guard around the bike
Noticed a black smudge near your front door? That is tire grime, and it builds up fast. Slide a rubber boot tray under both wheels to catch drips and road grit. Then stick a clear wall guard where the handlebar or pedal touches the wall. No wall guard? Put a small felt furniture pad on the end of the handlebar instead, so only the soft side touches the paint.
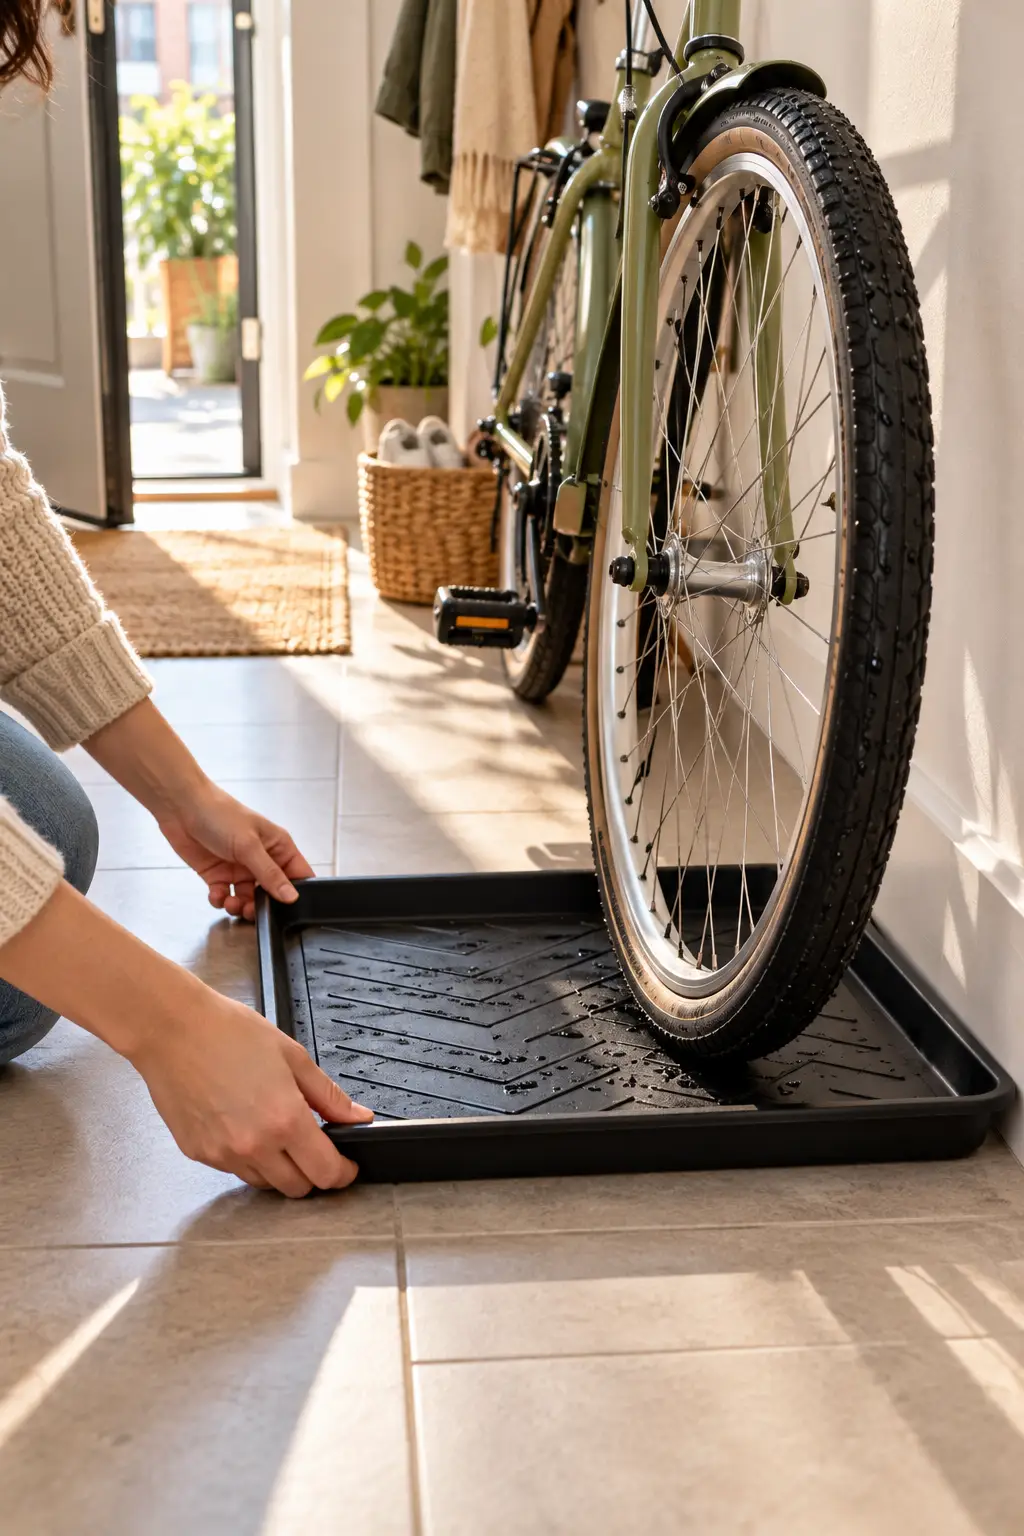
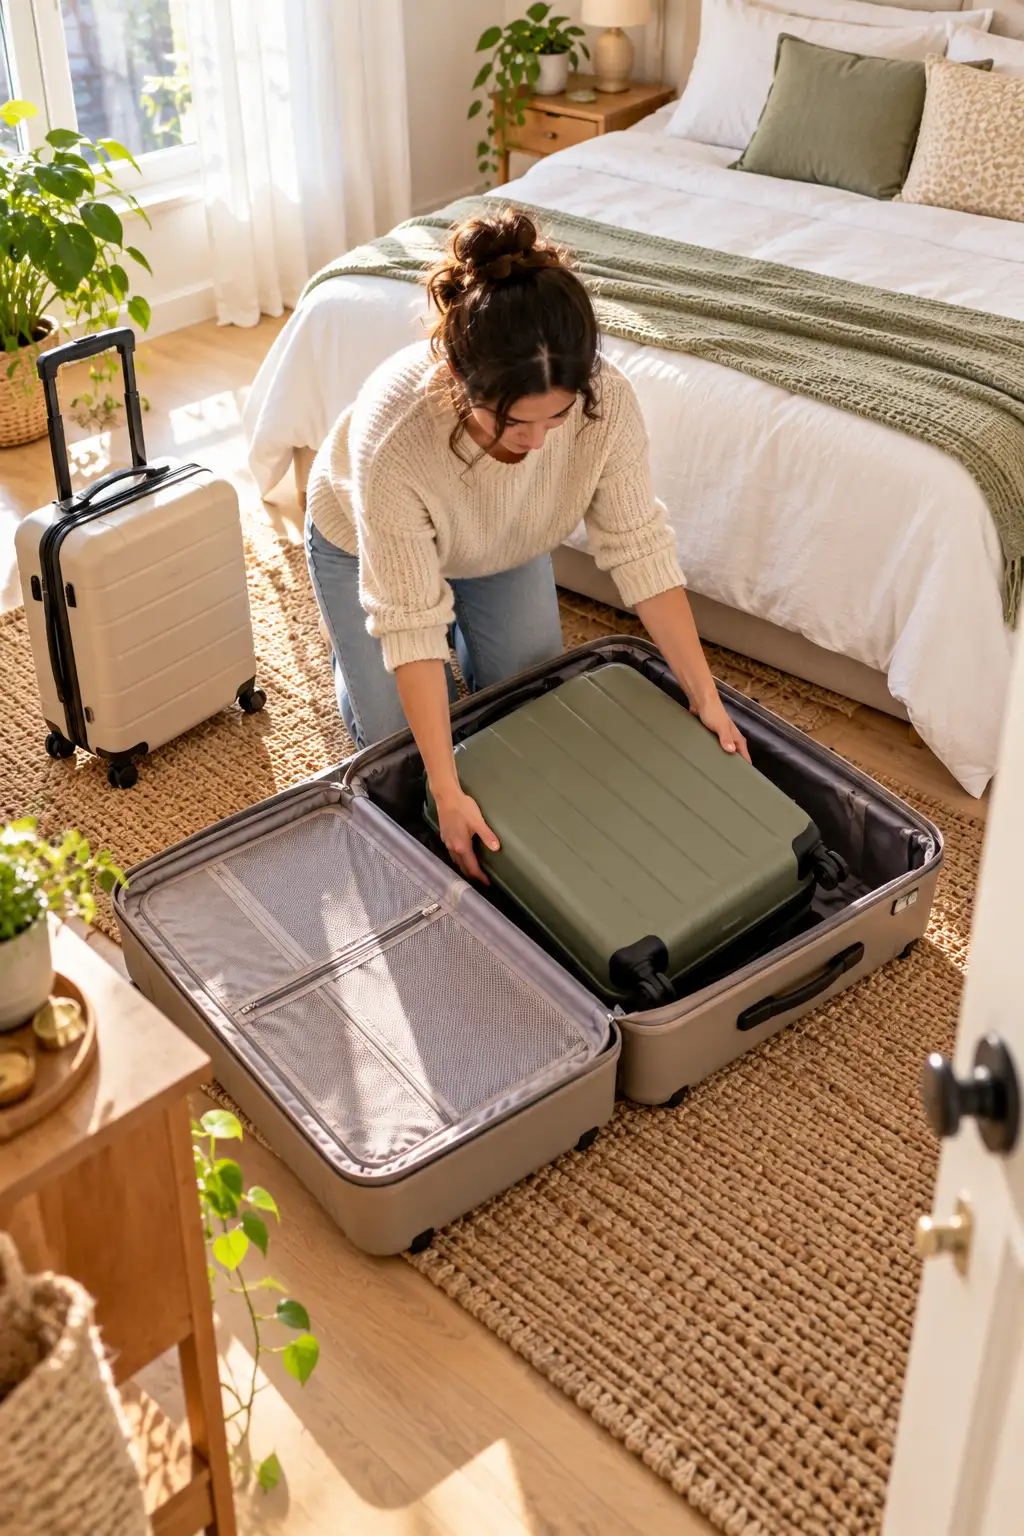
8. Nest your suitcases from largest to smallest
Three suitcases can fit in the floor space of one. Work through this short list:
- Empty every pocket, including the small zip ones
- Wipe the wheels with a damp rag
- Open the largest case flat on the floor
- Set the medium case inside, then the smallest inside that one
- Leave the lids open for the next step
Hard-shell cases with spinner wheels sometimes won’t close around each other. If a lid fights you, stand the cases side by side instead.
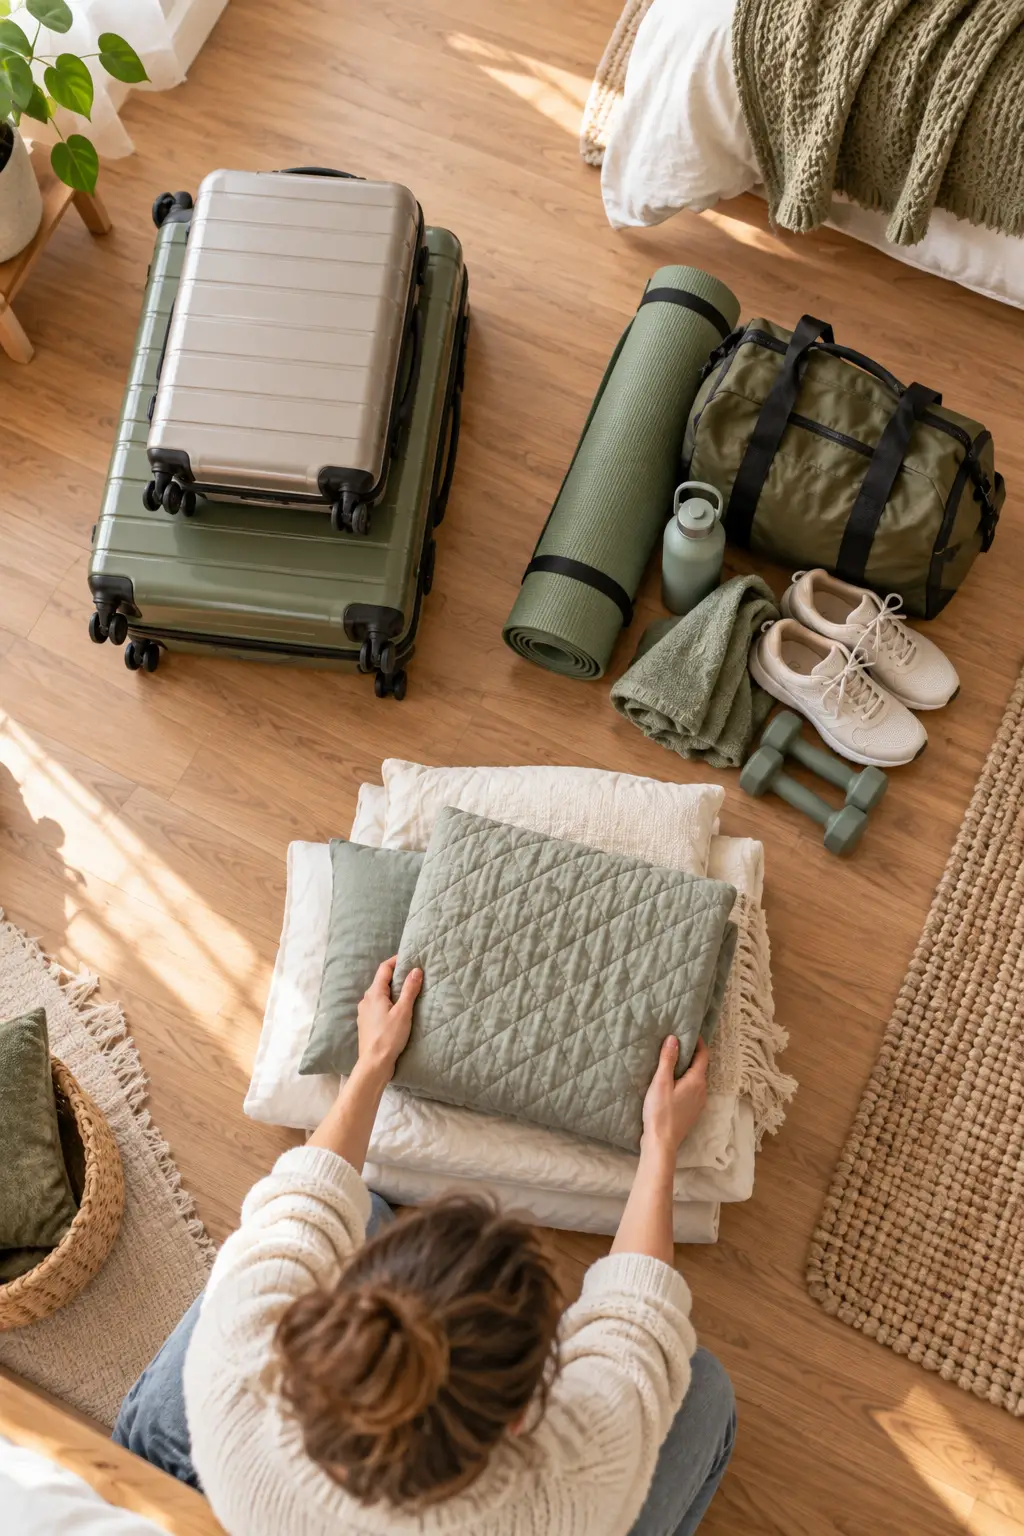
9. Pack off-season clothes inside the nested suitcases
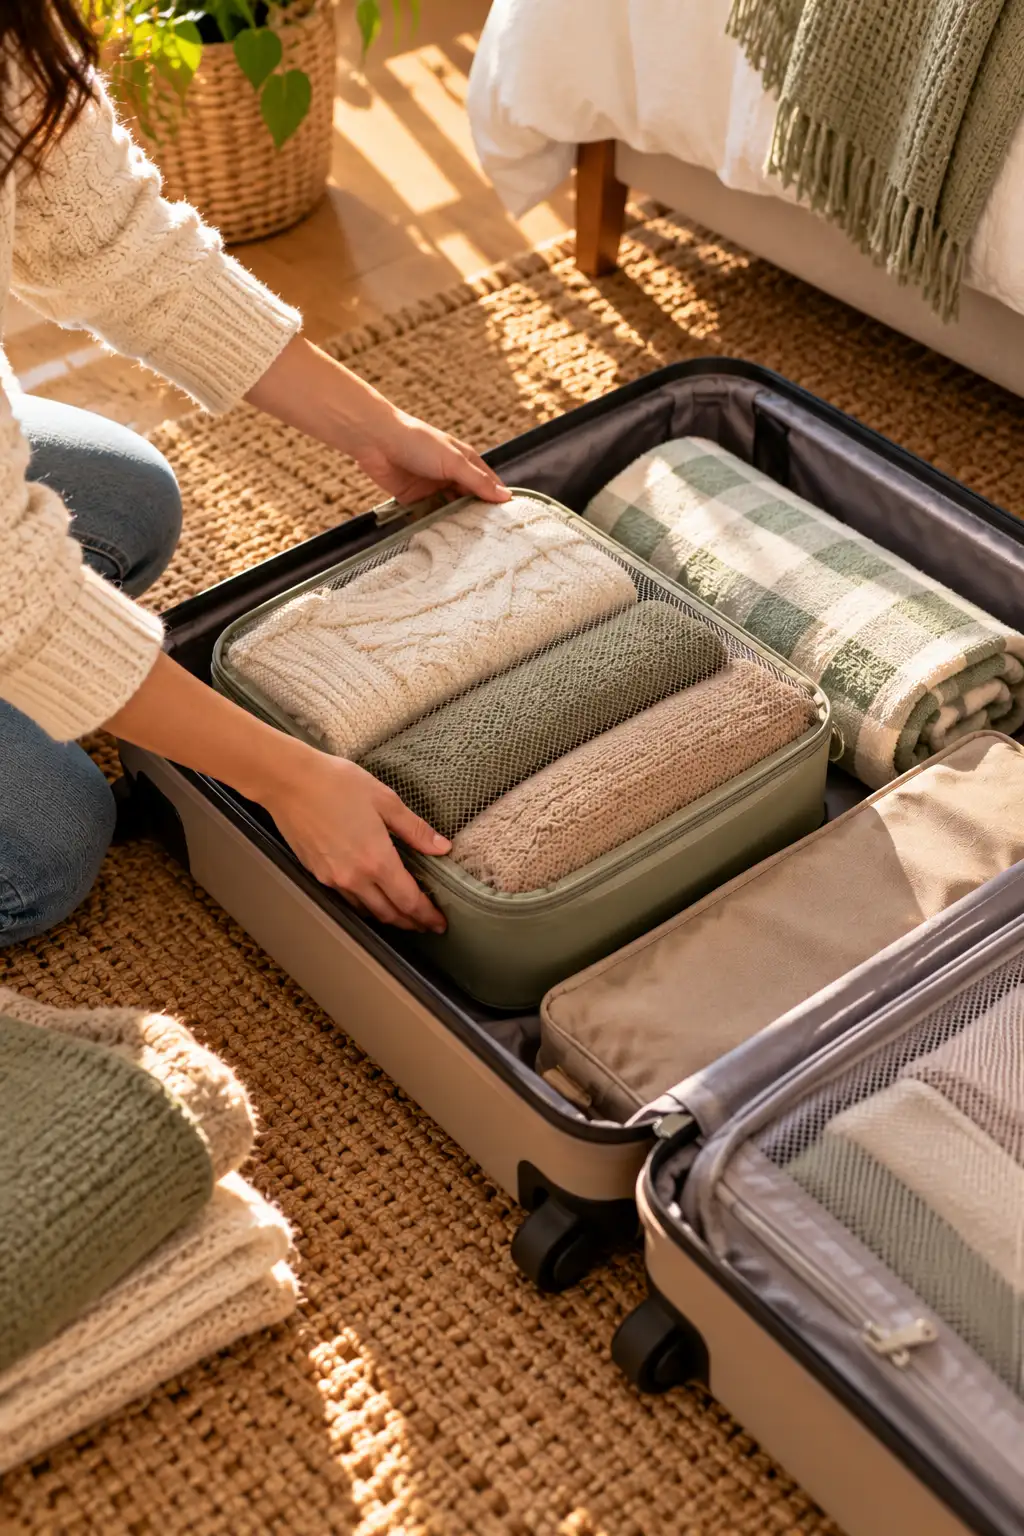
Most people never use the empty space inside their suitcases. Fill the smallest case and the gaps between cases with soft off-season things, like winter sweaters, beach towels, or spare sheets. Stop at about 80% full so the zippers don’t strain. Group everything in packing cubes or a cloth tote. When a trip comes up, you can lift it all out in one move. Zip each case closed, starting with the smallest.
10. Raise your bed with risers to fit luggage underneath
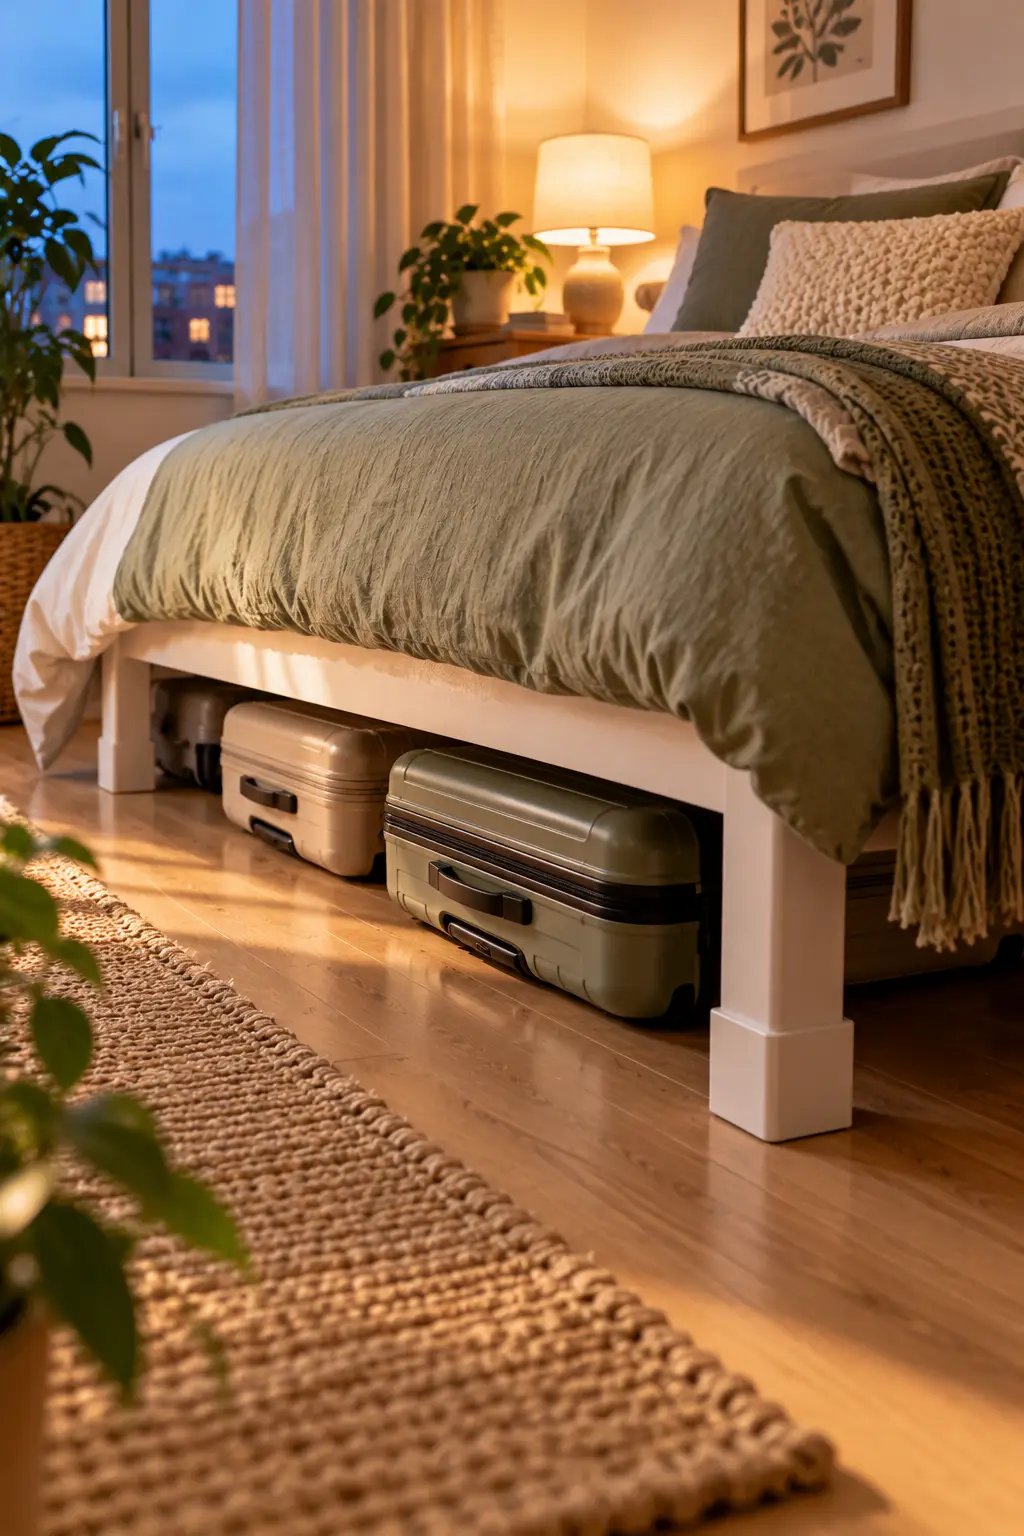
Luggage slides in best with about 1 inch of space above it. Lay the nested cases flat and measure their height, then measure the gap under your bed frame. The difference tells you which risers to buy, usually 3 to 6 inches. Ask someone to lift one corner at a time while you set each leg into its riser cup. Include any middle support legs, or the mattress can sag in the center. When you finish, push the bed from each side. It should not rock at all.
11. Compress bulky bedding and sleeping bags in vacuum bags
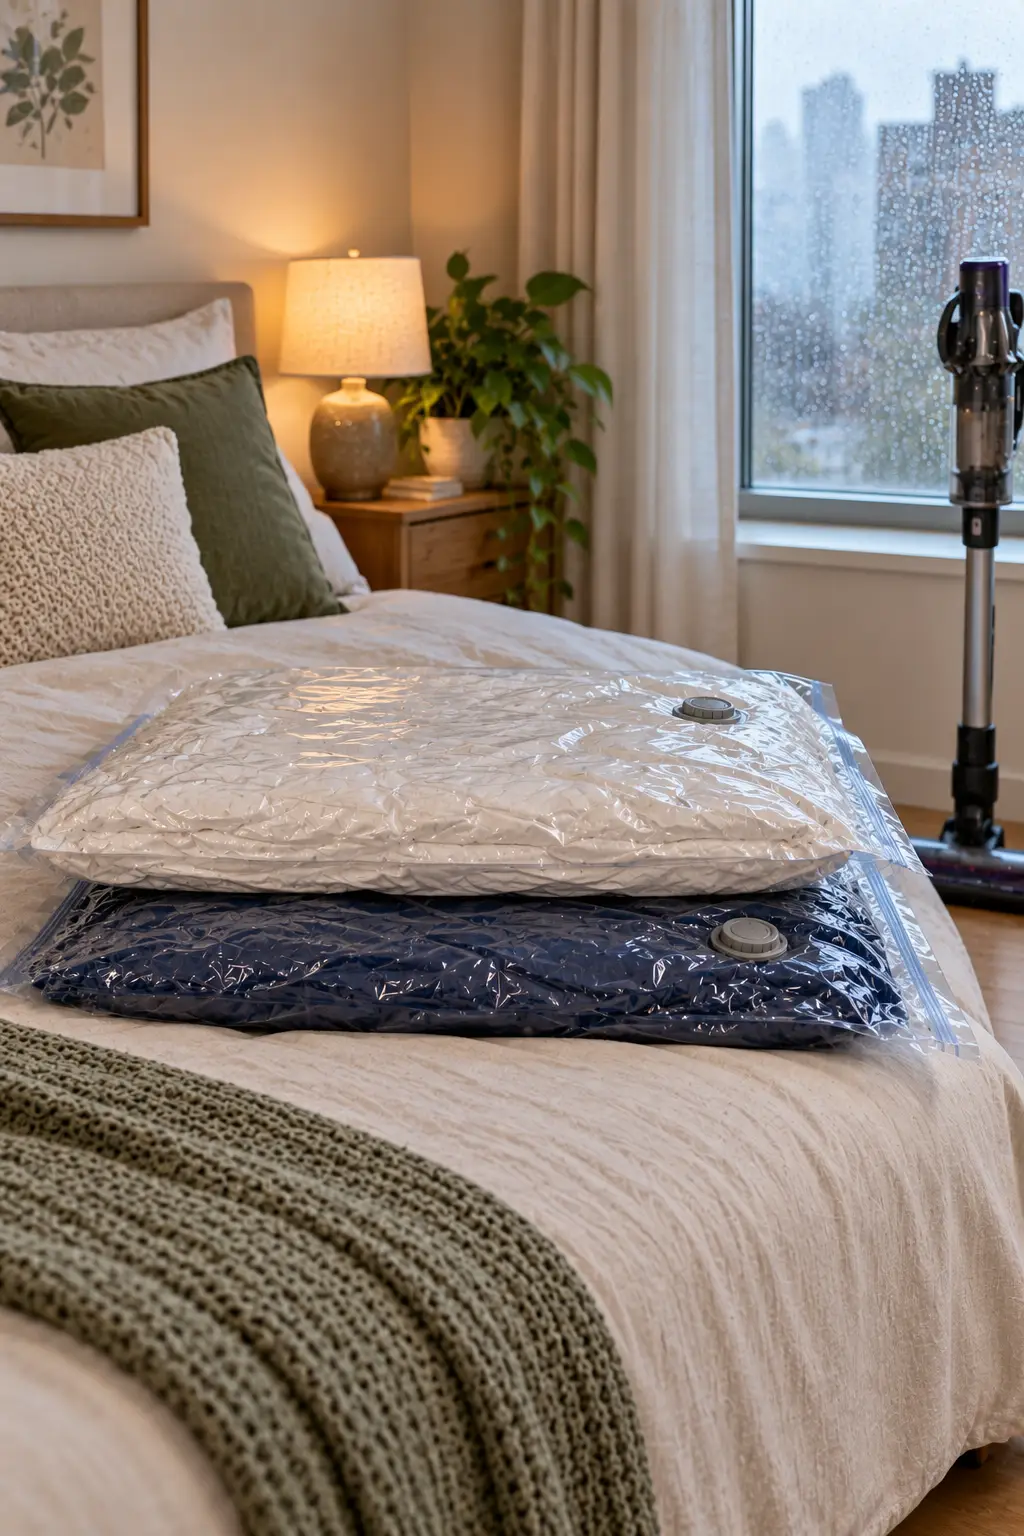
A puffy duvet can shrink to about a third of its size. Fold it to fit the bag with 2 inches of room at the top. Seal the zipper, then pull the air out with the vacuum hose. Slide the flat bags under the bed beside your luggage. Keep down comforters out of these bags, because months of squeezing flattens the feathers for good.
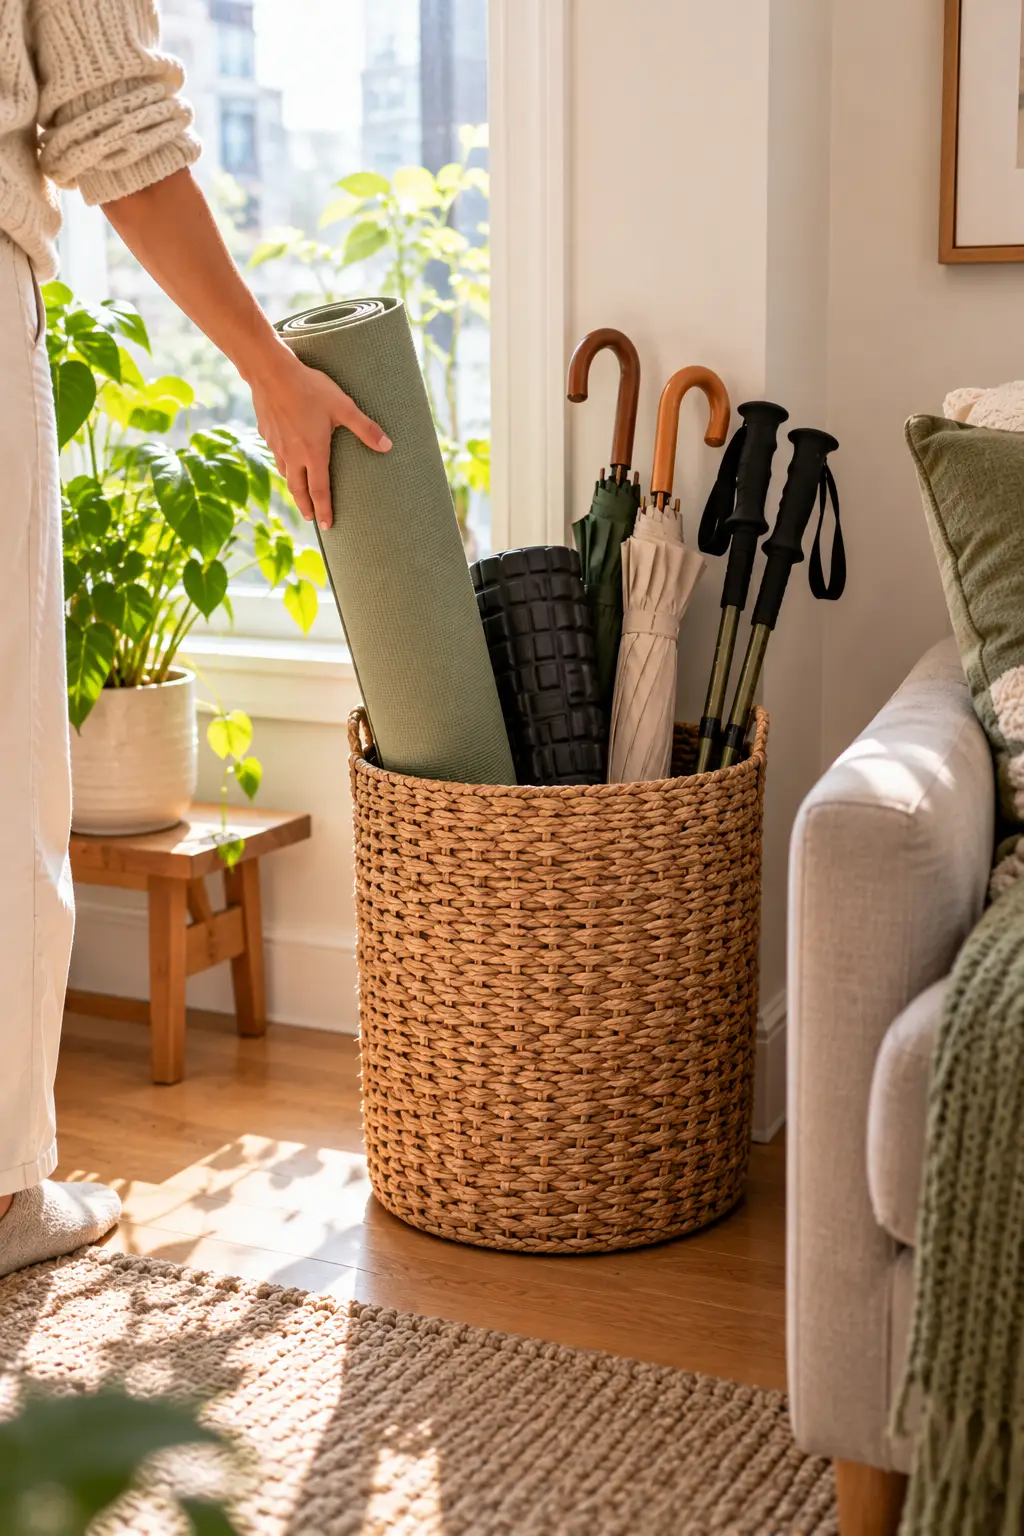
12. Stand tall gear upright in a corner caddy
If something is long and skinny, it belongs in this bin. Items like these roll around on the floor or slide off shelves, but a tall basket in a corner keeps them standing in one spot. Good fits include:
- Rolled yoga mats
- Umbrellas
- Foam rollers
- Hiking poles
- A broom or mop
Put the heaviest item in first so the bin won’t tip. A basket at least 15 inches tall keeps things from leaning out.
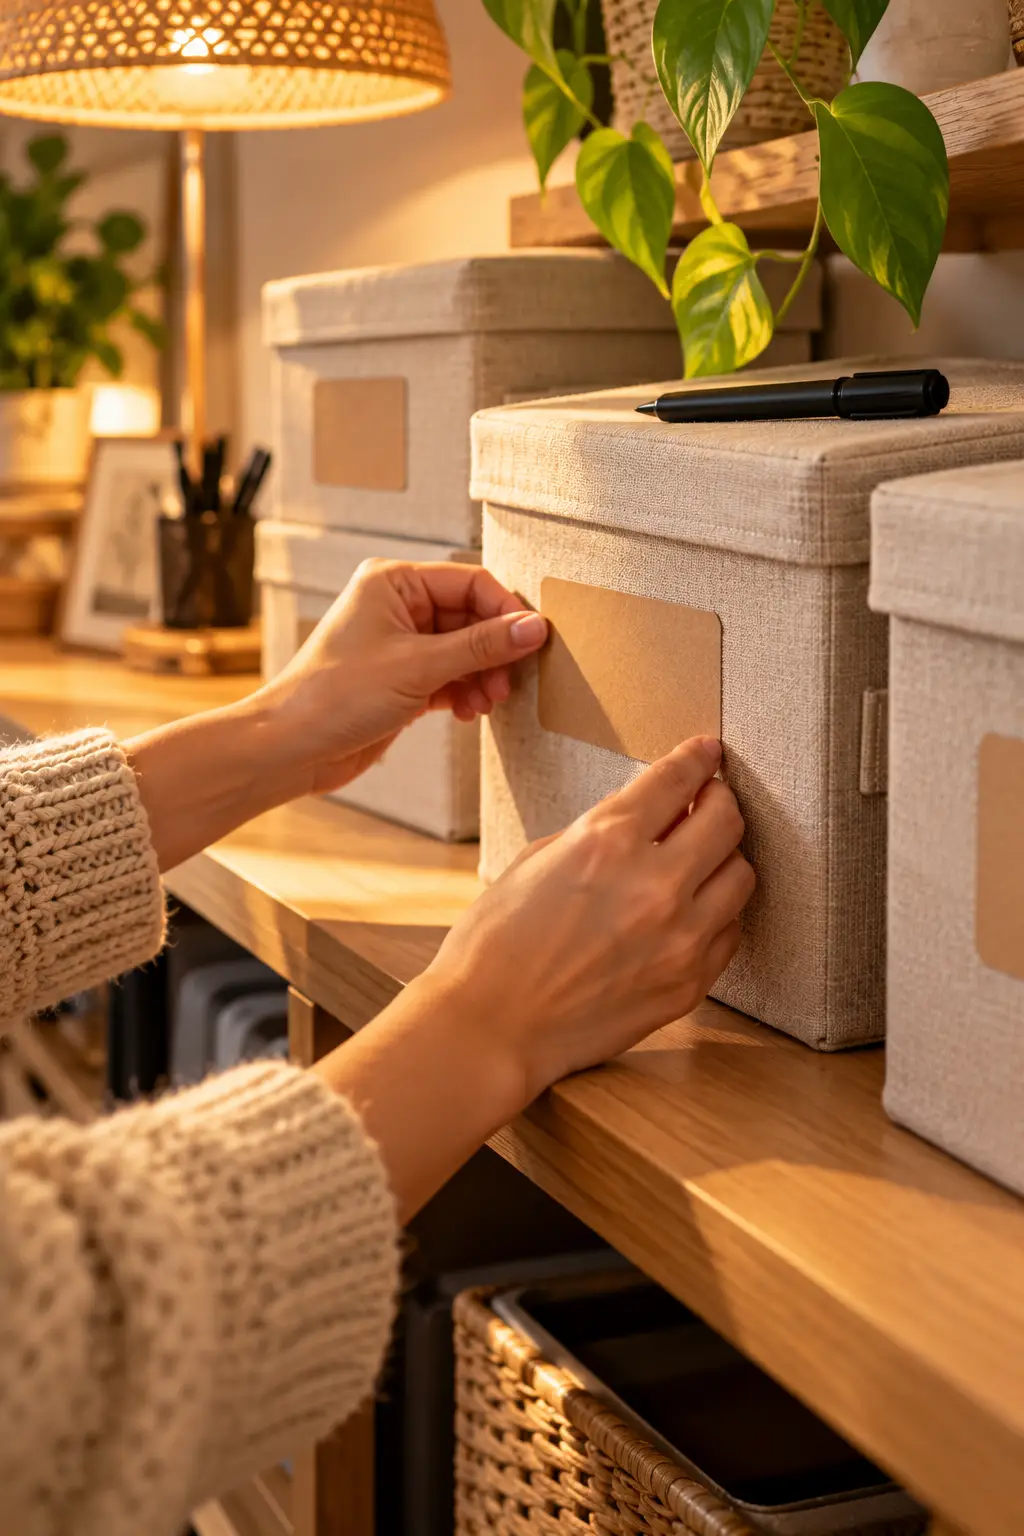
13. Label every bin, bag, and suitcase
Six months from now, you will want the beach towels and won’t remember which bag they are in. Write what’s inside and the season on each label, like “Winter sweaters, Oct to Mar.” Stick it on the side that faces you once the item is put away, not the top. Under-bed bags only show their edge, so label the edge. For suitcases, slip a short list into the luggage tag window.
Troubleshooting: Fixes for Common Storage Problems
Frequently Asked Questions
- ✕Bike leaning in the hallway or against a wall
- ✕Empty suitcases sitting in a bedroom corner
- ✕Puffy bedding filling half the closet
- ✕Yoga mats and umbrellas falling over
- ✕No idea which bag holds what
- ✓Bike on its own stand, with a mat underneath
- ✓Suitcases nested, filled, and under the bed
- ✓Bedding shrunk to about a third of its size
- ✓Tall gear standing in one corner bin
- ✓Every bag labeled and easy to find
- Tape measure and painter’s tape
- Bike stand or tension pole
- Boot tray and wall guard
- Bed risers, 3 to 6 inches
- Vacuum bags and vacuum
- Tall corner bin
- Labels and a marker
- Dryer sheets or cedar blocks
- Gather all bulky items in one spot
- Sort by weekly, sometimes, yearly
- Check your lease for wall and hallway rules
- Measure the bike and tape its footprint
- Pick a bike spot with a 30-inch walkway
- Set up a no-drill stand or tension pole
- Add a mat and wall guard
- Nest suitcases, largest to smallest
- Fill them 80% with off-season clothes
- Lift the bed on risers, slide luggage under
- Vacuum-seal bulky bedding
- Stand tall gear in a corner bin
- Label everything on the visible side
Your bike has a home, your suitcases are pulling double duty, and your floors are clear again.
You now know where to store bikes in an apartment, plus every other bulky thing that used to trip you up.
Give it a week. Once you stop noticing the setup, you know it works.
Next, take a fresh look inside your closet, because all the space you freed up there is ready for a smarter layout.
Save this pin to your apartment storage board so it’s ready the next time you move.

