
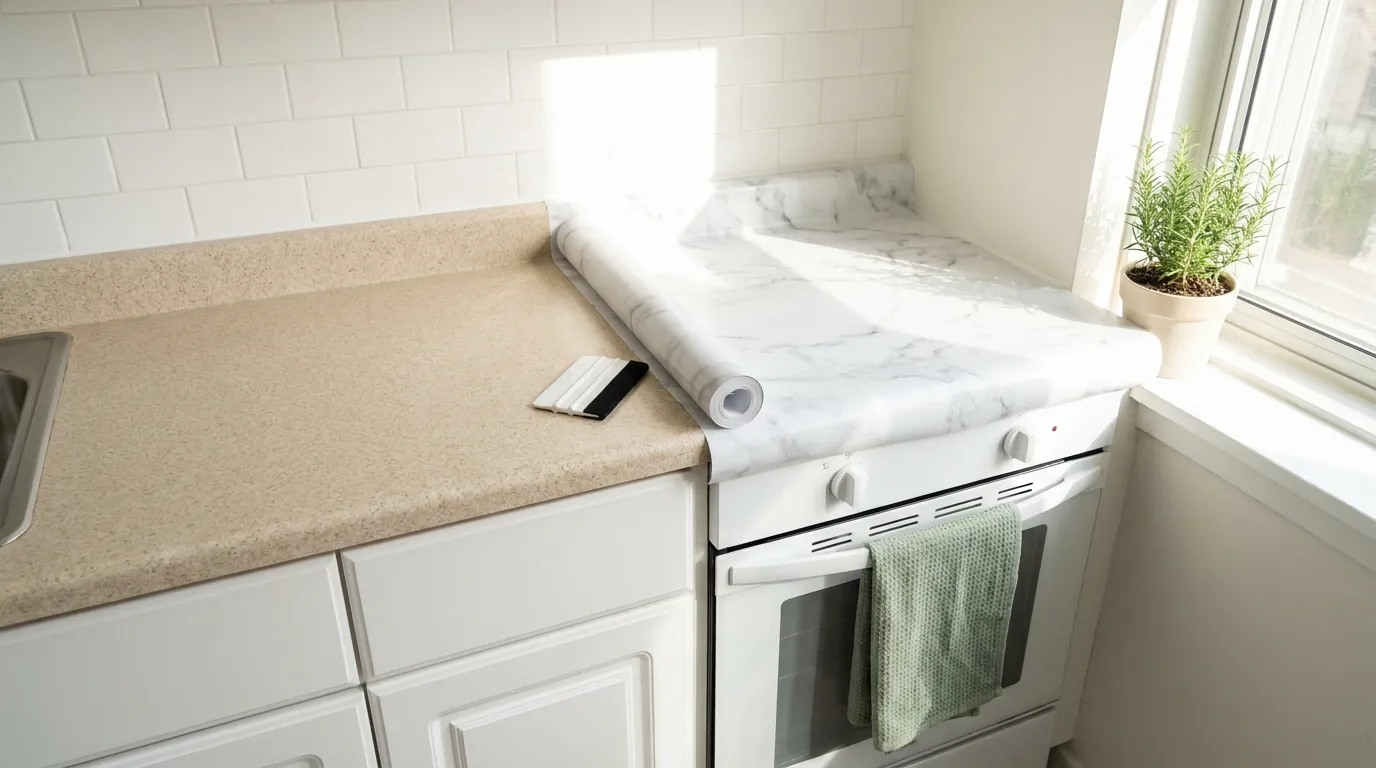
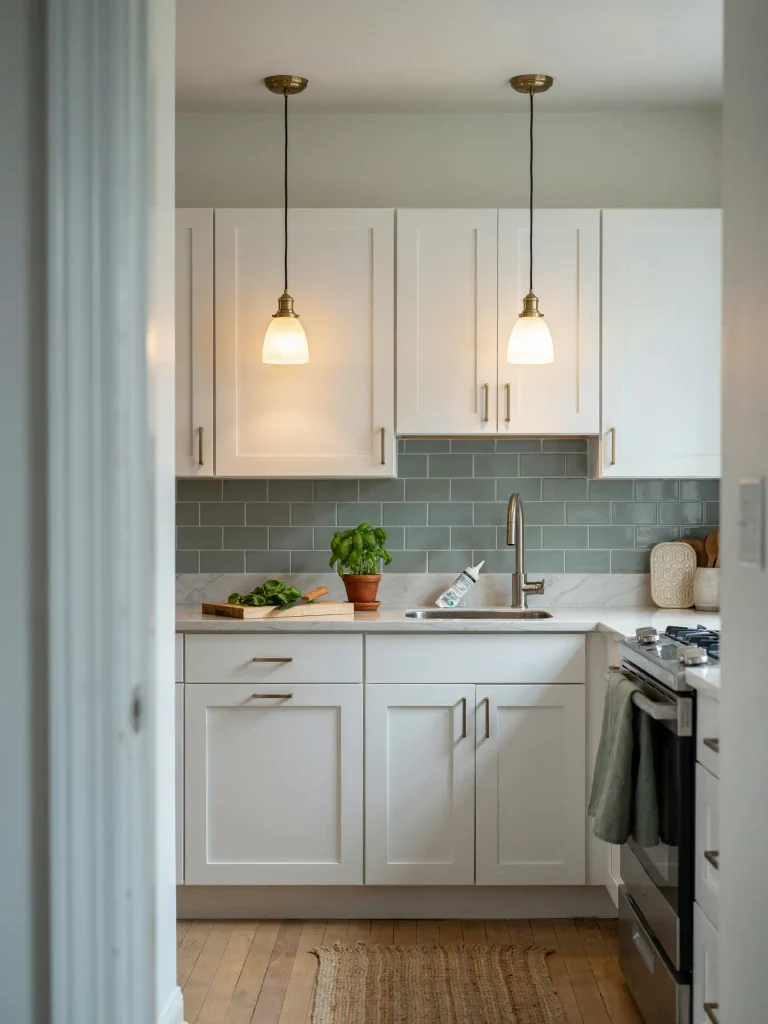
Your kitchen counters are the first thing you see every morning, and in a rental, they are often the worst part of the room. Speckled beige laminate. A burn ring from a past tenant. A color that matches nothing you own.
You can’t rip them out, and you can’t paint them without risking your deposit. A rental countertop makeover with peel and stick film fixes all of that in one afternoon.
This guide shows you how to cover your counters with thick vinyl film that looks like marble, butcher block, or concrete. When you move out, it peels off with a hair dryer. The original surface underneath stays the way you found it.
Here is why this method works. Most bad film jobs fail because of the prep, not the film. Grease and dust stop the glue from gripping, so the edges start lifting within a week. We are going to clean the counters twice, lay the film in small sections, and seal the spot where water sits the longest.
Plan on about 2.5 hours of hands-on work. Trimming around the sink takes patience, and your first panel will be slower than your last. That’s normal. Clear your counters, charge your phone for photos, and let’s start.
- Read your lease for surface rules
- Photograph every counter
- Clear everything off
- Measure and add 2 inches per side
- Scrub with dish soap and warm water
- Wipe down with rubbing alcohol
- Let dry for 1 hour
- Cut your first panel on the floor
- Peel back 6 inches of backing
- Line up the back edge
- Squeegee forward as you peel
- Pop bubbles with a pin
- Heat and wrap the front edge
- Overlap the next panel by ½ inch
- Trim around the sink and stove
- Seal the sink edge with removable caulk
1. Read your lease for any rule about surface changes
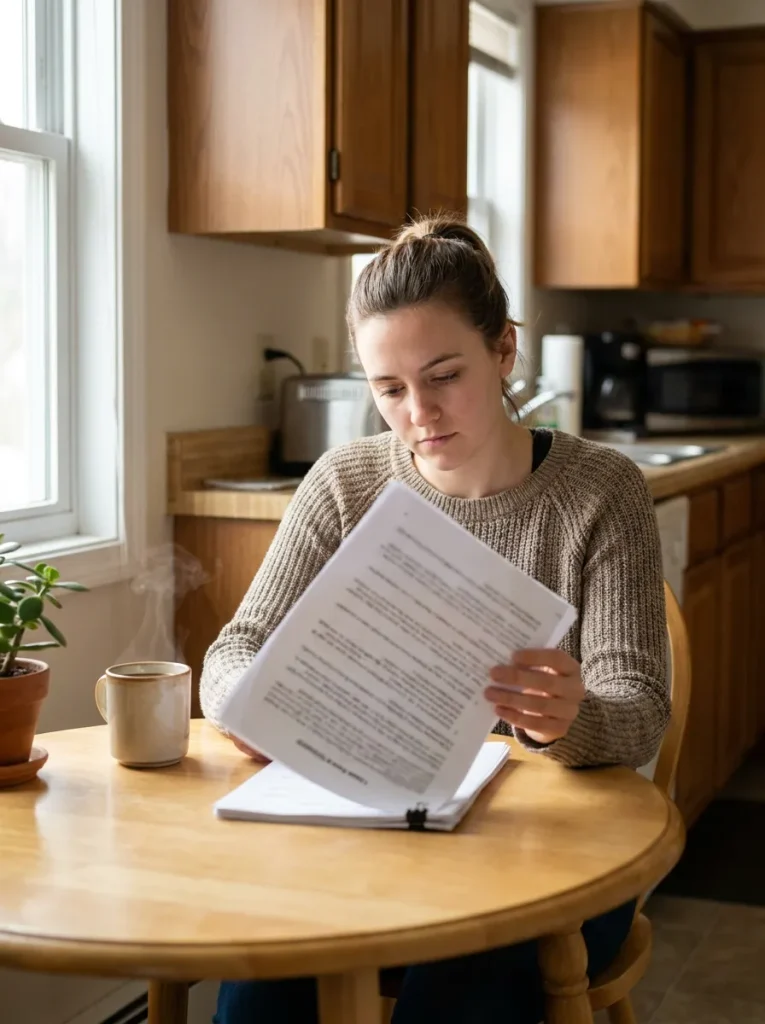
Most leases ban permanent changes, not removable ones. Search the document for words like “alterations,” “modifications,” or “improvements.” If it says changes need written approval, email your landlord a photo of the film you plan to use and explain that it peels off. A two-line “yes” in writing protects your deposit. Save that email in a folder you won’t delete until after you move out.
Not sure what counts as a surface change? My renter’s rulebook lists the lease keywords to look for.
2. Photograph every counter before you change anything
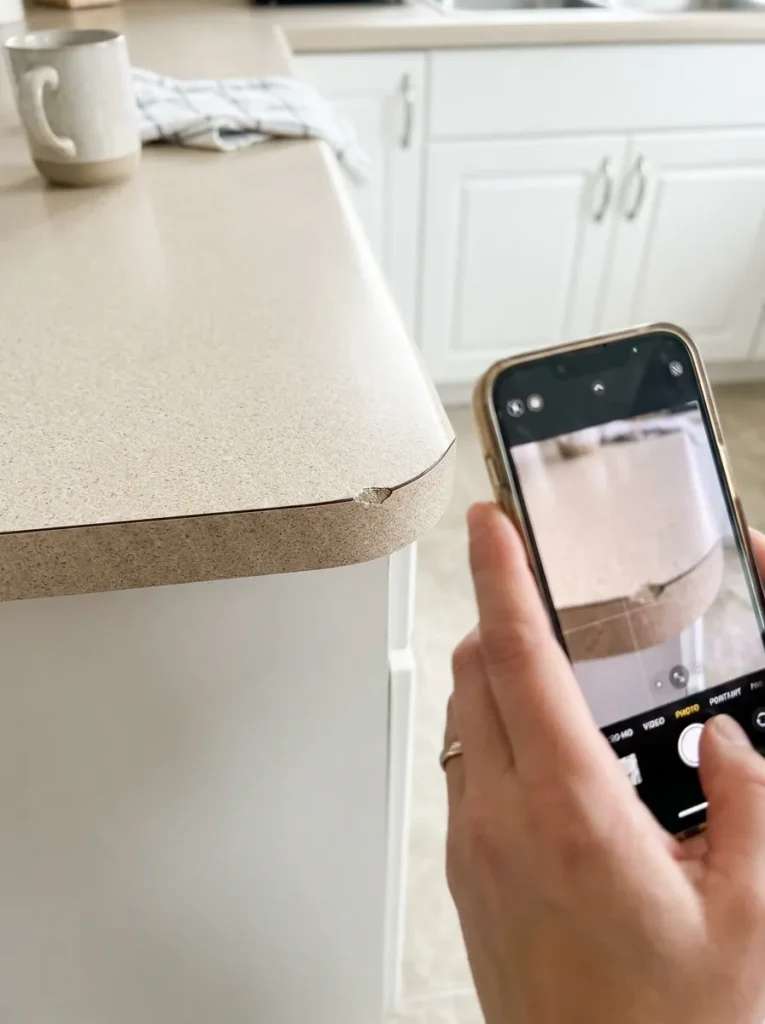
These photos are your proof. Take at least 3 shots of each counter section: one wide shot, one close-up of any chips or stains, and one of the front edge. Email them to yourself so they carry a date you can show later.
3. Clear every item off the counters
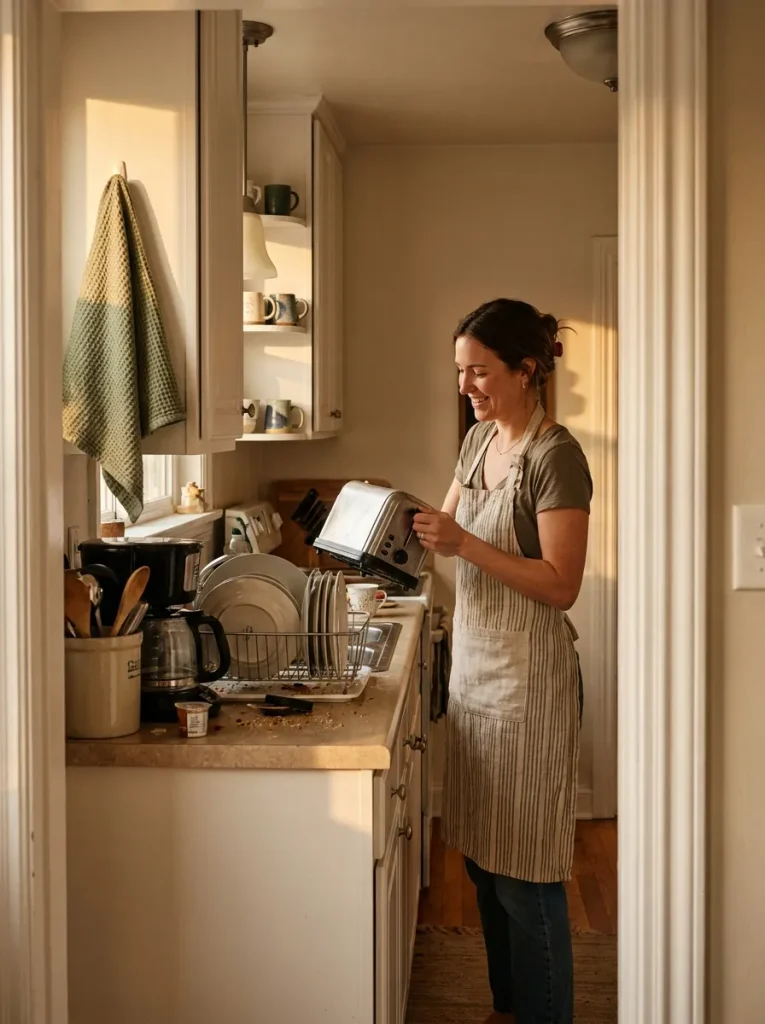
Anything left on the counter becomes something you work around, and working around things is how gaps and crooked edges happen. Before you pick up the measuring tape:
- Move small appliances to a table or the floor.
- Take the dish rack and soap pump off the sink edge.
- Unplug the toaster and coffee maker and tuck the cords away.
- Pull out any knife block or utensil crock tucked in the corners.
Leave the kitchen bare until the very last step is done.
Since everything is off the counters anyway, it’s a good time to rethink the setup. Here’s how to add counter space to a small kitchen without drilling.
4. Measure each counter section and add 2 inches on every side
Two inches of extra film on each side is your safety margin. It gives you room to trim a clean line at the wall and wrap the front edge without coming up short.
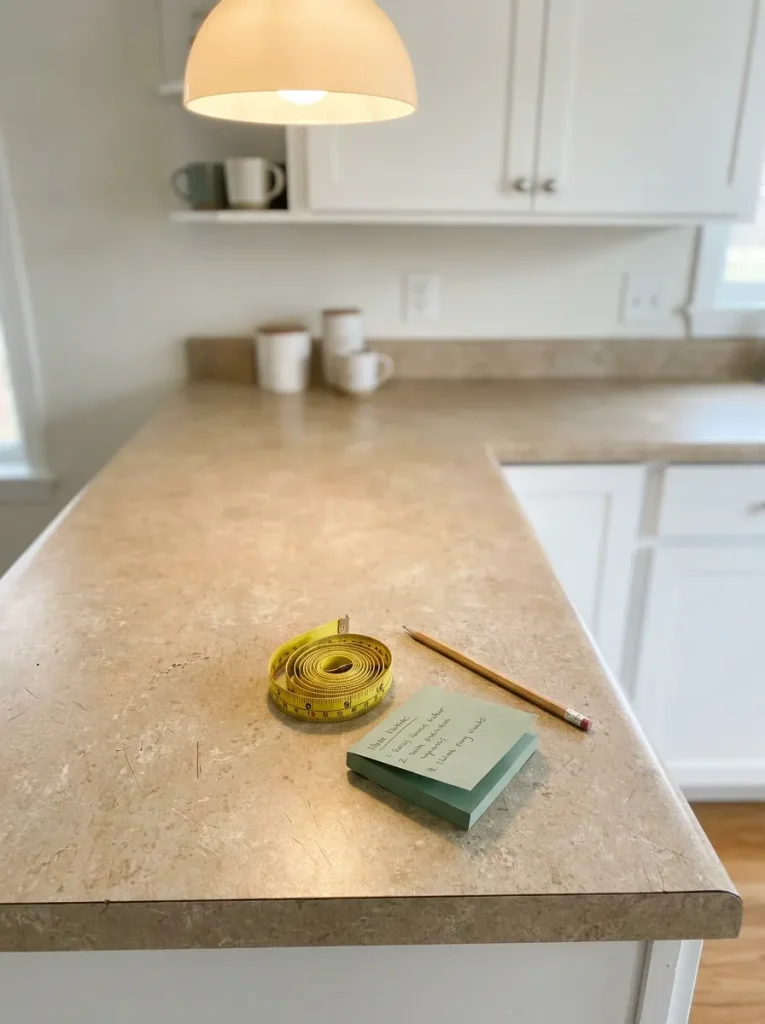
For width, measure from the wall to the front lip. Then measure the front edge from top to bottom, add the two numbers together, and add 4 inches. For length, measure each run of counter separately and add 4 inches. Older rentals are rarely square, so measure the depth at both ends and use the bigger number. Write each total on a sticky note and press it onto that section.
5. Scrub away grease with dish soap and warm water
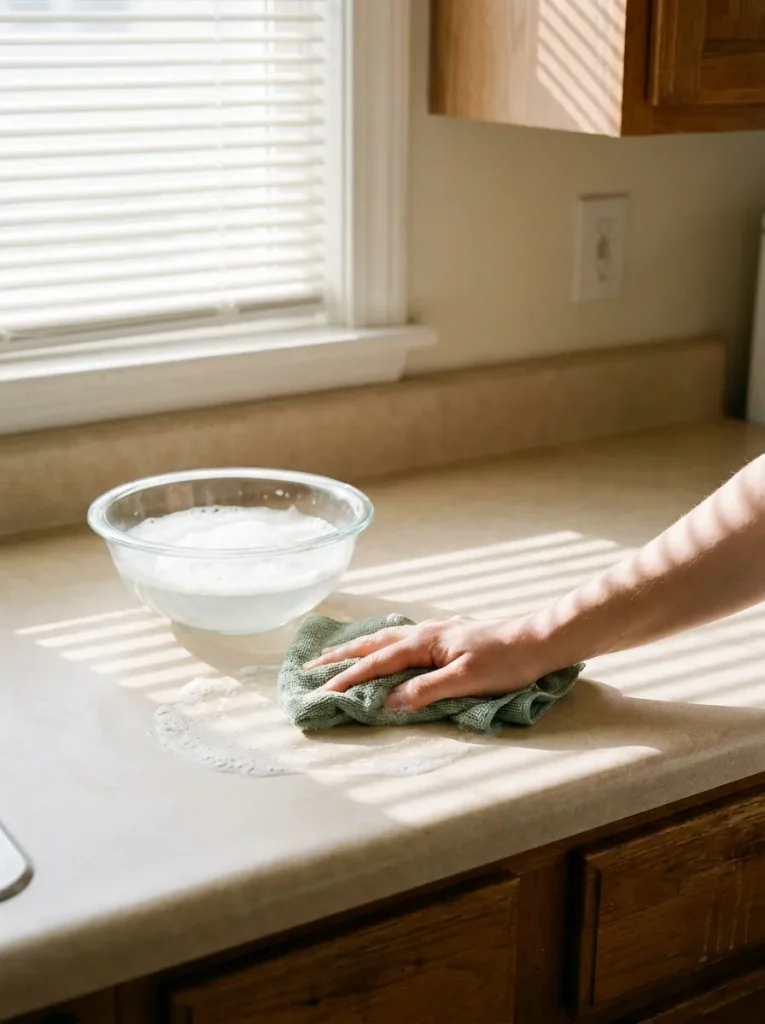
Every kitchen counter carries a thin layer of cooking grease you can’t see, and film will not stick to it. Stir about 1 teaspoon of dish soap into 2 cups of warm water. Scrub each section with a damp microfiber cloth, working hardest on the back corners and the front edge where hands touch most. Rinse the cloth in clean water and wipe everything once more to lift the soap.
6. Wipe the whole surface with rubbing alcohol
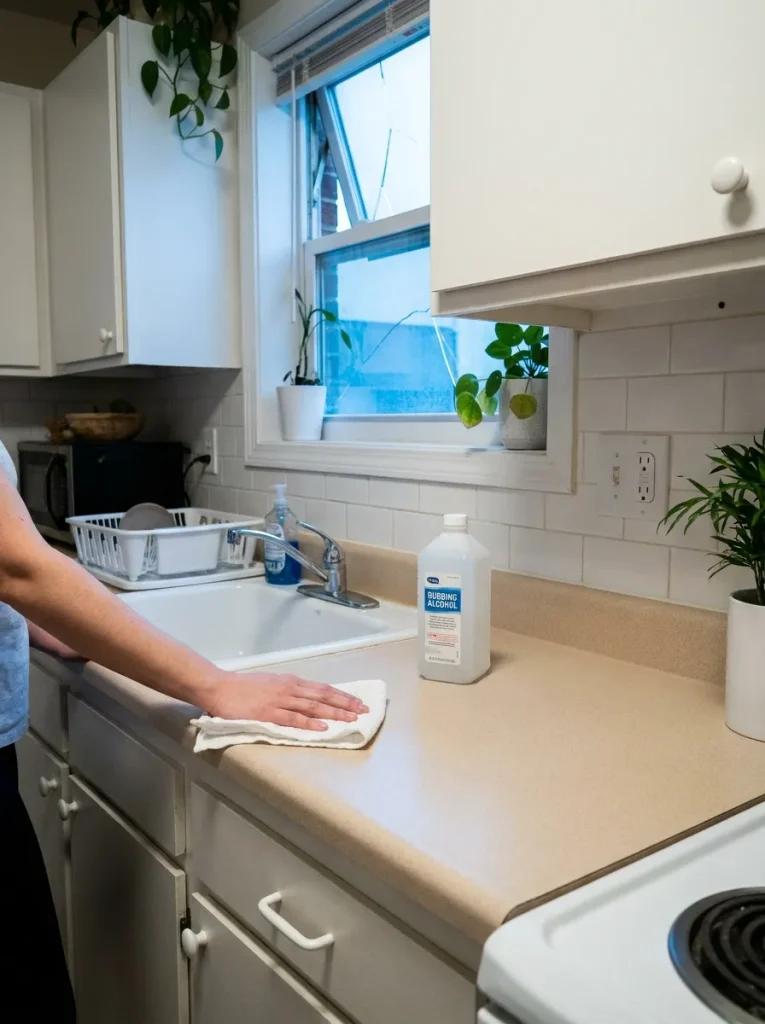
Soap leaves behind a faint residue even after rinsing, and that residue acts like a nonstick coating under your film. Pour a little rubbing alcohol onto a fresh, dry cloth. Wipe every surface the film will touch, including the front edge and the underside of the lip. The alcohol cuts the last of the oil and dries in minutes. If you don’t have rubbing alcohol, an ammonia-free glass cleaner does the same job.
7. Let the counters dry for a full hour
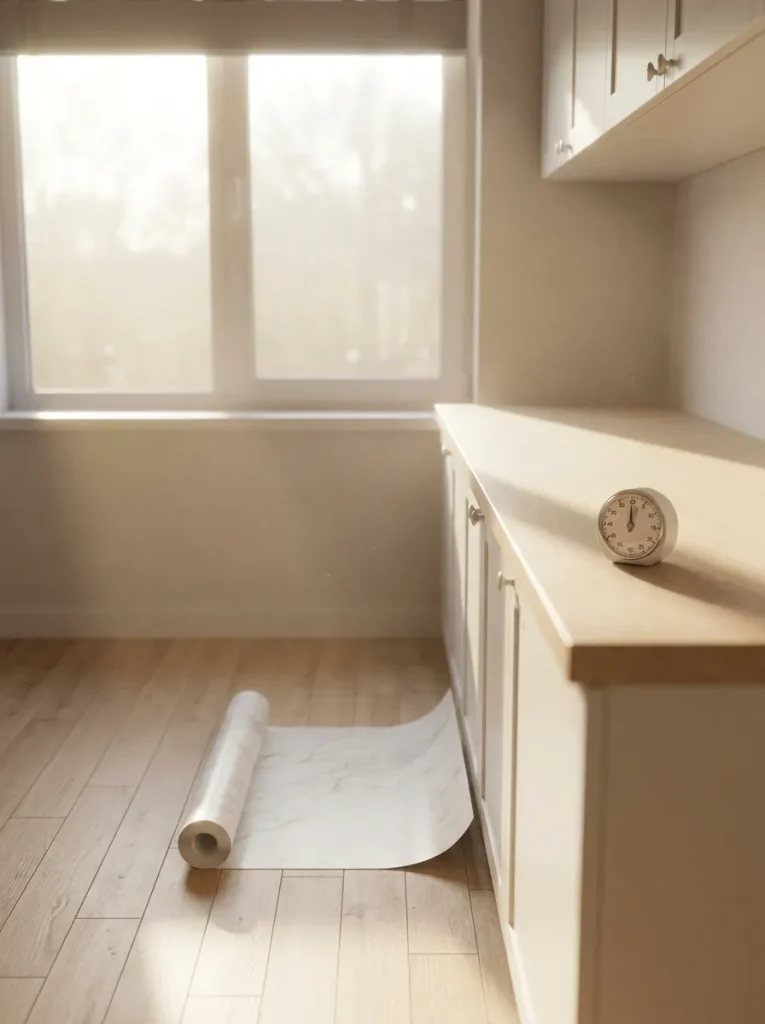
If the counter still feels cool under your palm, there is moisture in it. Water trapped under film turns into cloudy patches that never clear. Set a timer for 1 hour. Use the wait to unroll your film on the floor, pattern side down, so it relaxes flat and stops curling.
8. Cut your first panel on a flat, clean floor
A knife slip on the counter scores the very surface you’re trying to protect, so all cutting happens on the floor. Lay down a flattened cardboard box first. A large cutting mat works too.
- Roll the film out with the backing side facing up.
- Grab the sticky note for your longest, straightest counter run.
- Mark the width and length using the grid printed on the backing.
- Line up your metal ruler and cut in one steady pass.
Leave the sink section for later, after a few panels have given you practice.
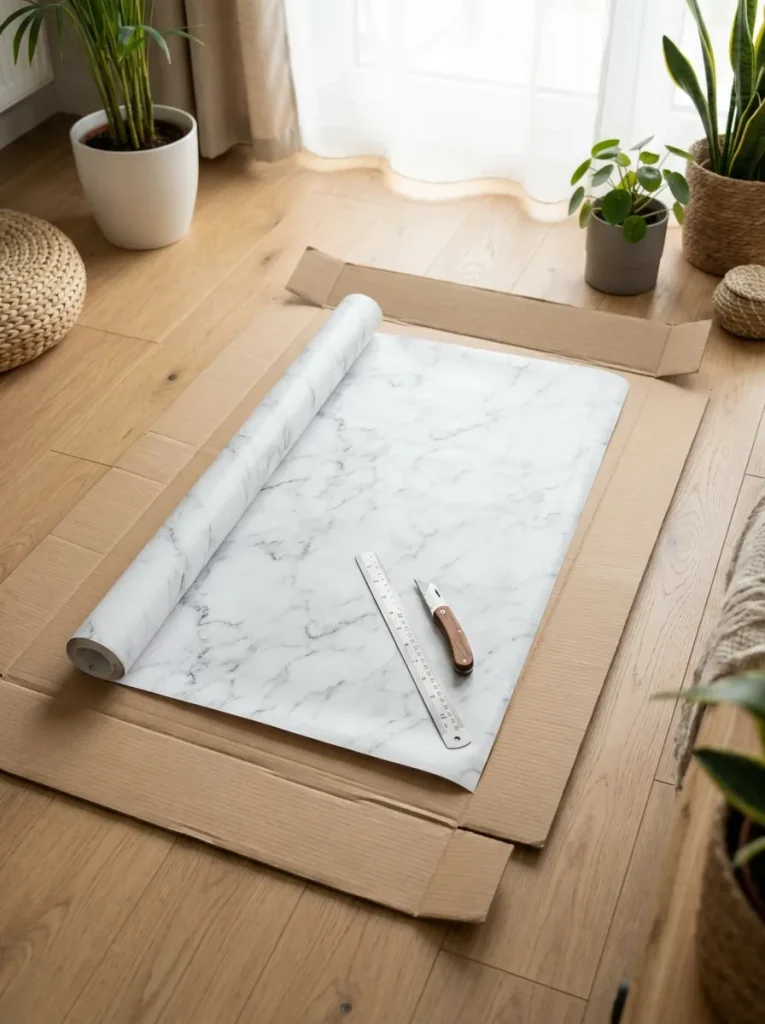
9. Peel back only the first 6 inches of backing
A fully peeled sheet curls, folds, and grabs onto itself long before it reaches the counter. Six inches is enough to anchor the back edge while the rest stays protected. Fold the loose backing straight back along a sharp crease so it pulls away evenly later. Hold the film by its edges, because fingerprints on the glue side show through light patterns like white marble.
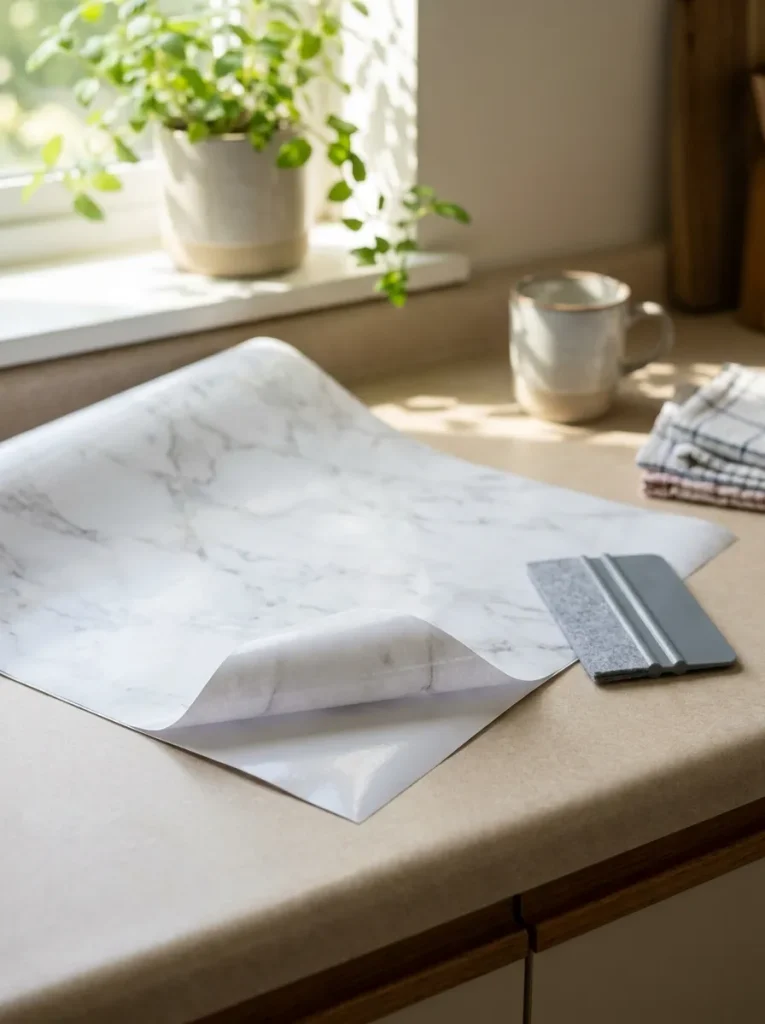
10. Line up the back edge tight against the backsplash
Rental walls are rarely straight, so don’t try to match the film to the wall line. Press the sticky strip down into the corner where the counter meets the wall, and let the extra 2 inches fold up onto the backsplash. That fold hides any wobble in the wall, and you’ll trim it off in Step 15. Before you press hard, check that the film hangs past the front edge by the same amount at both ends. If it doesn’t, lift and reset now, because later is too late.
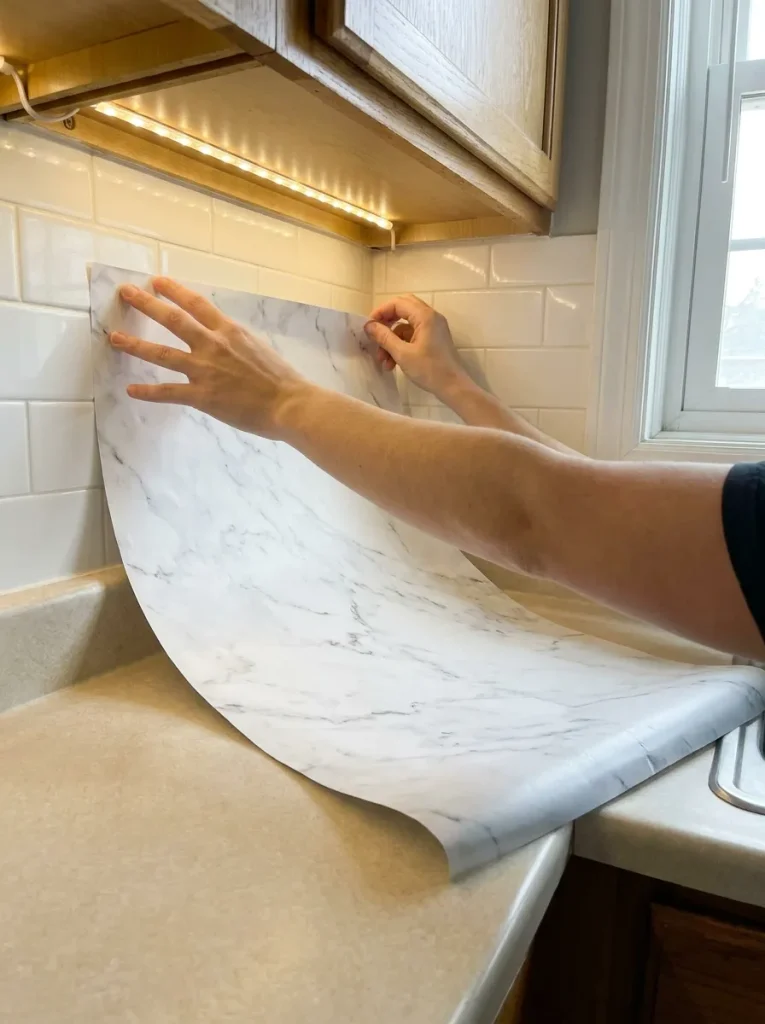
11. Smooth the film forward with a squeegee as you peel
From here to the front edge, the rhythm is pull, then press. Reach under the film and tug the backing down about 6 inches with one hand. With the other, sweep the squeegee from the center out to each side, then forward. Starting in the center pushes air toward the edges, where it can escape. Hold the squeegee at a low angle, about 45 degrees, with firm and even pressure. Repeat in 6-inch sections until you reach the front lip. Leave the overhang loose for now, since it gets its own step.
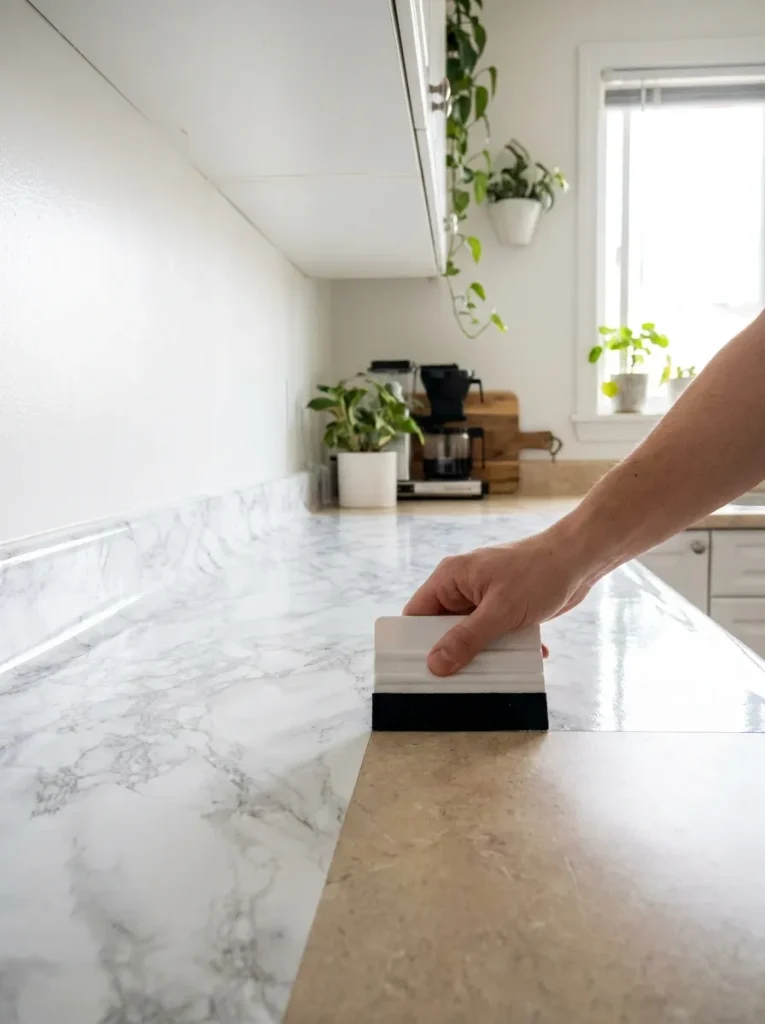
12. Pop trapped bubbles with a pin
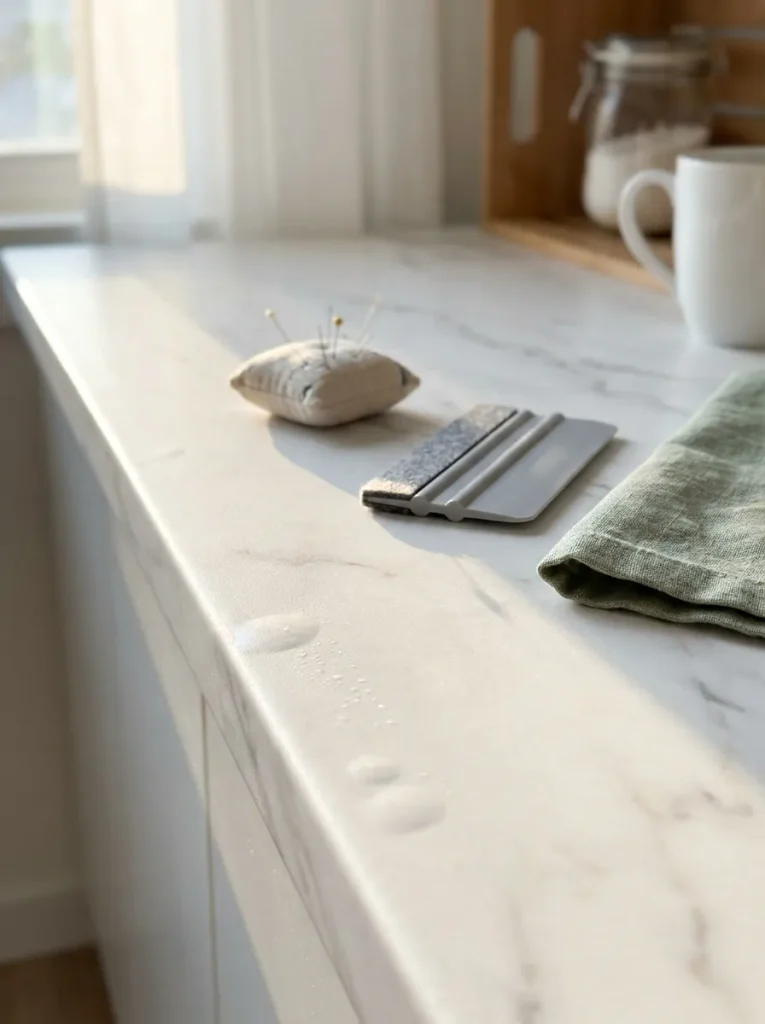
Small bubbles happen even to pros. Push a sewing pin straight down into the center of the bubble, then press the air toward the hole with your thumb. The pinprick disappears into the pattern. Skip the craft knife here, because a slit can tear and keep growing.
13. Warm the front edge with a hair dryer and wrap it under the lip
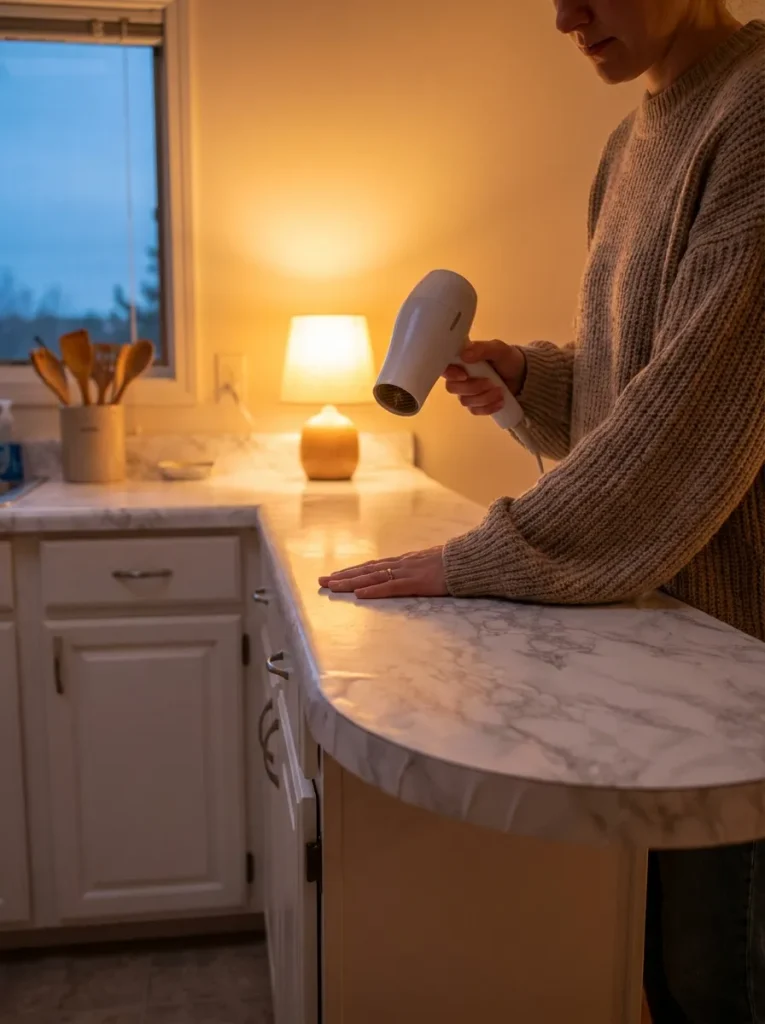
Cold vinyl cracks when it bends around a corner, and heat fixes that. Set the hair dryer to medium and hold it about 6 inches from the overhang. Sweep it side to side for 30 seconds. Press the soft film down over the rounded edge with your palm, fold it under the lip, and squeegee it flat. Trim the leftover underneath with scissors, leaving about ½ inch tucked under. If the pattern starts to look shiny or stretched, the film is too hot, so pull the dryer back.
14. Overlap the next panel by ½ inch and match the pattern
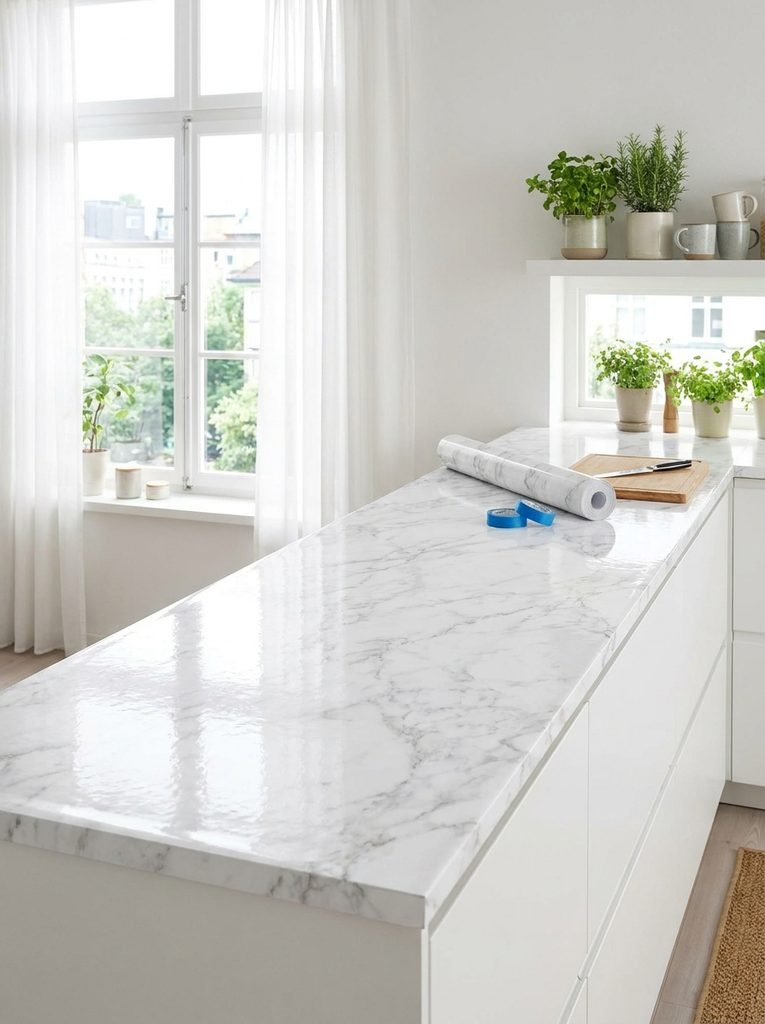
Seams are where most film jobs give themselves away. Before peeling any backing, lay the second panel over the first with a ½-inch overlap. Slide it until the veins or wood grain line up. Mark both ends of the overlap with painter’s tape so you can find the spot again. Repeat Steps 9 to 13 for this panel and every one after it.
15. Trim around the sink and stovetop with a fresh craft blade
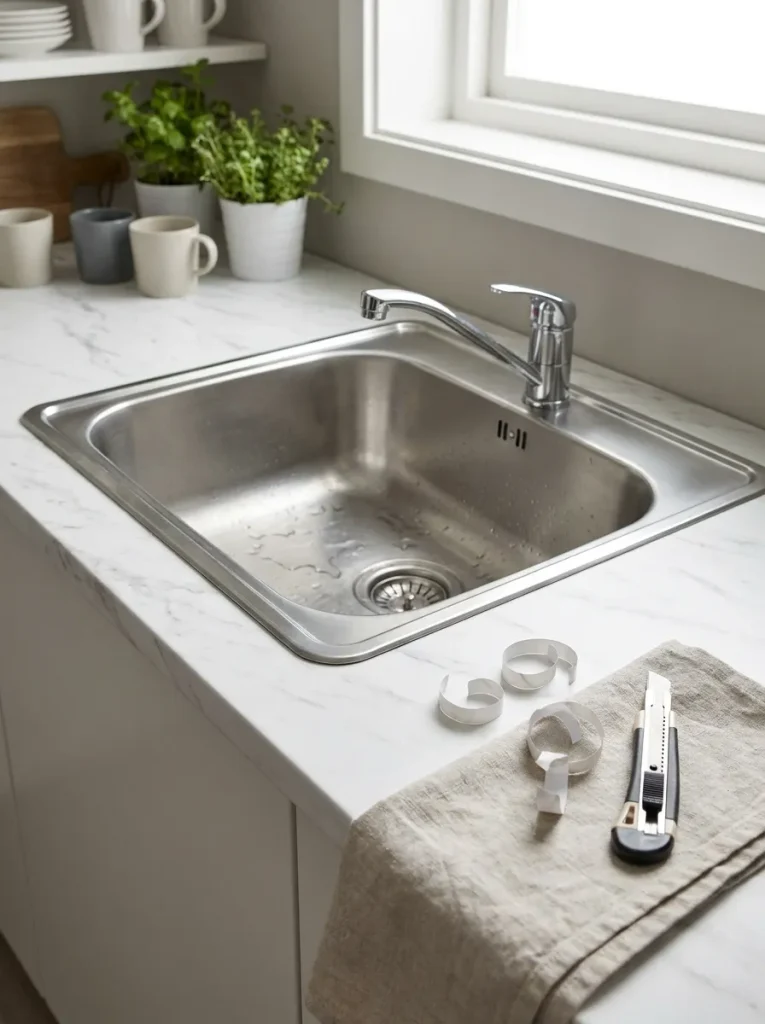
A dull blade drags vinyl instead of slicing it, so snap off a new segment before each area.
- Back wall: press the metal ruler into the corner and cut along it, blade angled toward the counter.
- Sink: cut an X over the sink opening, fold the flaps back, and trim tight against the sink rim.
- Next to the range: trim flush with the counter’s side edge so no film touches the stove itself.
Use light pressure. The blade needs to go through the film, not into the laminate underneath.
16. Seal the sink edge with clear removable caulk
Unless the sink edge is sealed, water from every dish you wash creeps under the film and lifts it. Run a thin bead of clear removable caulk where the film meets the sink rim. Smooth it in one pass with a damp fingertip. Regular silicone has to be scraped off at move-out, while removable caulk peels away in one strip. Wait 24 hours before setting hot pans, standing water, or heavy appliances back on the counters.
Got leftover film? The same technique works on cabinet doors, and here’s my full walkthrough for updating rental cabinets without paint.
- 36-inch peel and stick film (+15%)
- Felt-edge squeegee
- Craft knife + fresh blades
- Metal ruler, tape measure, pencil
- Scissors and a sewing pin
- Dish soap and warm water
- Rubbing alcohol (70%+)
- 3 microfiber cloths
- Hair dryer
- Clear removable caulk
- Check your lease
- Photograph the counters
- Clear everything off
- Measure, add 2 in per side
- Scrub with soapy water
- Wipe with alcohol
- Dry for 1 hour
- Cut panel on the floor
- Peel back 6 in
- Set the back edge
- Squeegee center out
- Pin any bubbles
- Heat and wrap front edge
- Overlap next panel ½ in
- Trim sink, wall, range side
- Caulk sink, wait 24 hrs
Conclusion
Your counters look brand new, and your deposit is still safe.
You prepped, measured, laid, and sealed a full rental countertop makeover in one afternoon. Every inch of it comes off with a hair dryer on moving day.
If you want to keep going, a peel and stick backsplash is the natural next project, and it uses the same squeegee and blade you already have out.
Save this guide to your kitchen ideas board on Pinterest so it’s ready the next time a friend asks how you did it.
With the counters done, the wall behind them might suddenly look tired. These temporary backsplash ideas finish the job.

