
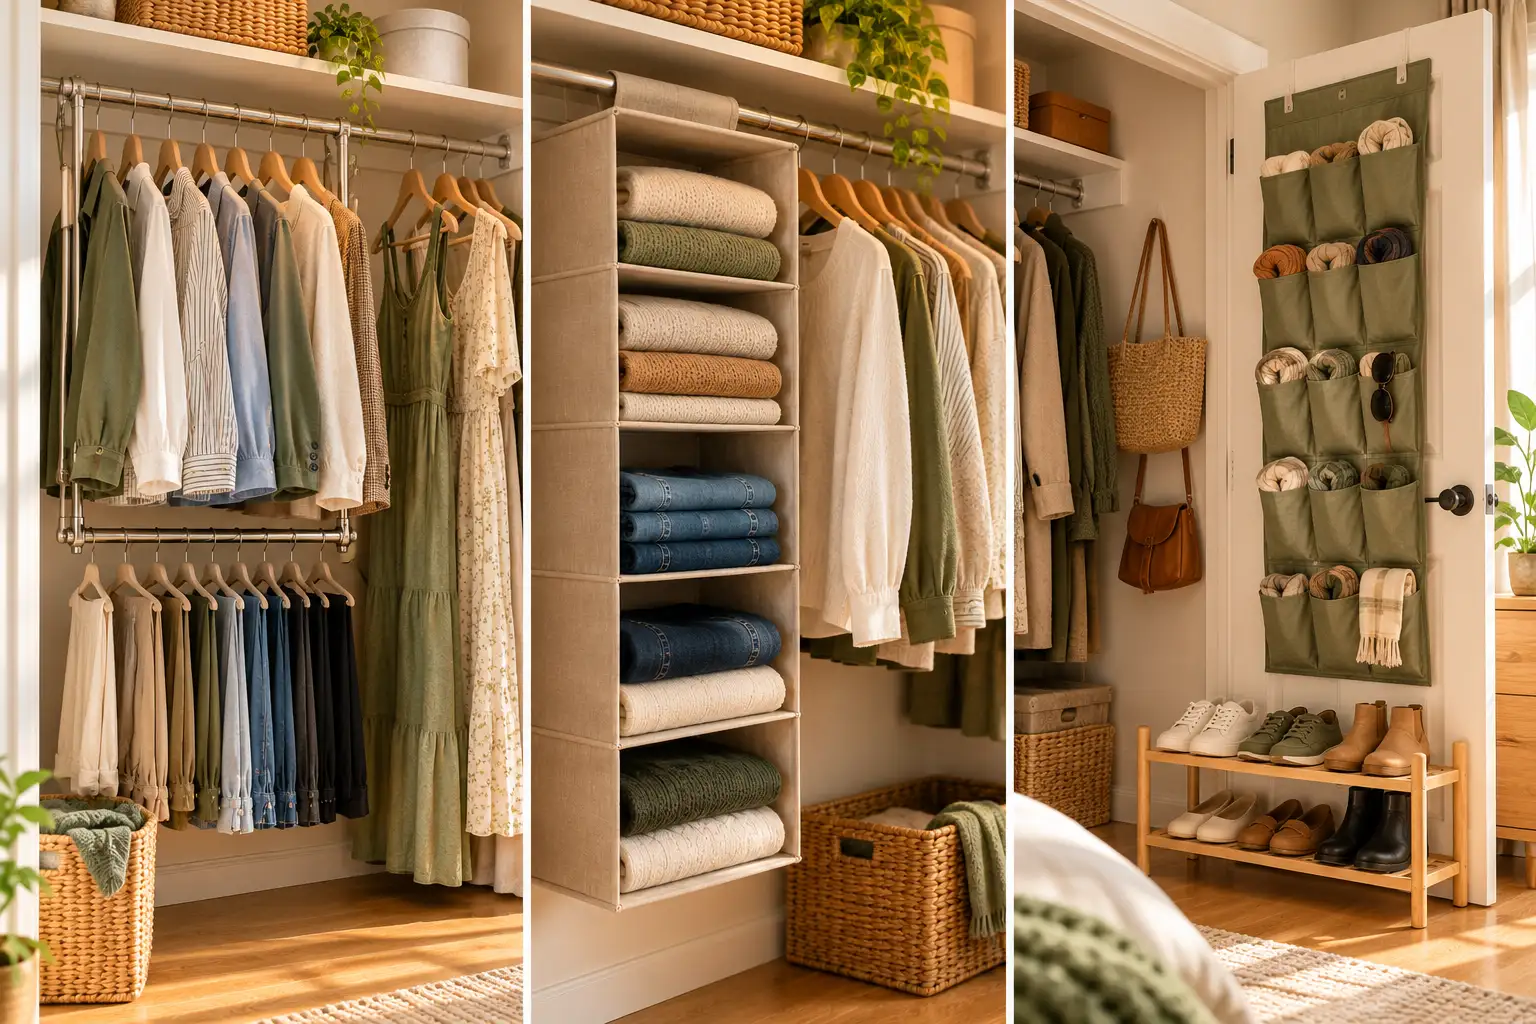
Your closet came with one sagging rod, one wire shelf, and a lease that says no holes in the walls. So clothes pile up on the floor, shoes drift toward the front door, and you shut the closet fast whenever a friend comes over. I lived that way in my first two apartments.
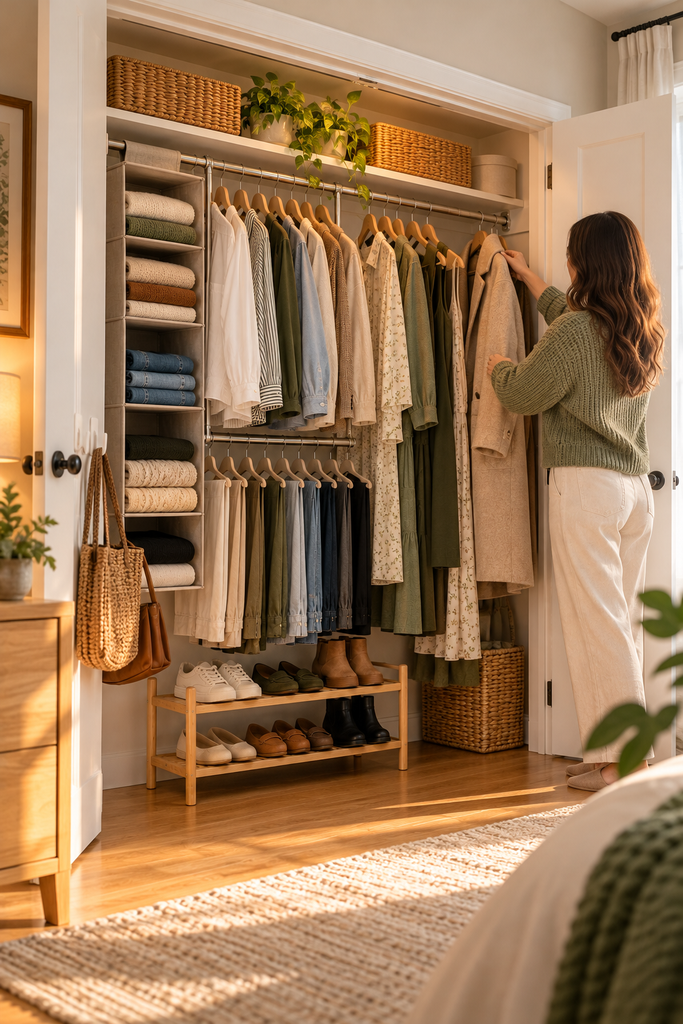
A renter friendly closet system fixes this without a drill, a landlord’s okay, or a big budget. By the end of this guide, your basic reach-in closet will have two hanging rows, shelves for folded clothes, a home for shoes, and hooks for bags and belts.
The method works because every piece holds itself in place. Fabric shelves hang from the rod you already have. A doubler rod hooks onto that same rod to add a second row. Shoe racks stand on the floor. Hooks use adhesive strips that peel off clean. Nothing gets screwed in, so all of it comes out on move-out day and goes with you to the next place.
Plan on about 3 hours. Most of that is sorting clothes and waiting for adhesive to set. The building part takes under an hour. Clear an afternoon, find your tape measure, and let’s get started.
- 1 adjustable closet doubler rod, rated 30 lbs or more
- 1 hanging fabric shelf organizer (5 or 6 shelves)
- 1 freestanding 2-tier shoe rack, about 24 inches tall
- 4 to 6 removable adhesive hooks, rated 3 to 5 lbs each
- 1 over-the-door organizer with metal door hooks
- Slim velvet hangers (optional, but they save space)
- Tape measure
- Pencil and paper
- Phone camera
- Rubbing alcohol (70%)
- Lint-free cloth or paper towels
- 3 laundry baskets or large bags for sorting
- 1 donate bag
- Small step stool
- Empty the closet down to the bare rod
- Photograph every wall and fixture
- Sort clothes into long, short, and folded piles
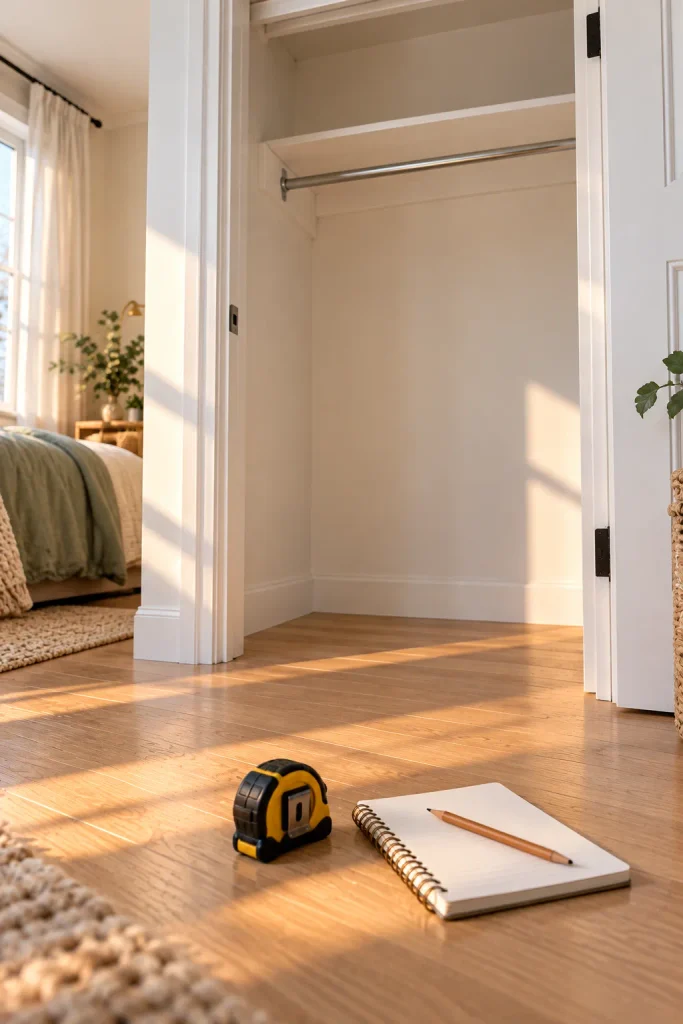
- Measure width, depth, and rod height
- Sketch your closet zones on paper
- Wipe the side walls with rubbing alcohol
- Hang a closet doubler from the existing rod
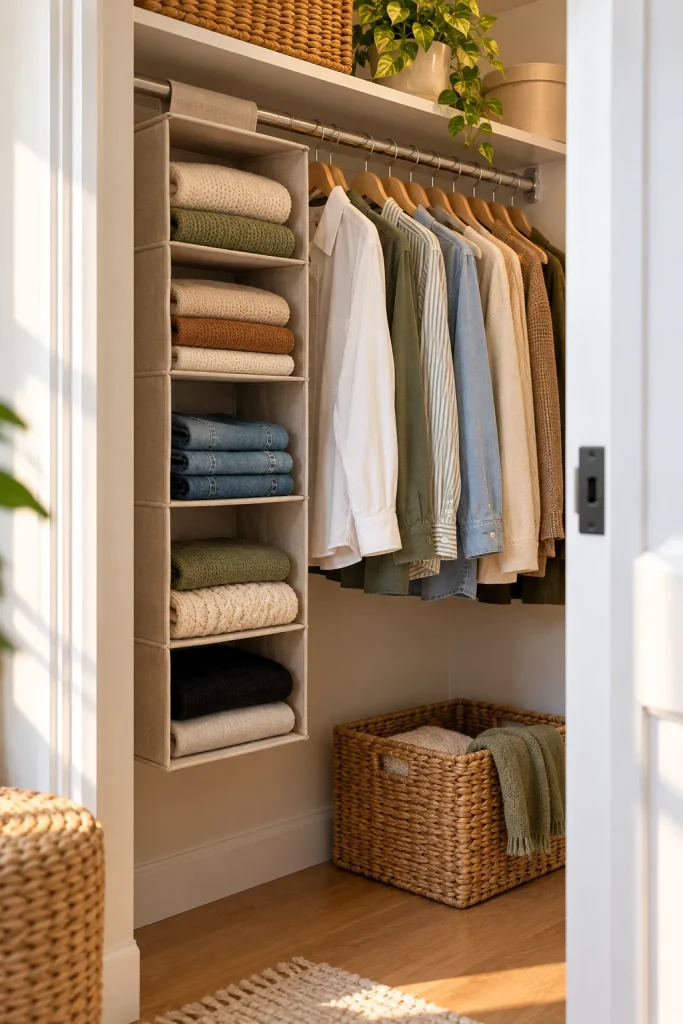
- Hang a fabric shelf organizer from the rod
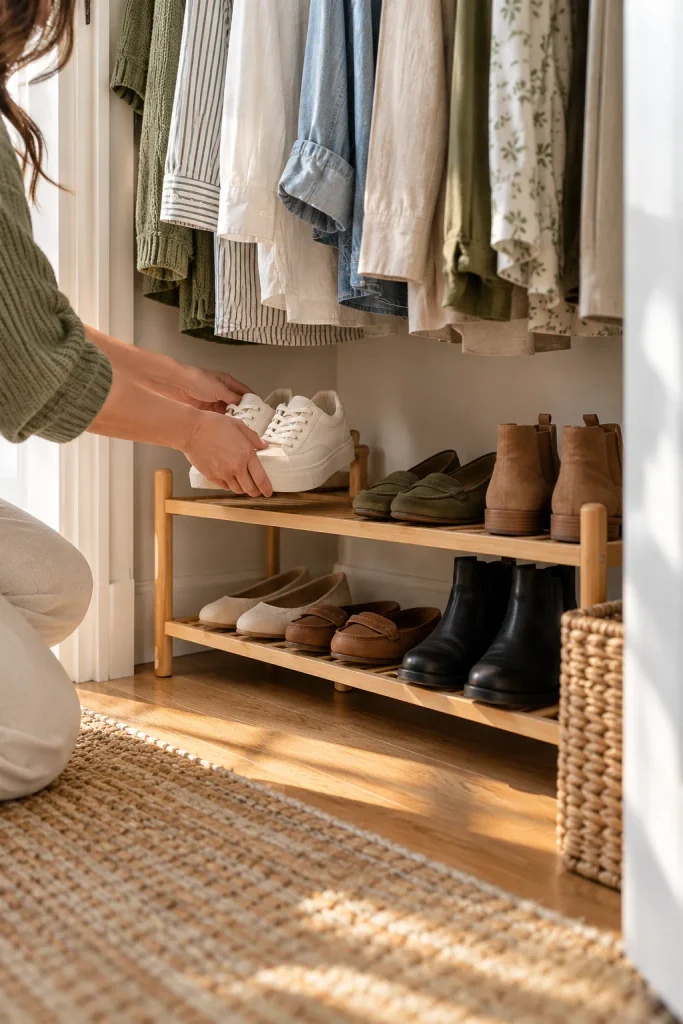
- Slide a shoe rack under the short-hang zone
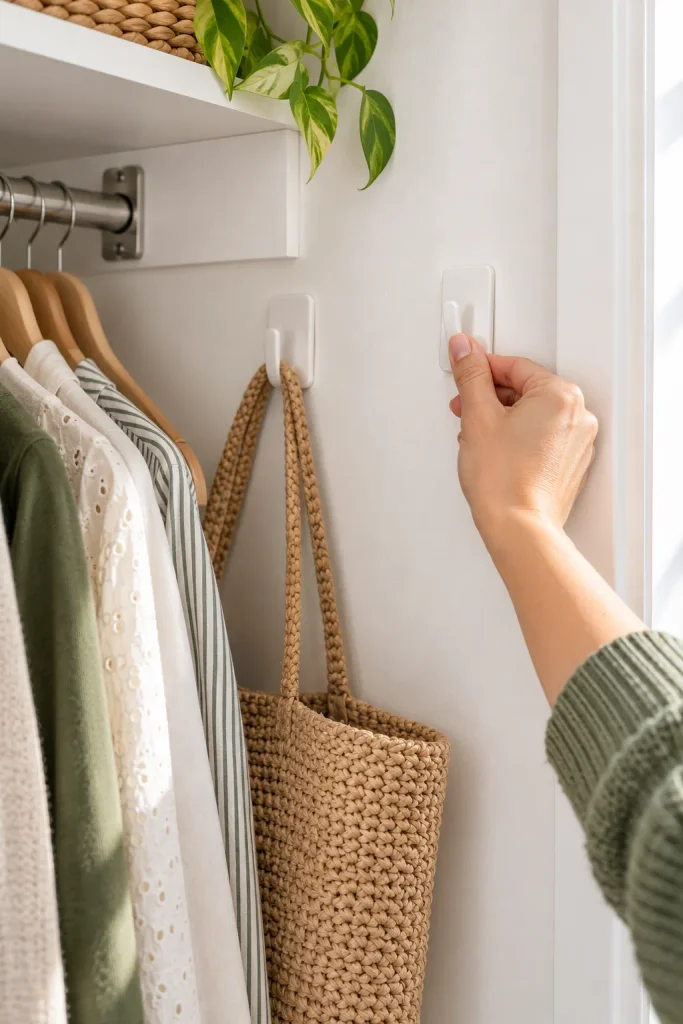
- Press adhesive hooks onto the side walls
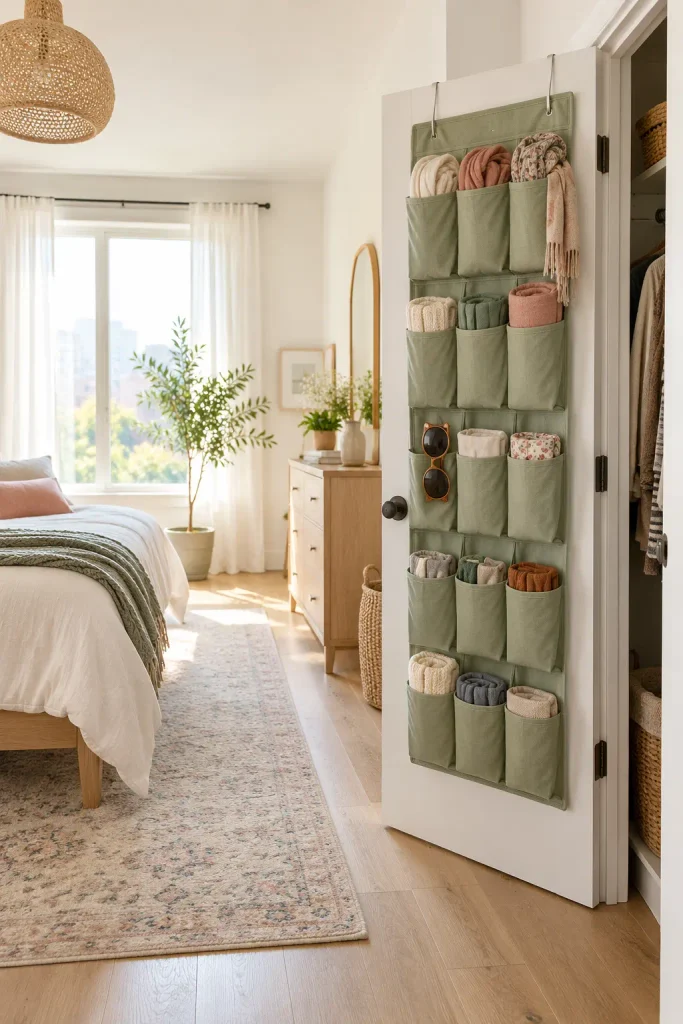
- Hang an over-the-door organizer
- Load heavy items low and light items high
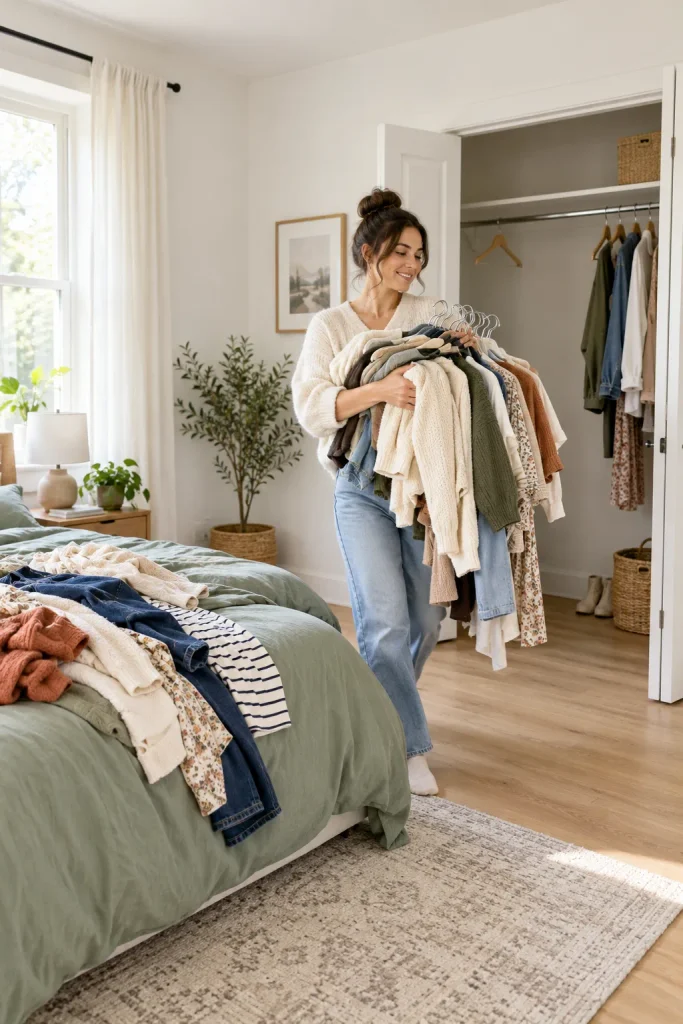
1. Empty the closet down to the bare rod
A half-full closet hides problems. You won’t spot the loose shelf bracket, the old nail hole, or the extra 10 inches of floor space until every hanger is out. Pile your clothes on the bed, not the floor. That way you have to finish sorting before you can sleep, which keeps this project from stretching into next week.
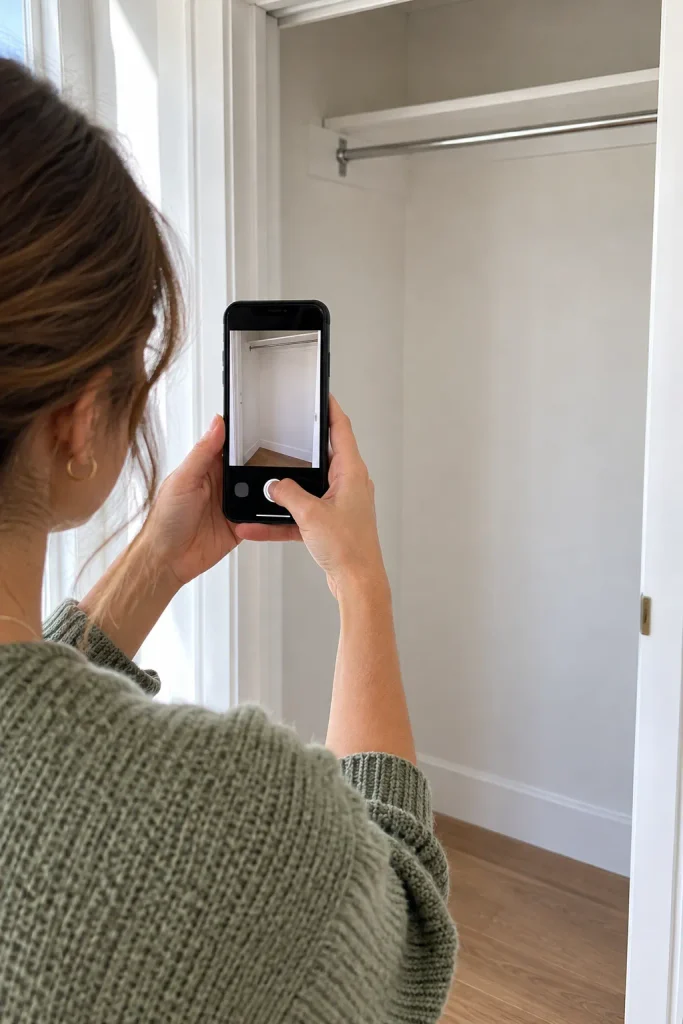
2. Photograph every wall and fixture before you add anything
Your security deposit depends on these photos. With the room light on and your phone flash ready, take clear shots of:
- Each side wall, straight on
- The back wall and both top corners
- The rod and shelf, up close
- Any scuffs, holes, or chipped paint already there
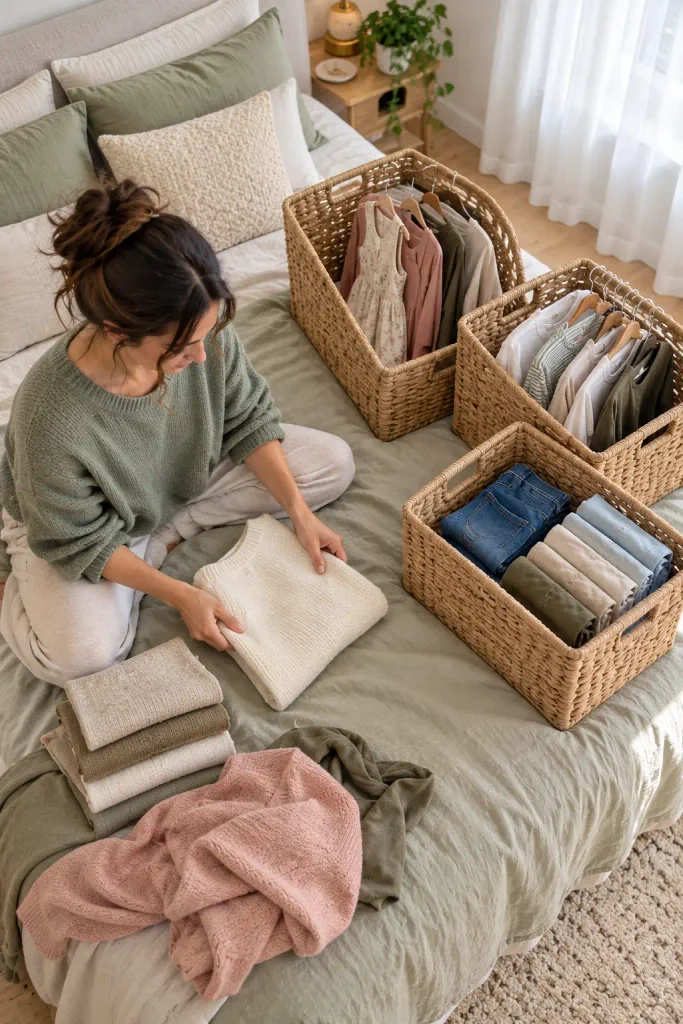
3. Sort your clothes into long, short, and folded piles
Three piles decide your whole layout. Long hang is anything that falls below your hips on a hanger: dresses, coats, and long skirts. These need about 60 inches of drop. Short hang is shirts, blazers, and pants folded over the hanger bar, which need only about 40 inches. That gap is why two rows can fit where one used to be. Folded covers sweaters, jeans, and tees. Anything you haven’t worn in 12 months goes straight into the donate bag. Every item you don’t put back is one less thing your new system has to hold.
4. Measure the width, depth, and current rod height
Write each number down as you go. You will need them in the next step and again at the store.
- Width, wall to wall, at rod height
- Depth, from the back wall to the door frame
- Rod height, from the floor to the top of the rod
- Rod to shelf, the gap above the rod
That last one matters because doubler hooks and organizer straps need about 2 inches of clearance to slip over the rod. Measure width a second time near the floor. Older closets are rarely square.
5. Sketch your renter friendly closet system on paper
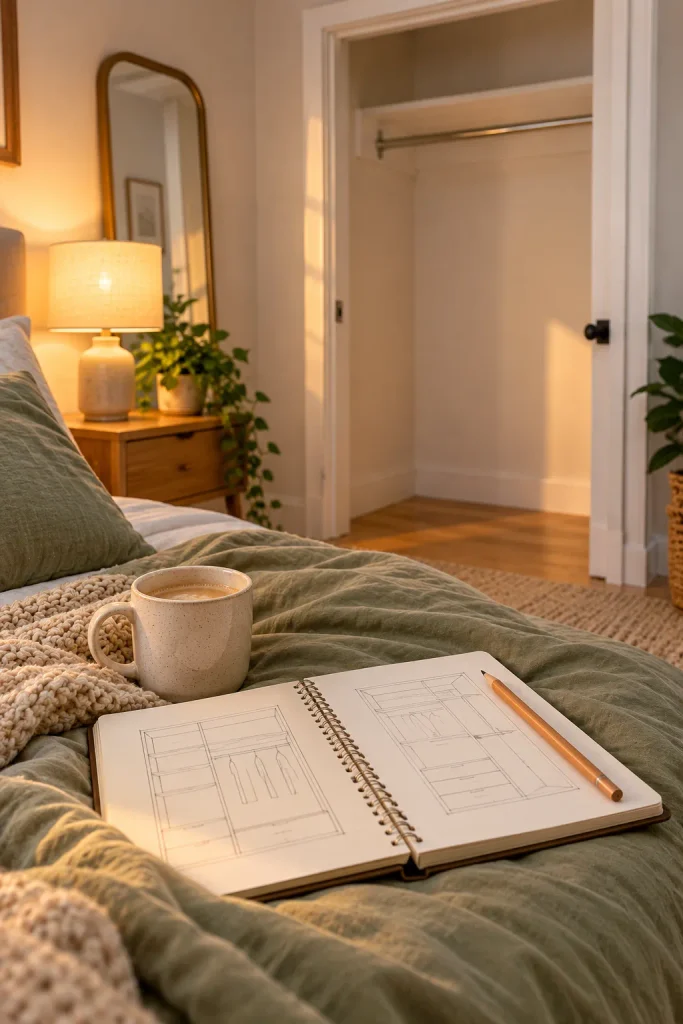
If your closet is about 60 inches wide, this layout fits most wardrobes: a 12-inch fabric shelf organizer on the left, 24 inches of double hang in the middle, 12 inches of short hang over the shoe rack, and 12 inches of long hang on the right. Draw your closet as a long box and split it to match your piles from Step 3. A big folded pile earns more shelf room. Few dresses means a smaller long-hang zone. In a closet narrower than 48 inches, drop one zone instead of squeezing in all four. Write the width of each zone right on the sketch.
6. Wipe the side walls with rubbing alcohol
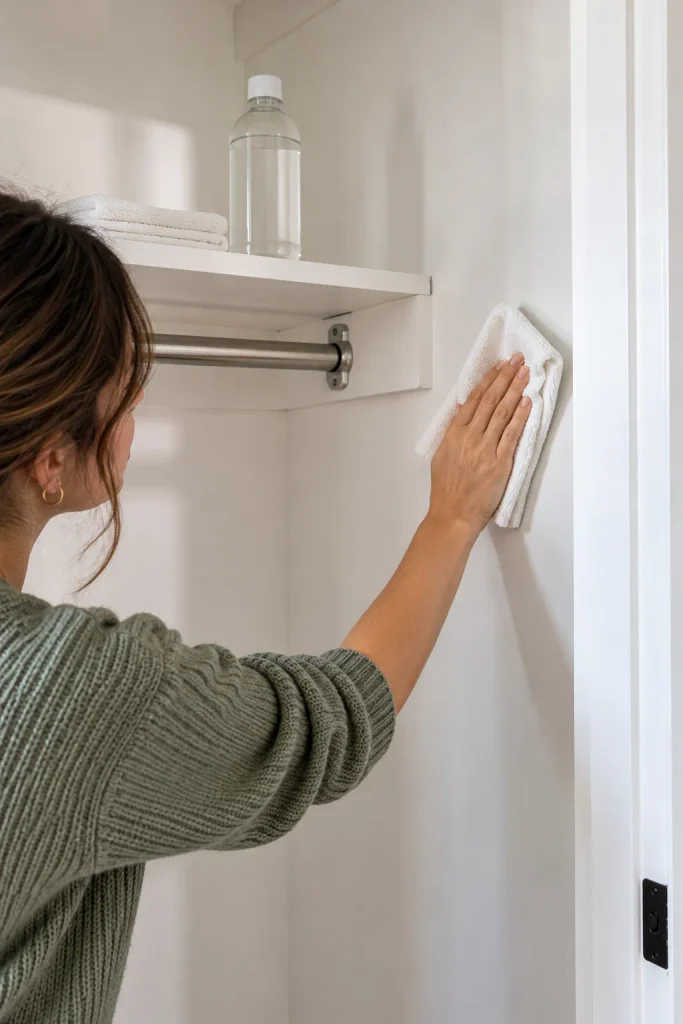
Two minutes here decides whether your hooks hold for a year or fall in a week. Dust and skin oil keep adhesive strips from bonding. Dampen a lint-free cloth with 70% rubbing alcohol, wipe the spots where hooks will go, and let the wall dry for 5 minutes. Skip household sprays. Many leave a soapy film that weakens the bond.
7. Hang a closet doubler from the existing rod
The lower bar has to sit below your shirt hems, or the two rows tangle. Hook the doubler’s top hooks over the rod at each edge of your 24-inch double-hang zone. Adjust the chains or straps until the lower bar hangs 38 to 40 inches below the top rod. Hang one long-sleeve shirt up top as a test. Its cuffs should clear the lower bar by at least 2 inches. Can’t find a doubler? Cascading hangers, which link together in a vertical chain, give your pants a second row too.
8. Hang a fabric shelf organizer from the existing rod
Most fabric organizers attach with two hook-and-loop straps at the top. A loose strap lets the whole unit slide into your clothes.
- Open both straps all the way
- Loop them over the rod at the far left
- Press each strap closed along its full length
- Push the organizer flush against the side wall
Then check that every shelf has its stiff insert lying flat. Missing inserts are the top reason these organizers sag.
9. Slide a freestanding shoe rack under the short-hang zone
Shirt hems in this zone end about 34 inches off the floor in most closets. A 24-inch rack fits underneath with room on top for ankle boots. Put the shoes you wear every week on the top tier and the rest below. No rack? Two stacked wooden crates or a low bookcase turned on its side work in the same spot.
10. Press adhesive hooks onto the side walls
Bags, belts, and scarves get the bare strip of side wall near the door opening, where hanging clothes won’t cover them. Press each strip onto its hook first, then press the hook to the wall and hold firm for 30 seconds. Space hooks at least 6 inches apart so bag straps don’t pile up. Then leave them alone for 1 hour. The adhesive needs that time to bond before it can hold weight.
11. Hang an over-the-door organizer on the closet door
Hinged doors are the only kind this works on. Fit the metal hooks over the top edge of the door, centered left to right. Close the door slowly and listen. A scrape, or a door that won’t latch, means the hooks are too thick for the gap. Swap to a model with flat, slim hooks rather than forcing it, because a jammed door chips paint along the frame. Fill the pockets with the small things that get lost on shelves: socks, sunglasses, scarves, and chargers. Sliding or bifold closet doors? Hang the organizer on the back of your bedroom door instead.
12. Load the closet with heavy items low and light items high
Weight in the wrong place is what makes no-drill systems fail. Work in this order:
- Long dresses and coats on the right end of the top rod
- Shirts and blazers above the doubler
- Pants and skirts on the doubler’s lower bar
- Jeans and sweaters on the bottom organizer shelves, tees up top
- Bags and belts on the hooks once the hour has passed
Hang your heaviest coats close to the rod’s end bracket, not in the middle, where the rod bends most.
- One rod holding everything
- Clothes sliding onto the floor
- Shoes piled by the front door
- Sweaters stuffed on a high wire shelf
- A door you keep shut when friends visit
- Two hanging rows plus a long-hang zone
- Folded clothes on shelves at eye level
- Shoes on their own rack
- Bags and belts on hooks
- Zero holes in the walls
Your Closet Is Ready
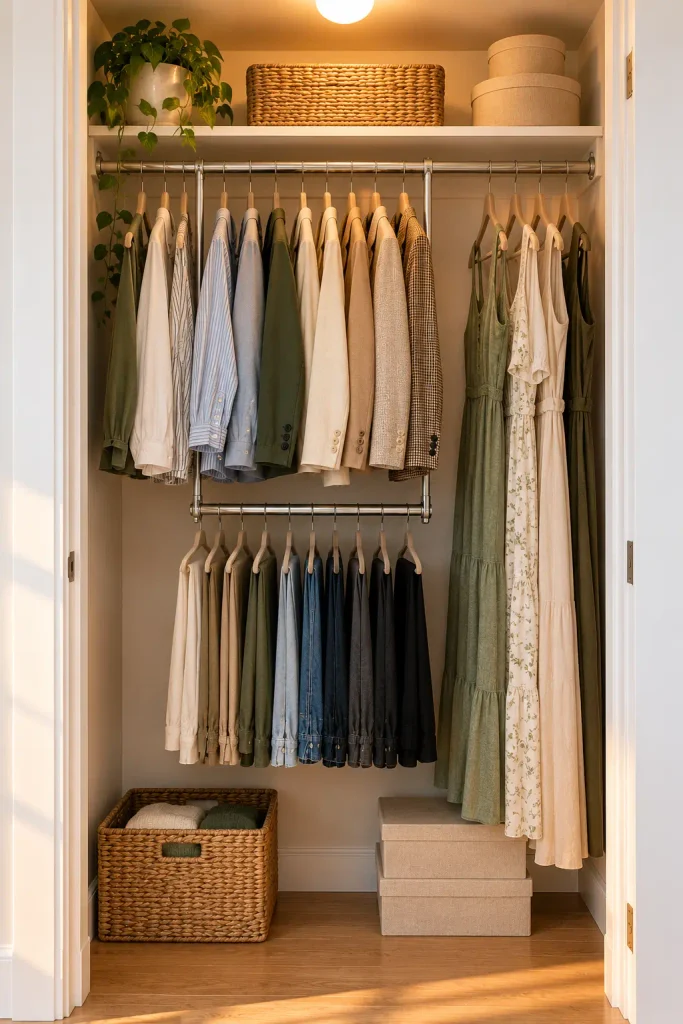
Your closet now has two hanging rows, shelves for folded clothes, a home for your shoes, and hooks for the little things that used to get lost.
You built a renter friendly closet system without putting a single hole in the wall, and every piece comes with you when you move.
Next weekend, add a few matching bins to the top shelf so off-season items have a place too.
Save this guide to your apartment ideas board on Pinterest so it’s ready when you move into your next place.

