
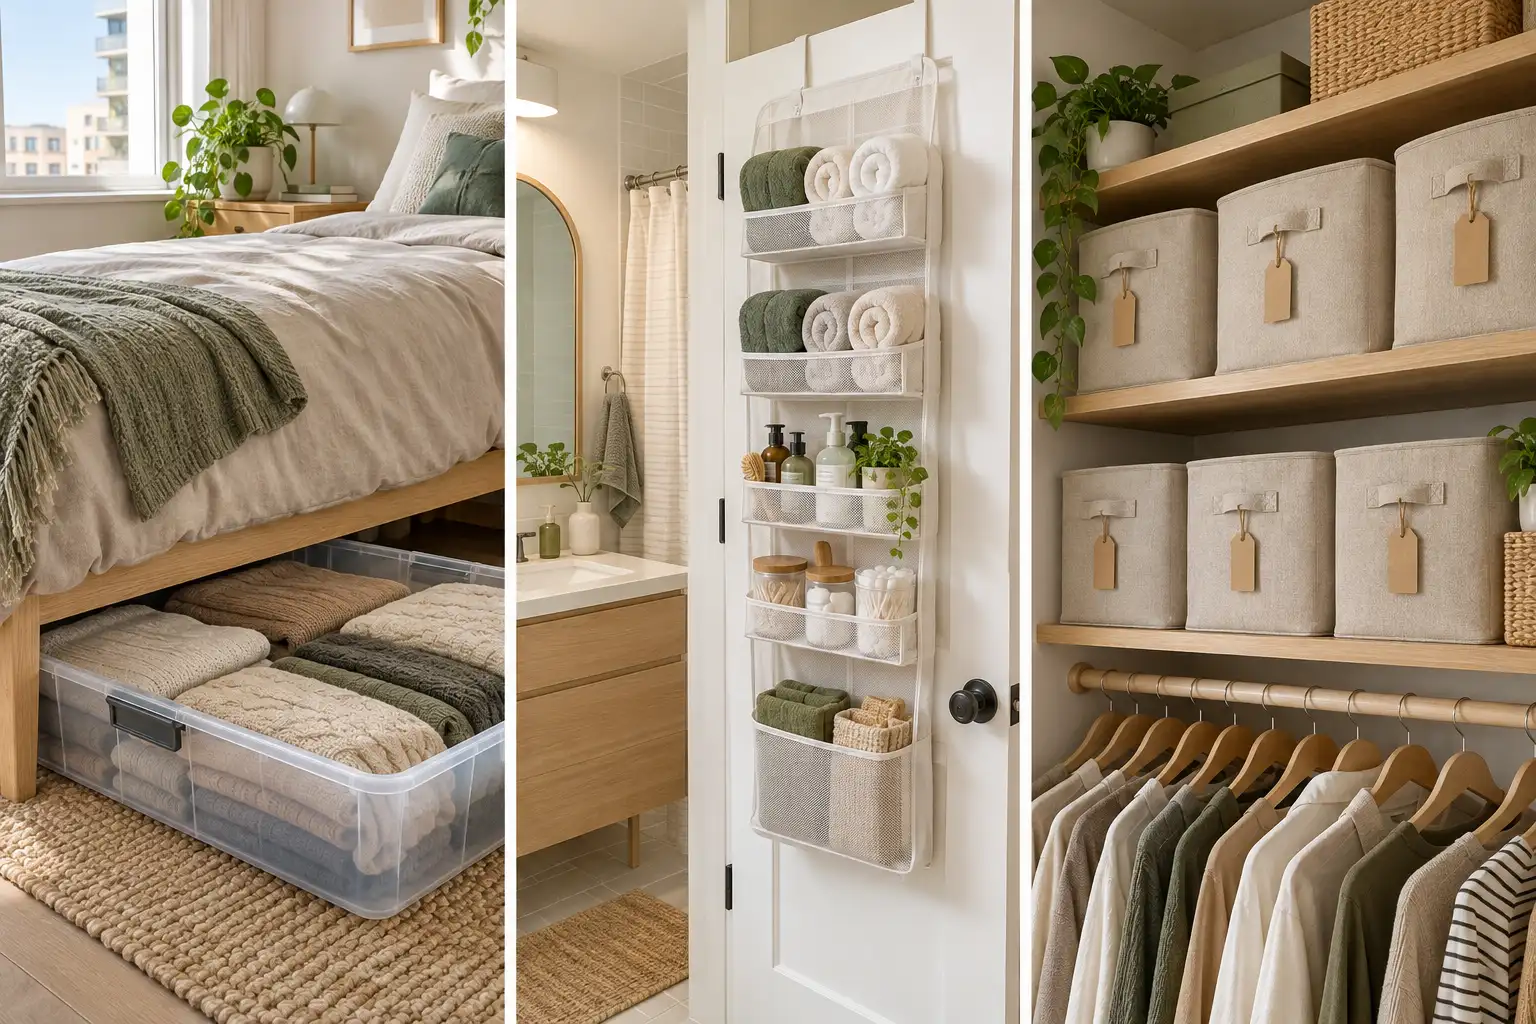
You open the closet and a bag falls out. The drawers won’t shut. The pile on the dining chair has slowly turned into furniture. If you’ve reached that point, buying more bins won’t help, because there’s nowhere left to put the bins. This guide shows you how to store things in a small apartment when every spot already feels full.
Here’s the plan. You’ll clear one zone at a time, sort what’s in it, and measure the space you really have. After that, you’ll put your things back using the spots most people skip: the backs of doors, the wall above eye level, and the gap under your bed. Everything here is renter-friendly. No drills, no holes, no lost deposit.
This method works because it starts with less stuff, not more storage. Most people try to organize clutter they don’t even want. Sorting first means every bin you fill holds something you use.
Be honest with yourself about time. One zone takes about 2 to 3 hours, and a full apartment can take a few weekends. Start with one closet today. Grab a tape measure and a few trash bags, and let’s find you some room.
- ●Tape measure
- ●Trash bags, 2 colors (or label regular ones)
- ●4 sticky notes and a marker
- ●Damp cloth
- ●Your phone, for photos and notes
- ●Labels (or masking tape)
- ●Bins or boxes (shoeboxes work)
- ●Over-the-door hooks or organizer
- ●Removable adhesive hooks
- ●Under-bed boxes (or a flat suitcase)
- ●Tension rod (optional)
- ●A cleared bed or table to work on
- Pick the one spot that bothers you most
- Empty that spot onto a clear surface
- Sort everything into four piles
- Bag up donate and toss piles today
- Measure the empty space, height included
- Split the keep pile by how often you use it
- Look up for unused wall and door space
- Gather containers that match your measurements
- Put daily items between waist and eye level
- Tuck seasonal items into hidden spots
- Label every bin on the side facing out
- Start a one-in, one-out rule
1. Pick the one spot that bothers you most
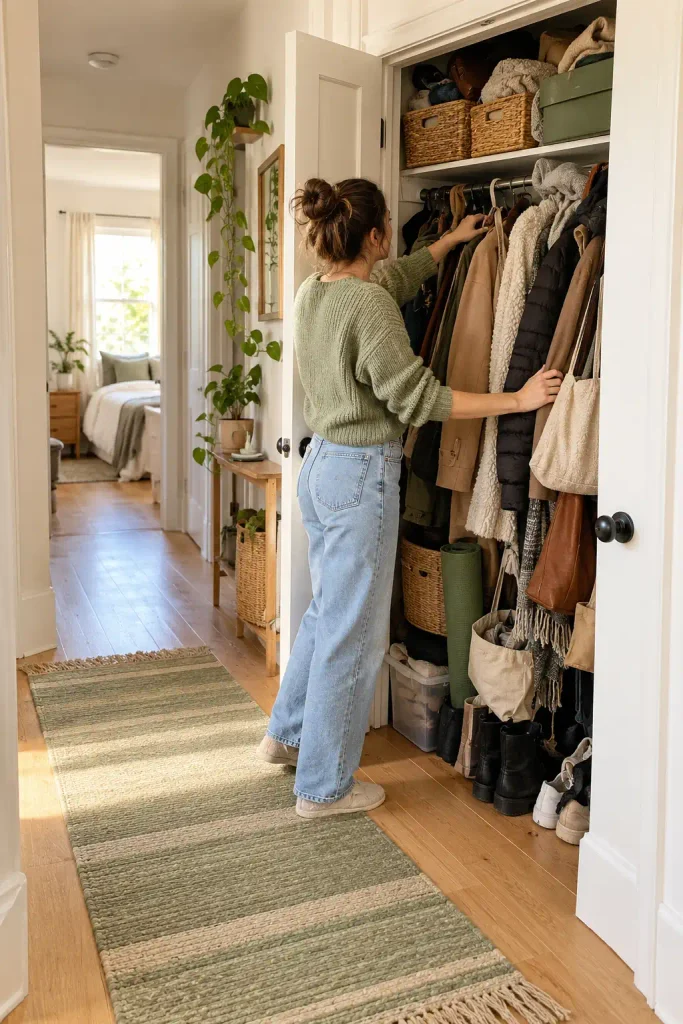
Trying to fix the whole apartment at once is how most people give up by lunch. Choose a single zone instead: one closet, one cabinet, or that chair buried under clothes. The best pick is the spot you open every day and sigh at. One finished area gives you a real win, and that win keeps you going.
2. Empty that spot completely onto a clear surface
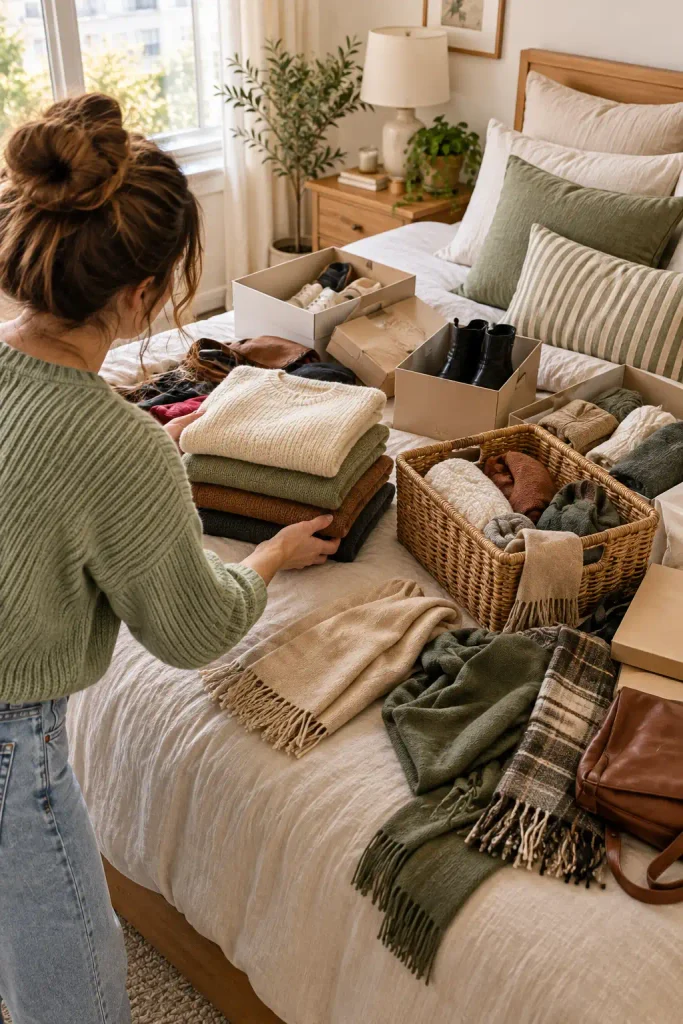
If items stay on the shelf, you’ll end up shuffling them around instead of deciding about them. Clear off your bed or a table first so everything has a place to land. Pull out every single item, even the things you know you’re keeping. While the shelves are bare, wipe them down with a damp cloth. Before anything goes back, snap a photo of the empty space for Step 5. Hold off on sorting as you pull things out, since stopping to decide on each item doubles your time.
3. Sort everything into four piles
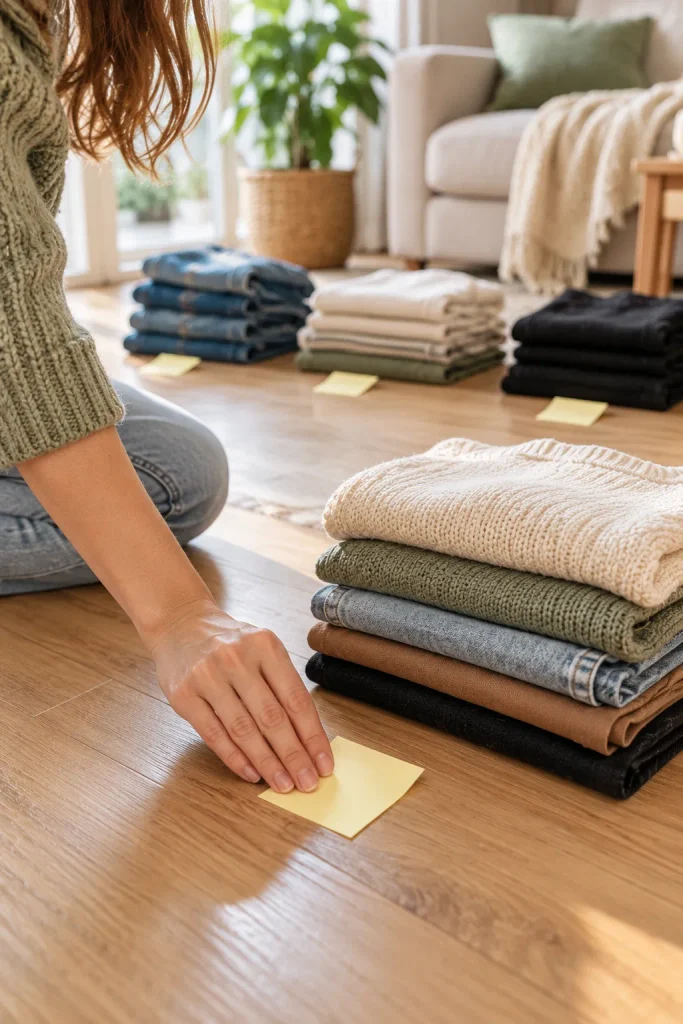
Four sticky notes on the floor mark your four piles. Write one word on each:
- Keep: you used it in the last 12 months and it belongs in this zone.
- Relocate: you want it, but it lives in another room.
- Donate: it works, but you don’t use it.
- Toss: broken, expired, or missing parts.
Stuck on something for more than 10 seconds? Put it in Keep and move on. You’ll get a second look in Step 6.
4. Bag up the donate and toss piles today
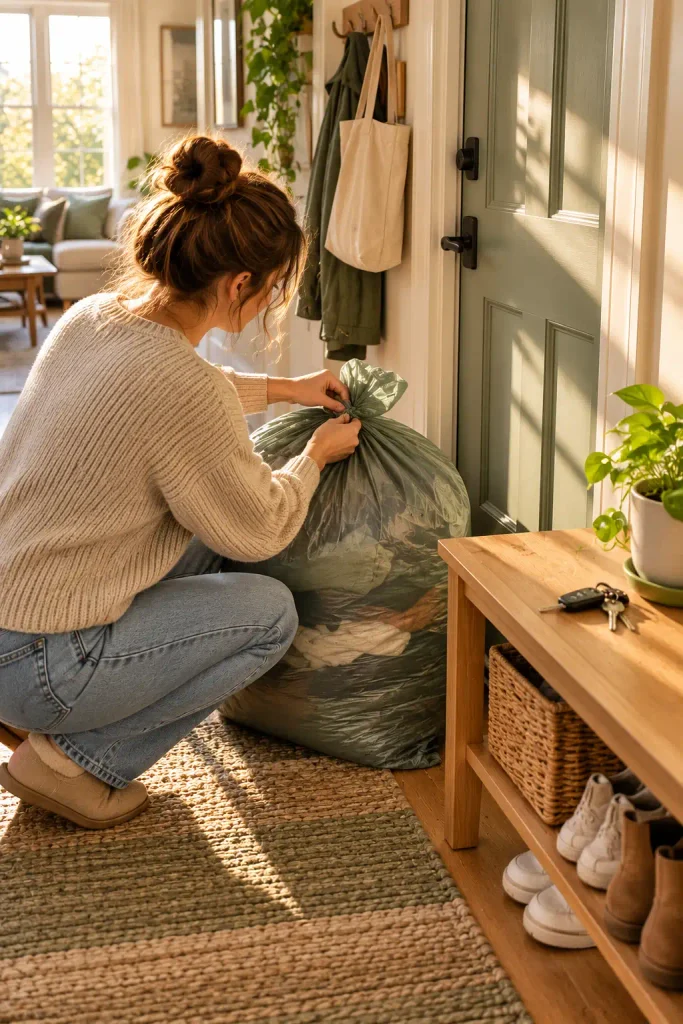
Clutter left by the front door for a week has a way of creeping back inside. Bag the donate pile in one color and the toss pile in another so nothing gets mixed up. Carry the toss bag straight to the outdoor bin. Put the donate bag in your car trunk, or set it by the door with your keys on top so you can’t leave without it. Relocate items get walked to their rooms right now, even if they land in a box there for later.
5. Measure the empty space, height included
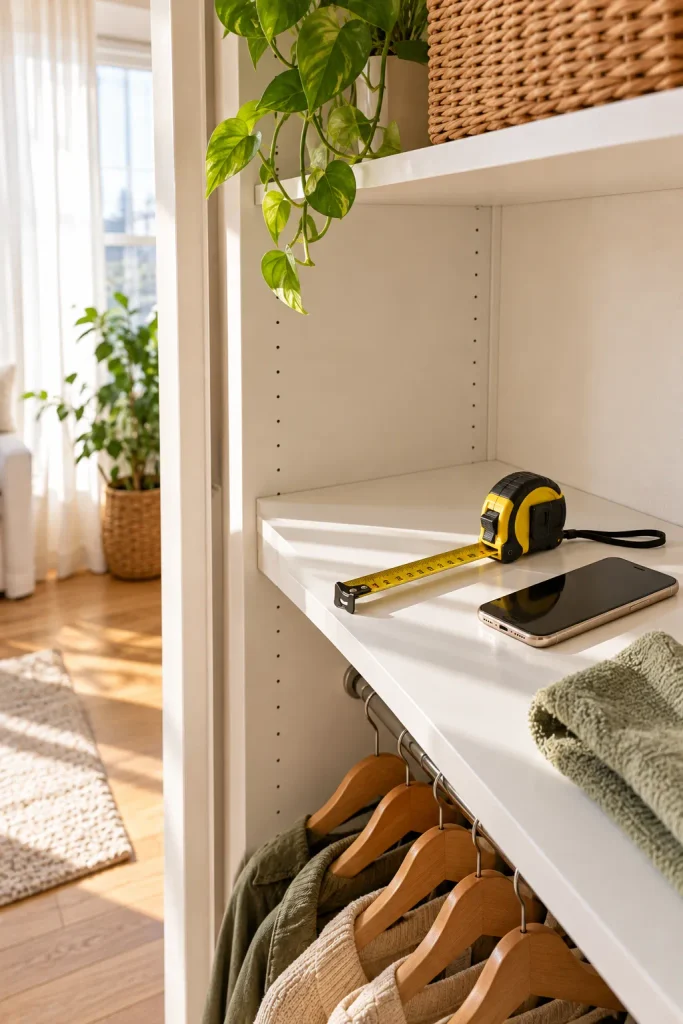
Width is the number everyone writes down. Height and depth are what decide whether a bin fits. Measure all three for every shelf or section, in inches. Open the photo from Step 2 and write the numbers right on it with your phone’s markup tool. A bin that’s 1 inch too deep will keep a cabinet door from closing.
6. Split the keep pile by how often you use it
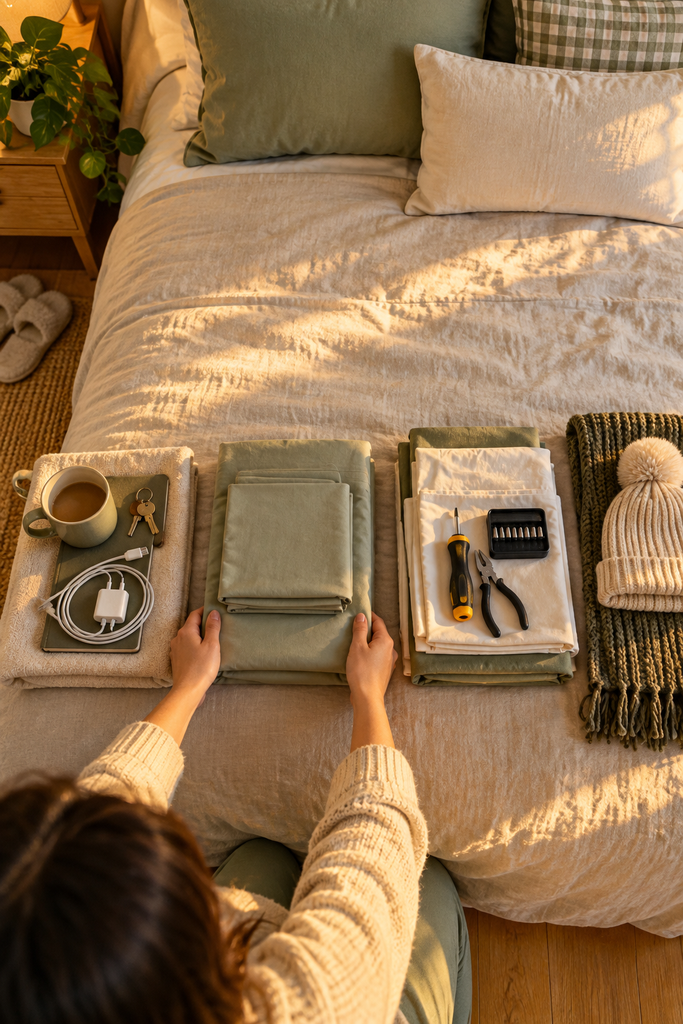
Your Keep pile gets a second look now, and this time it’s about timing, not value. Break it into three smaller groups:
- Daily: phone charger, keys, the mug you always grab.
- Monthly: spare sheets, tools, party supplies.
- Seasonal or rare: winter coats, holiday decor, the suitcase.
Remember those items you froze on in Step 3? Ask one question about each: would you buy this again today? If the answer is no, it goes to the donate bag. Most people find 3 to 5 more things to let go of here.
7. Look up to store things in a small apartment without using floor space
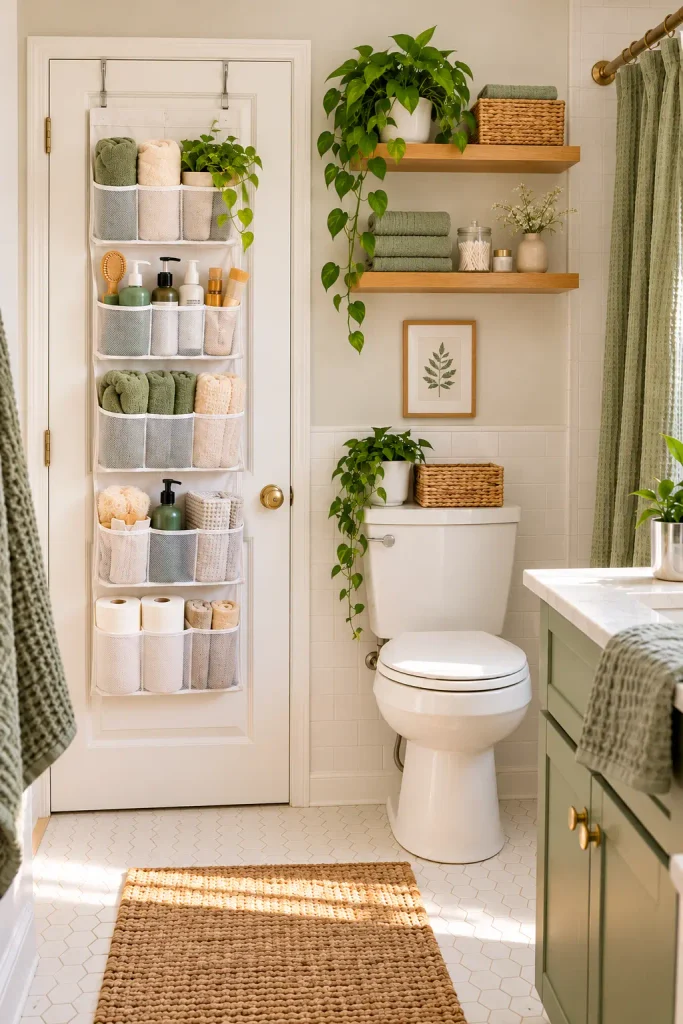
How much bare wall sits between the top of your furniture and the ceiling? In most small apartments, it’s 2 to 3 feet of space nobody touches. Walk through your place and check these spots:
- The back of every door, including bathroom and closet doors
- The wall above the toilet
- The side of the fridge, which holds magnetic racks
- The inside of cabinet doors
Write down which spots are free. Your Monthly pile from Step 6 will go here.
8. Gather containers that match your measurements
Before you spend any money, shop your own home. Shoeboxes, glass jars, baskets, and an empty drawer all count as storage. Match each one to the numbers from Step 5, leaving about half an inch on every side so it slides out without scraping. Square and rectangle shapes beat round ones, because round bins waste the corners. Go clear for things you need to spot fast and closed for anything that looks messy.
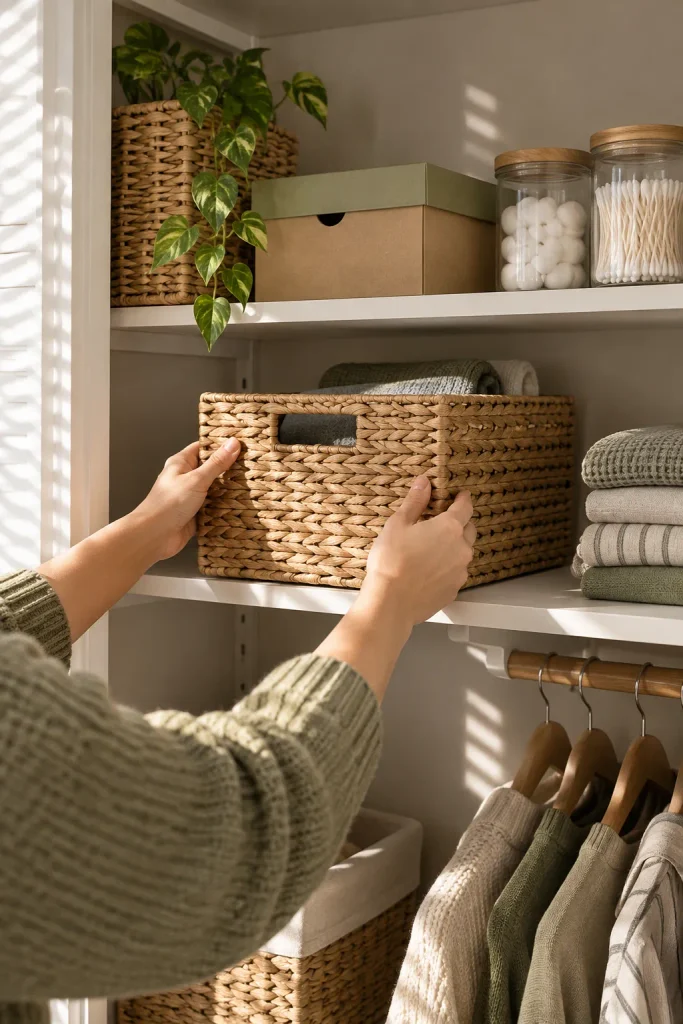
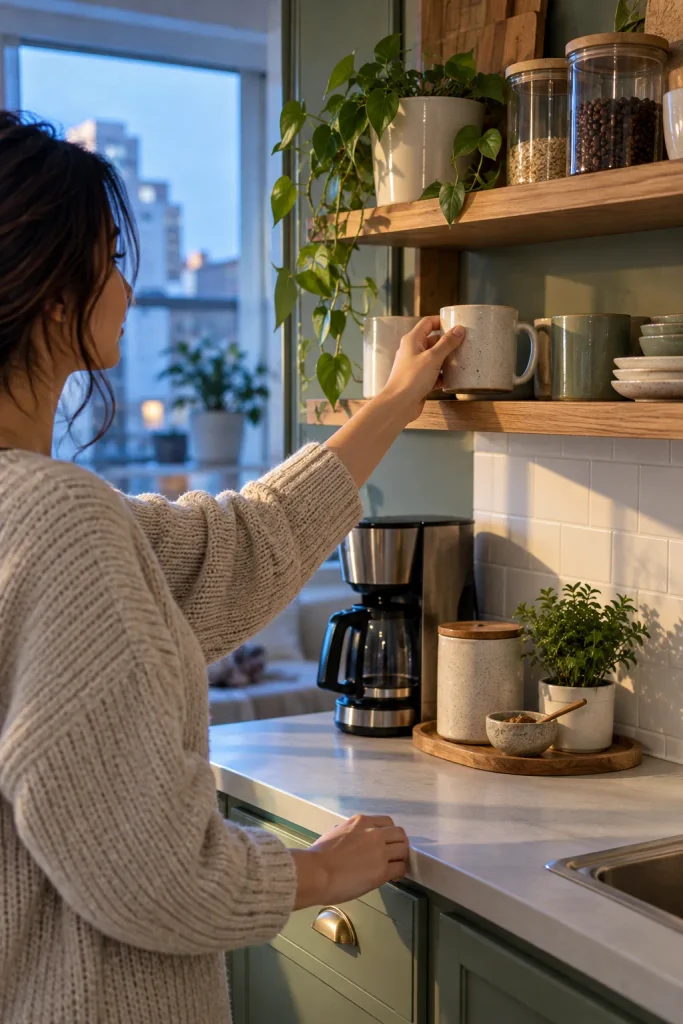
9. Put daily-use items between waist and eye level
Roughly 30 to 60 inches off the floor is the zone you can reach without bending or stretching. Your Daily pile lives here. If you have to move one thing to grab another every morning, it’s in the wrong spot. Keep heavy items on the lower part of this zone and lighter ones higher up.
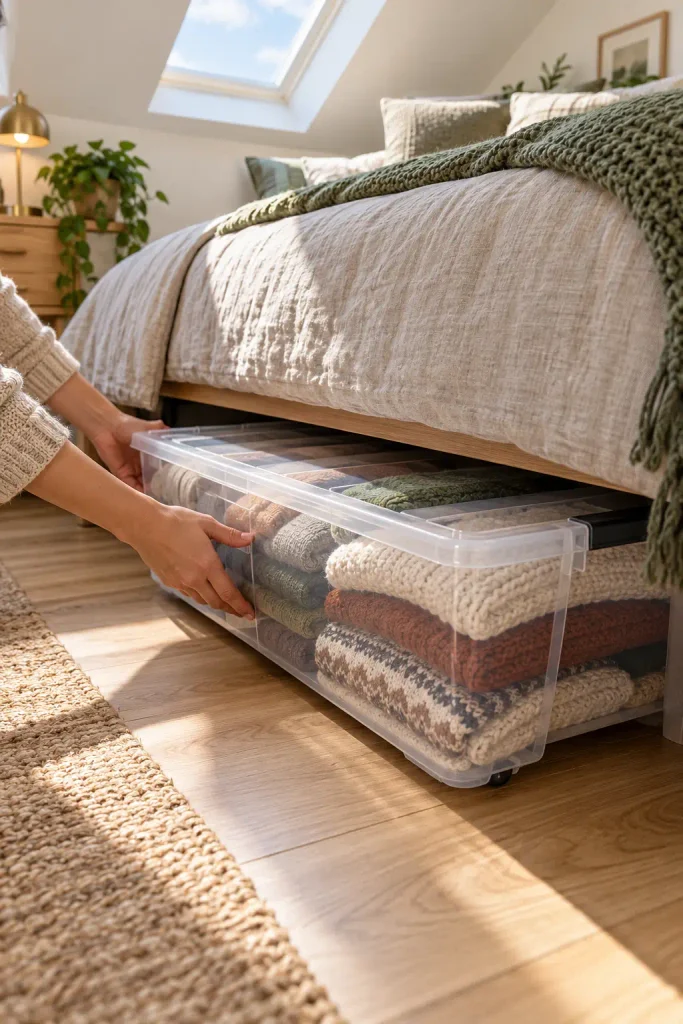
10. Tuck seasonal items into hidden spots
Coats, holiday decor, and spare bedding only come out a few times a year, so they get the hardest spots to reach. Use these first:
- Under the bed, in boxes that fit the gap you measured in Step 5
- The top closet shelf, closest to the ceiling
- Inside your suitcases, which sit empty most of the year anyway
- Inside a storage ottoman or bench
Vacuum storage bags shrink bulky bedding to about half its size. Skip them for down jackets, though. Months of squeezing can leave the filling flat.
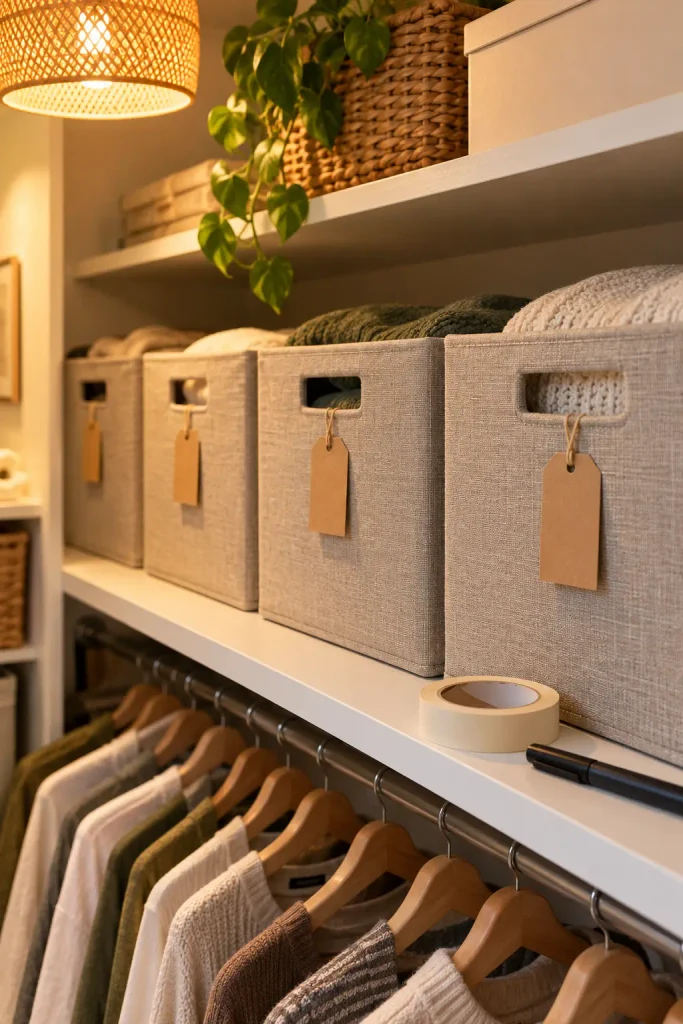
11. Label every bin on the side that faces out
A bin with no label turns into a junk box within a month. Masking tape and a marker work fine. Put the label on the side you see when the bin sits on the shelf, not on the lid, because stacked lids get hidden. Write a real category like “Phone Cords” or “Guest Sheets.” Never write “Misc.”
12. Start a one-in, one-out rule
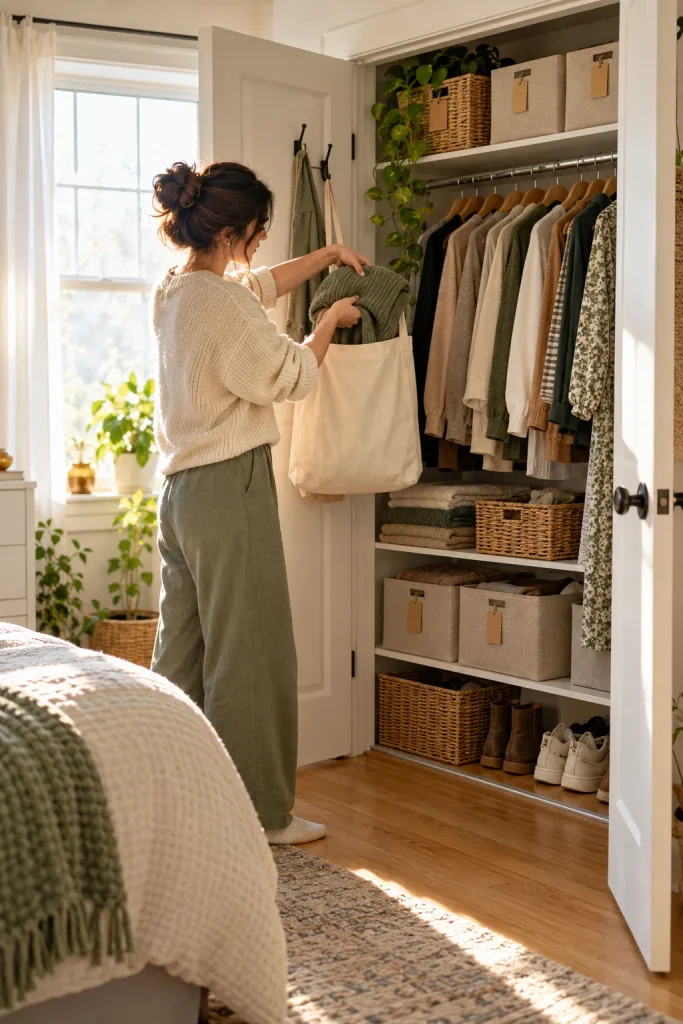
None of today’s work lasts if new things keep arriving with nowhere to go. When a new item comes home, pick one similar item to leave. New sweater in, old sweater out. Keep an empty donate bag hanging on a hook inside your closet so letting go takes 5 seconds, not a special trip. Once the bag is full, drop it off that week. Spend 10 minutes once a month checking the zone you finished today.
Conclusion
You cleared a zone, let go of what you don’t use, and gave everything you kept a real home.
That’s how to store things in a small apartment when it feels like there’s no room left: less stuff first, smarter spots second.
Pick your next zone this weekend and run the same 12 steps.
Save this pin to your small space board so the plan is ready whenever the next closet starts to overflow.

