
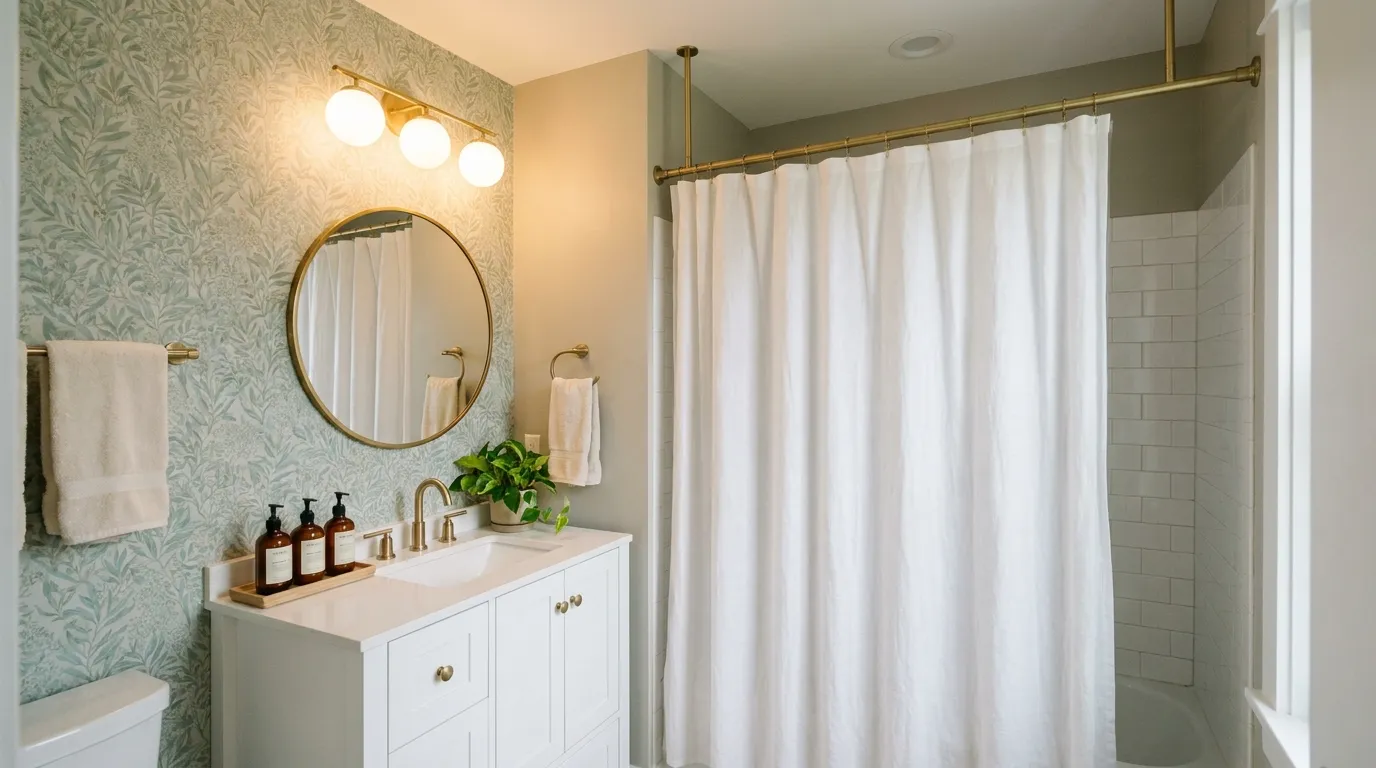
Your rental bathroom has the same beige tile, flat mirror, and chrome shower head as every other unit in the building. You can’t paint. You can’t retile. And you want your deposit back.
A rental bathroom makeover can still make that room feel like a boutique hotel, and you can finish it in one weekend.
This guide walks you through 15 small swaps in the exact order they need to happen. Saturday is for prep and the bigger changes: deep cleaning, fresh caulk, one wallpapered wall, new hardware, and a better shower head.
Sunday is for the details that make a room look high-end: a taller curtain, a framed mirror, warm light, and a tidy counter.
Why does this method work? A bathroom looks cheap because of a few small signals: dingy grout, a low curtain, cold blue bulbs, and a counter full of mismatched bottles. Fix those signals, and the whole room reads as expensive, even with the original tile.
Every change here comes off cleanly. You’ll keep the original parts in labeled bags, so move-out day takes an hour, not a weekend. Plan on 8 to 10 hours of hands-on work and a budget of about $150 to $300. Clear your Saturday morning and let’s get started.
Total Time
2 Days
Includes a 24-hour caulk cure
Active Time
8 to 10 Hours
About 5 on Saturday, 4 on Sunday
Difficulty
Beginner
No power tools needed
What You Need
Budget: about $150 to $300 total. Everything here comes off cleanly at move-out.
Saturday: Prep and Swaps
- Phone with a camera
- Laundry basket or storage bin
- Zip-top bags and a marker
- Baking soda and hydrogen peroxide
- Stiff grout brush (or an old toothbrush)
- Plastic putty knife or caulk remover tool
- Rubbing alcohol and paper towels
- White 100% silicone bath caulk and a caulk gun
- Painter’s tape
- 1 to 2 rolls of vinyl peel-and-stick wallpaper
- Plastic smoothing tool and a utility knife
- New cabinet knobs and pulls
- Phillips screwdriver
- New shower head, plumber’s tape, and an adjustable wrench
Sunday: Light and Styling
- Tension shower rod (long enough for your ceiling height)
- Extra-long shower curtain, 84 to 96 inches
- Shower liner and 12 curtain rings
- Peel-and-stick mirror frame kit
- Warm white 2700K LED bulbs
- Matching towel set (2 bath, 2 hand)
- 2 to 3 matching refillable soap bottles
- Small tray for the counter
- One low-light plant, like a pothos or snake plant
At a Glance
Saturday
- Read your lease for what counts as damage
- Photograph every corner before you start
- Empty the counters, shower, and cabinet
- Scrub the grout until it looks white again
- Replace the yellowed caulk around the tub
- Apply peel-and-stick wallpaper to one wall
- Swap the cabinet knobs and pulls
- Change the shower head
Sunday
- Raise the shower rod near the ceiling
- Hang an extra-long shower curtain
- Frame the builder-grade mirror
- Screw in warm 2700K bulbs
- Swap in one matching towel set
- Pour soaps into matching bottles
- Style the counter with a tray and a plant
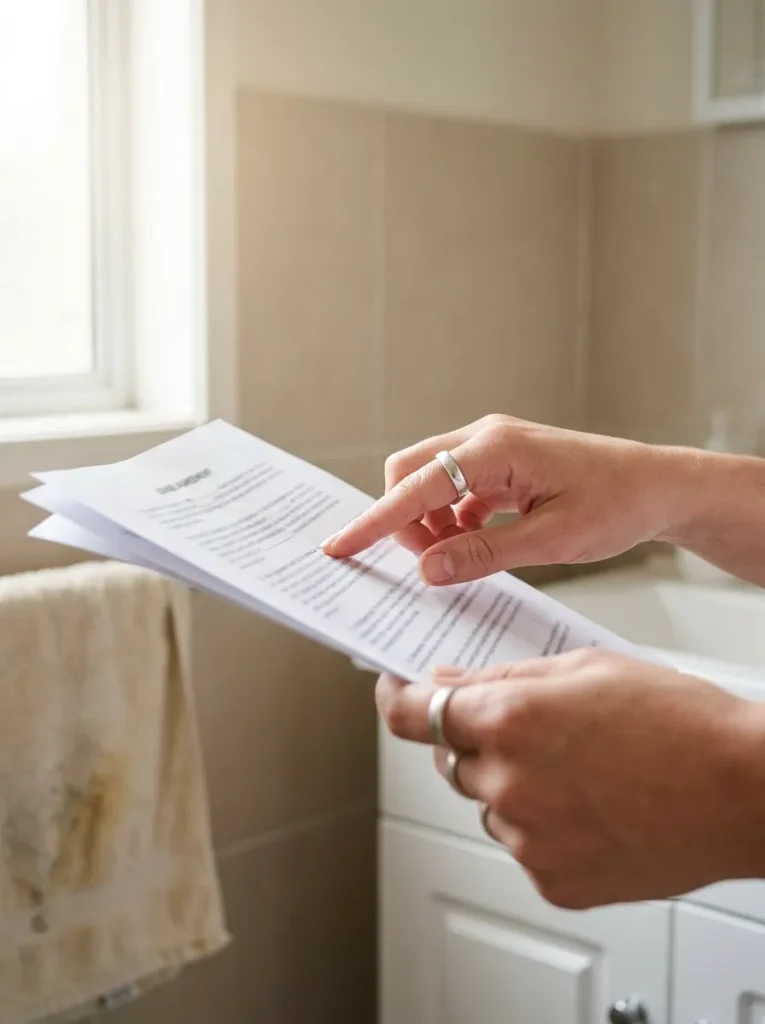
1. Read your lease for what counts as damage
Most leases allow small changes you can undo, but they ban anything that leaves a mark. Search your lease for the words “alterations,” “fixtures,” and “decorating.” Those sections tell you whether swapping a shower head or redoing caulk needs permission. If the lease says nothing clear, text your landlord a short list of your plans. A “yes” in writing protects your deposit later.
If your lease is vague, my renter’s rulebook shows how to sort changes into green, yellow, and red before you start.
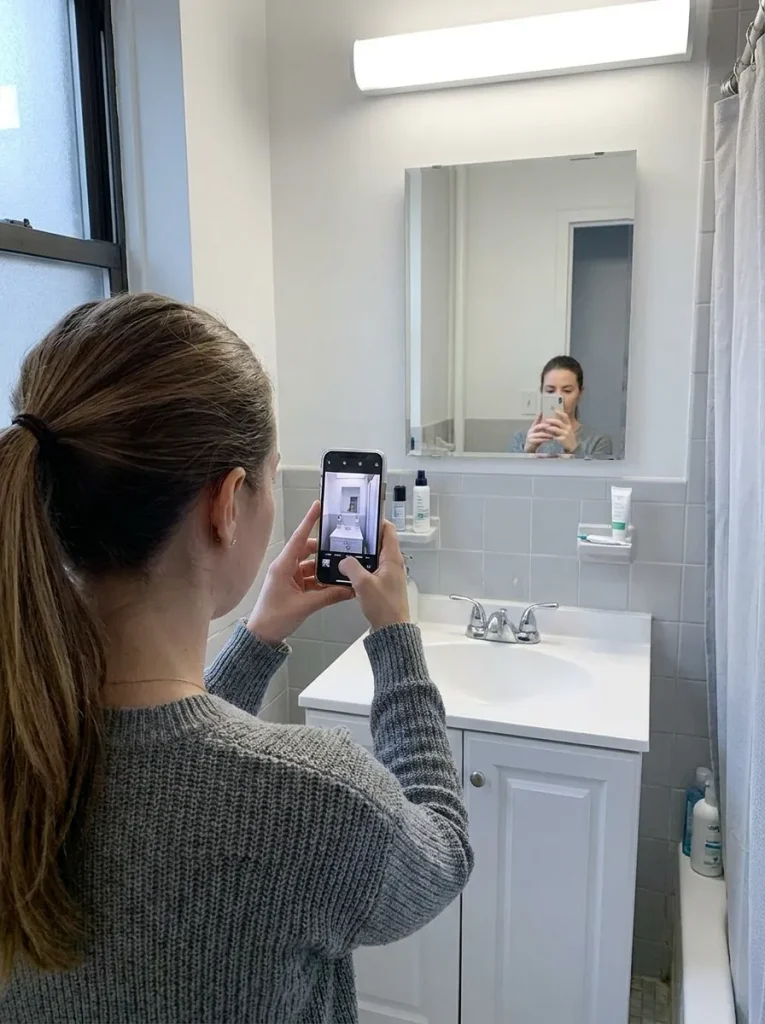
2. Photograph every corner before your rental bathroom makeover starts
These photos are your proof on move-out day. Take wide shots from the doorway, then close-ups of anything already chipped, scuffed, or stained. Turn the flash on for the grout and the tub edge. Email the photos to yourself so they carry a date.
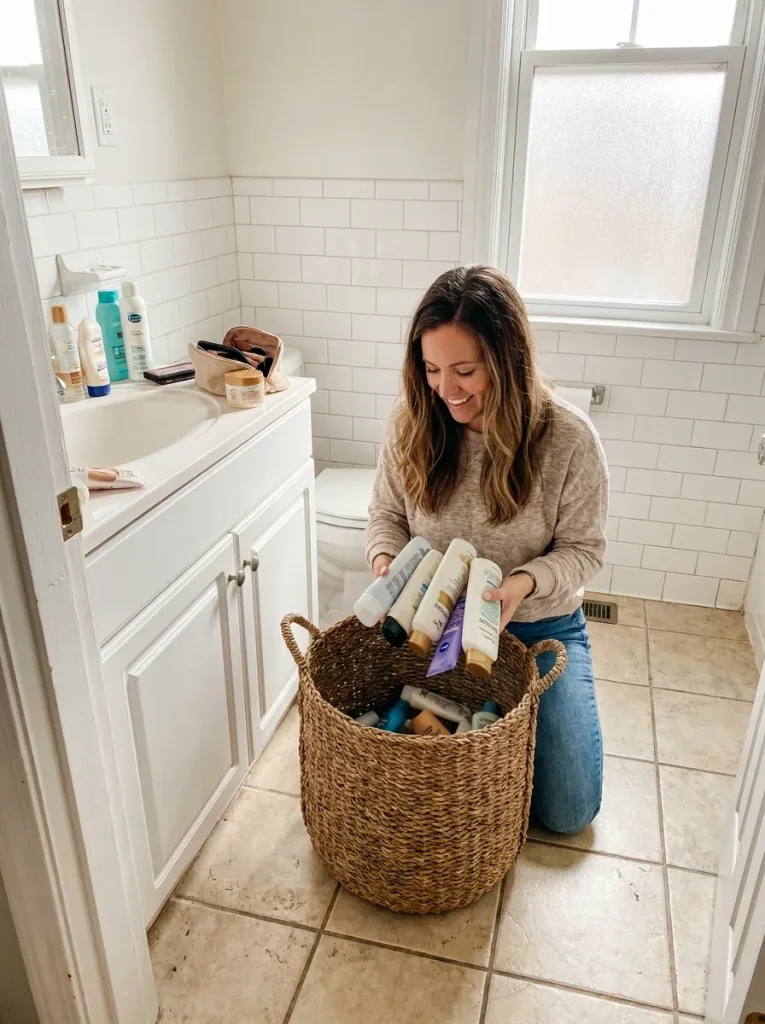
3. Empty the counters, shower, and cabinet completely
An empty room shows you what you are really working with. It also keeps bottles out of the way of wet caulk and fresh wallpaper later. Sort everything into three piles as you go:
- Things you use every day
- Expired or almost-empty products (toss these)
- Extras to store in another room
Set the daily pile in a laundry basket outside the bathroom. Only a few pieces come back on Sunday. A bare counter is the first thing that makes a small bathroom look expensive, so resist refilling it.
While the cabinet is empty anyway, it’s the perfect time to organize under the bathroom sink properly.
4. Scrub the grout until the lines look white again
Half a cup (½ cup) of baking soda mixed with ¼ cup of hydrogen peroxide makes a paste that lifts most grout stains. Brush it onto the lines, wait 10 minutes, then scrub in short back-and-forth strokes. Rinse with warm water. Open a window or run the fan while you work, and never use this paste right after a bleach cleaner.

5. Replace the yellowed caulk around the tub
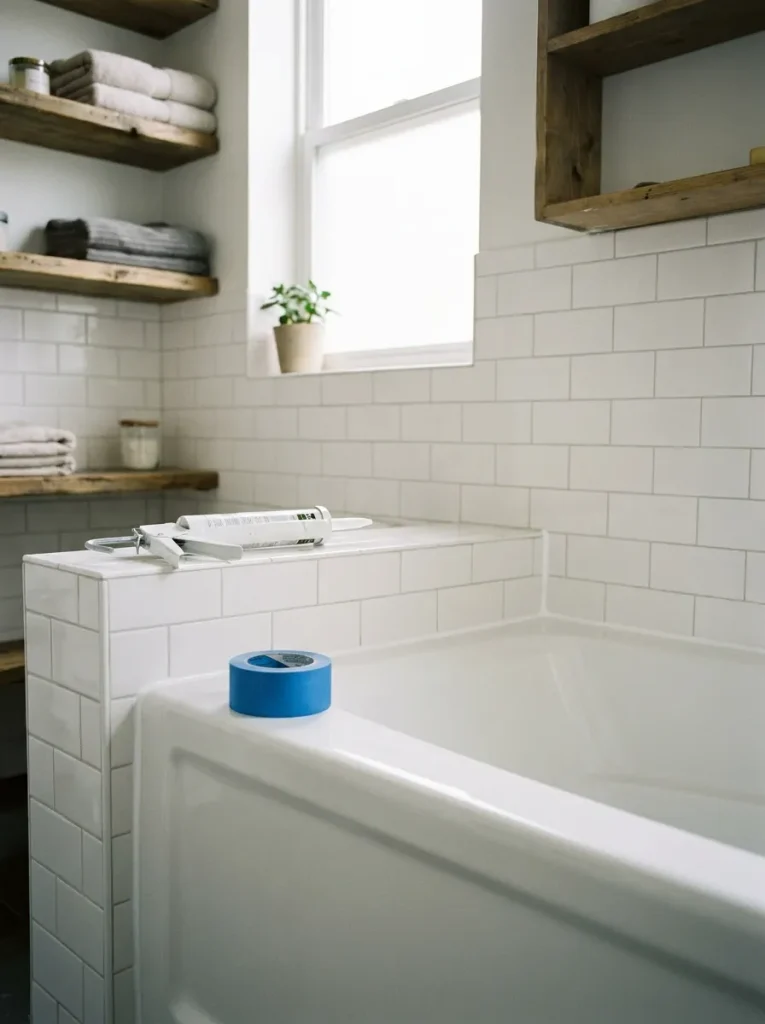
If your landlord said no to caulk, skip ahead to Step 6. Otherwise, fresh white caulk makes an old tub look newer than any other single fix. Work through these in order:
- Slide the putty knife under the old caulk and peel it out.
- Wipe the gap with rubbing alcohol and let it dry for 30 minutes.
- Run painter’s tape along both edges, about ⅛ inch from the gap.
- Squeeze a thin, steady bead and smooth it with a wet fingertip.
- Pull the tape off right away, while the caulk is still wet.
No caulk gun? Buy the caulk in a squeeze tube instead.
⚠ Heads Up
Keep the tub completely dry for 24 hours. Water that hits fresh caulk early leaves it soft and patchy, and mold grows in it fast. Do this step first thing Saturday morning, and when you test the new shower head in Step 8, keep it to a quick 5-second burst aimed away from the tub edge.
6. Apply peel-and-stick wallpaper to one wall
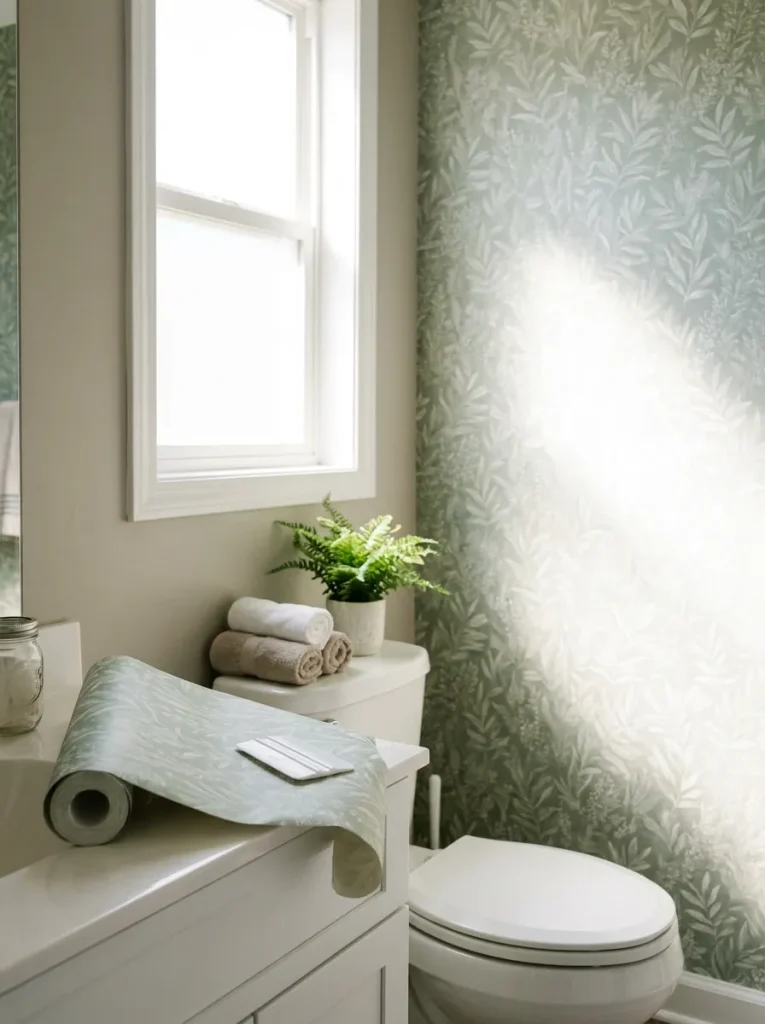
Pick the wall you see first when you open the door, as long as it sits outside the shower spray. Peel back 12 inches of backing, let the strip run 1 inch past the ceiling, and press it on. Smooth from the center out with the plastic tool, peeling more backing as you go. Match the pattern on each new strip. Trim the extra at the ceiling and baseboard with a sharp utility knife. Skip any wall painted in the last 30 days, because the glue can pull fresh paint off at move-out.
Bathrooms get steamy, which is hard on adhesive. Follow my no-lift wallpaper method, especially the hair dryer step at the corners.
✦ Pro Tip
Rental walls are rarely straight. Before you hang the first strip, use a level to draw a light pencil line from ceiling to floor, and line the strip’s side edge up with it. Every strip after that will hang straight too.
7. Swap the cabinet knobs and drawer pulls
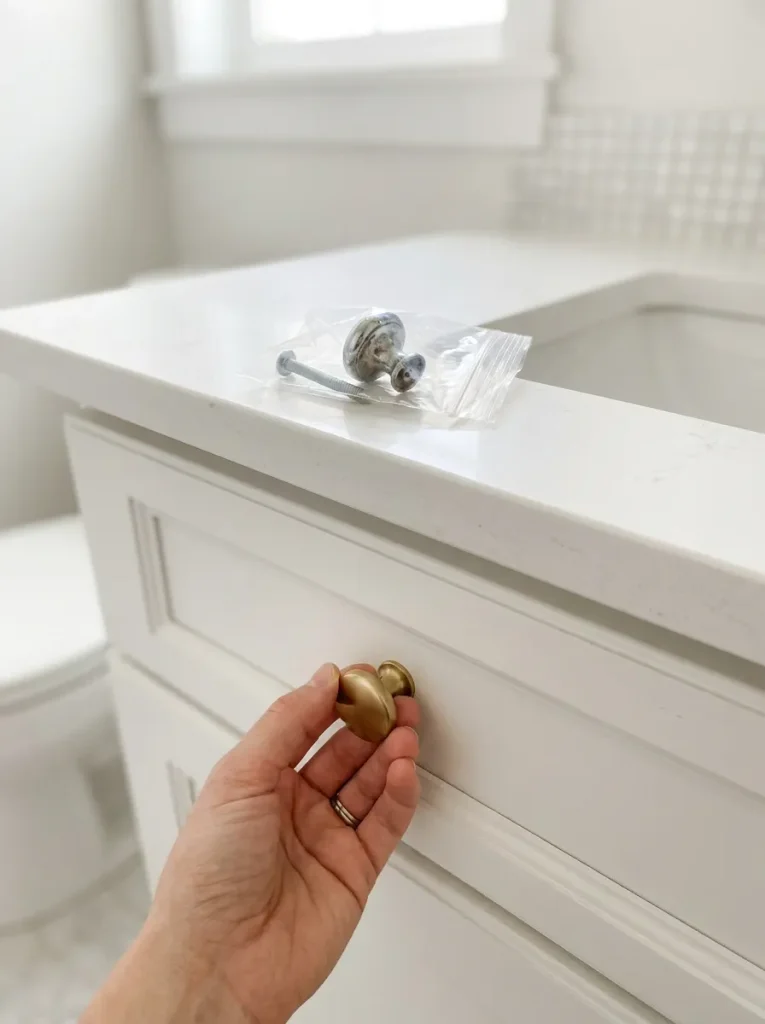
Old builder-grade knobs give a vanity away in one glance. Unscrew each one from inside the door or drawer. Drop it, screw and all, into a zip-top bag labeled “vanity knobs,” and tape the bag inside the cabinet. Attach the new hardware with the screws it came with. Pulls need the same hole spacing as the old ones, usually 3 inches center to center, so measure before you buy.
8. Change the shower head to a brushed or matte finish
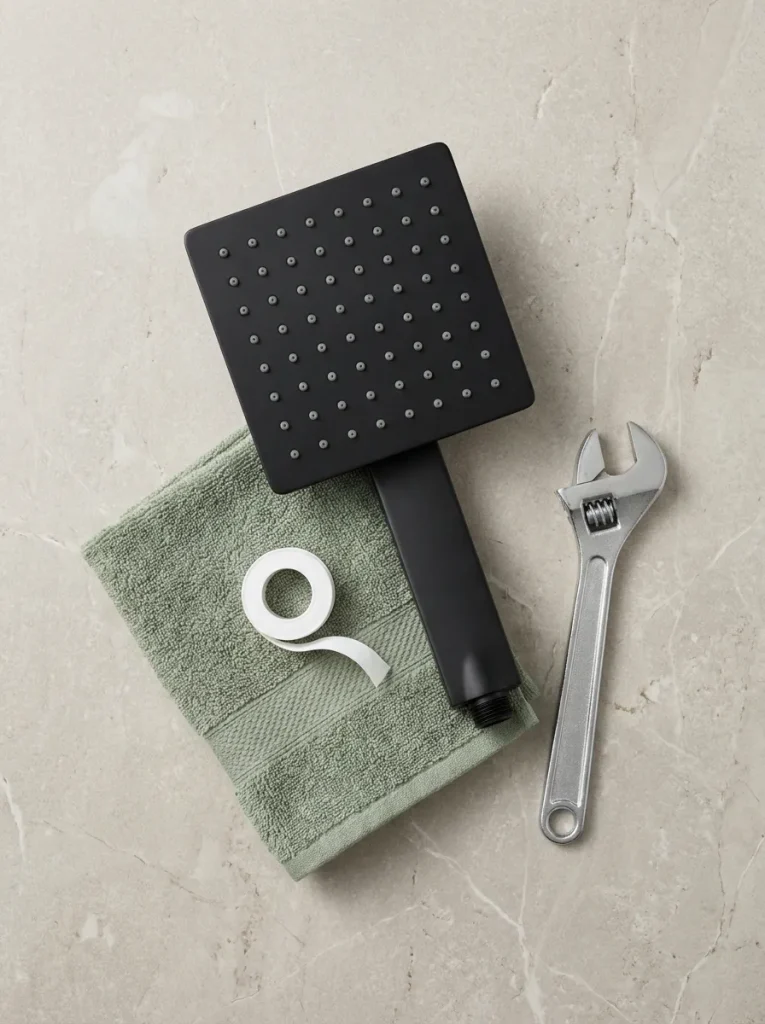
Before you pick up the wrench, check that the new head matches your new knobs. Matching metals are what make a bathroom look planned. Then work through this:
- Wrap a rag around the old head’s nut so the wrench won’t scratch it.
- Turn the nut counterclockwise until the head comes off.
- Wipe the pipe threads clean and dry.
- Wrap plumber’s tape clockwise around the threads 3 to 4 times.
- Screw the new head on by hand until it stops.
Bag and label the old head, and store it with your knobs.
⚠ Heads Up
Stop at hand-tight plus a ¼ turn with the wrench. Cranking harder can crack the plastic nut inside the new head. If it drips during your quick 5-second test, add another ⅛ turn instead of forcing it.
9. Raise the shower rod as close to the ceiling as it fits
A curtain that starts high makes a short room look taller, the same way high-waisted pants make legs look longer. Twist the tension rod out until it is ½ inch longer than the space. Compress it, set it 2 inches below the ceiling, and twist to lock it in place. Press down hard on the middle. If it slides, set the ends on flat tile, not on a grout line.
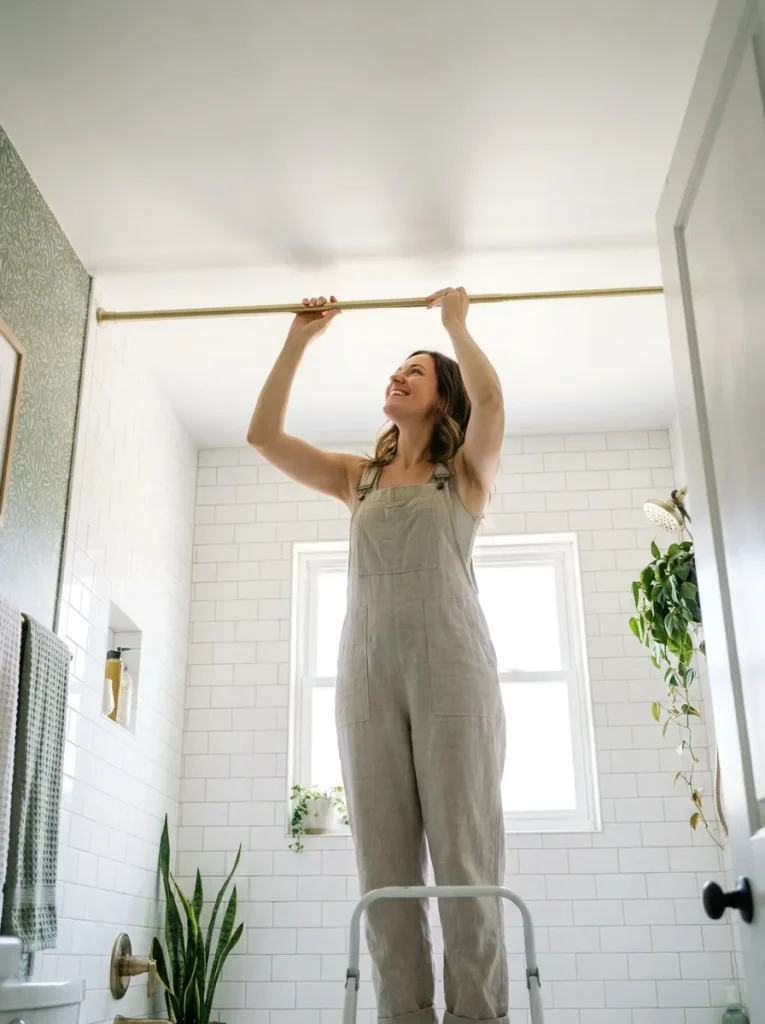
✦ Pro Tip
Is your old rod screwed into the wall? Leave it there and hang the shower liner on it. The new high rod holds only the pretty curtain, and the old rod stays hidden behind it.
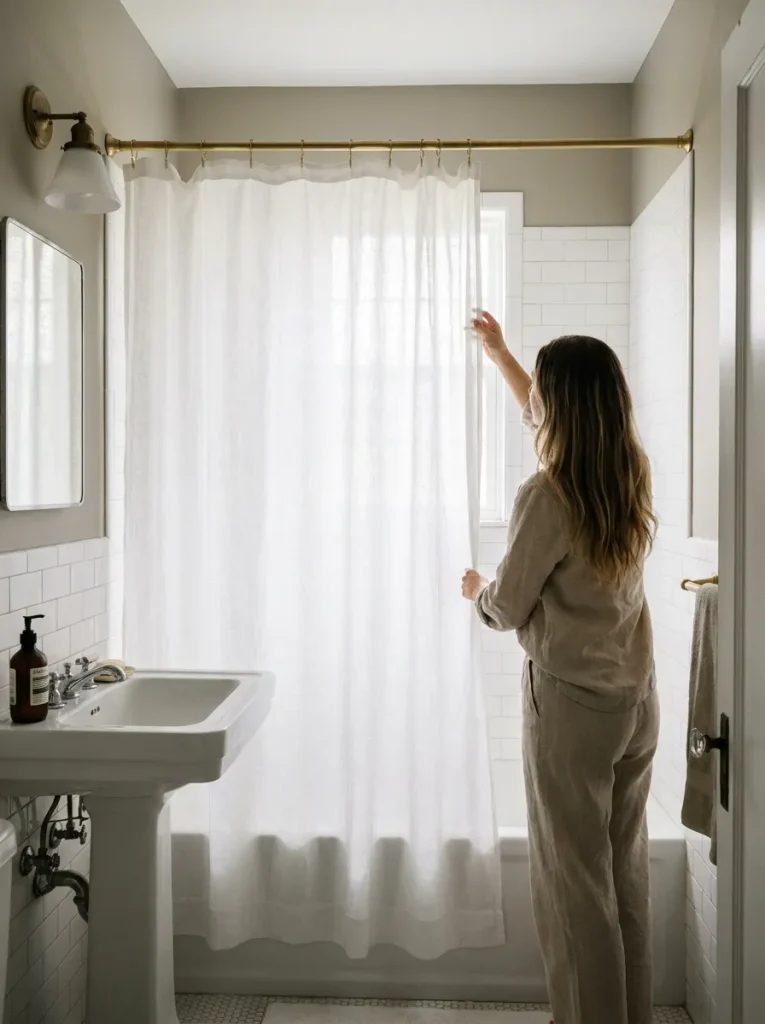
10. Hang an extra-long shower curtain
How long is long enough? The curtain should end about 1 inch above the floor. That’s low enough to look tailored, but high enough not to soak up water. Hook all 12 rings through the curtain first, then clip them onto the rod. If the curtain drags, fold up the bottom and secure it with iron-on hem tape, with no sewing needed. Solid white or a soft linen texture looks far more expensive than a busy print.
11. Frame the builder-grade mirror
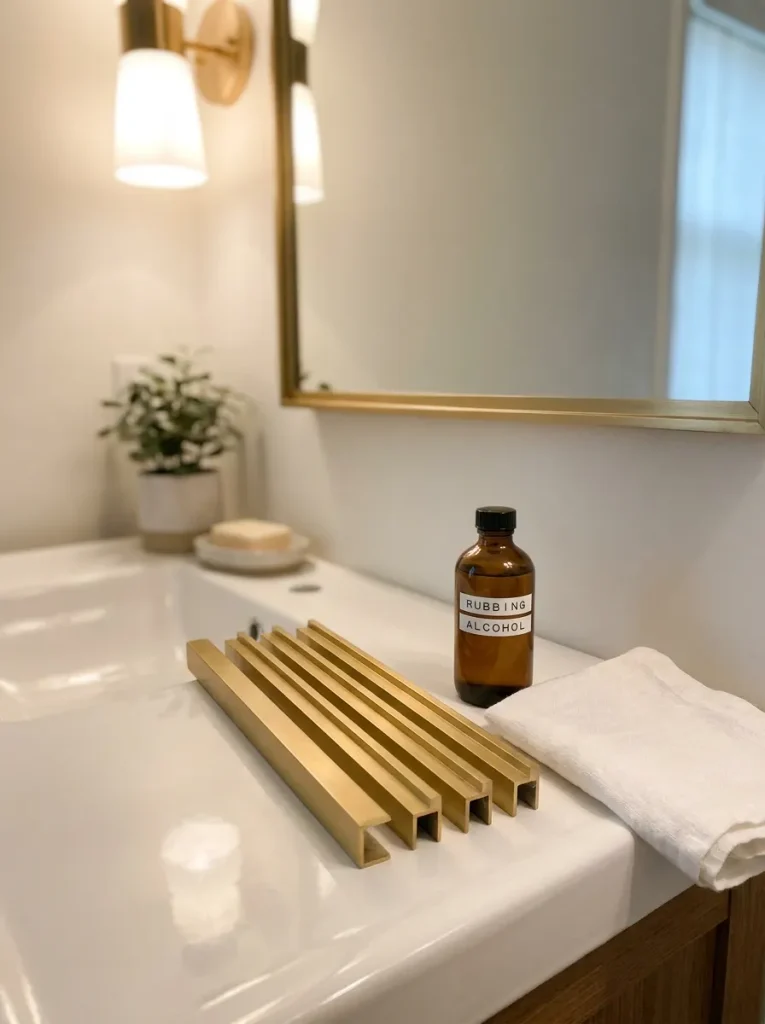
If your mirror is a bare rectangle on metal clips, this step gives you the biggest change for the money. Most frame kits stick right onto the glass and cover the clips. Here’s how to put one on:
- Clean the mirror edges with rubbing alcohol and let them dry.
- Lay all four frame pieces on the floor in order.
- Peel the backing from the bottom piece and press it on first.
- Add the two sides, then the top.
- Press firmly along every piece for 30 seconds.
Starting at the bottom gives the side pieces a straight base to sit on.
✦ Pro Tip
On move-out day, warm each frame piece with a hair dryer for 1 minute. Then slide a piece of dental floss behind it and saw gently back and forth. The frame lifts off, and rubbing alcohol cleans any leftover glue from the glass.
12. Screw in warm 2700K bulbs
Turn the light off and give the old bulbs 5 minutes to cool before you touch them. Cool blue-white bulbs make tile look gray and skin look tired. Swap each one for a 2700K LED, which gives the same soft, warm glow you see in a hotel bathroom. Match the base size printed on the old bulb, and keep the old ones in their box for move-out.
Not sure which glow to pick? Here’s the best bulb color temperature for cozy lighting.

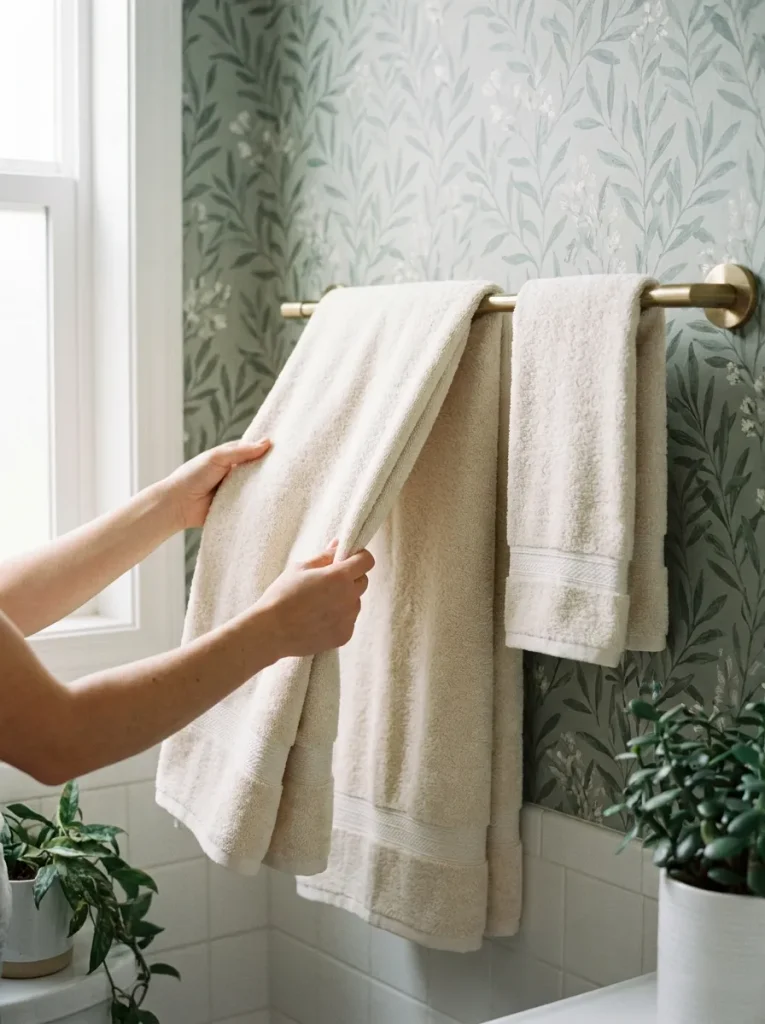
13. Swap mismatched towels for one matching set
Two bath towels and two hand towels in a single color do more for this room than any decor piece. White, cream, or soft sage keeps the look calm. Fold each bath towel in thirds lengthwise, then hang it over the bar so the edges line up. The old towels go to a closet, not back in here.
14. Pour soaps into matching refillable bottles
Bright brand labels make a counter look cluttered, even with only three things on it. Rinse the new bottles and let them dry completely. Pour in your hand soap, lotion, and body wash, using a small funnel or a piece of paper folded into a cone. Stop about 1 inch below the neck so the pump fits without overflowing. Thick soap pours slowly, so set each bottle in the sink while it fills.

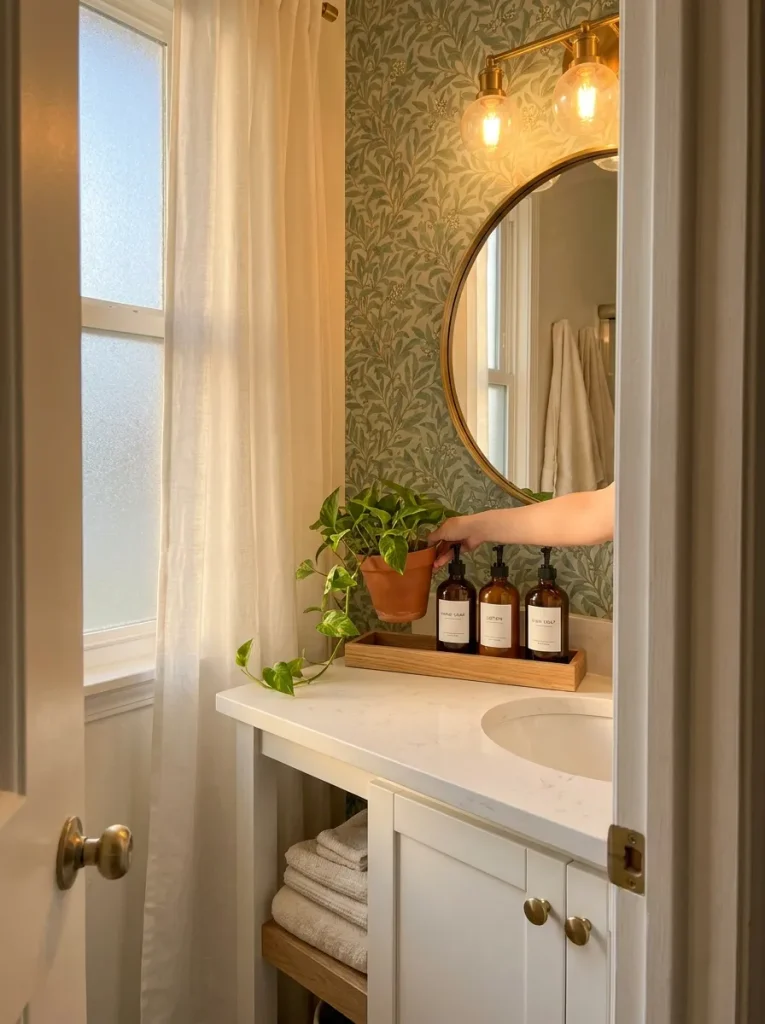
15. Style the counter with a tray and one living plant
If the counter looks a little bare when you finish, you did it right. Keep the setup small:
- Set the tray beside the sink, not in the center of the counter.
- Line up the soap bottles on the tray, tallest at the back.
- Place the plant at one end of the tray or in a counter corner.
- Put everything else in a drawer or the cabinet.
A pothos or snake plant handles low light and steam well. No window at all? One faux eucalyptus stem in a small vase works too.
If clutter keeps creeping back onto the counter, try one of these small bathroom storage ideas that fit anywhere.
✦ Pro Tip
Stand in the same doorway spot you used in Step 2 and take an “after” photo. Seeing the two side by side shows you exactly what changed, and it’s a handy record of what you added before move-out day.
Troubleshooting
Something not looking right? Find your problem on the left.
| If This Happens | Try This |
|---|---|
| Bubbles under the wallpaper | Poke a tiny hole near the bubble’s edge with a pin. Push the air toward the hole with your smoothing tool until the paper lies flat. |
| Wallpaper edges lifting after showers | Warm the edge with a hair dryer for 30 seconds and press it down. Run the fan during showers and for 20 minutes after. |
| Tension rod keeps sliding down | Wipe the tile under each end with rubbing alcohol. Add rubber grip pads (or circles cut from shelf liner) under the end caps, then twist ¼ turn tighter. |
| New shower head drips at the pipe | Unscrew it, remove the old tape, and rewrap the threads clockwise 4 to 5 times. Tighten by hand, then add a ¼ turn with the wrench. |
| Caulk line looks wavy or smeared | Still wet? Wipe it all off with a paper towel and try again. Already dry? Wait the full 24 hours, slice it out with a utility knife, and redo it. |
| Mirror frame corners don’t meet | Gaps under ⅛ inch disappear with a dab of paint pen in the frame’s color. Bigger gaps mean a piece went on crooked, so lift it with a hair dryer and reset it. |
Frequently Asked Questions
Will any of this cost me my security deposit?
Not if you keep the original parts and remove everything slowly at move-out. Every change in this guide comes off cleanly. Your Step 2 photos prove what the room looked like before.
Do I need my landlord’s permission?
For the shower head and caulk, check your lease or ask, since those touch the plumbing and tub. Towels, bulbs, the curtain, and the mirror frame don’t change anything permanent.
Does peel-and-stick wallpaper hold up in a steamy bathroom?
Vinyl wallpaper does, as long as it stays outside the shower spray and you run the fan. Avoid paper-based peel-and-stick, which curls and stains in humid rooms.
What if my budget is smaller than $150?
Start with the cheapest high-impact fixes: warm bulbs, fresh caulk, a clean counter, and a taller curtain. Together they often cost under $70 and change the room more than wallpaper does.
Can I finish this rental bathroom makeover in one day?
Most of it, yes. The caulk is the only part that needs a full 24 hours to cure before the tub gets wet, so plan to shower elsewhere that night.
What do I do on move-out day?
Swap the original knobs, shower head, and bulbs back in from your labeled bags. Peel the wallpaper slowly at a low angle, and use a hair dryer and floss to lift the mirror frame.
What to Expect by Sunday Night
Same tile, same layout, very different room.
Conclusion
Your bathroom now looks calm, planned, and a lot more expensive than your rent would suggest.
If you want even more looks, browse 25 small apartment bathroom ideas.
You did all of it in one weekend, and nothing you changed will cost you your deposit.
That’s what a good rental bathroom makeover does: it looks custom, and it leaves no trace when you move out.
If you want to keep going, try the same warm bulbs and matching-metal trick in your kitchen next.
Pin this guide now so it’s ready the next time you move into a new place.
Love how it turned out? The same tricks work in every room. Here’s how to get an expensive look in a small apartment on a budget.

