
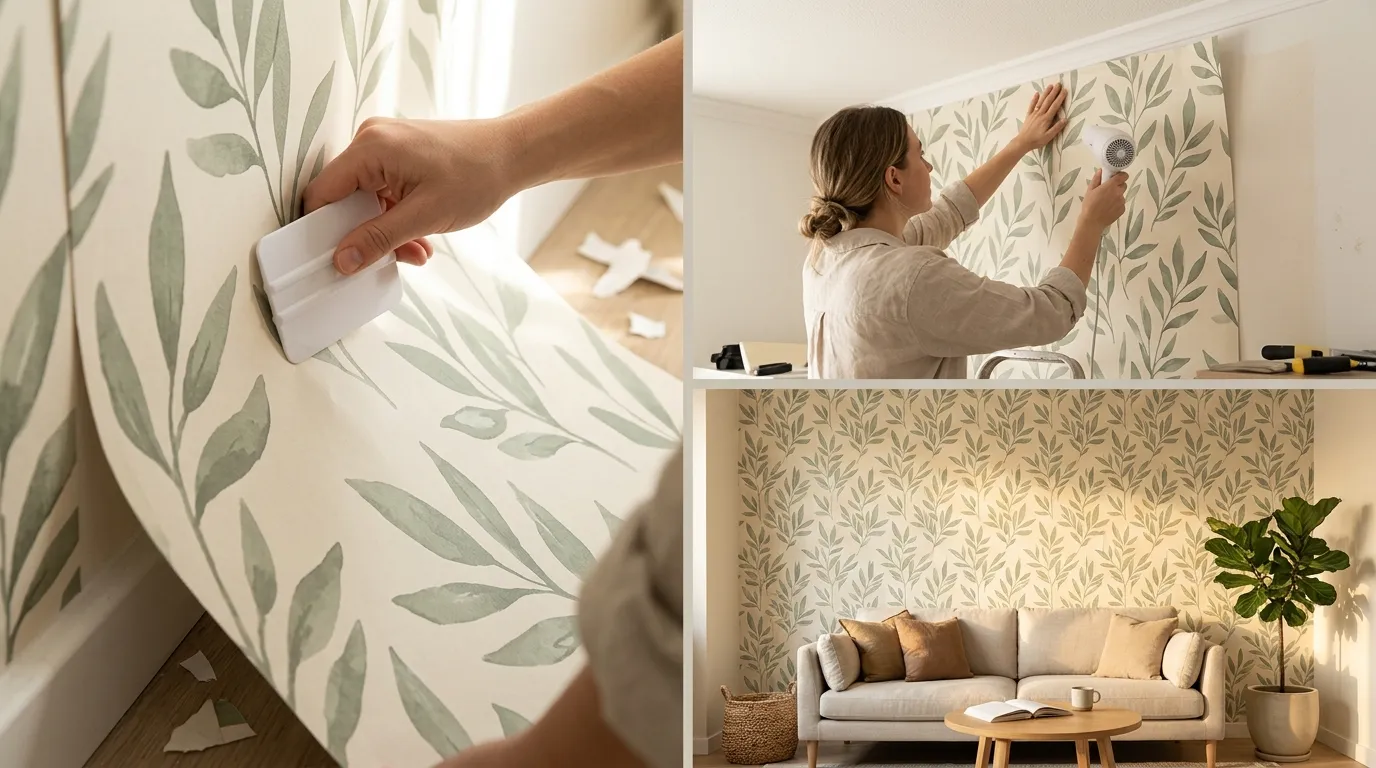
You pressed the last panel on, stepped back, and loved it. A week later, the top corner curled away from the wall like the page of an old book. This is the most common complaint I hear about removable wallpaper, and it happened to me in my first rental too. If you want to learn how to install peel and stick wallpaper so it stays put, here is some good news: peeling corners almost never come from bad wallpaper. They come from a dusty wall, a rushed start, or edges that never got a firm press.
This guide walks you through one accent wall from start to finish. You’ll prep the wall so the glue has something clean to hold, hang each panel straight, and seal every edge and corner so it stays flat. The method works because it gives the adhesive the three things it needs: a clean surface, warmth, and pressure.
Be honest with yourself about time. The hands-on work takes about 3 to 4 hours for a standard wall. The full process spans about four days, though, because the wallpaper needs to rest and your test strip needs time to prove the wall will hold. Those waiting days are what separate a wall that lasts from one you redo next month.
Before you buy a single roll, double-check what your lease allows. Some landlords treat wallpaper as an ask-first change.
- ✓ Peel and stick wallpaper (wall size plus 15% extra)
- ✓ Mild dish soap
- ✓ Bucket of warm water
- ✓ Soft sponge
- ✓ 2 or 3 lint-free microfiber cloths
- ✓ Small tube of clear seam adhesive
- ✓ Painter’s tape (optional)
- ✓ Tape measure
- ✓ Level (24 inches or longer)
- ✓ Pencil
- ✓ Plastic smoothing tool
- ✓ Utility knife with fresh blades
- ✓ 6-inch putty knife or metal ruler
- ✓ Scissors
- ✓ Seam roller
- ✓ Hair dryer
- ✓ Screwdriver
- ✓ Step ladder
- Rest the rolls in the room for 24 hours
- Test a small strip for 48 hours
- Wash the wall with soap and water
- Let the wall dry fully
- Remove outlet covers and switch plates
- Draw a straight guide line
- Cut the first panel 2 inches long
- Hang from the top, 12 inches at a time
- Smooth from the center out
- Match the pattern on the next panel
- Trim at the ceiling and baseboard
- Cut around outlets
- Warm corners and edges with a hair dryer
- Roll the seams flat
- Seal problem corners with adhesive
- Keep the room dry for 48 hours
1. Let the rolls rest in the room for 24 hours
Vinyl reacts to temperature. A roll that rode home in a cold car or sat in a hot garage will stretch or shrink after it hits the wall, and that movement pulls corners loose. Take the rolls out of the box, stand them upright, and leave them in the room you’re decorating for 24 hours. Aim for a room temperature between 65°F and 75°F. While they rest, check that every roll shows the same batch number on the label so the colors match.

2. Test one small strip on the wall for 48 hours
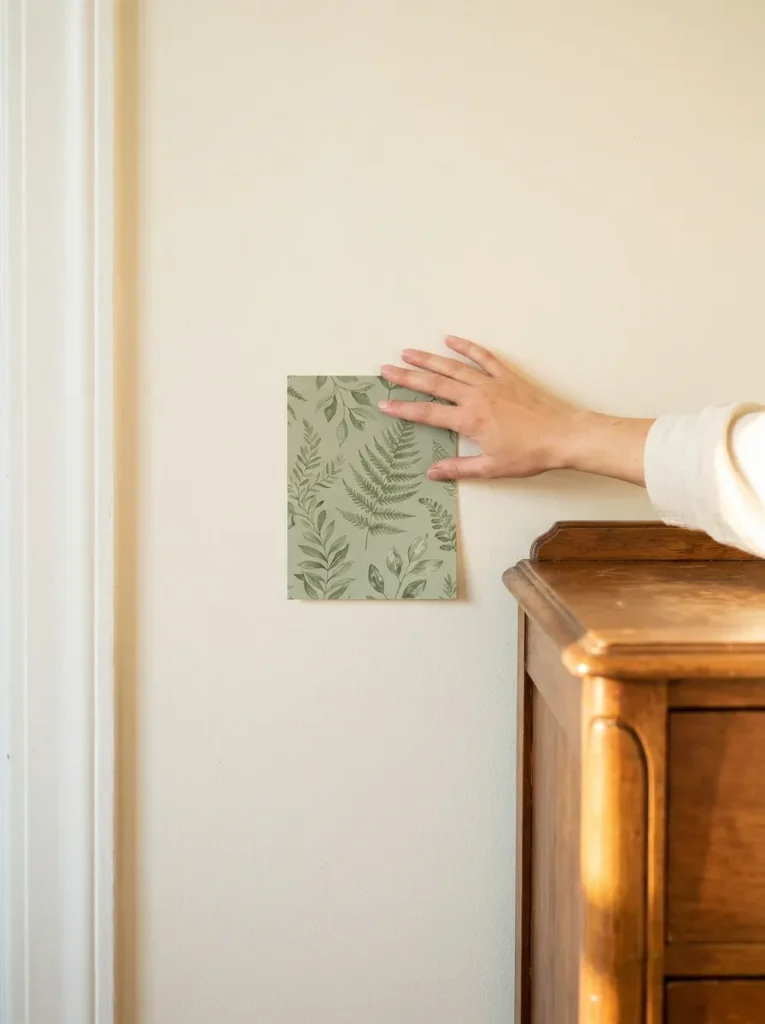
Two days of waiting now can save you a whole weekend later. Cut a 6-inch square from the end of one roll. Stick it to a hidden spot, like behind a dresser, and press it down firmly. Leave it for 48 hours, then peel it off slowly.
Don’t rush this one. Skipping the test patch is one of the most common ways renters end up repainting a wall.
3. Wash the wall with mild dish soap and warm water
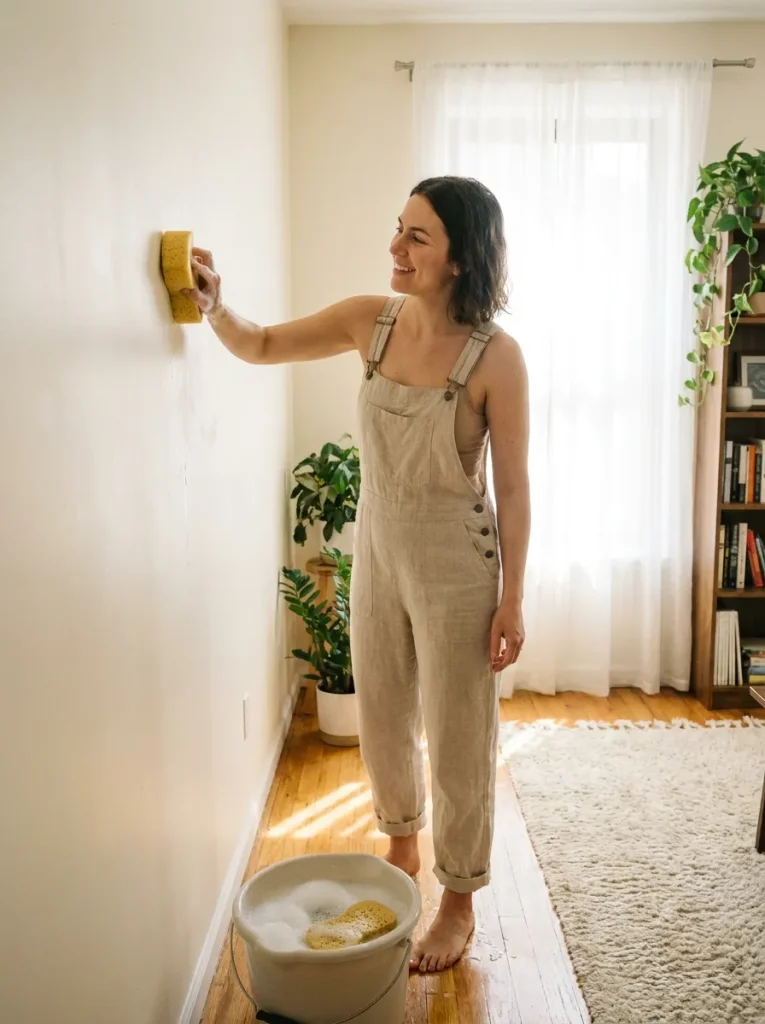
Glue can’t hold onto dust, cooking grease, or fingerprint oils, and you can’t see most of them. Wall grime is the top reason corners lift in kitchens and entryways. Mix a few drops of dish soap into a bucket of warm water, then:
- Wring the sponge until it’s damp, not dripping.
- Wipe the wall in small sections, top to bottom.
- Pay extra attention to the ceiling line and corners.
- Wipe again with a clean, damp cloth to remove the soap.
Skip all-purpose sprays and degreasers. Many leave a slick film that fights the adhesive.
4. Wait until the wall is fully dry before you start
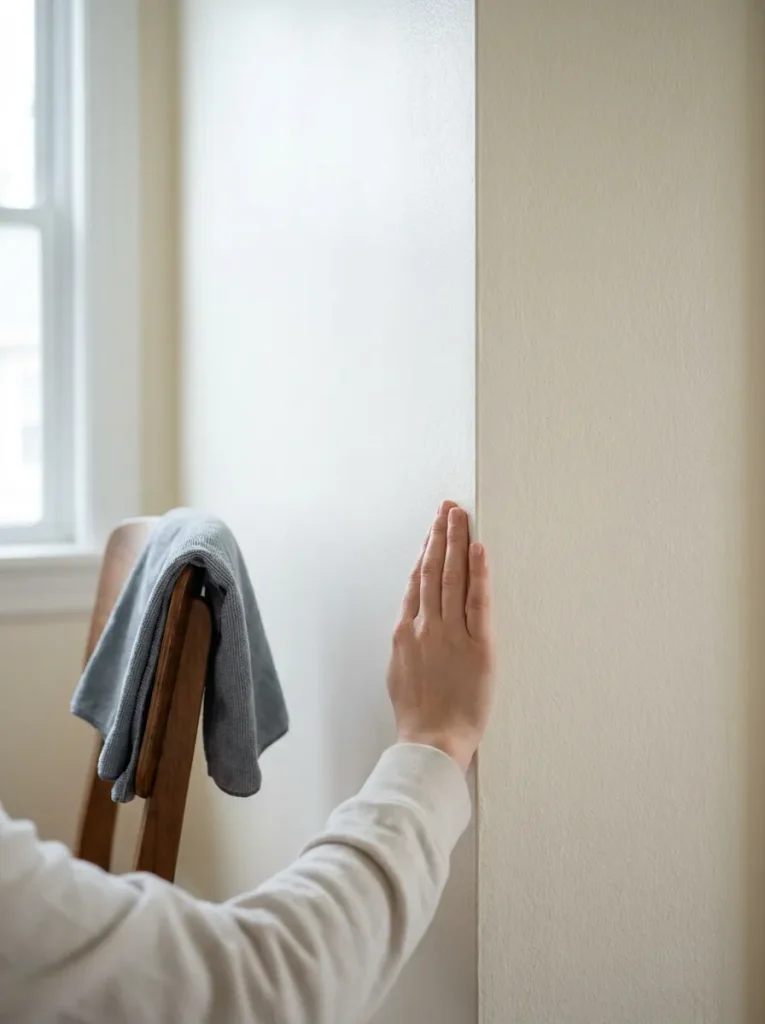
If you washed the wall today, give it at least 24 hours before any wallpaper touches it. Water trapped in the paint turns into moisture under the vinyl, and that moisture is where bubbles and lifting edges begin. Before you move on, press the back of your hand to a corner. It should feel room temperature, not cool or damp.
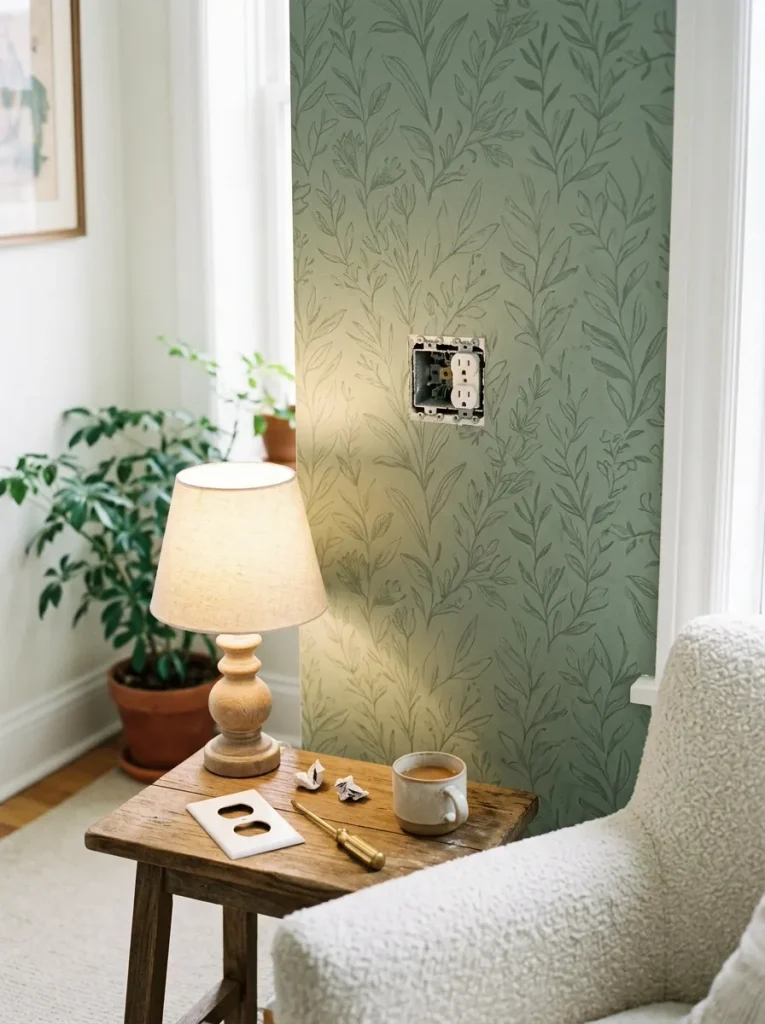
5. Unscrew the outlet covers and switch plates
A screwdriver and a small cup are all you need here. Turn each screw counterclockwise and drop it straight into the cup so nothing rolls under the couch. Any cover left on the wall creates a bump, and wallpaper edges next to a bump are the first to lift. Set the plates aside somewhere safe. They go back on after the wallpaper is trimmed around each box.
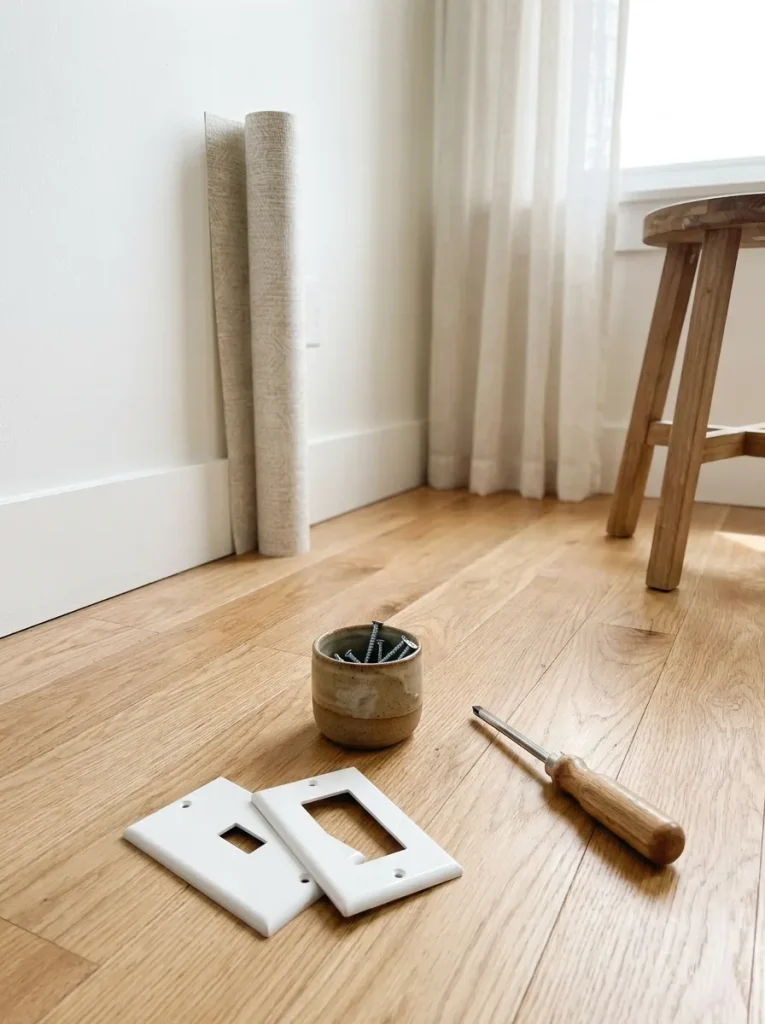
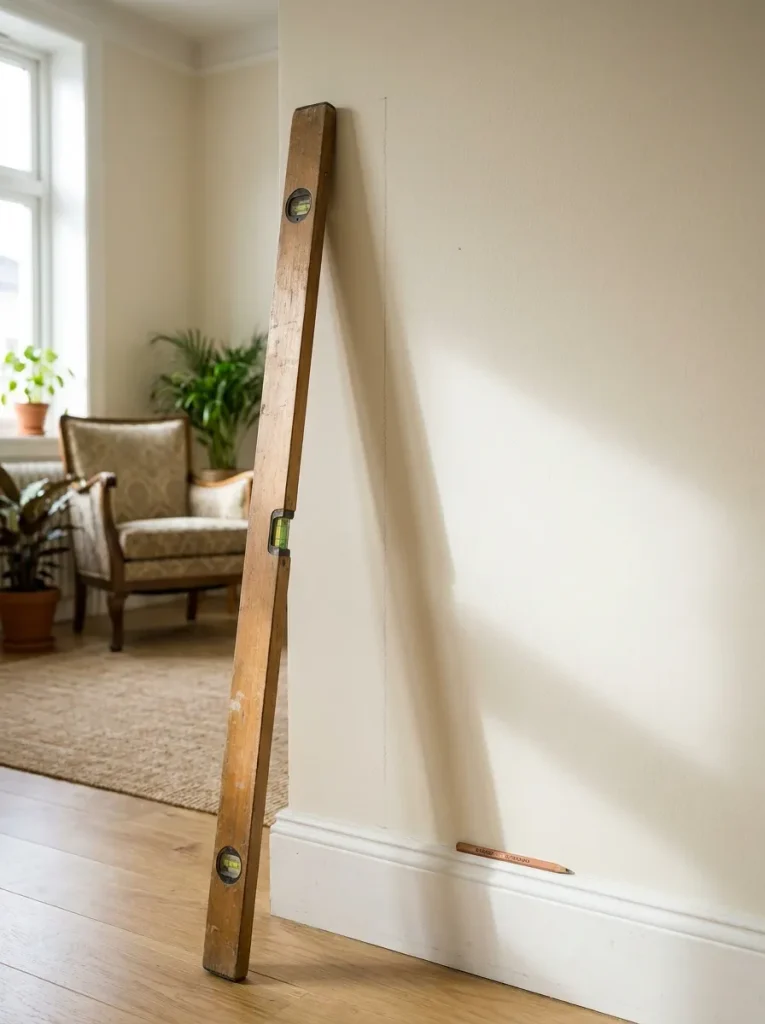
6. Draw a straight guide line with a level
Corners and ceilings in most homes are a little crooked, even in new builds. Line your first panel up with the corner, and every panel after it will tilt a bit more. A pencil line fixes that.
Measure the width of one panel, then subtract 1/2 inch. Mark that distance out from the corner near the top of the wall. Hold your level against the mark, check that the bubble sits centered, and draw a light line from ceiling to baseboard. Your first panel’s edge follows this line, not the corner.
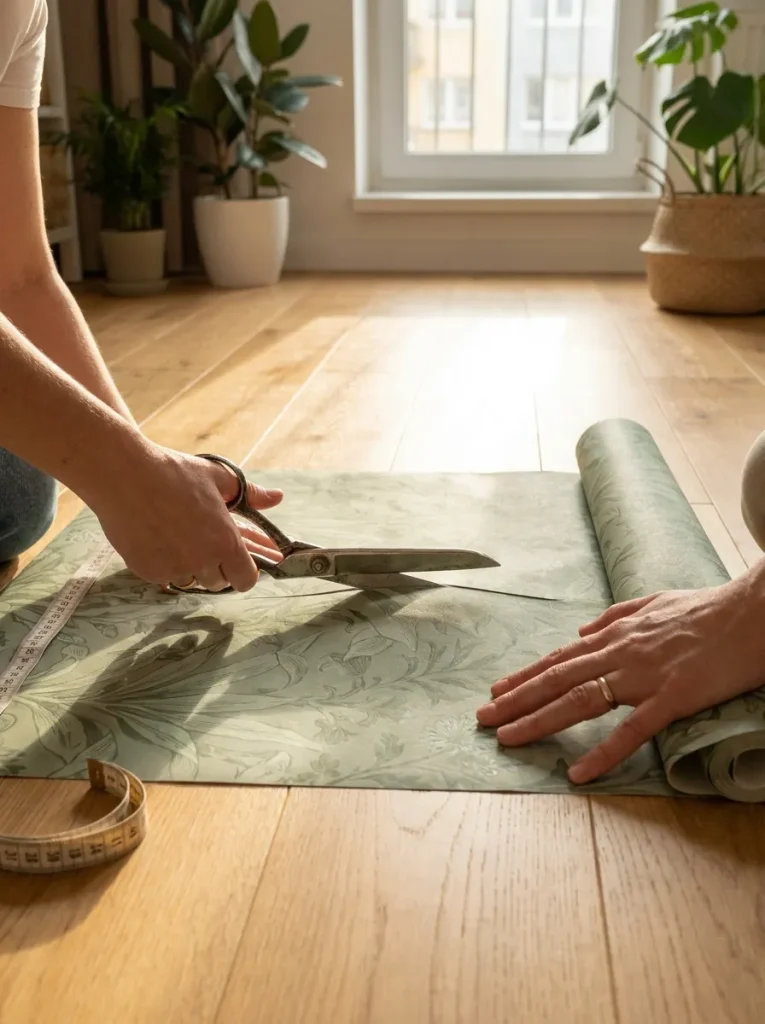
7. Cut your first panel 2 inches longer than the wall
Three measurements beat one. Check the wall height at the left side, the middle, and the right side, and use the tallest number. Add 2 inches to it, then cut the panel straight across with scissors. That extra gives you about 1 inch to spare at both the ceiling and the baseboard, so a crooked ceiling never leaves a gap. Leave the backing on for now. Cut one panel at a time, since each new one has to match the pattern of the last.
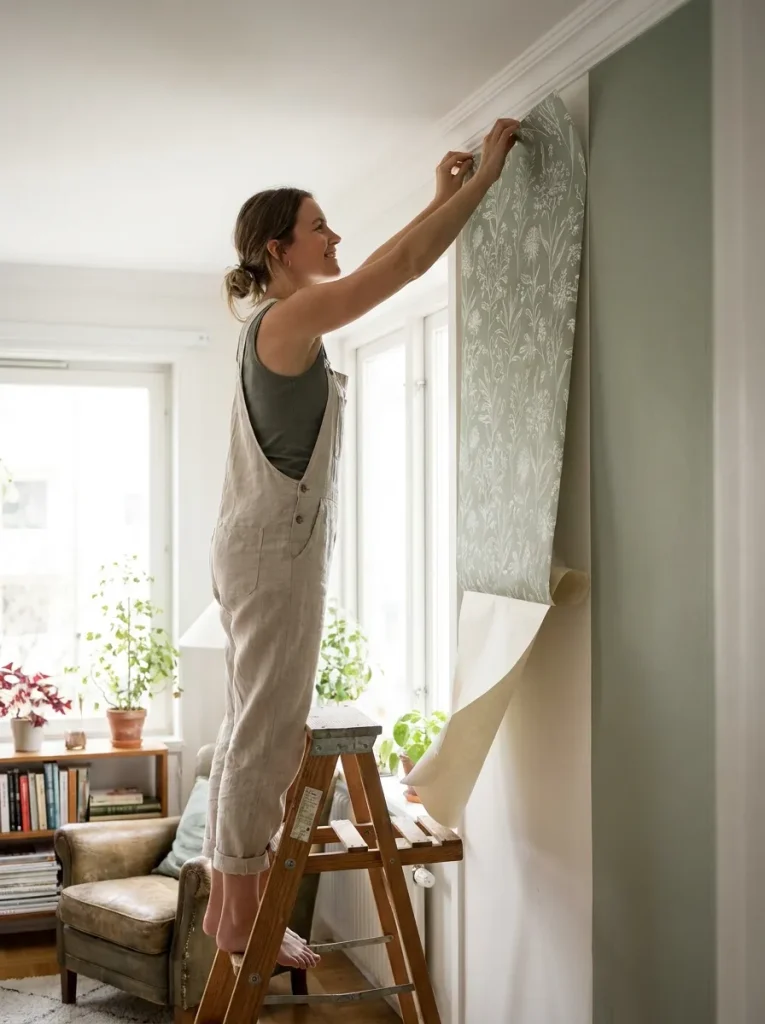
8. Install peel and stick wallpaper from the top down, 12 inches at a time
Peeling off all the backing at once is how panels end up stuck to themselves. Work in short sections instead:
- Peel back 12 inches of backing from the top.
- Hold the panel so about 1 inch hangs over the ceiling line.
- Line up the side edge with your pencil line.
- Press the top down lightly with your palm.
- Pull down the next 12 inches of backing and repeat.
If the edge drifts off the line, peel it back gently and set it again. Never stretch the vinyl to force it straight, because stretched wallpaper shrinks back and pulls at the corners.
9. Smooth from the center out with a plastic squeegee
Trapped air has to go somewhere, and the only way out is the nearest edge. Hold the smoother at a slight angle and push in short strokes from the middle of the panel toward the sides, working top to bottom. Use firm pressure. Light passes leave the glue half-bonded, and half-bonded corners lift first.
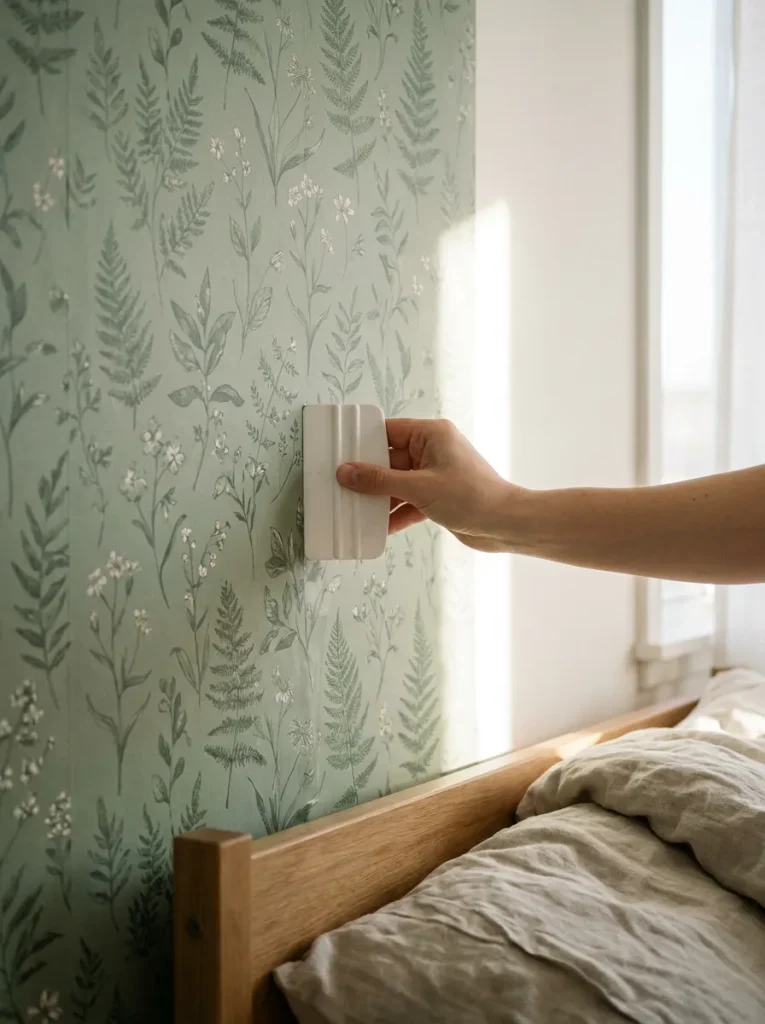
10. Line up the next panel so the pattern matches
If your wallpaper has a pattern, the next panel won’t start at the same spot on the roll as the first. Hold the uncut roll against the wall beside your first panel. Slide it up or down until the design lines up across the seam, then mark the top and cut about 1 inch above the ceiling line. Hang it the same way, 12 inches at a time. Most brands butt the edges together, but a few ask for a 1/4-inch overlap, so check the label. A gap of even 1/16 inch will show once the light hits it.
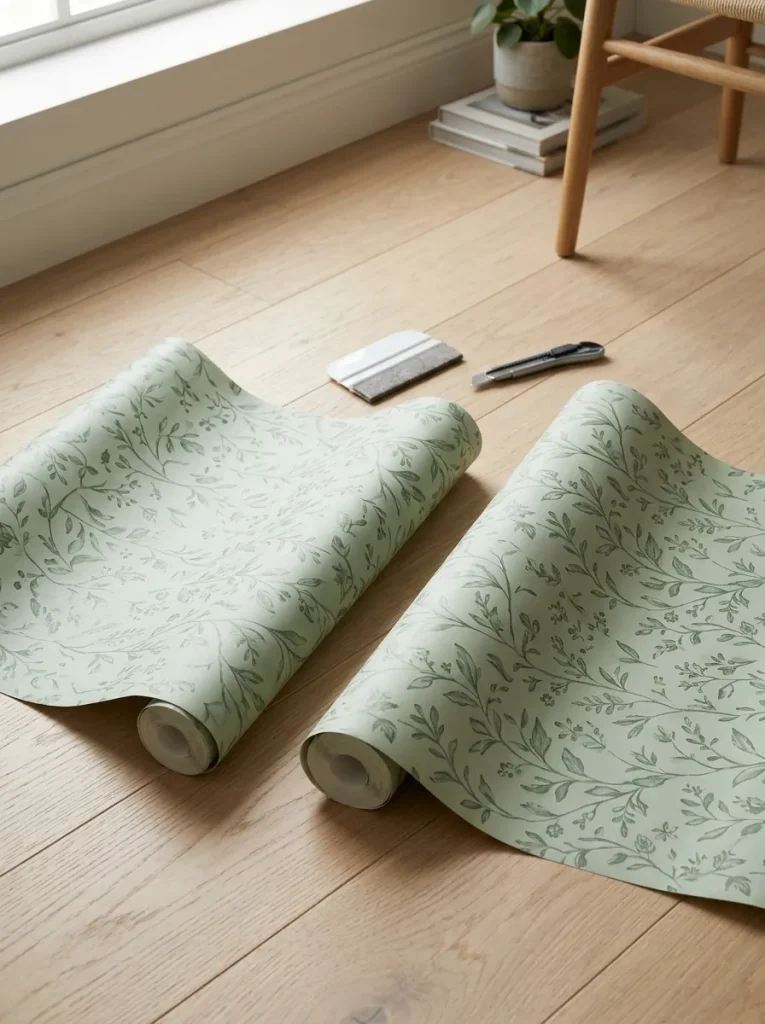
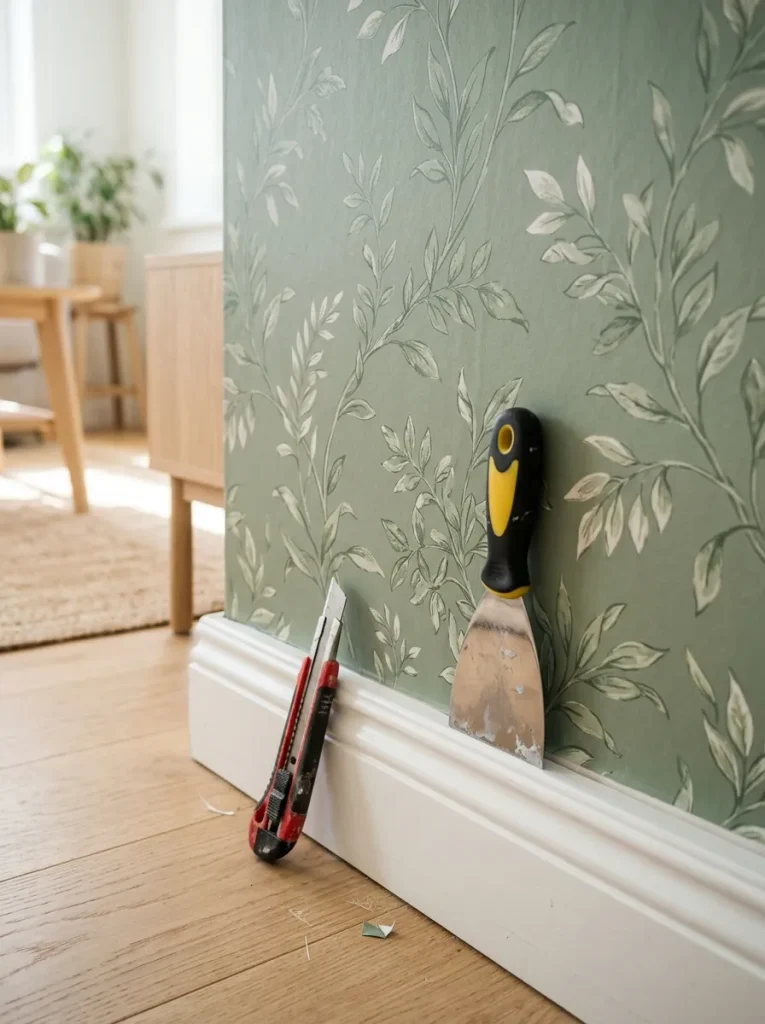
11. Trim the extra at the ceiling and baseboard
A fresh blade matters more than anything else here. Press your 6-inch putty knife into the crease where the wall meets the ceiling. Run the utility knife along its edge in one slow pass, then slide both down together. Snap off a new blade section every 3 or 4 cuts. A dull blade drags and tears the vinyl, and torn edges are where peeling starts.
12. Cut an X over each outlet and trim to the box
Each outlet takes about 2 minutes. Work through them one at a time:
- Feel for the edges of the box through the wallpaper.
- Cut a small X from corner to corner of the box.
- Fold the four flaps back.
- Trim each flap along the edge of the box.
Keep every cut inside the box edge. The cover plate hides a small gap, but it can’t hide a slice that runs past it.
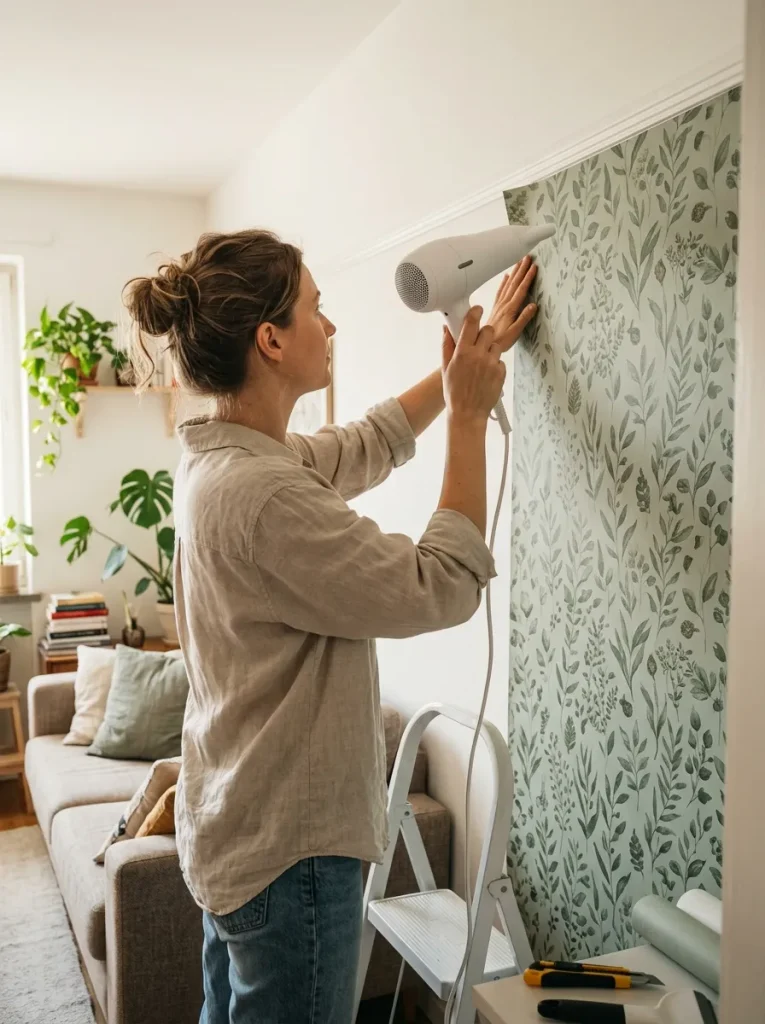
13. Warm every corner and edge with a hair dryer
Think of the adhesive like butter. Cold, it sits on the surface. Warm, it softens and grabs. Set your hair dryer to medium heat and hold it about 6 inches from the wall. Warm one 12-inch stretch of edge for 10 to 15 seconds, then press it down firmly with your smoother. Work along the ceiling line, the baseboard, every seam, and all four outer corners. If the vinyl starts to look shiny or wavy, you’re too close. Pull the dryer back an inch or two.
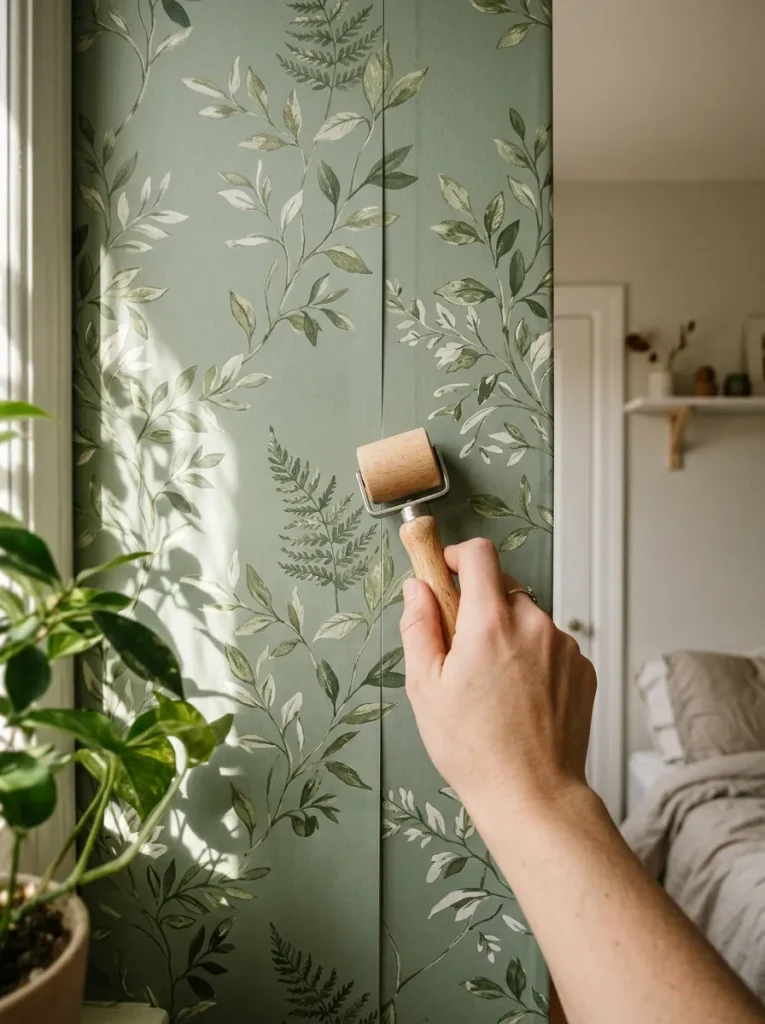
14. Press the seams flat with a seam roller
Three slow passes per seam is enough. Roll from top to bottom with firm pressure, then back up, then down once more. This presses both edges tight against the wall in a way the smoother can’t. Working with textured or embossed wallpaper? Ease off the pressure so you don’t flatten the pattern.
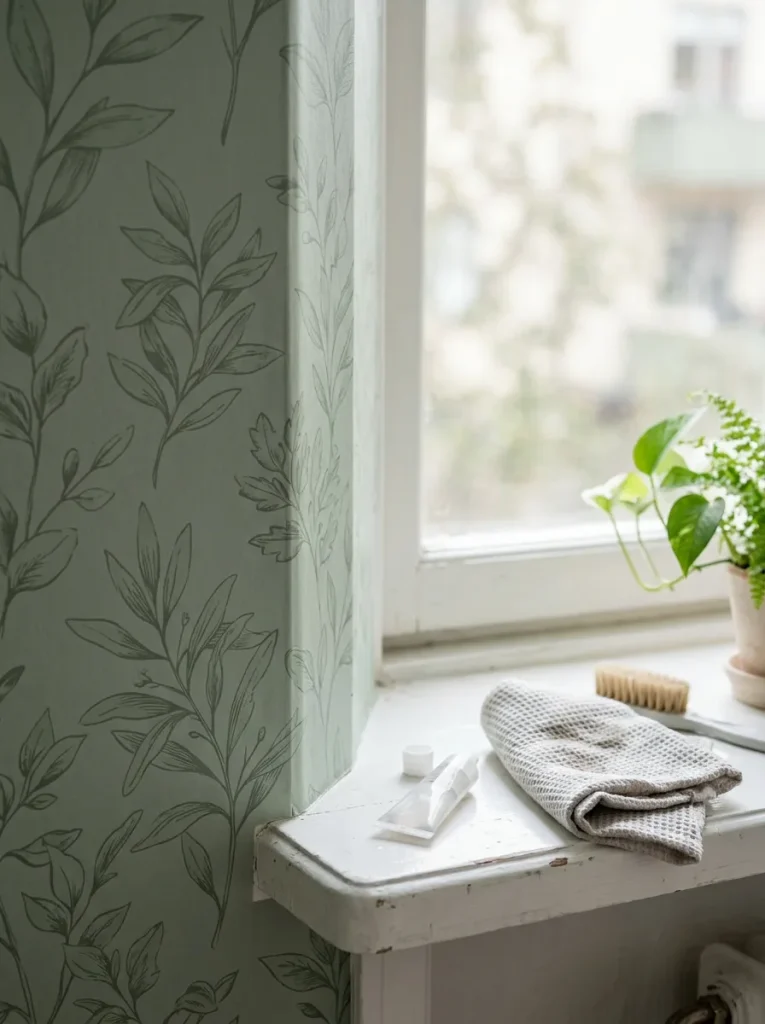
15. Seal problem corners with a dot of clear adhesive
Above a door or next to a drafty window, one or two corners may still refuse to stay down. For each one:
- Lift the corner back about 1 inch.
- Squeeze a dot of clear seam adhesive, about 1/4 inch wide, onto the wall.
- Press the corner down and hold it for 30 seconds.
- Wipe away any squeeze-out with a damp cloth.
Renting? A small piece of removable mounting tape works too, and it comes off cleaner on move-out day.
16. Keep the room dry for 48 hours while it bonds
For the next 48 hours, the glue keeps getting stronger, and moisture is its biggest enemy. Keep the bathroom door closed during showers, turn off any humidifier, and run a fan if the air feels sticky. Hold off on hanging art or pushing furniture against the wall. When the two days are up, screw the outlet covers back on.
Papering a bathroom? Humidity is the enemy of adhesive, so time this step around showers. It’s step six of my weekend bathroom makeover.
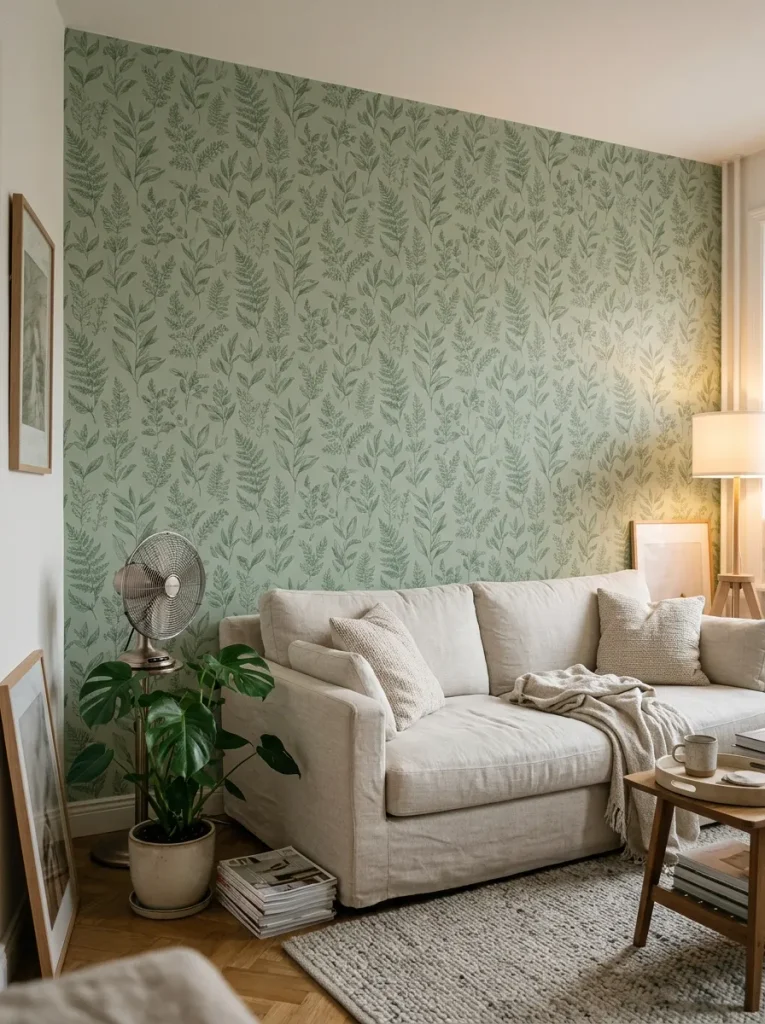
Enjoy Your New Wall
Your wall is done, and the corners are sealed to stay flat.
When you move out, here’s how to remove peel and stick wallpaper without a mark.
Now you know how to install peel and stick wallpaper the way that lasts: clean wall, straight line, warm edges, and firm pressure.
Got a few leftover panels? Try lining the back of a bookcase or the inside of a closet door next.
Save this pin to your renter-friendly ideas board so it’s ready for your next wall.
Now that you know the technique, here are 15 wallpaper ideas for every room in your rental to plan your next wall.

