

You loved that peel and stick wallpaper the day it went up. Now you’re moving out, or you’re tired of the pattern, and you’re staring at the wall wondering what’s under it. Will the paint come off too? Will it cost you part of your deposit? Those are fair worries. Peel and stick is made to come off, but it doesn’t always come off clean if you rush it.
This guide shows you how to remove peel and stick wallpaper and backsplash tile without tearing paint, leaving sticky patches, or gouging the wall. The method uses three things most renters already own: a hair dryer, a plastic scraper, and dental floss. Gentle heat softens the glue. Slow, low pulls keep that glue on the backing instead of on your wall. Floss slides behind tiles where a scraper can’t reach.
Plan on 1 to 2 hours of hands-on work for an accent wall or a small backsplash. Add drying time if you need to touch up paint at the end. You don’t need special skills, only patience and a free afternoon. Grab your supplies, put on some music, and let’s get that wall back to the way your landlord left it.
- Test a hidden corner first
- Clear the wall and cover the floor
- Lift a wallpaper corner with a plastic scraper
- Warm stubborn sections with a hair dryer
- Pull wallpaper slowly at a low angle
- Heat each tile for 30 to 45 seconds
- Pry tiles loose from the top edge
- Saw through stuck tiles with floss
- Rub off leftover adhesive
- Wash the wall with soapy water
- Patch spots where paint lifted
- Check the wall in side light
1. Test a hidden corner before you start
Behind the couch or up near the ceiling works best, somewhere no one will notice. Peel back about 2 inches slowly and look at the back of the wallpaper. A clean backing means the glue let go of your paint, so you can work at a steady pace. Flecks of paint on the backing mean the glue grabbed hard. If that happens, you’ll warm every section with a hair dryer before you pull it (Step 4).

Fresh paint is the biggest risk. If the wall was painted less than 30 days before the wallpaper went up, the paint may not have fully cured and can peel off in sheets. Go extra slow and use heat on every section.
2. Clear the wall and cover the floor below it
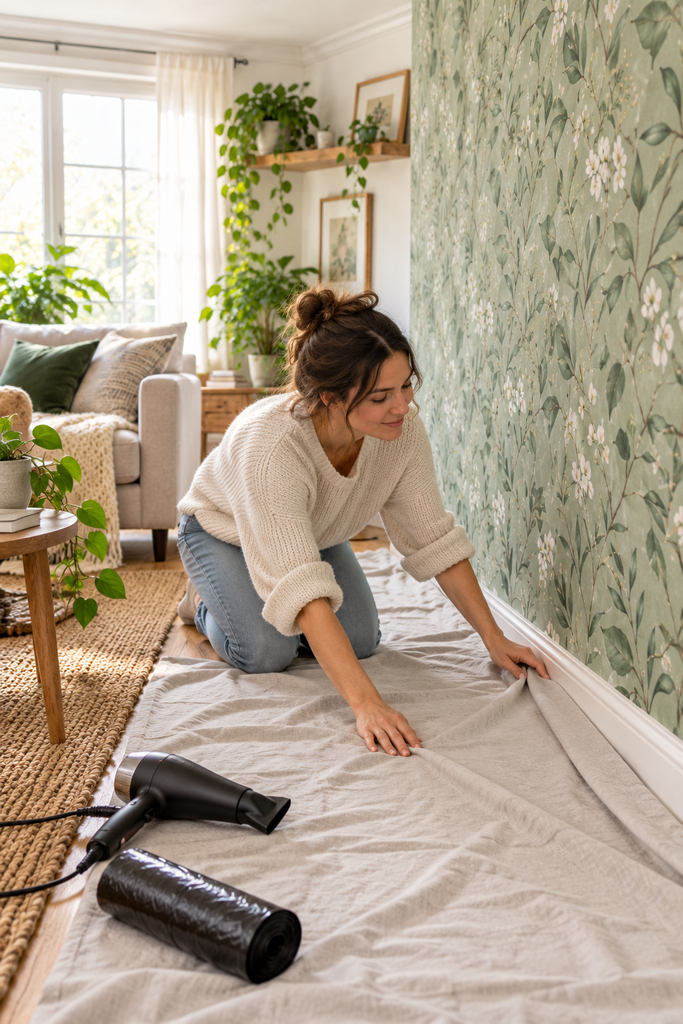
Old wallpaper comes down faster than you’d think, and sticky strips land everywhere. Before you lift a single edge:
- Slide furniture at least 3 feet away from the wall.
- Unscrew outlet covers and switch plates, and drop the screws in a cup.
- Spread a drop cloth or old bed sheet along the floor.
- Open a trash bag and keep it within reach.
- Plug in your hair dryer close to the wall.
Used wallpaper sticks to itself, so ball it up and toss it as you go.
3. Lift a wallpaper corner with a plastic scraper
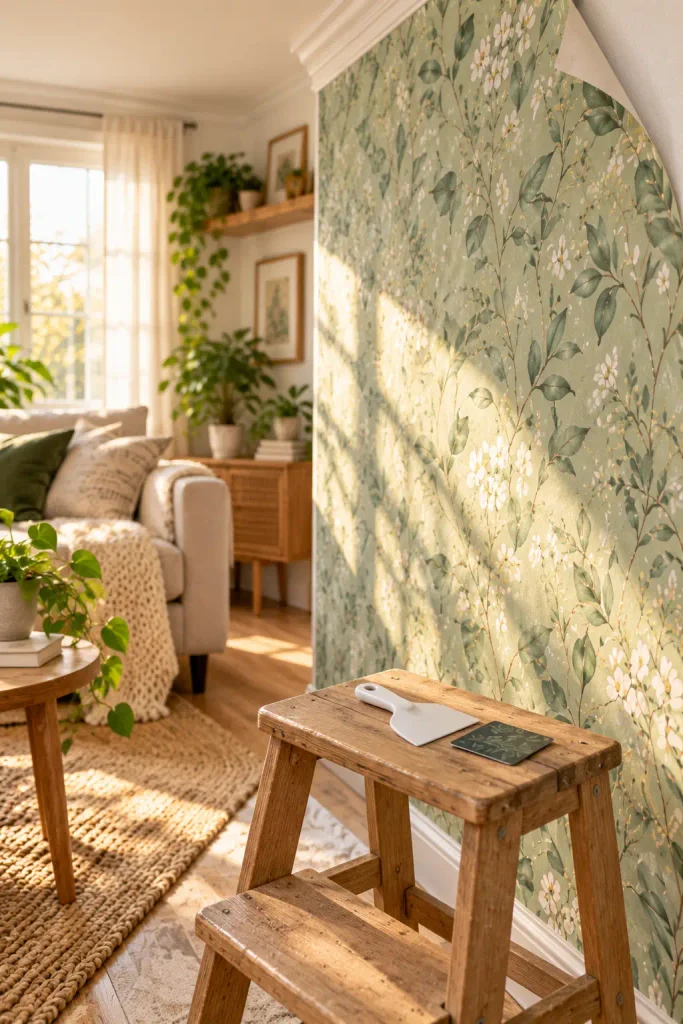
Of every spot on a panel, the top corner gives you the most control. Gravity pulls the panel away from the wall as you peel, instead of letting it flop back on. Slide a plastic putty knife about ½ inch under the corner where the wallpaper meets the ceiling. An old gift card or hotel key card works too. Skip metal scrapers and butter knives, since they dent drywall. If your panels overlap, start with the last one that went up, because its edge sits on top.
4. Warm stubborn sections with a hair dryer
Thirty seconds of heat is usually enough. Set the dryer to medium and hold it about 6 inches from the wallpaper. Move it in slow circles over a section about the size of a sheet of printer paper. Warm glue goes soft and loosens its grip on your paint. Touch the surface before you pull. It should feel warm, like a mug of tea, not hot.
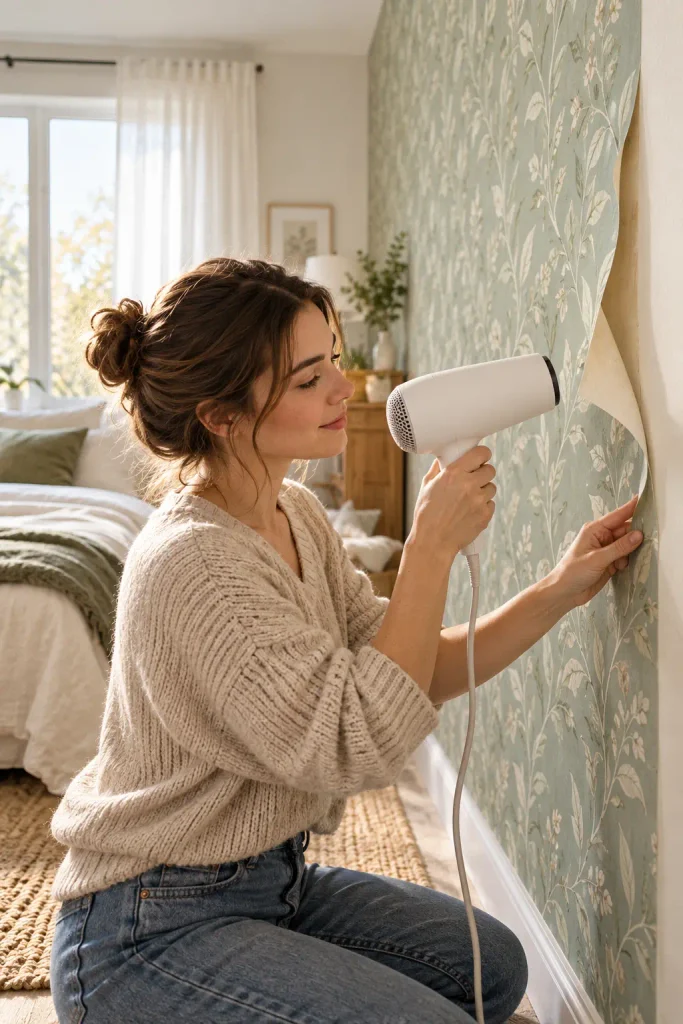
Work in a rhythm: heat a section, peel it, then heat the next one. Glue cools back down in about 1 minute, so warming the whole wall at once wastes your effort.
5. Remove peel and stick wallpaper in slow, low-angle pulls
If you pull straight out from the wall, the glue tugs on the paint and can lift it. Instead, fold the loose corner back over itself and pull it down along the wall, keeping the panel close to the surface. Go slow, about 1 inch per second. Use your free hand to press flat on the wall right below where the paper is coming away. Hear a crackle or see the paper start to tear? Stop, warm that spot for another 20 seconds, and start again from a fresh edge.

6. Heat each tile for 30 to 45 seconds
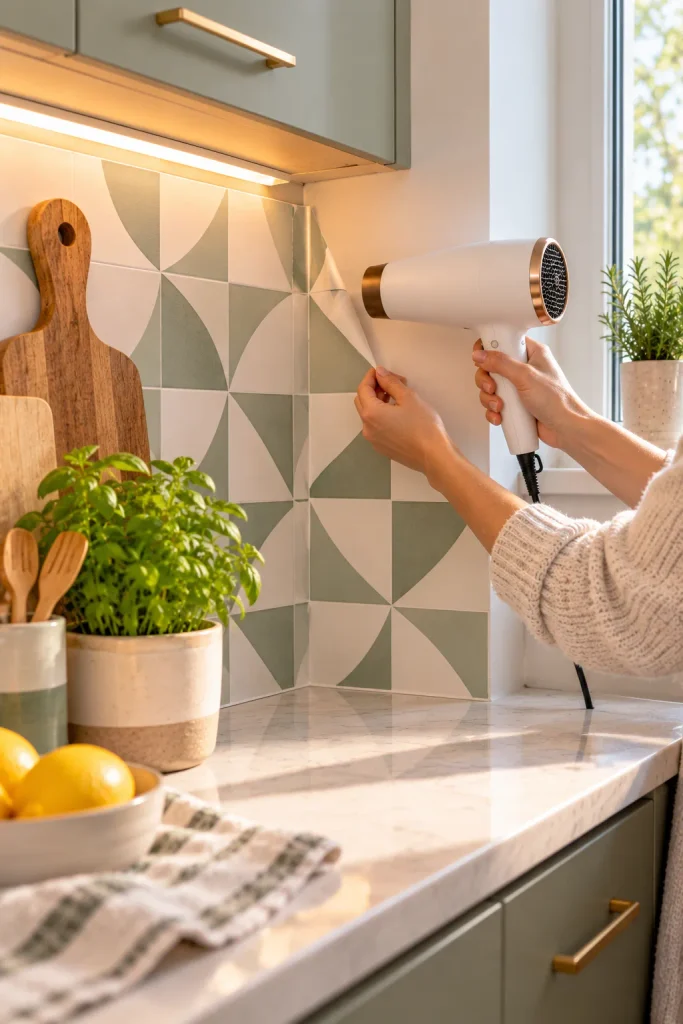
Tile adhesive is thicker than wallpaper glue, so it needs a little longer. Hold the dryer on medium, about 4 to 6 inches away, and aim at the edges and corners of one tile. Those spots hold the most glue. Keep the dryer away from a wet sink or faucet while you work.
7. Pry tiles loose from the top edge down
Top row first. Slide the plastic putty knife under the upper corner of a warmed tile, then work it sideways along the top edge. Keep the blade flat and push toward the tile, not into the wall. Once the whole top edge is free, peel the tile down and away in one slow motion. Many backsplash tiles come as sheets of several tiles stuck together, so a whole sheet may lift at once. That’s normal. Let it come.
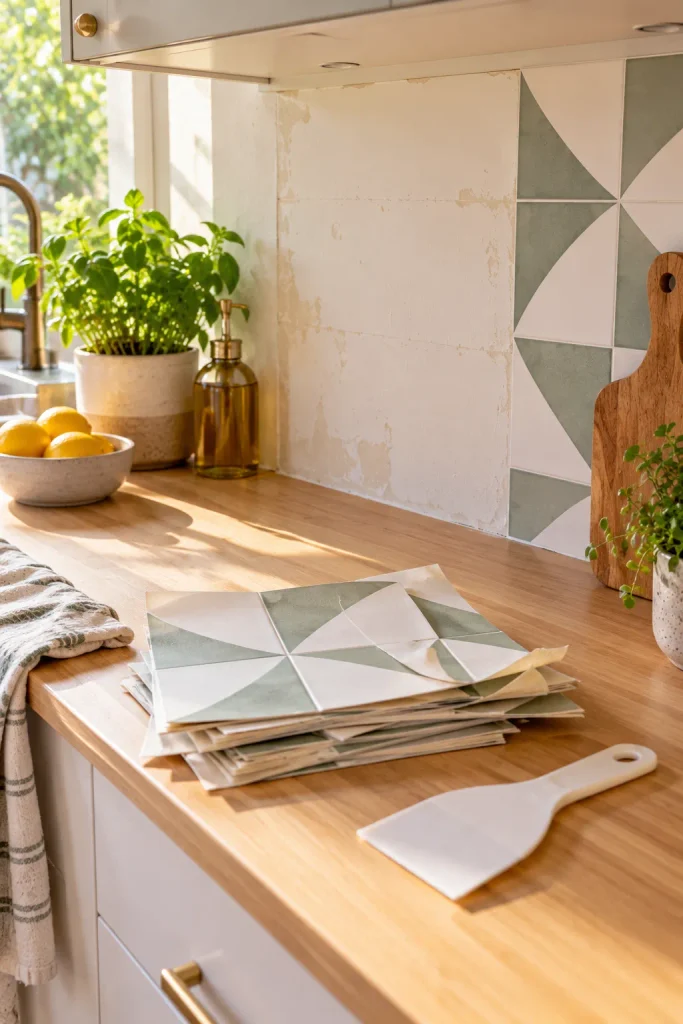
Never lever the putty knife against the wall like a crowbar. That pressure leaves a dent or crack in drywall that a landlord will spot right away. Slide the blade along the edge instead of pushing down on the handle.
8. Saw through stuck tiles with dental floss
When a tile bends at the edges but the middle stays glued, the adhesive is too thick for a scraper. Cut an 18-inch piece of unwaxed dental floss and wrap each end around a finger. Slip it behind the loose top edge, then pull it down behind the tile with a gentle back-and-forth sawing motion. Waxed floss slides over the glue instead of cutting it. Fishing line works the same way if that’s what you have.
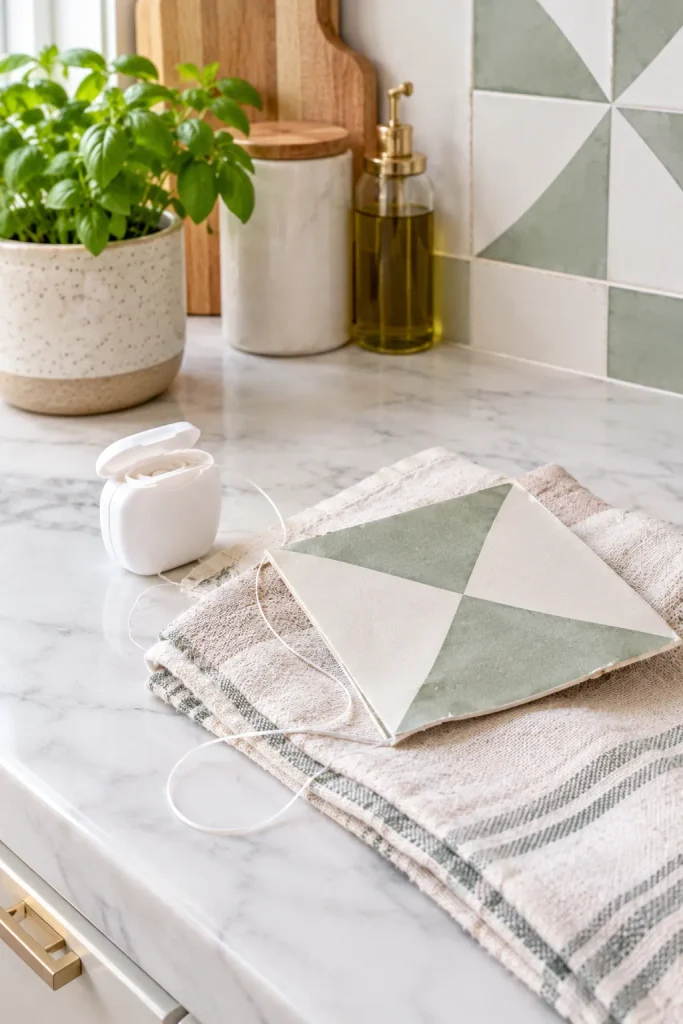
9. Rub off leftover adhesive with your fingers or an eraser
Sticky patches feel like the back of a sticker under your fingertip. Roll them off with the pad of your thumb, pushing in small circles until the glue balls up. A white vinyl eraser handles bigger spots and won’t scuff flat paint.
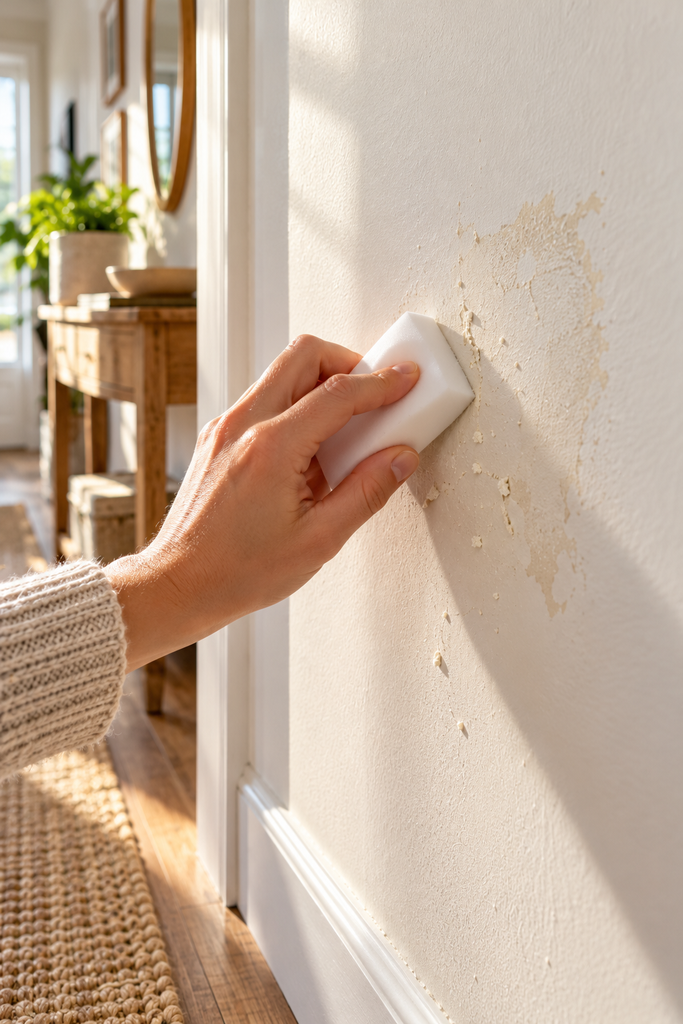
For residue that won’t roll off, dab a little rubbing alcohol on a microfiber cloth. Test it on a hidden spot first and wait 5 minutes. Alcohol can dull some paint finishes, so only move to the bigger area if the test spot looks unchanged.
10. Wash the wall with warm, soapy water
A teaspoon of mild dish soap in a bucket of warm water is all the cleaner this step needs. Dip a microfiber cloth, then wring it out until it’s barely damp. Wipe from top to bottom. A dripping cloth can soak into drywall and make the paint bubble. Follow right behind with a dry cloth so the soap doesn’t dry into streaks.

11. Patch any spots where paint lifted
Small chips happen even when you do everything right, and they take minutes to fix. For each spot:
- Brush away loose paint flakes with a dry cloth.
- Press a thin layer of lightweight spackle into any dent with the putty knife.
- Let the spackle dry for about 1 hour, or until it turns from pink to white if you bought the color-changing kind.
- Dab on matching paint with a small brush, feathering the edges outward.
Bare chips with no dent can skip the spackle and go straight to paint.

Not sure what paint color your walls are? Ask your landlord or property manager for the brand and color name. Most keep a record, and some will hand you leftover paint from the last move-out.
12. Check the wall in side light once it’s dry
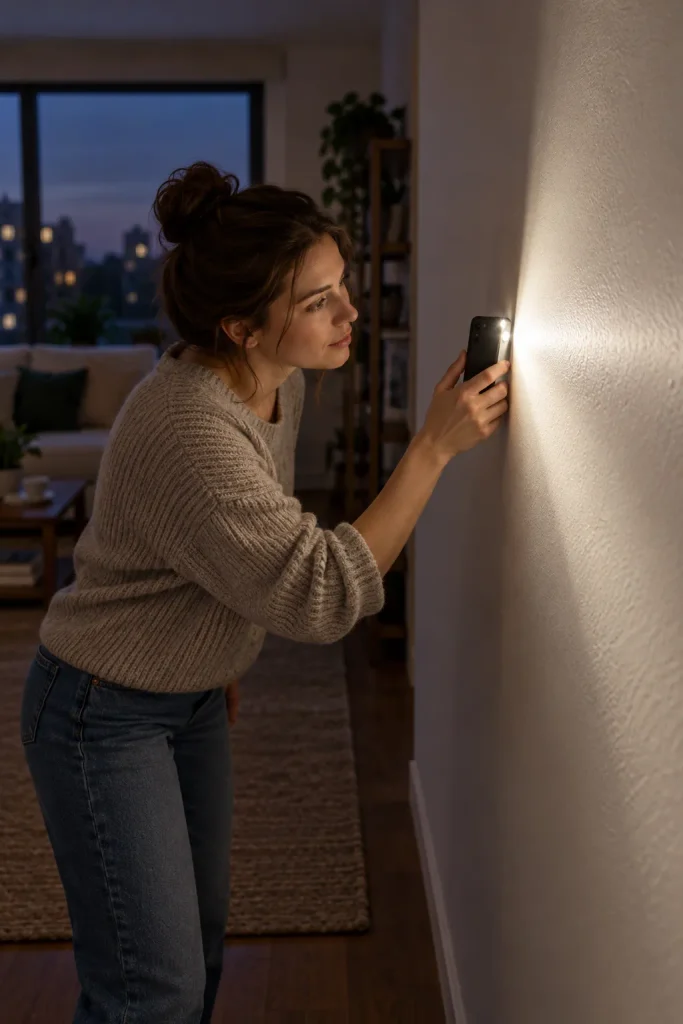
Overhead light hides flaws. Once any touch-up paint has dried, usually 2 to 4 hours, turn on your phone flashlight and hold it flat against the wall so the beam skims across the surface. Leftover glue shows up as shiny patches. Dents cast tiny shadows. Go back to Step 9 or Step 11 for anything you spot. When the wall looks clean, snap a few photos. Those are your proof at move-out.
Troubleshooting: If Something Goes Wrong
| If This Happens | Try This |
|---|---|
| Paint peels off with the wallpaper | Stop pulling. Warm the next section for 20 extra seconds, then pull slower and closer to the wall. Fix the bare spots in Step 11. |
| Wallpaper tears into thin strips | The glue is too cold or you’re pulling too fast. Re-warm the area, lift a fresh corner with the scraper, and start a new pull. |
| A tile cracks in half | Heat the piece still on the wall for 15 more seconds, then saw behind it with dental floss instead of the scraper. |
| Sticky residue won’t roll off | Warm it with the hair dryer for 10 seconds and roll it again. Still stuck? Use rubbing alcohol on a cloth after a spot test. |
| Wall feels tacky after washing | That’s soap film. Wipe again with plain warm water, dry it right away, and check after 30 minutes. |
| Brown drywall paper is showing | Don’t spackle over it yet, or it will bubble. Seal the spot with a stain-blocking primer first, let it dry, then spackle and paint. |
Frequently Asked Questions
Will removing peel and stick wallpaper damage my paint?
Usually not, as long as the paint was fully cured before the wallpaper went up. Gentle heat and slow, low pulls keep the glue on the backing. Your test corner in Step 1 tells you how careful you need to be.
Can I use a heat gun instead of a hair dryer?
Stick with the hair dryer. A heat gun gets hot enough to blister paint and melt vinyl wallpaper in seconds. The hair dryer is slower, but it can’t scorch your wall.
Can I use Goo Gone or another adhesive remover?
Try your thumb, an eraser, and soapy water first. Oil-based removers can leave greasy dark marks on flat or matte paint. If you need something stronger, rubbing alcohol is gentler, and you should still test it on a hidden spot.
Can I reuse the wallpaper or tiles after taking them down?
Rarely. The adhesive picks up dust and loses most of its grip once it’s been pulled off. Tiles that come off whole sometimes stick again, but expect a weaker hold.
Does this method work on textured walls?
Yes, but plan on more time. Glue grips the bumps and settles into the dips, so warm each section a little longer and pull even slower. Expect to spend extra time on residue with the eraser.
- Hair dryer
- Plastic putty knife or gift card
- Unwaxed dental floss
- Drop cloth and trash bag
- Screwdriver and step stool
- Warm water and dish soap
- Microfiber cloths and white eraser
- Rubbing alcohol
- Spackle and matching paint (if needed)
- Test a hidden corner
- Clear the wall, remove outlet covers
- Lift a top corner with a plastic scraper
- Warm sections on medium, 6 in away
- Pull slow and low, 1 in/sec
- Heat each tile 30 to 45 sec
- Slide the knife along the tile’s top edge
- Saw stuck tiles free with floss
- Roll off residue with thumb or eraser
- Wash with a barely damp soapy cloth
- Spackle and paint any chips
- Check in side light, replace covers
Conclusion
Your wall is clean, your paint is intact, and you didn’t need a single special tool to get there. Now you know how to remove peel and stick wallpaper and tile the gentle way, with warm air, slow pulls, and a little floss. Screw your outlet covers back on and snap those move-out photos. If you’re staying put, that blank wall is ready for its next look.
Save this pin to your renter board so it’s there the next time you need it.

