

Most deposits don’t disappear because of one big disaster. They go a few dollars at a time: a patched hole here, a scuffed floor there, a strip of paint that came off with a hook.
The hard part is that almost none of it feels risky while you’re doing it. You hang a frame. You slide the couch into place. You set a plant on the windowsill because that’s where the light is. Then move-out day comes, the landlord walks through with a clipboard, and every small choice shows up on the bill.
I’m not going to tell you to live with bare walls for a year. That isn’t a home, and it isn’t the point. The goal is to decorate in a way you can undo cleanly.
These are the renter decorating mistakes I see over and over, plus the simple fix for each one. Some take five minutes. A couple just mean asking one question before you start.
1. Decorating Before You Photograph Every Wall, Floor, and Fixture
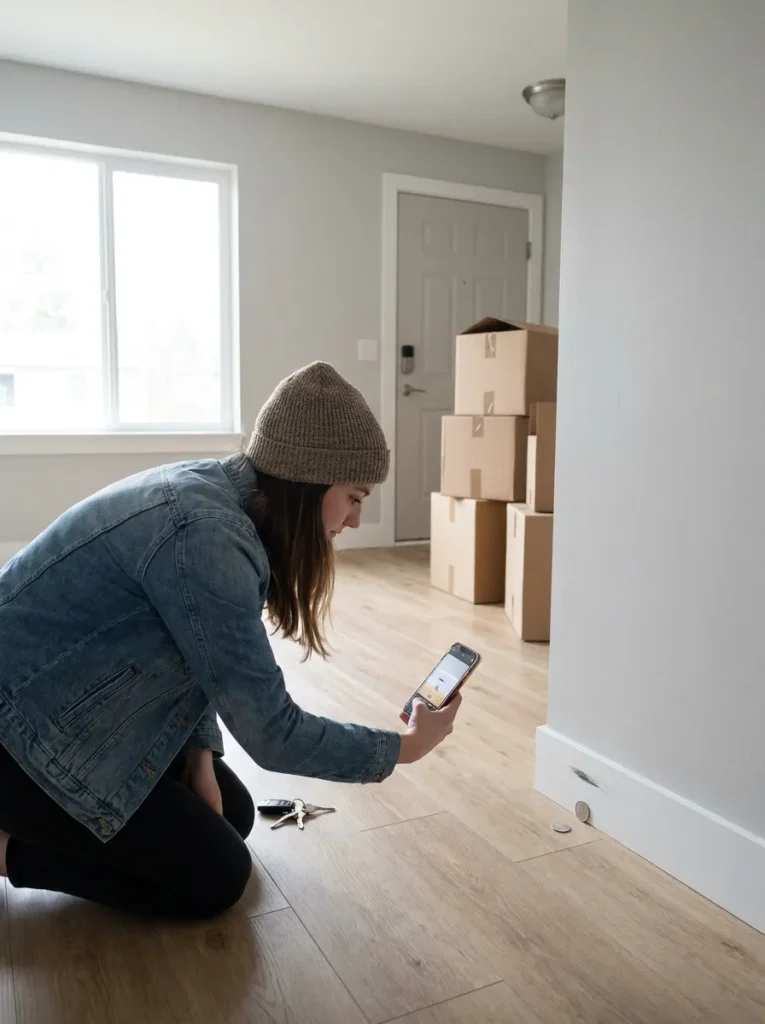
The most expensive mistake happens before a single frame goes up.
Once your things are in the apartment, nobody can tell which scratch was there first. The nail hole by the window, the chip in the counter, and the stain now hidden under your rug can all land on you at move-out if you have no proof.
Do this on day one, before the boxes come in:
- Walk the whole place slowly and record one continuous video, saying out loud what you see.
- Take close photos of every flaw, with a coin or your hand in the shot for scale.
- Email the photos to your landlord, or at least to yourself, so there’s a dated record.
It’s one boring hour that protects you for the whole lease.
📷 Move-in spots people forget to photograph
2. Hammering a Fresh Nail for Every Single Frame
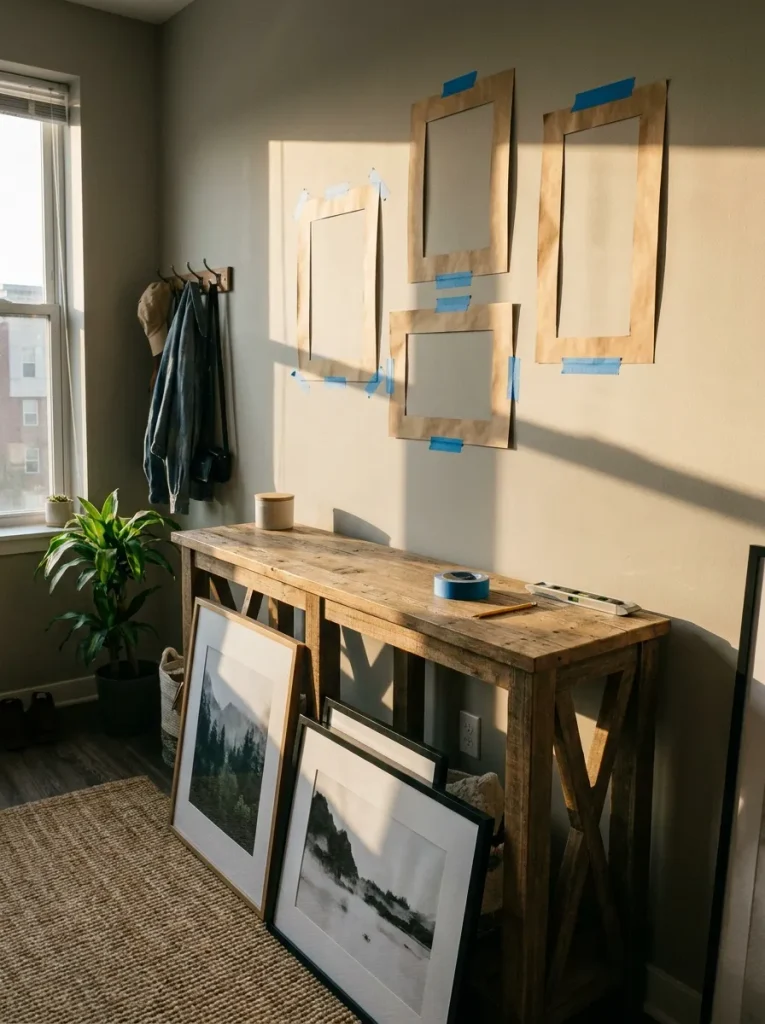
Stand back from a wall after a gallery wall comes down and you’ll see it: a scatter of tiny holes, some only a finger’s width apart because a frame got nudged twice.
Each hole is small. Together, depending on your lease, they can turn a quick touch-up into a patch-and-paint charge.
A cleaner approach:
- Trace each frame onto kraft paper and tape the shapes to the wall.
- Leave the layout up for a day or two. Move the paper, not the nail.
- Put lighter frames on a picture ledge so several pieces share one set of holes.
Already have a few small holes? Ask your landlord if they want them filled or left alone. Some would rather patch them themselves.
Most frames don’t need a nail at all. Here’s how to hang art without nails or wall damage, including how to pick the right strip for the weight.
A nail for every frame, extra holes from rehanging, and pencil marks you forgot to erase. Changing the art means starting over.
Paper templates first, then one picture ledge holding four or five frames. Two or three screws in total, and you can swap art anytime without new holes.
3. Yanking Adhesive Hooks Straight Off the Wall
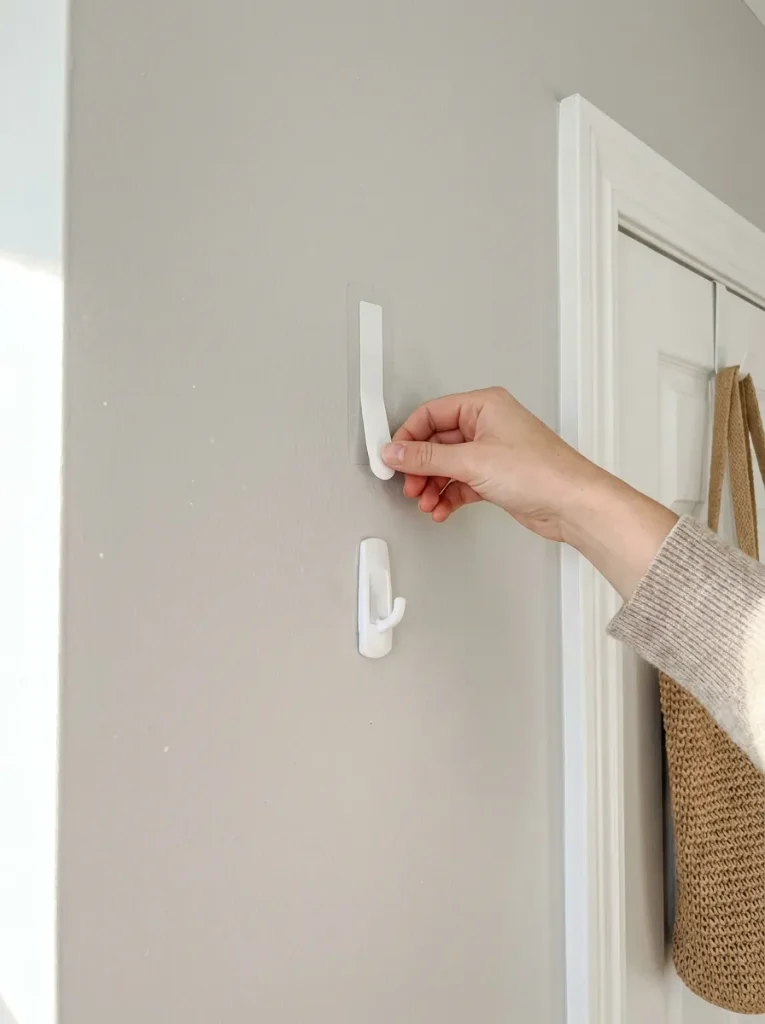
Adhesive strips only work as advertised if you take them off the way the package says.
If you’ve already hung it, here’s how to remove peel and stick wallpaper and tile without leaving a mark.
Most peeled paint comes from pulling the strip out toward you, like a bandage. That lifts the paint layer right along with it.
Putting them up right matters too:
- Wipe the spot with rubbing alcohol first, not a cleaning spray that leaves residue behind.
- Skip walls that were just painted. Most brands ask you to wait about a week.
- Press firmly for a good 30 seconds, then give it time before you hang anything.
Heavy mirrors are where people push their luck. Check the weight limit on the package and stay well under it.
How to take a strip down cleanly
Steady the hook or frame with one hand so nothing swings or drops.
Pinch the tab and stretch it slowly straight down, keeping it flat against the wall. Never pull it out toward you.
Keep stretching until the strip lets go on its own. If it resists, warm it with a hairdryer on low for a few seconds first.
If the tab snaps off, slide dental floss behind the strip and saw gently back and forth.
4. Covering a Whole Wall in Peel-and-Stick Wallpaper Without a Test Patch
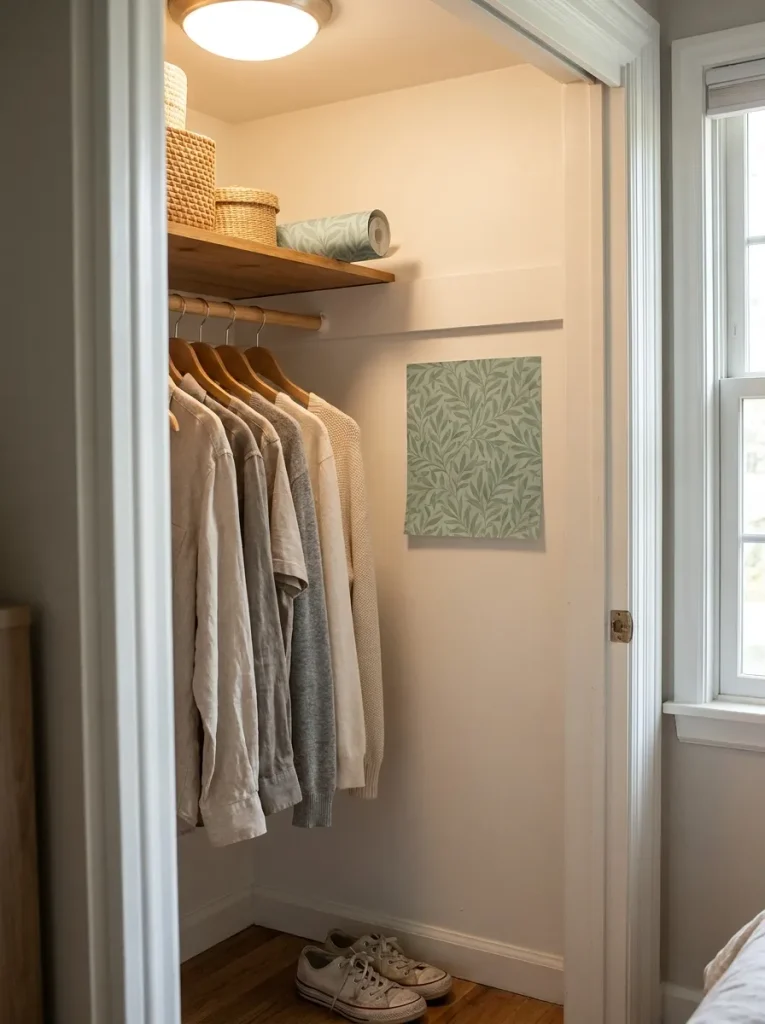
“Removable” is a promise about the wallpaper, not about your wall.
The same peel-and-stick paper can come off one wall cleanly and take paint with it from the next. A lot depends on the paint underneath. Flat, chalky paint and fresh paint tend to give up first.
Before you order enough for a whole wall, run a small test:
- Stick a sample piece somewhere hidden, like inside a closet.
- Leave it up for a week or two.
- Peel it off slowly at a low angle and check for lifted paint or sticky residue.
Clean peel? Go ahead. If paint came off with it, choose a smaller project, like lining the back of a bookcase you own.
A test patch takes two days and saves you a repaint. This is exactly how I install peel and stick wallpaper so it holds and still comes off clean.
Order a sample first, so the test costs a few dollars instead of a full order.
Wipe the wall with a damp cloth and let it dry fully before you hang anything.
Steamy bathrooms, where moisture can loosen the edges over time.
Textured or bumpy walls, where the paper never fully grips.
5. Painting an Accent Wall After a Verbal “Sure, Go Ahead”
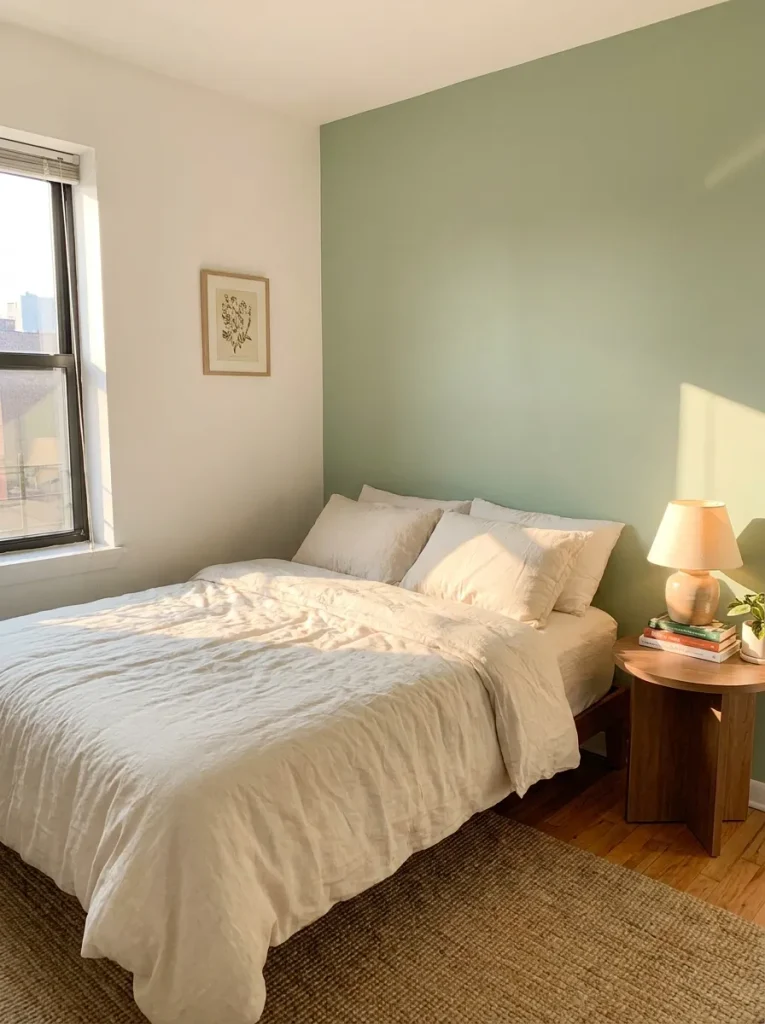
The landlord is in your kitchen fixing a leaky faucet. You mention wanting a sage wall in the bedroom, and they shrug and say sure.
That shrug won’t help you at move-out, especially if the building changes hands or the person who said yes forgets.
Get it in writing. A text or an email is enough.
Then pick the color with move-out in mind. Deep shades like navy or forest green can take extra coats of primer and paint to cover, and that’s work you’ll either do yourself or pay for.
Love a dark color anyway? Put it on something you own, like a dresser or the inside of a bookshelf.
A verbal yes won’t protect you at move-out. My renter’s decorating rulebook shows how to put the request in writing and file the reply with your lease.
💡 Quick Tip
Make sure the written OK names the exact wall, the paint color or code, and whether you have to paint it back before you leave. Save that message in the same folder as your lease so it’s easy to find.
6. Moving Furniture Without Felt Pads on the Legs
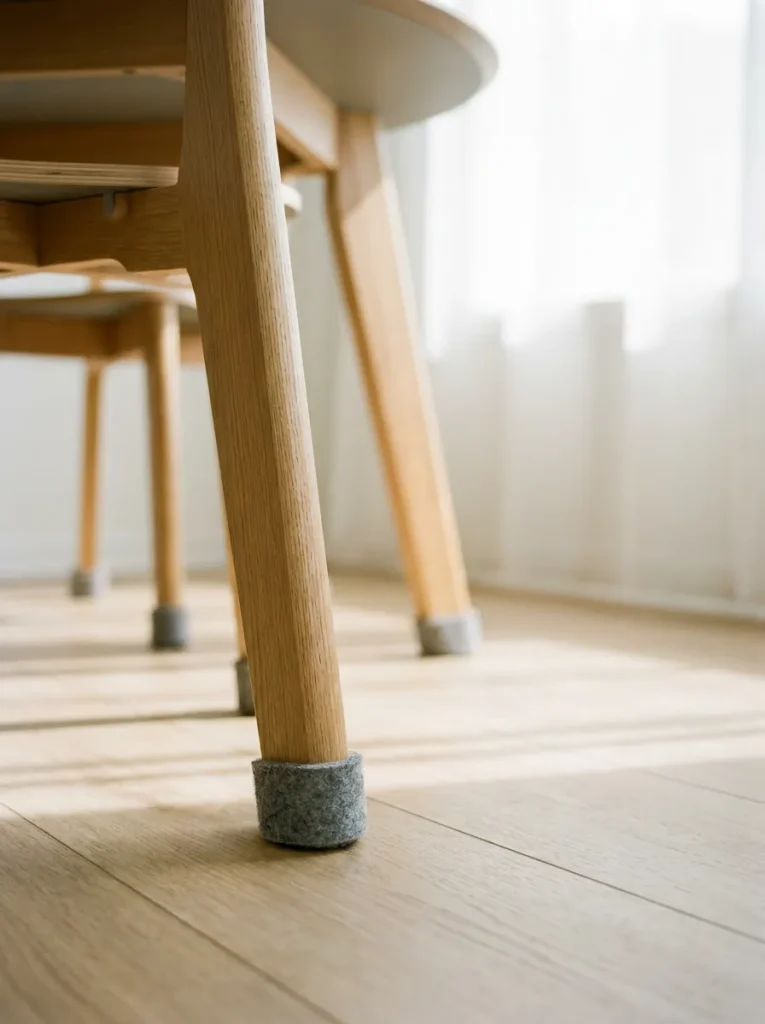
Every time a dining chair scrapes back from the table, it leaves a faint gray arc on the floor. One scrape is nothing. A year of dinners can turn into a charge on your move-out bill.
Rental floors, especially vinyl plank and older hardwood, scratch more easily than most people expect. Move-in day is often when the worst damage happens, because a heavy dresser gets pushed instead of lifted.
Two habits help the most:
- Lift heavy pieces with a second person, or set them on furniture sliders before you push.
- Check felt pads every few months. They wear thin and pick up grit, and gritty felt scratches like sandpaper.
Felt pads aren’t a one-time fix. They’re more like a habit.
7. Laying a Rubber-Backed Rug Right on Vinyl or Hardwood
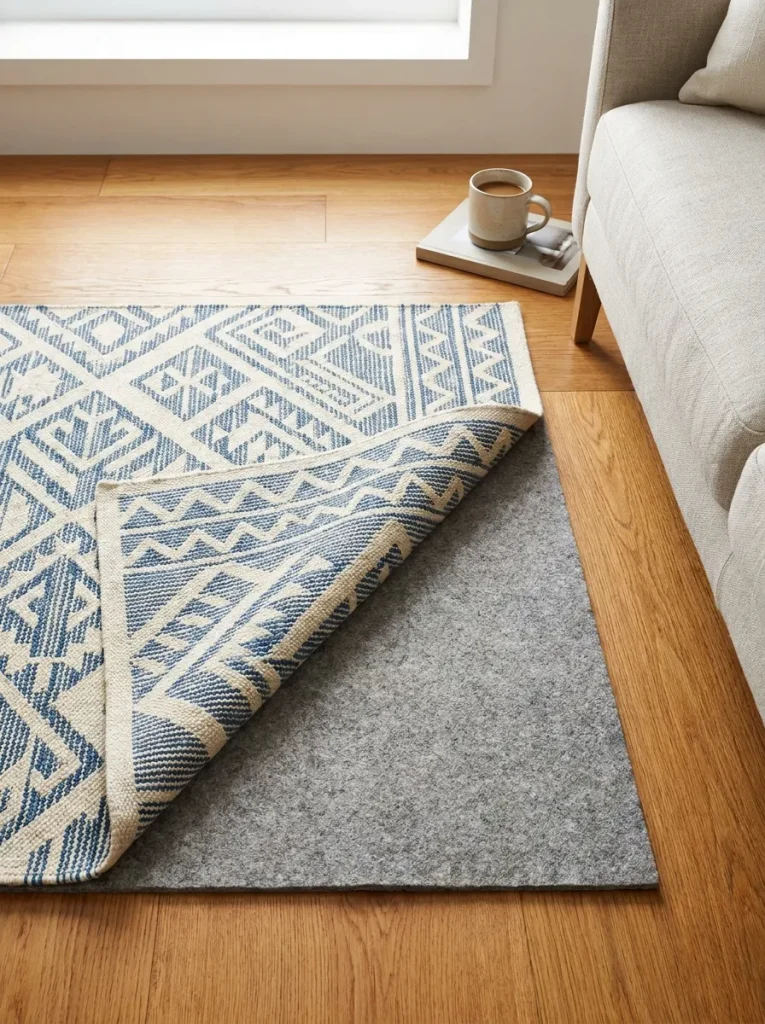
From the top, a cheap rug with a rubber back looks the same as a rug sitting on a proper pad. The difference shows up underneath, sometimes months later.
Some rubber and latex backings can react with vinyl and certain floor finishes. The result is a yellow or dark stain that won’t scrub out. Many vinyl flooring makers warn against these backings in their care instructions. A solid backing can also trap moisture against the floor.
Before you buy, flip the rug over and read the label.
Already own a rubber-backed rug you love? Lift it every few weeks to check the floor, and let both air out.
| 🚫 Risky on vinyl and wood | ✅ Safer to look for |
|---|---|
| Rubber or latex backing attached to the rug | A separate felt rug pad under a rug with no backing |
| Plastic grip pads with no floor info on the label | Pads labeled safe for your floor type |
| Bargain rugs with no care tag at all | Rugs with clear care and floor guidance |
8. Swapping Light Fixtures and Cabinet Pulls, Then Losing the Originals
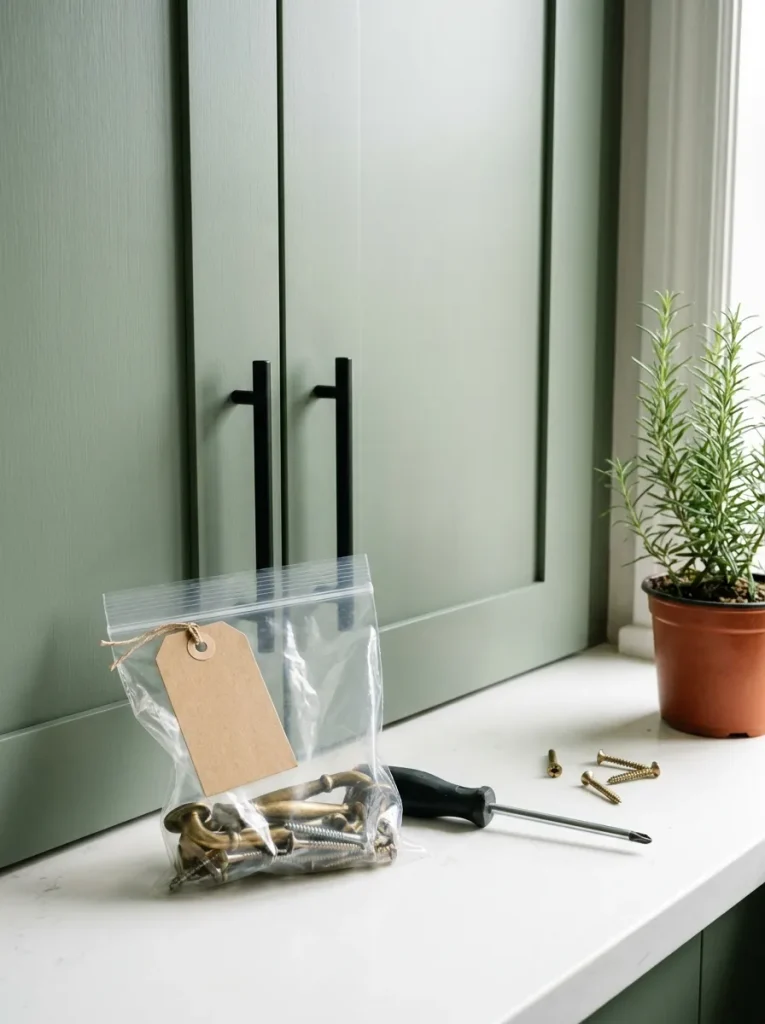
Anything you unscrew goes in a labeled bag the same day.
Replacing dated cabinet pulls or the frosted dome light in the hallway is one of the fastest ways to make a rental feel like yours. Two years later, though, it’s easy to forget where the originals went. If you can’t put them back, the replacement cost may come out of your deposit.
Keep these together:
- Every original piece, plus its screws
- A photo showing where each one was installed
- A note on which pulls went on which drawers, if the sizes differ
Wiring is a separate question. Ask before touching any light fixture, because many leases require a licensed electrician for electrical work.
Bag the originals, label them, and tape the bag inside a cabinet you rarely open. They go back on before the move-out walkthrough, not after.
9. Setting Potted Plants Straight on Wood Floors and Windowsills
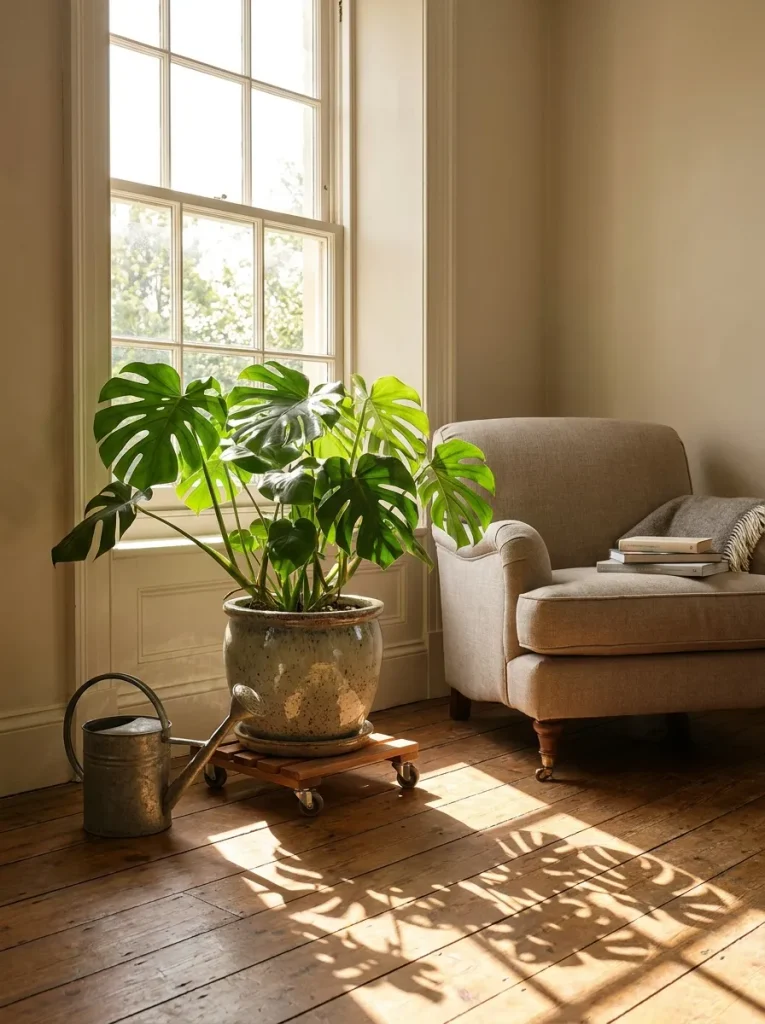
I’ve lifted a pot off a windowsill and found a pale ring and soft, swollen wood underneath. It happened so slowly that nobody noticed.
Plants make a small apartment feel lived in fast. The trouble is the water that gets away. Drainage holes drip, saucers overflow, and even a dry saucer sitting flat on wood can trap condensation.
Two simple fixes:
- Raise floor plants on a small stand or plant caddy so air can move under the pot.
- Water big plants in the sink or tub when you can, and let them drain before they go back.
A caddy on wheels also makes it easy to follow the light around the room.
⚠️ Watch Out
Unglazed terracotta saucers are porous, so water can seep right through them onto the sill or floor. Use a glazed saucer instead, or set the clay one on a waterproof liner.
Conclusion
Every fix on this list still lets you decorate. The difference is that you can undo each one: fewer holes, the right pads, a written yes, and a bag of original hardware waiting in a cabinet.
Most renter decorating mistakes happen in the first week, when you’re tired, surrounded by boxes, and just want the place to feel like home. If you slow down for that one week, the rest of the lease is yours to enjoy. Move-out day then becomes a quick walkthrough, not a negotiation.
Save this list for your next move, or send it to a friend who just signed a lease.
Now that you know what to skip, here’s the fun side: 25 renter-friendly decor ideas that won’t cost you your deposit.
🔑 Before your move-out walkthrough

