
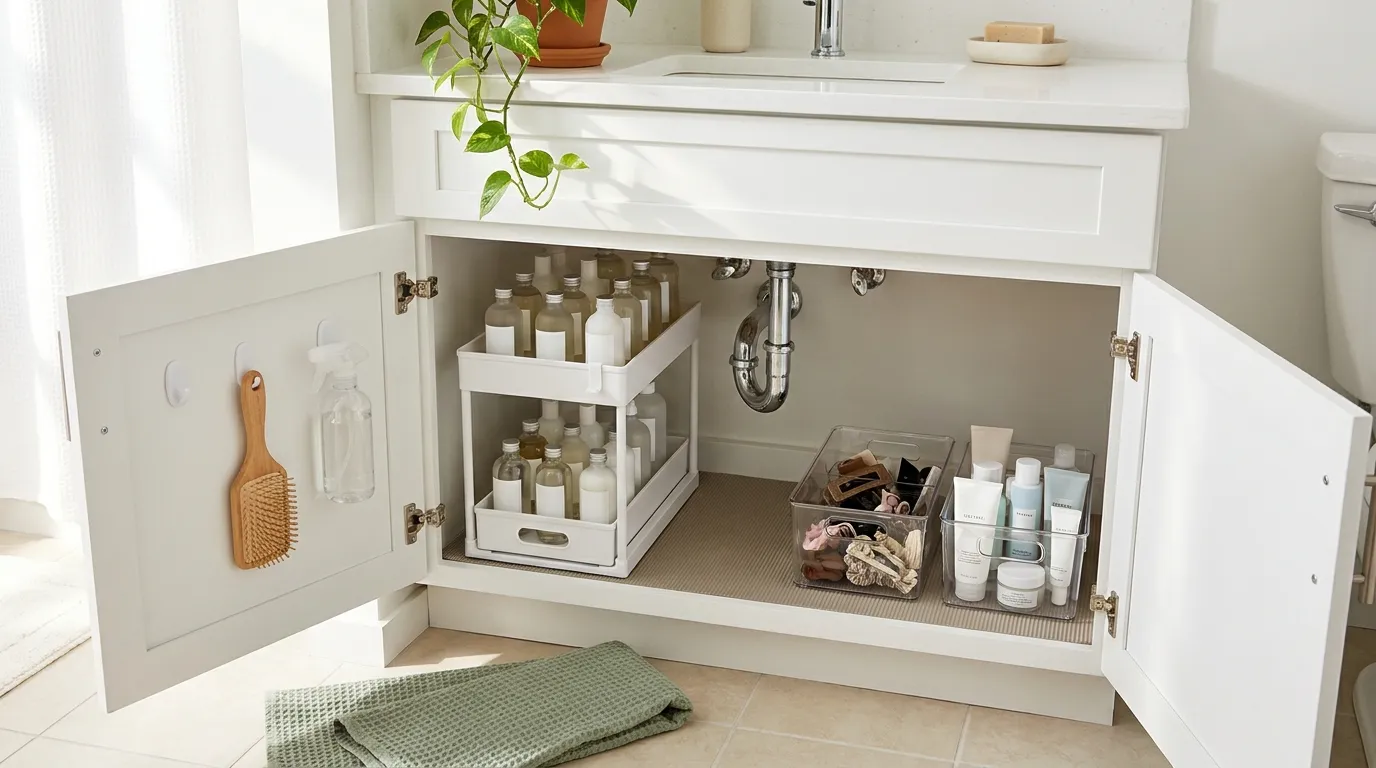
You open the cabinet under your bathroom sink, and three bottles tumble out. Somewhere in the back is the conditioner you bought twice because you couldn’t find the first one.
The pipe runs right down the middle, so nothing sits the way it should. If that sounds like your bathroom, you’re in good company. Learning how to organize under the bathroom sink comes down to one thing: working with the pipes instead of fighting them.
By the end of this guide, every item in that cabinet will have its own spot. The things you use daily will sit right up front, and nothing will tip over when you reach in.
We’ll empty it, check for leaks, measure around the plumbing, and rebuild the space with a liner, a pipe-friendly organizer, and a few clear bins.
This method works because you measure before you buy. Most under-sink organizers fail because they’re the wrong size for the pipe, not because they’re bad products. Every step is renter safe, too.
No drilling, no screws, and nothing your landlord will notice when you move out.
Plan on about 2 hours in total, including drying time. The hands-on part takes about 90 minutes. Grab an old towel and a trash bag, and let’s start.
No cabinet under your sink at all? That’s a different problem, and here’s how to add storage to a bathroom with no cabinet.
- Empty the cabinet onto a towel
- Check pipes and base for leaks
- Measure the space and the pipes
- Sort into keep, toss, and move
- Toss expired products safely
- Clean and dry the cabinet
- Lay a waterproof liner
- Group items by how often you use them
- Fit an organizer around the pipe
- Put daily items in front, backups behind
- Add door hooks for small tools
- Label every bin
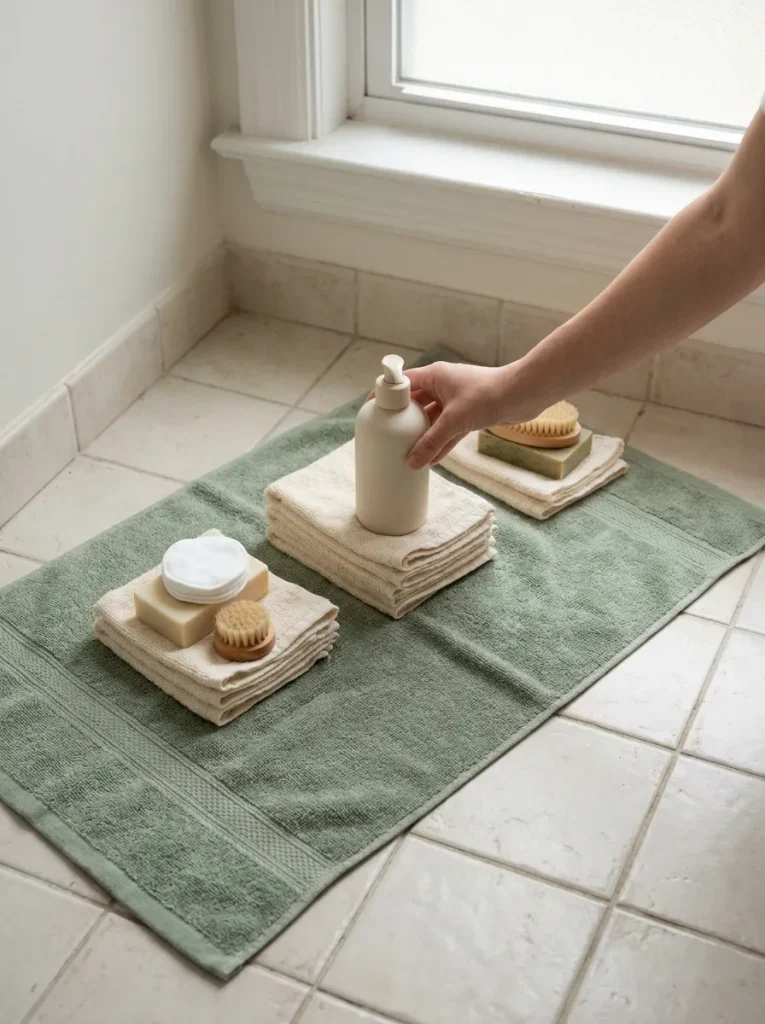
1. Clear everything out onto a towel on the floor
Every single item comes out, including the dusty bottle wedged behind the pipe. You can’t plan a space you can’t see. Spread an old bath towel on the floor first, since bottles stored under sinks often leak and leave sticky rings. Before you move on, shine your phone flashlight into the back corners. Razor caps, hair ties, and travel bottles love to hide there.

2. Check the pipes and cabinet base for leaks
Water damage under a sink starts slow and quiet. Run hot water in the sink for 1 minute, then slide your hand along each pipe and every joint where two pieces meet. Any damp spot counts. Press the cabinet floor with your fingertips too. Soft, swollen, or darker wood means water has been sneaking in. Not sure? Tuck a dry paper towel under the joints and check it after 10 minutes.

3. Measure the cabinet and mark where the pipes sit
Five numbers decide which organizer will fit, and most people only check one. Measure the inside of the cabinet, not the doors:
- Width: side wall to side wall
- Depth: back wall to the door frame
- Height: floor to the bottom of the sink
- Pipe position: left wall to the center of the pipe
- Pipe height: floor to the lowest bend
Save all five in your phone. No tape measure? Stretch a piece of string, pinch the spot, and hold it against a ruler.

4. Sort every item into keep, toss, and move piles
If you haven’t touched something in 6 months, it doesn’t need a spot under your sink. Split the towel into three piles. Keep is for things you use at least once a month. Toss is for anything empty, crusty, or expired. Move is for items that live better somewhere else, like spare towels or the first aid kit.
5. Throw out expired and empty products the safe way
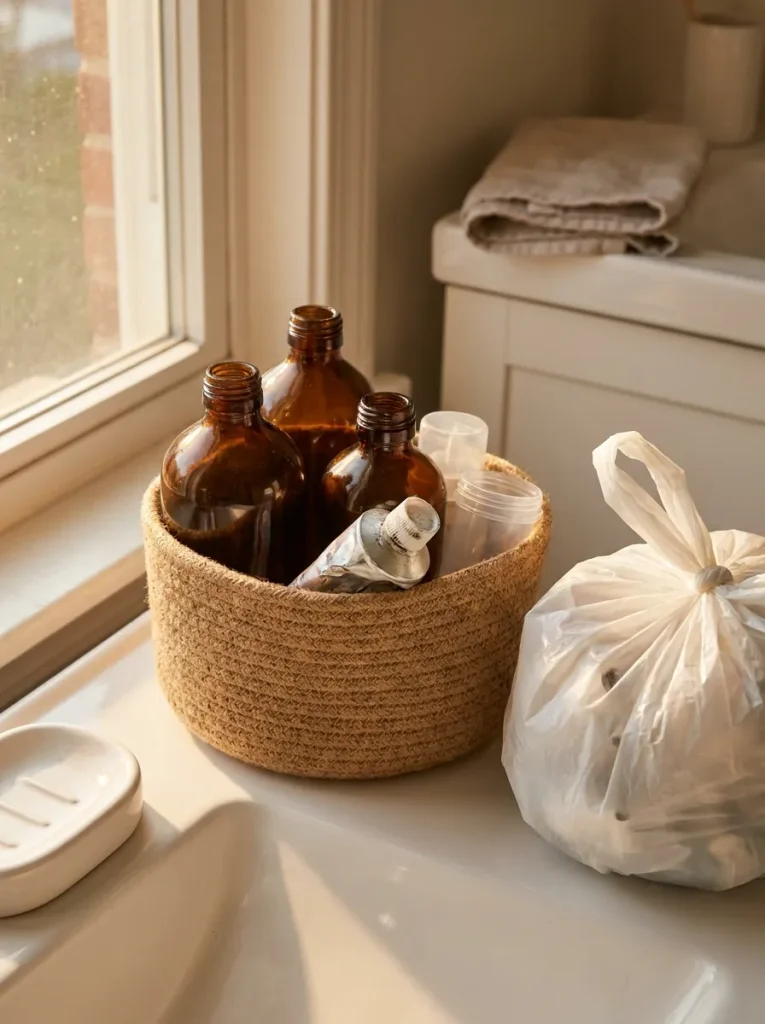
How do you tell if a lotion has gone bad? Turn the bottle over and look for a tiny open-jar symbol with a number like 12M. That number is how many months the product lasts after you open it. Sunscreen and medicine show a printed date instead, so trust that. Anything that smells off, has separated, or changed color goes too, even if it’s still in date. Rinse empty plastic bottles and drop them in recycling. Old medicine should never go down the toilet. Many pharmacies run take-back bins.
6. Wipe down the cabinet and let it dry completely
30 minutes of drying time is what keeps a musty smell from coming back later. Spray all-purpose cleaner onto your microfiber cloth, not into the cabinet. Most cabinet bases are particleboard, which swells when it gets wet. Wipe the floor, the side walls, and the inside of the door. For sticky rings, let the cleaner sit for 2 minutes before you scrub. No cleaner? A few drops of dish soap in warm water works fine. Leave the door open while it dries.

7. Lay a waterproof liner across the cabinet floor
A bare cabinet floor soaks up every drip that hits it. A liner catches the spill first and wipes clean in seconds. Push the liner into the back corner, then mark where it meets the front edge with a pencil and trim it. Around the pipe, cut a straight slit from the back edge to a small circle so the liner lies flat. No liner? A plastic placemat or a trimmed shower curtain liner does the same job.

8. Group what you’re keeping by how often you use it
Shampoo and spare shampoo don’t belong in the same spot. Split your keep pile into three smaller groups:
- Daily: anything you reach for every morning or night
- Weekly: cleaning spray, face masks, nail tools
- Backups: unopened refills and extra soap
These groups decide where things go in the next two steps.

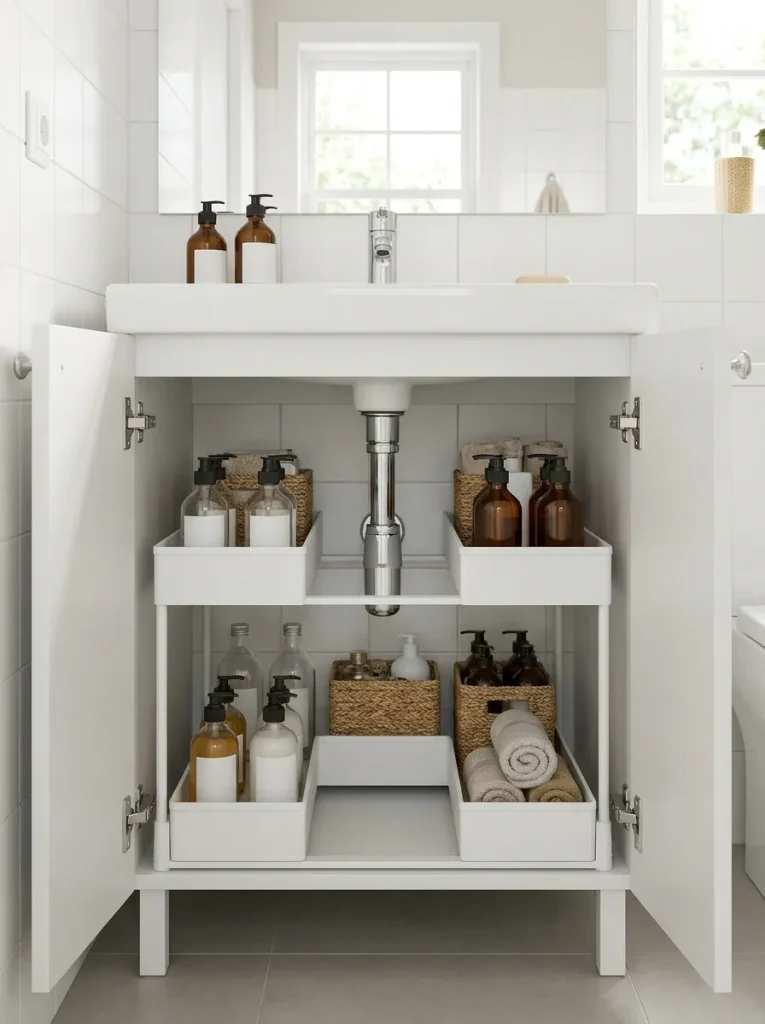
9. Fit a pipe-friendly organizer under the bathroom sink
Before you buy anything, pull up the five numbers from Step 3. If the pipe sits in the center, a U-shaped organizer that wraps around it uses the most space. Two narrow two-tier towers, one on each side, also work well. If the pipe hugs one wall, a single wide organizer on the open side is the better fit. Leave about 1 inch of space around every pipe and both shutoff valves. You need to reach those valves fast if a leak ever starts.
Still short on space once the cabinet is full? These 15 small bathroom storage ideas each fit in under three square feet.
10. Load daily items in front and backups behind
The front 6 inches of the cabinet is your best real estate. Daily items go there, on the top tier or at the front of each bin, so you can grab them without moving anything. Weekly things sit in the middle. Backups go in the back or on the bottom tier. Stand tall bottles behind short ones so every label stays visible. Avoid stacking one bin on top of another. The bottom bin turns into a place where things get forgotten.
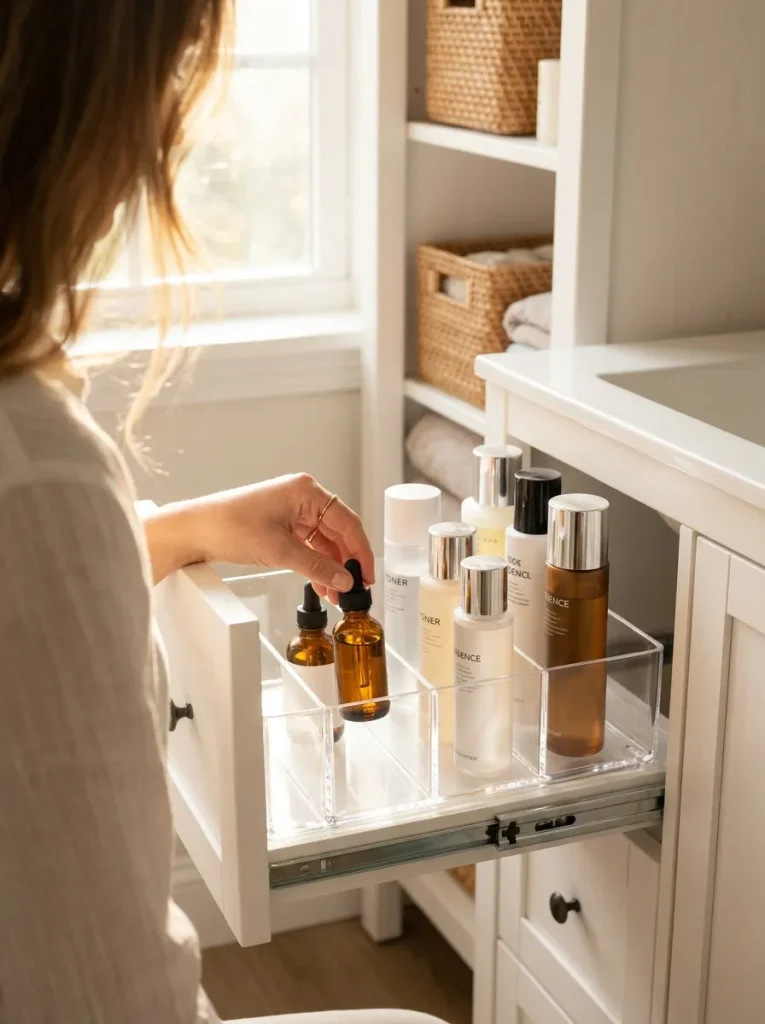
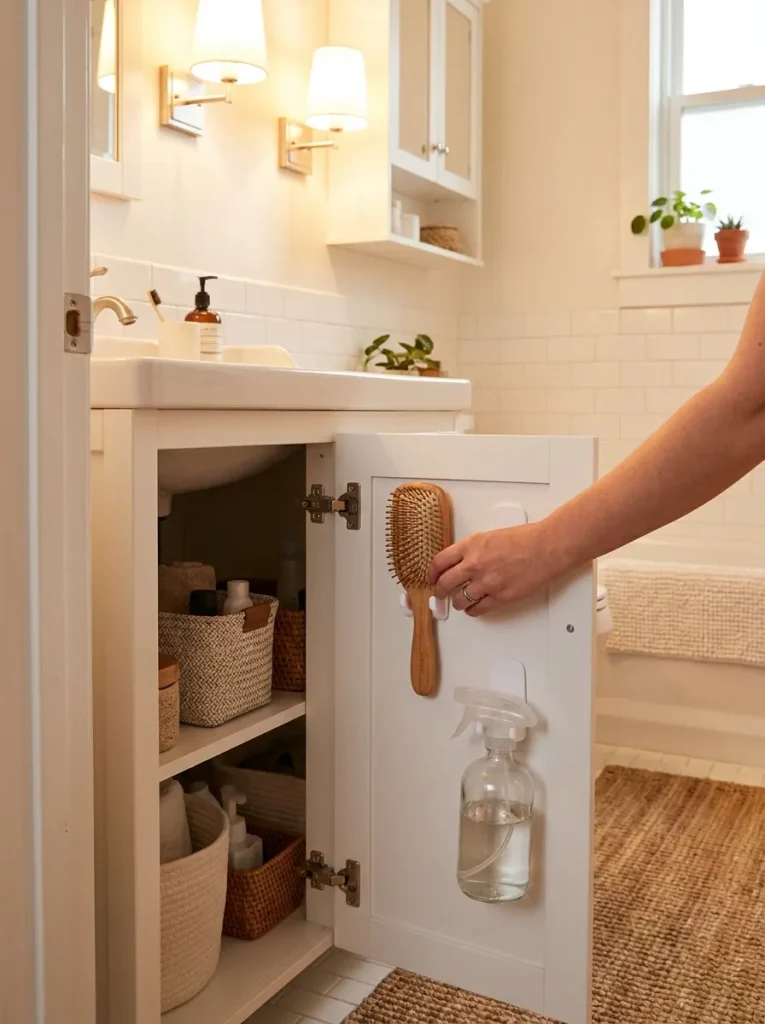
11. Stick adhesive hooks inside the door for small tools
Inside the cabinet door is the most overlooked storage spot in most bathrooms. Wipe the door with rubbing alcohol first, since cleaner leaves a film that stops hooks from sticking. Press each hook firmly for 30 seconds, then wait 1 hour before hanging anything. Good things to hang:
- A hairbrush or round brush
- A spray bottle, hung by its trigger
- A small pouch of hair ties and clips
Close the door slowly the first time. If a hook bumps the organizer, move it at least 2 inches higher or lower.
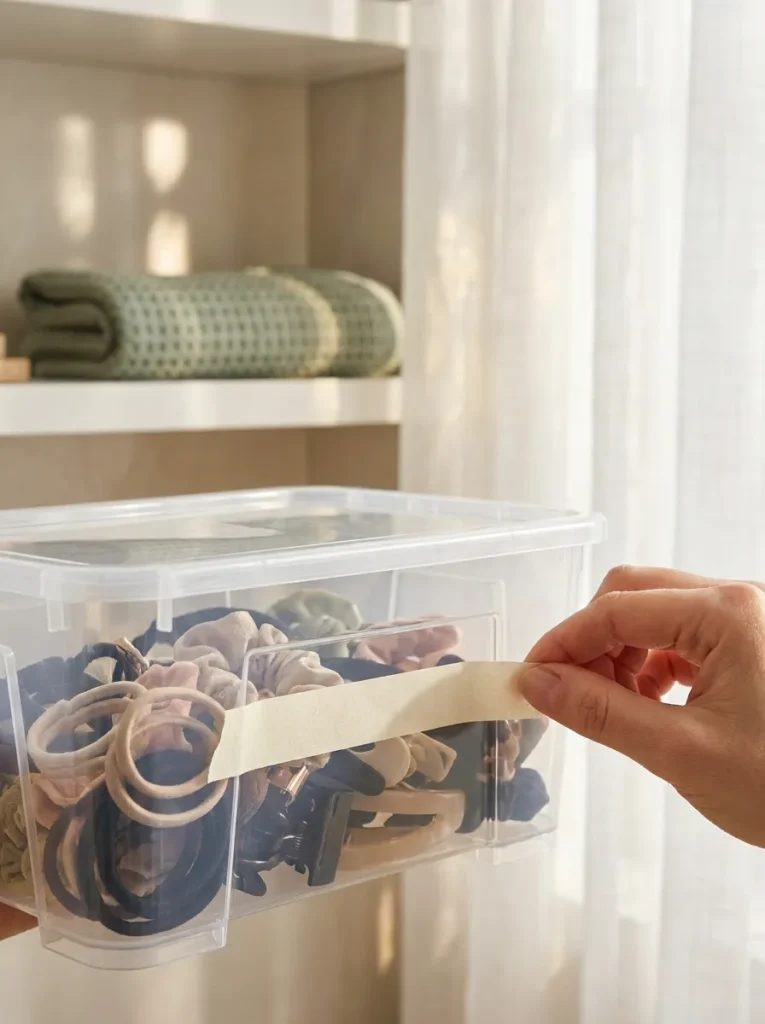
12. Label each bin so the system stays put
Three weeks from now, someone will drop the lotion back in the wrong spot. A label stops that. Stick a short, plain word on the front of each bin, like “Daily,” “Hair,” or “Backups.” Masking tape and a marker work fine if you don’t own a label maker.
| If This Happens | Try This |
|---|---|
| The organizer won’t fit around the pipe | Measure the pipe position again from the left wall. Switch to two narrow towers, one on each side, or an adjustable U-shaped organizer that slides wider. |
| The organizer won’t fit through the door | Pull out the drawers, tilt the frame in at an angle, and slide the drawers back in once it’s inside. |
| The liner keeps sliding or buckling | Trim it 1/4 inch smaller on each side so it lies flat. A non-slip grip liner also stays put better than a smooth one. |
| The door hooks keep falling off | Clean the spot with rubbing alcohol and wait 1 hour before hanging anything. If the door is textured, use an over-the-door caddy instead. |
| A musty smell comes back | Repeat the paper towel test from Step 2 to rule out a slow leak. Then set an open box of baking soda in a back corner and leave the door open for 1 hour once a week. |
| The clutter is back within a month | You likely have more than the space can hold. Move backups to a closet shelf and follow a one-in, one-out rule for new products. |
- Towel, trash bag, flashlight
- Tape measure and notes app
- Cleaner and microfiber cloth
- Waterproof liner and scissors
- Pipe-friendly organizer
- 2 to 4 clear bins
- Removable adhesive hooks
- Labels or masking tape
- Empty the cabinet onto a towel
- Check pipes and base for leaks
- Measure the space and pipe position
- Sort into keep, toss, and move
- Toss expired products safely
- Clean and dry for 30 minutes
- Lay and trim the liner
- Group by daily, weekly, backups
- Fit the organizer, leave 1 inch at pipes
- Daily items front, backups back
- Hang door hooks, wait 1 hour
- Label every bin
A Cabinet That Stays Organized
That cabinet you used to dread opening is now one of the most organized spots in your home. Every item has a place, your daily things sit right up front, and the pipes are working with you instead of against you. Now that you know how to organize under the bathroom sink, the cabinet under your kitchen sink is a natural next project, since the same steps work there too. Save this pin to your bathroom ideas board so it’s ready for your next 3-month check.
Once the cabinet is sorted, the rest of the room can follow, so see these small apartment bathroom ideas for a spa feel.
Once this cabinet is done, the same thinking works everywhere else. Here are 30 small apartment storage ideas for every room in your home.

