
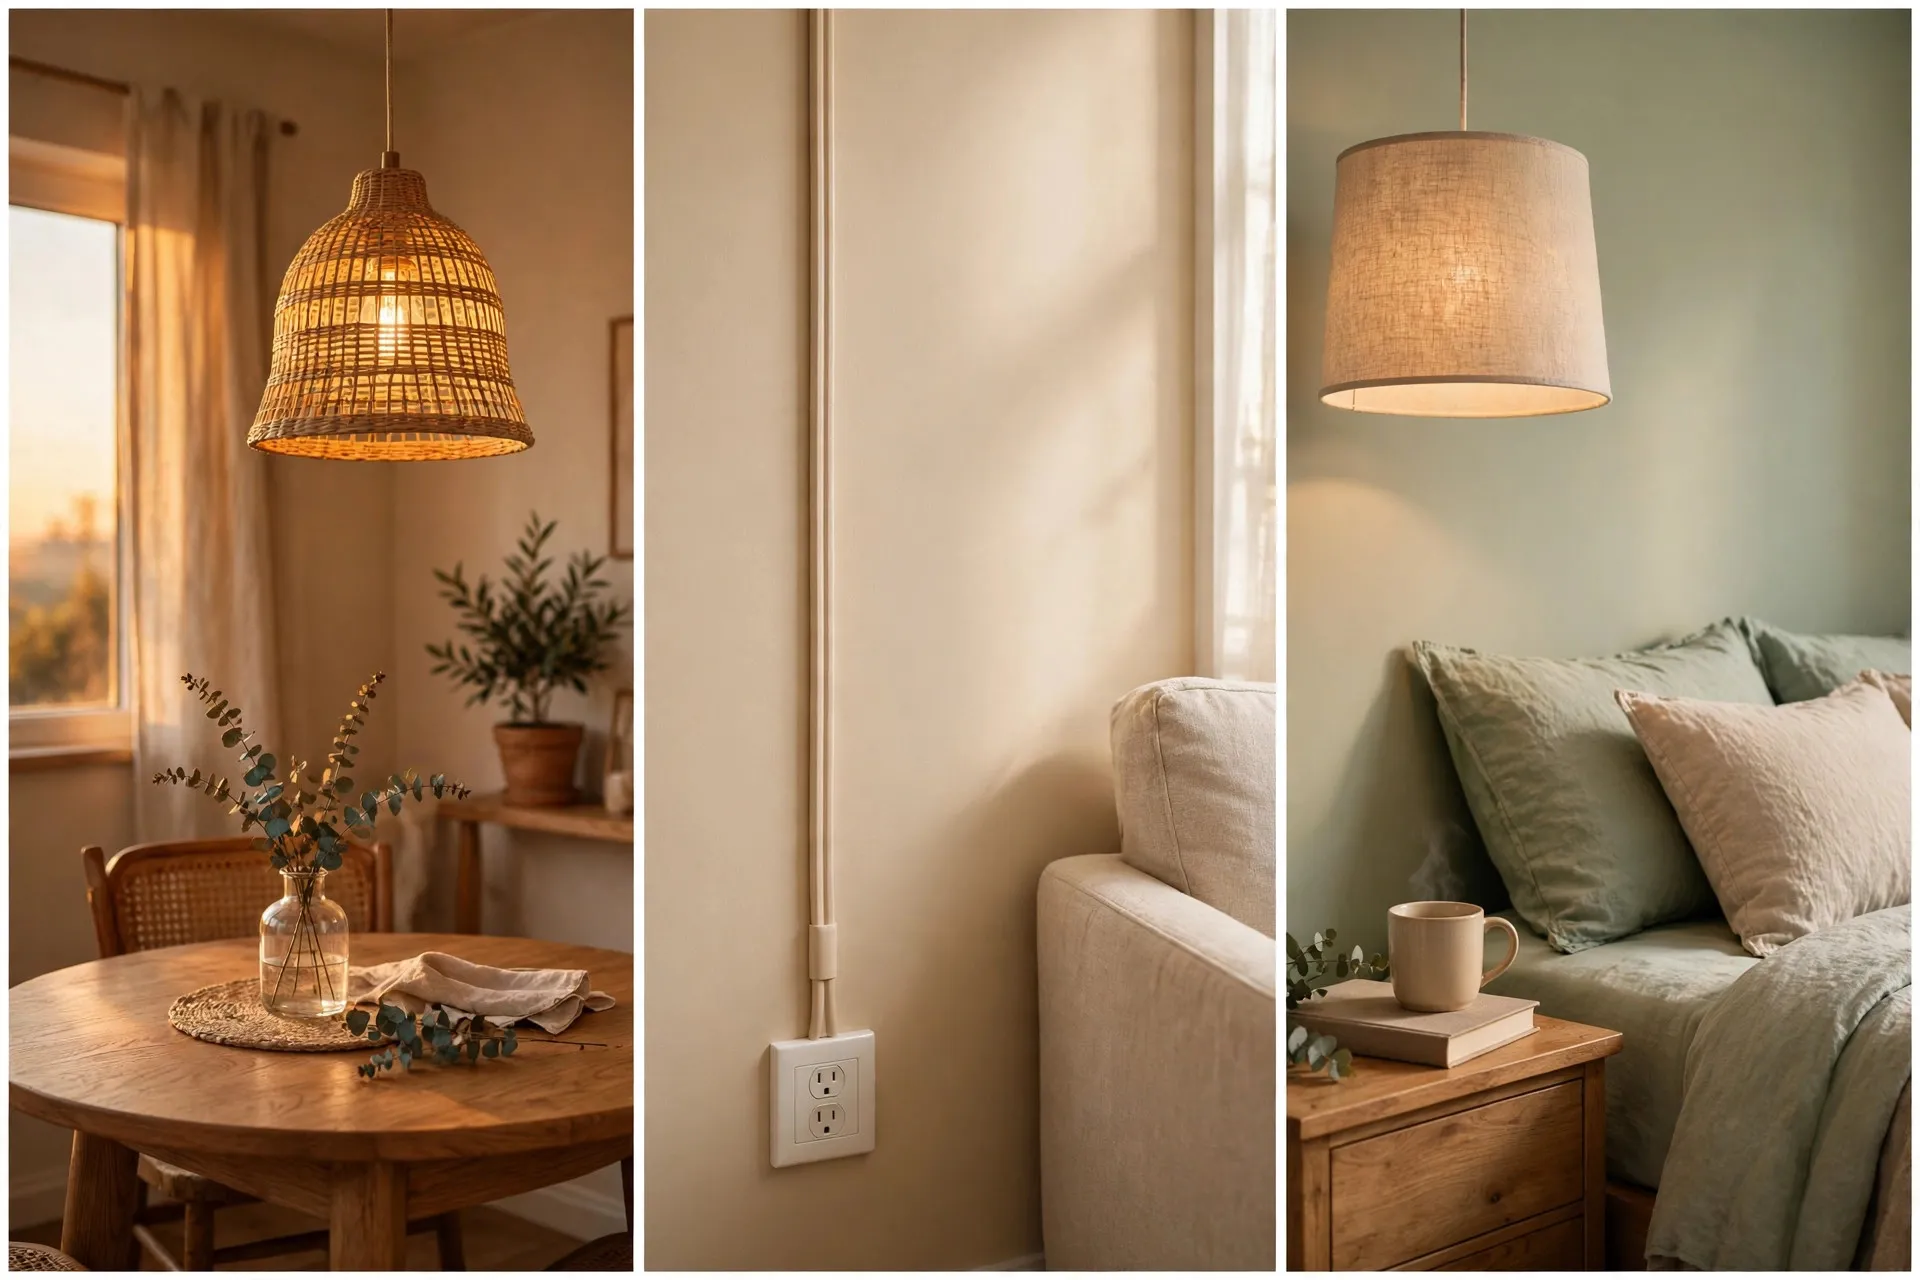
Your rental came with one lonely ceiling light in the middle of the room, and your landlord said no new wiring. So the corner by your reading chair stays dark, and the dining table sits under a harsh glare that makes dinner feel like a waiting room.
A plug in pendant light fixes that without an electrician. It hangs from a single ceiling hook, and the cord runs down the wall to an outlet you already have.
This guide walks you through hanging one the renter-safe way. You will pick a spot that works with your outlets, measure the cord so it actually reaches, put up one sturdy hook, and hide the cord so the whole setup looks planned instead of thrown together.
The only damage is one small hole in the ceiling, and you can fill it with a dab of spackle on move-out day.
Plan on about an hour. Most of that time is measuring and marking, not drilling. If you have used a drill once or twice, you can do this. Grab a step ladder, clear the floor under your spot, and let’s get your new light up.
What You Need
Gather everything before you climb the ladder.
- ✓Plug-in pendant light (cord at least 15 ft)
- ✓Swag hook kit with toggle anchor
- ✓Drill with bit sized to your anchor
- ✓Step ladder
- ✓Tape measure
- ✓Painter’s tape and a pencil
- ✓Kitchen or bathroom scale
- ✓Stud finder (optional)
- ✓Clear adhesive cord clips (10 or more)
- ✓Paintable adhesive cord cover
- ✓Smart plug or inline cord switch
- ✓String (for measuring the cord path)
- ✓Safety glasses
- ✓Small tub of spackle (for move-out)
- Check your lease before drilling
- Pick a spot near an outlet
- Measure the full cord path
- Weigh your pendant to pick a hook
- Mark the hook spot with tape
- Drill a small pilot hole
- Screw in the swag hook
- Hang the light at the right height
- Clip the cord across the ceiling
- Run the cord down the wall
- Plug in and add a reachable switch
1. Check your lease before you drill into the ceiling
Most leases allow small nail holes in walls but say nothing clear about ceilings. Search yours for words like “alterations,” “fixtures,” or “holes.” If the wording is vague, send your landlord a short text: “Can I hang a light from one small ceiling hook? I’ll patch it when I move out.” A yes in writing protects your deposit. Screenshot the reply and save it with your lease.

2. Pick a spot within reach of an outlet
The outlet decides where your light can go, not the other way around. Stand in the room and find the outlet closest to where you want the glow. Good spots are over a dining table, beside a reading chair, or next to the bed in place of a table lamp. Skip any spot where the cord would cross a doorway or walkway, since that is how people trip and yank the light down.

3. Measure the full cord path from ceiling to plug
Three lengths add up here, and missing one is why so many cords come up short:
- Drop: from the hook to where you want the bottom of the shade
- Ceiling run: from the hook to the nearest wall, in a straight line
- Wall run: from the ceiling corner down to the outlet
Add 2 feet of slack to the total. Plan the ceiling run in straight lines, not a diagonal. A cord cutting across the room at an angle looks messy, even when it is clipped tight.

Tape one end of a piece of string to the hook spot and run it along your planned path to the outlet. Then lay the string flat on the floor and measure it. That is far easier than holding a tape measure over your head.
4. Weigh your pendant to choose the right hook
If the box doesn’t list a weight, find it yourself. Small pendants fit on a kitchen scale. For bigger ones, step on a bathroom scale holding the light, then without it, and subtract. Pick a swag hook kit rated for at least double that number, which you’ll find printed on the package. Skip adhesive hooks for this job. On a ceiling, gravity pulls straight down on the glue, and a falling glass shade is the last thing you want over your dinner table.

5. Mark the hook spot with painter’s tape
Run a stud finder across the area first. A toggle anchor needs hollow space above the drywall to open, so if your spot lands on a wood joist, slide it over about 2 inches. Then press a strip of painter’s tape on the ceiling and make a pencil dot in the center. The tape gives you a mark you can see from the floor and keeps the drywall paper from tearing when the drill bit goes in.

6. Drill a small pilot hole for the anchor
Safety glasses go on before you climb up, since drywall dust falls straight into your eyes. Start with a 1/8 inch bit right through the pencil dot, holding the drill straight up on low speed. Then switch to the bit size printed on your anchor package and widen the same hole. The small hole first keeps the bigger bit from skating across the ceiling.
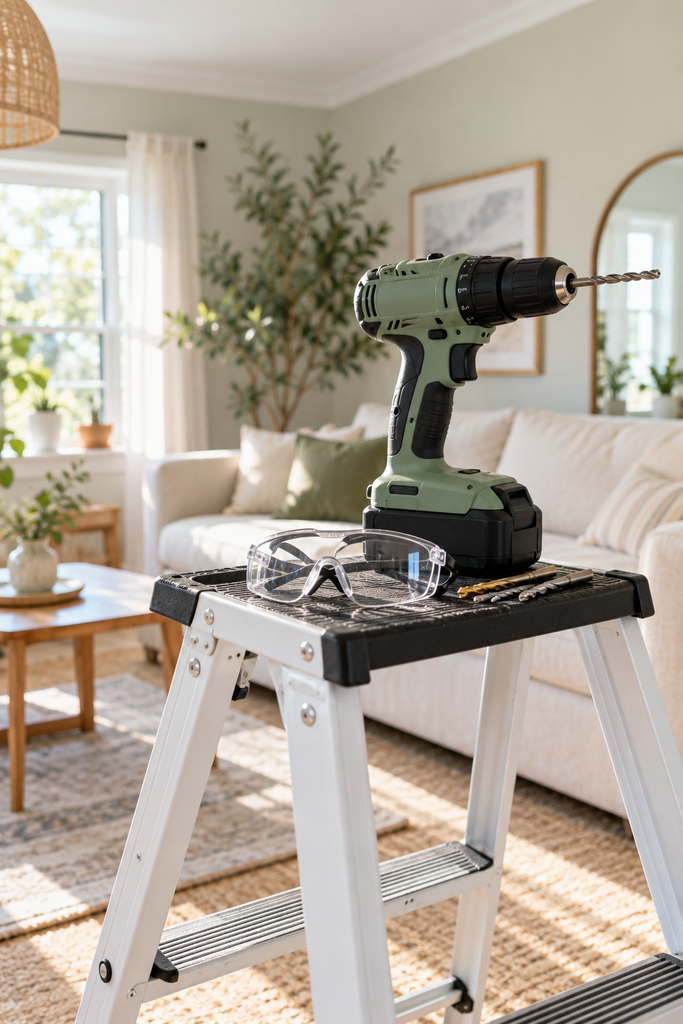
Do not drill within 12 inches of an existing ceiling light or fan, since electrical wires often run nearby.
If you have a bumpy “popcorn” ceiling in a building from before the mid-1980s, ask your landlord before drilling. Older popcorn texture can contain asbestos, and drilling releases the dust.
7. Screw in a swag hook with a toggle anchor
The little spring-loaded wings are what hold the weight, not the screw. Thread the wings onto the end of the hook, pinch them flat, and push them up through the hole until you hear a soft snap. That snap means they opened above the drywall. Now turn the hook clockwise while gently pulling down on it. If the hook spins without tightening, keep that downward pull steady so the wings can grab. Stop once it feels snug. Cranking it harder crushes the drywall.

8. Hang your plug in pendant light at the right height
30 to 36 inches is the gap most designers leave between a dining table and the bottom of the shade. Other spots need different numbers:
- Over a dining table: 30 to 36 inches above the tabletop
- Beside a bed: shade at about eye level when you sit up to read
- Over open floor: at least 7 feet from the floor so nobody bumps it
Loop the cord over the hook at your chosen height. Coil any extra cord neatly and secure it near the hook with a clear cable tie.

Use a reusable hook-and-loop cable tie instead of a plastic zip tie. If the height looks wrong once the bulb is on, you can adjust it in seconds without cutting anything.
9. Clip the cord across the ceiling
A sagging cord is the giveaway that makes this look like a rental hack. Wipe the clip spots with rubbing alcohol first so the adhesive grips clean paint. Place a clear clip every 12 to 18 inches along the straight line you planned, pressing each one for 30 seconds. Give the adhesive 1 hour to set before you tuck the cord in.

10. Run the cord down the wall inside a cord cover
Before you peel any backing, hold the cover against the wall from the ceiling corner down to the outlet and mark where it should end. Cut it to length with a fine-tooth saw or the cutter that came in the box. Press it flat to the wall for 30 seconds, open the channel, tuck the cord inside, and snap it shut. Paint the cover to match your wall with a small craft brush. Once it’s painted, the cord almost disappears.

On move-out day, warm the cord cover and clips with a hair dryer on low for 20 to 30 seconds before you peel them off. Soft adhesive lets go without pulling the paint with it.
11. Plug in and add a switch you can reach
Most plug-in pendants put the on/off switch near the plug, usually hidden behind a chair or bed. Plug a smart plug or a remote-control outlet into the wall first, then plug the light into that. Now you can turn it on from your phone, a small remote, or a schedule. Screw in an LED bulb within the wattage limit printed on the socket, flip it on, and step back to enjoy it.

Troubleshooting Your Pendant
Frequently Asked Questions
Q.Can I use an adhesive ceiling hook so I don’t have to drill?
It’s not worth the risk. On a ceiling, the weight pulls straight down on the glue, and heat from the bulb can soften it over time. One small anchor hole is safer and takes minutes to patch.
Q.Will one hole in the ceiling cost me my deposit?
Many landlords treat a small, well-patched hole as normal wear, but leases differ. Get a written okay before you drill, and patch the hole neatly before your move-out walkthrough.
Q.How do I patch the hole when I move out?
Unscrew the hook and let the toggle wings drop inside the ceiling. Fill the hole with spackle using a putty knife, let it dry for about 2 hours, sand it smooth, and dab on matching ceiling paint.
Q.Can I hang a plug in pendant light over my bed?
Hang it beside the bed instead of directly over it. You get the same reading light, and nothing heavy dangles over your head while you sleep.
Q.Is it safe to leave a plug-in pendant on for hours?
Yes, as long as the light is UL or ETL listed and you use an LED bulb within the socket’s wattage limit. LEDs stay cool, and the listing means the cord and socket passed safety testing.
Q.Can I hang two pendants over my dining table?
Yes. Give each light its own hook, space them about 24 to 30 inches apart, and plan both cord paths to meet at the same wall so you only need one cord cover.
Plug-In Pendant Cheat Sheet
- Plug-in pendant (15 ft+ cord)
- Swag hook + toggle anchor
- Drill, 1/8″ bit + anchor bit
- Ladder, tape measure, string
- Painter’s tape, pencil, scale
- Cord clips + paintable cord cover
- Smart plug or remote outlet
- Safety glasses, spackle
- Get a written okay from your landlord
- Choose a spot near an outlet
- Measure drop + ceiling + wall, add 2 ft
- Pick a hook rated for 2x the light’s weight
- Mark the spot, avoid joists
- Drill 1/8″ first, then the anchor size
- Install hook, pull down while turning
- Hang 30 to 36″ above a table
- Clip cord every 12 to 18″ on the ceiling
- Hide wall cord in a painted cover
- Add a smart plug, test with an LED
Conclusion
Your light is up, the cord is out of sight, and your lease is still happy. That one small hook gave your room a whole new mood without a single wire touched. Once you love how your plug in pendant light looks, try hanging a second one on the other side of the bed or over the table for a matching pair. Save this guide to your rental ideas board so it’s ready for your next place.

