
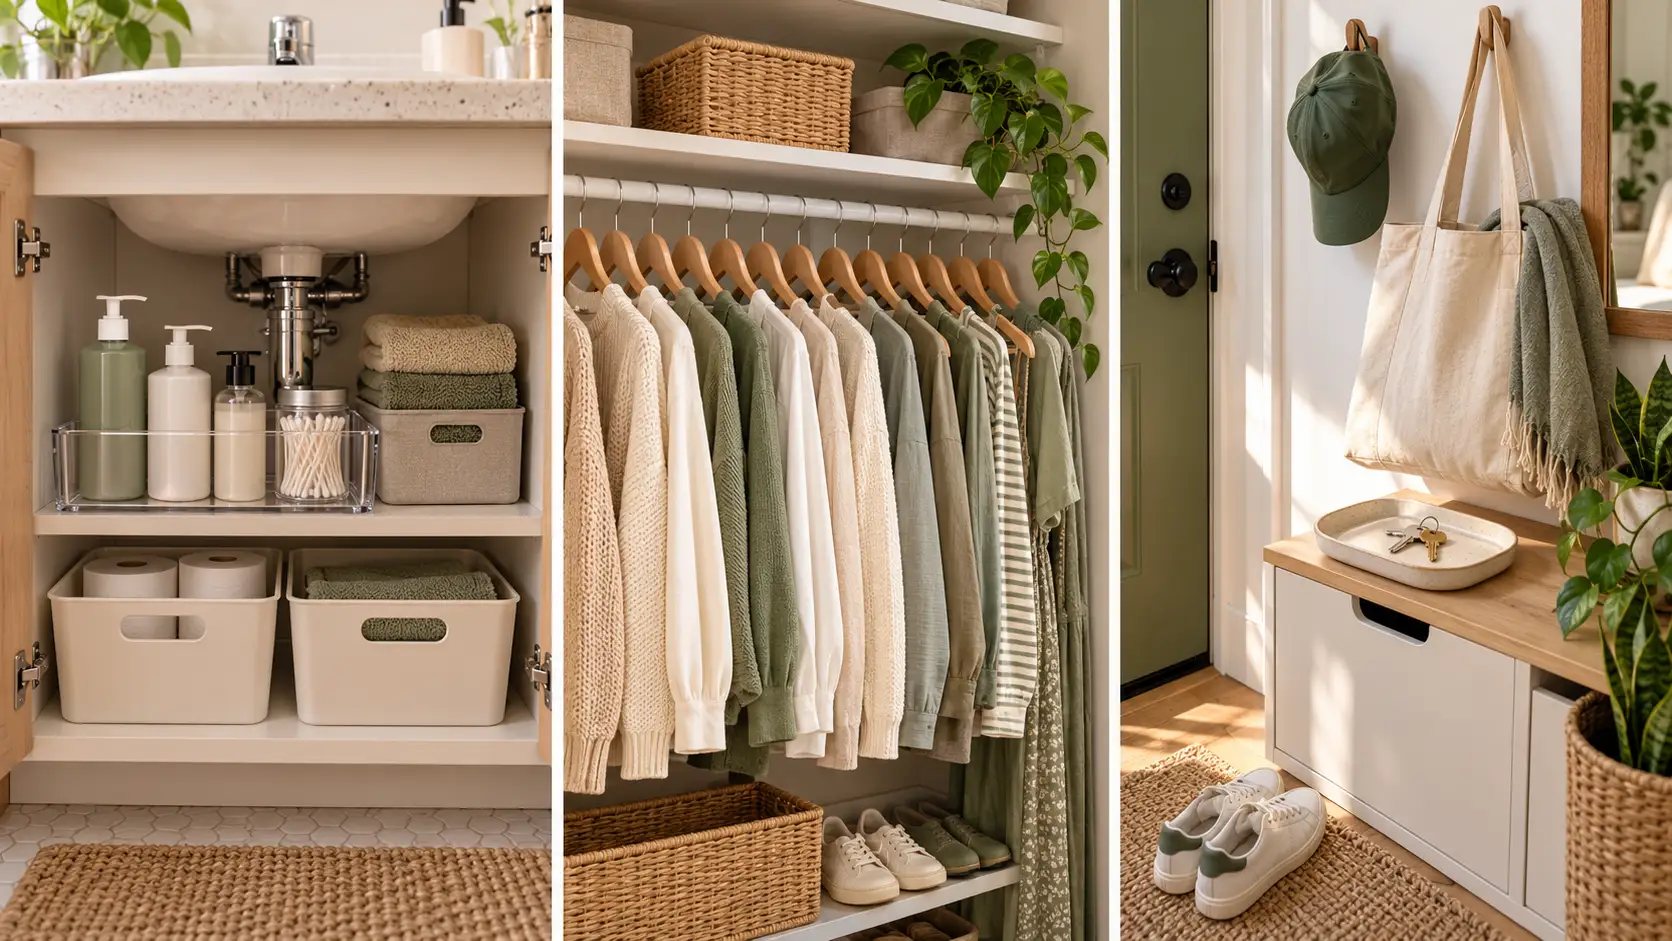
You open the closet, stare at the pile, and close the door again. Then you pull out one kitchen drawer, get halfway through, and quit for the night. Sound familiar? The hardest part of apartment organization for beginners is not the sorting. It’s knowing which room to start in, and most people pick the wrong one.
This guide gives you a set order for every room in a small apartment. You’ll start with the bathroom because it’s small and full of things you can toss without a second thought, like old sunscreen and dried-out makeup. Then you’ll tackle the kitchen and closet while your energy is still high. The entryway comes last on purpose. By then, every other room has a home for its stuff, so you’ll know exactly what the entry needs to hold.
By the end, every item in your apartment will have one spot where it lives. You’ll also have a 10-minute nightly habit that keeps it that way. Plan on about 12 to 16 hours total. You can knock it out in one weekend or do one room per evening over a week. No fancy bins needed. Most of what you need is already in your home.
- Walk through and list the worst spots
- Set up your sorting boxes
- Clear the bathroom first
- Sort the kitchen one cabinet at a time
- Cut your closet down
- Clear bedroom surfaces
- Give living room items one home
- Build the entryway drop zone
- Empty the “No Home Yet” box
- Take donations out the same day
- Start a 10-minute nightly reset
1. Plan your apartment organization with a 10-minute walk-through
Nothing gets moved yet. Set a timer for 10 minutes and walk into every room with a notebook, including the bathroom and the entry. Write down the one or two spots in each room that bug you most, like the counter that’s always piled up or the closet door that won’t shut. This list keeps you from bouncing between rooms. Bouncing is how beginners end up with five half-done messes and zero finished spaces.

2. Set up three sorting bins before you touch anything
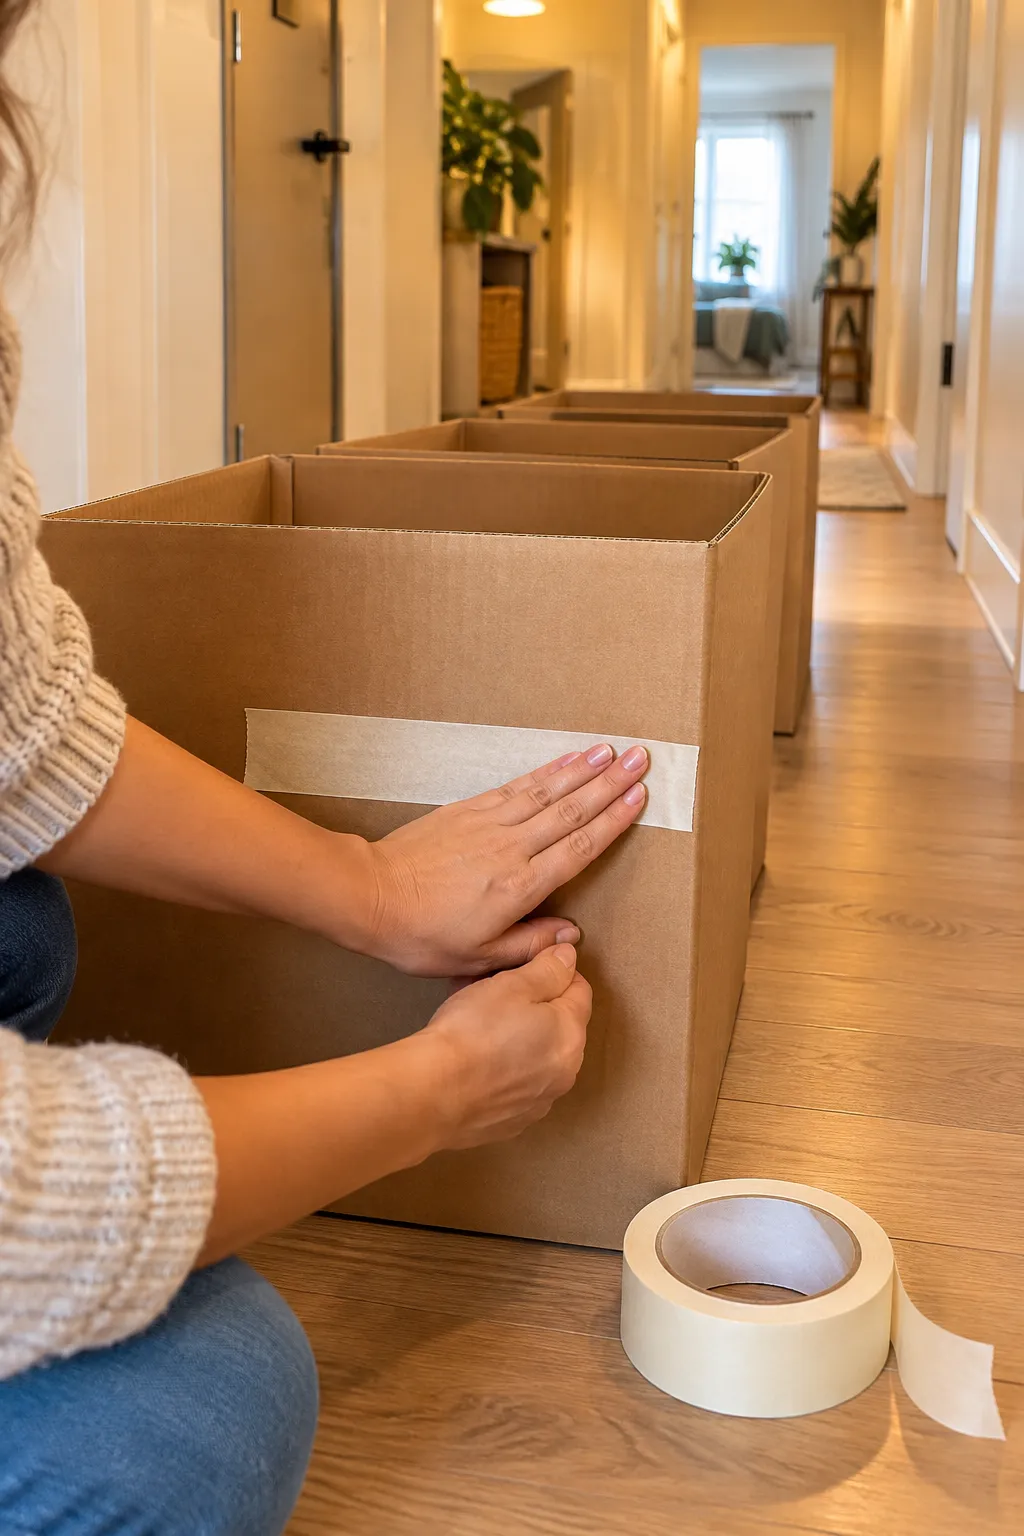
Three boxes will make every choice for the rest of this guide, plus one extra for the in-between stuff. Set them in a hallway or any spot you can carry from room to room:
- Label one box Keep, one Donate, and one Trash.
- Label a fourth box No Home Yet.
- Line the Trash box with a heavy-duty bag.
From here on, every item goes into a box the moment you pick it up. Nothing gets set down “for now.” No boxes? Laundry baskets or paper grocery bags work too.
3. Clear the bathroom first for a fast, visible win
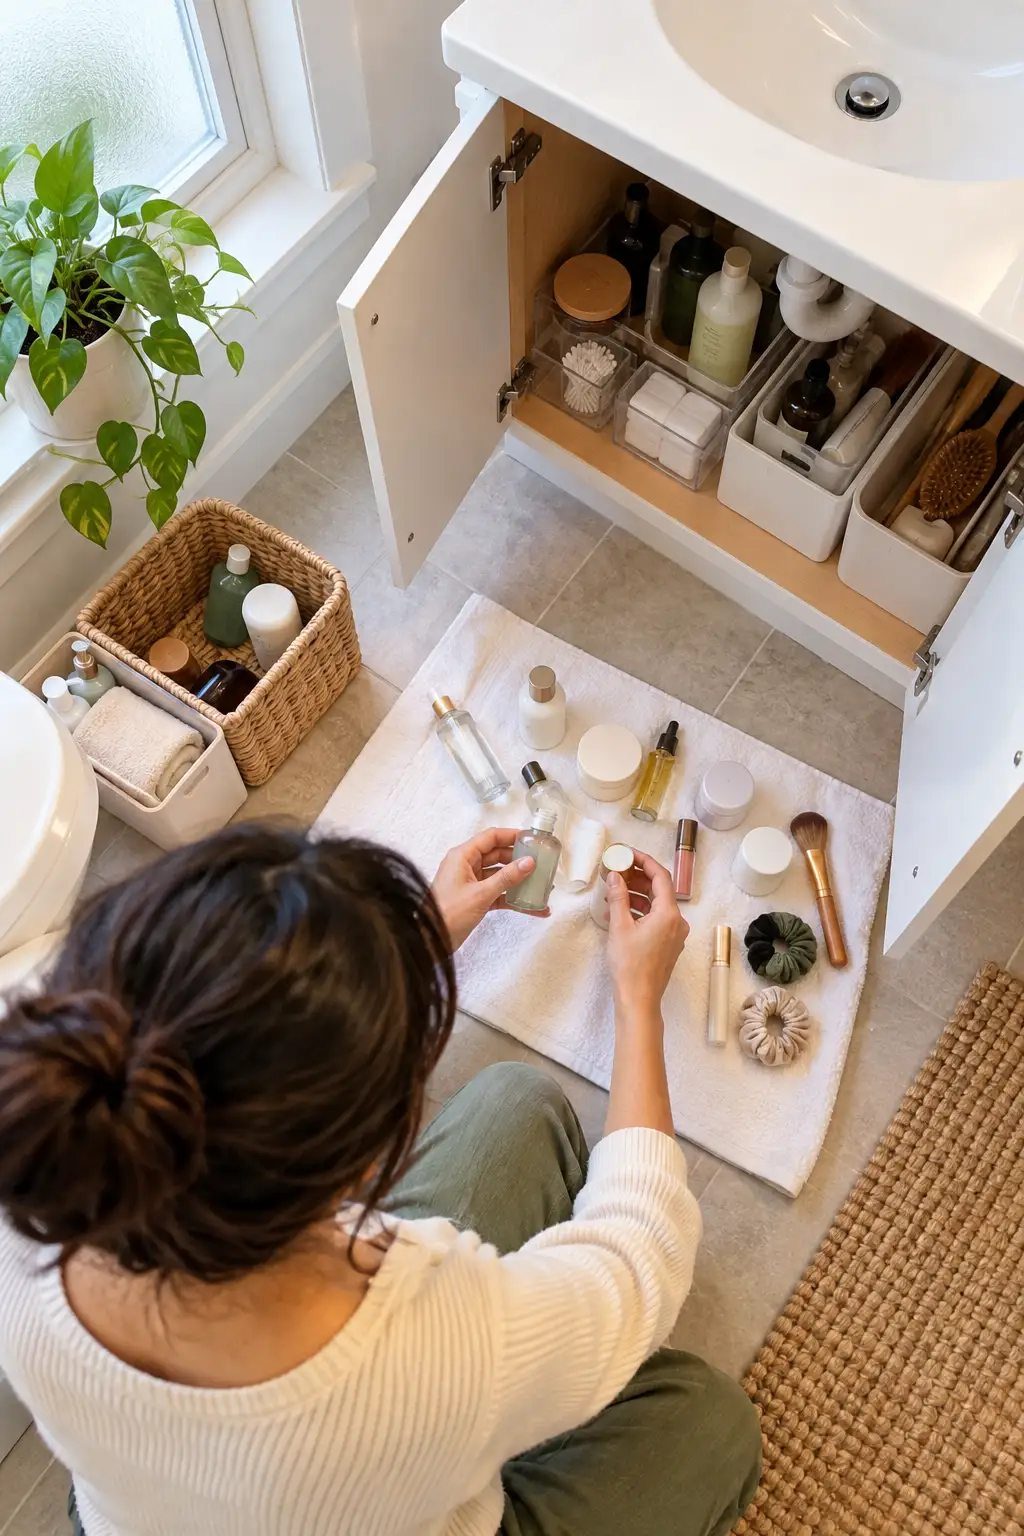
If you only finish one room this weekend, make it this one. The bathroom is small and full of things you can toss without guilt. Empty the cabinet under the sink onto a towel on the floor. Toss anything past its printed date, plus mascara older than 3 months. Put back only what you used in the last 30 days. The whole room takes about 45 to 60 minutes, and that quick finish carries you into the kitchen.
Don’t flush old medicine or toss loose pills in the trash. Many pharmacies have free take-back drop boxes. If yours doesn’t, mix pills with used coffee grounds or cat litter in a sealed bag before throwing them out.
4. Sort the kitchen one cabinet at a time
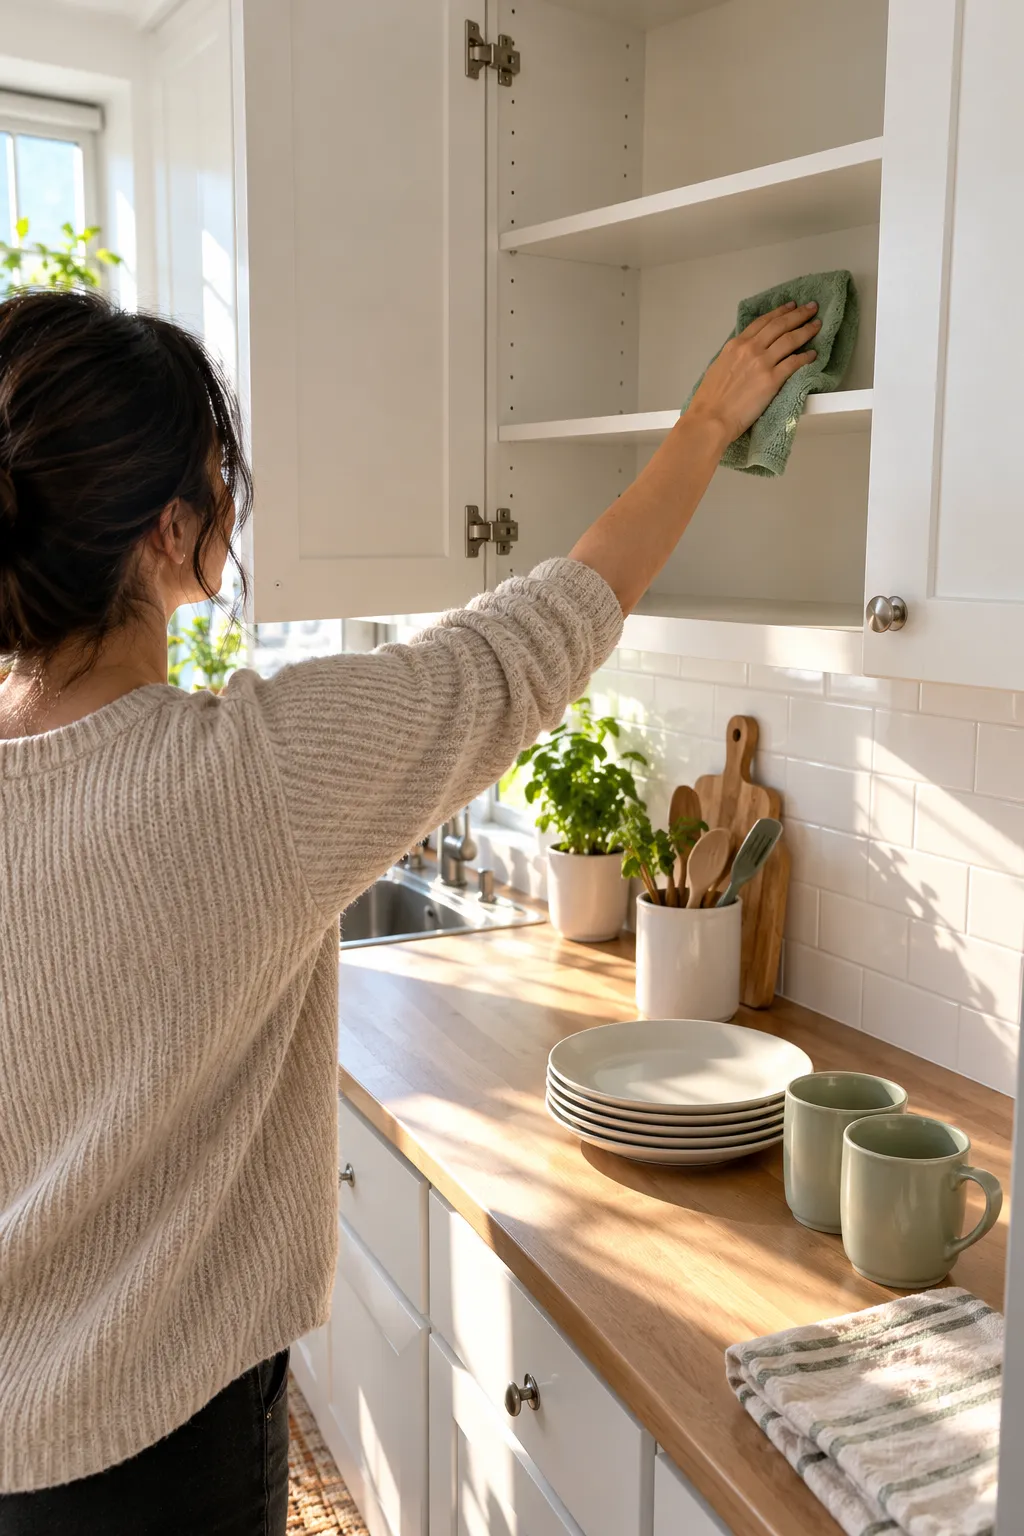
Why one at a time? Empty every cabinet at once and your floor disappears, and you still need to cook dinner tonight. Pull everything out of one cabinet and wipe the shelf. Put back only what you use every week, at the front and at eye level. Things you use a few times a year go up high. Keep the best one of any duplicates, and toss food containers that lost their lids long ago. Each cabinet takes about 15 to 20 minutes, so it’s okay to stop and pick up tomorrow.
5. Cut your closet down to the clothes you actually wear
This is the biggest job in the whole guide, so start it with at least 2 hours free.
- Pull every piece out and pile it on your bed.
- Keep anything that fits now and that you wore in the last 12 months.
- Put “someday” sizes and items with tags still on them in Donate.
- Hang what’s left so it all faces the same way.
The bed pile works for a reason. You can’t sleep until it’s gone, so you won’t quit halfway.
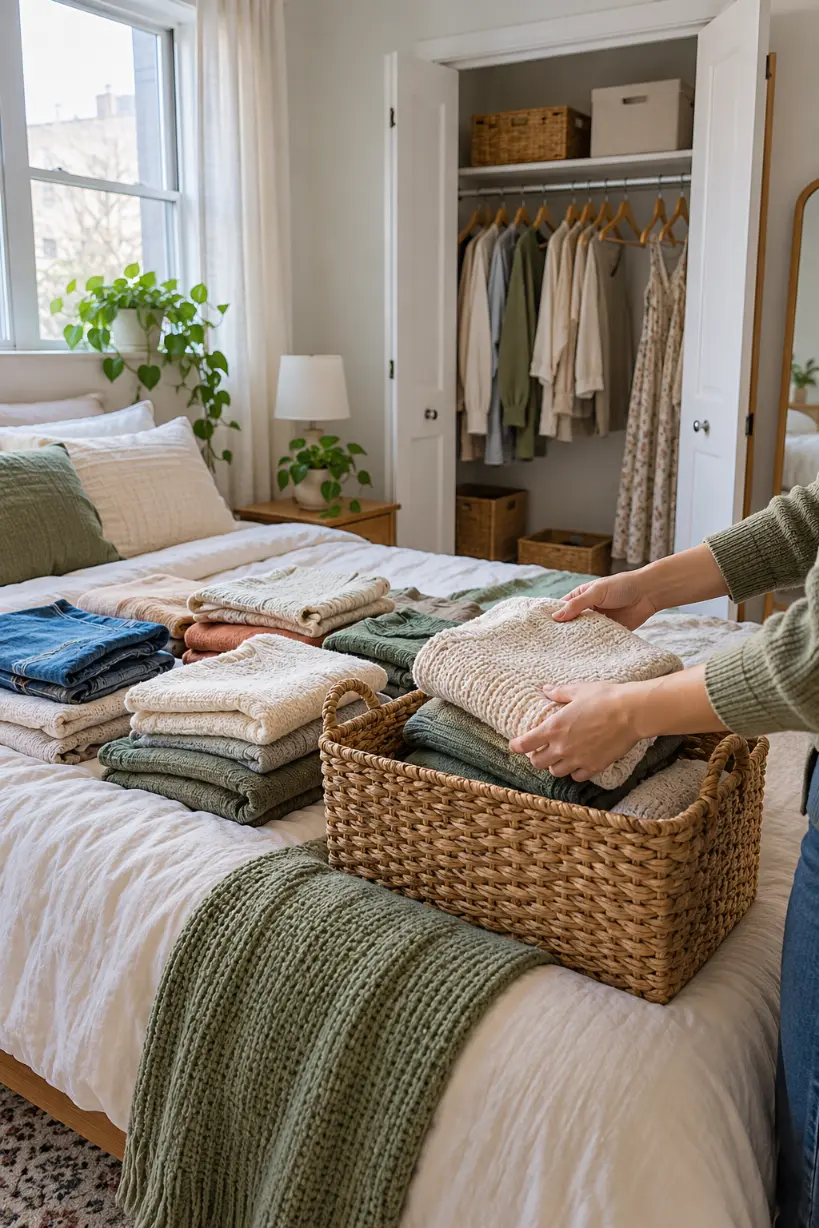
Stuck on a “maybe” piece? Hang it backward on the rod. When you wear it, turn the hanger the right way. Anything still backward after 3 months goes in Donate, no second guessing.
6. Clear every flat surface in the bedroom
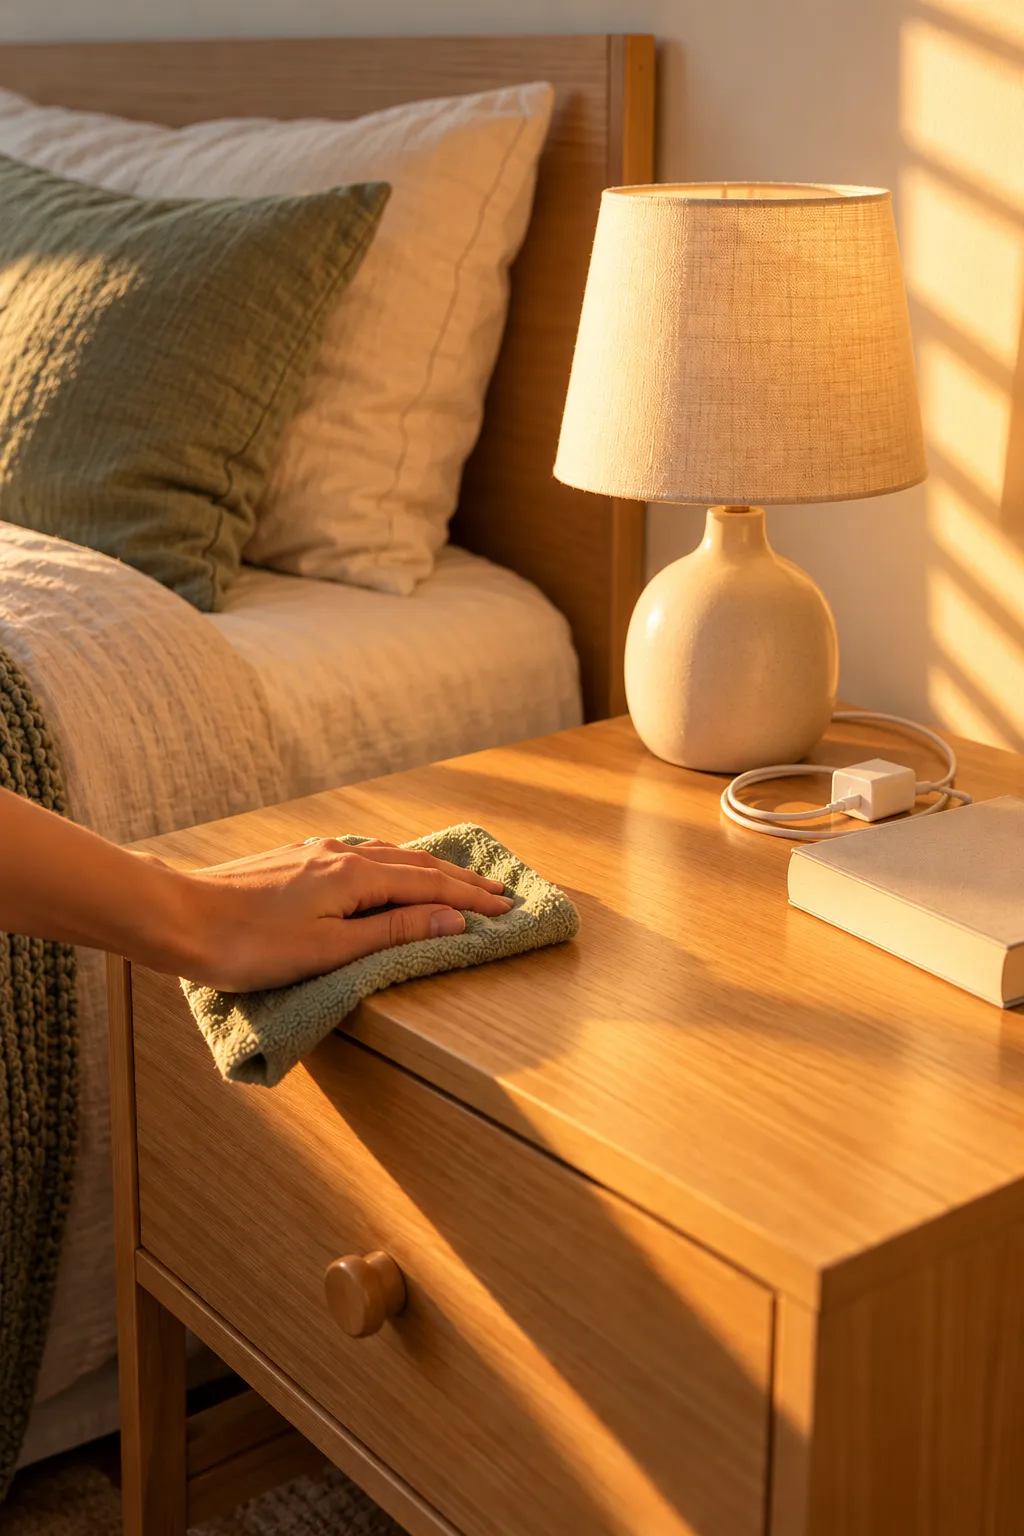
A dresser top collects anything that doesn’t have a real home yet. Clear each surface down to bare wood and wipe it clean. Then put back no more than 3 things per surface, like a lamp, a phone charger, and the book you’re reading now. Everything else goes into your four boxes. Plan on about 30 minutes.
7. Give each living room item one permanent home
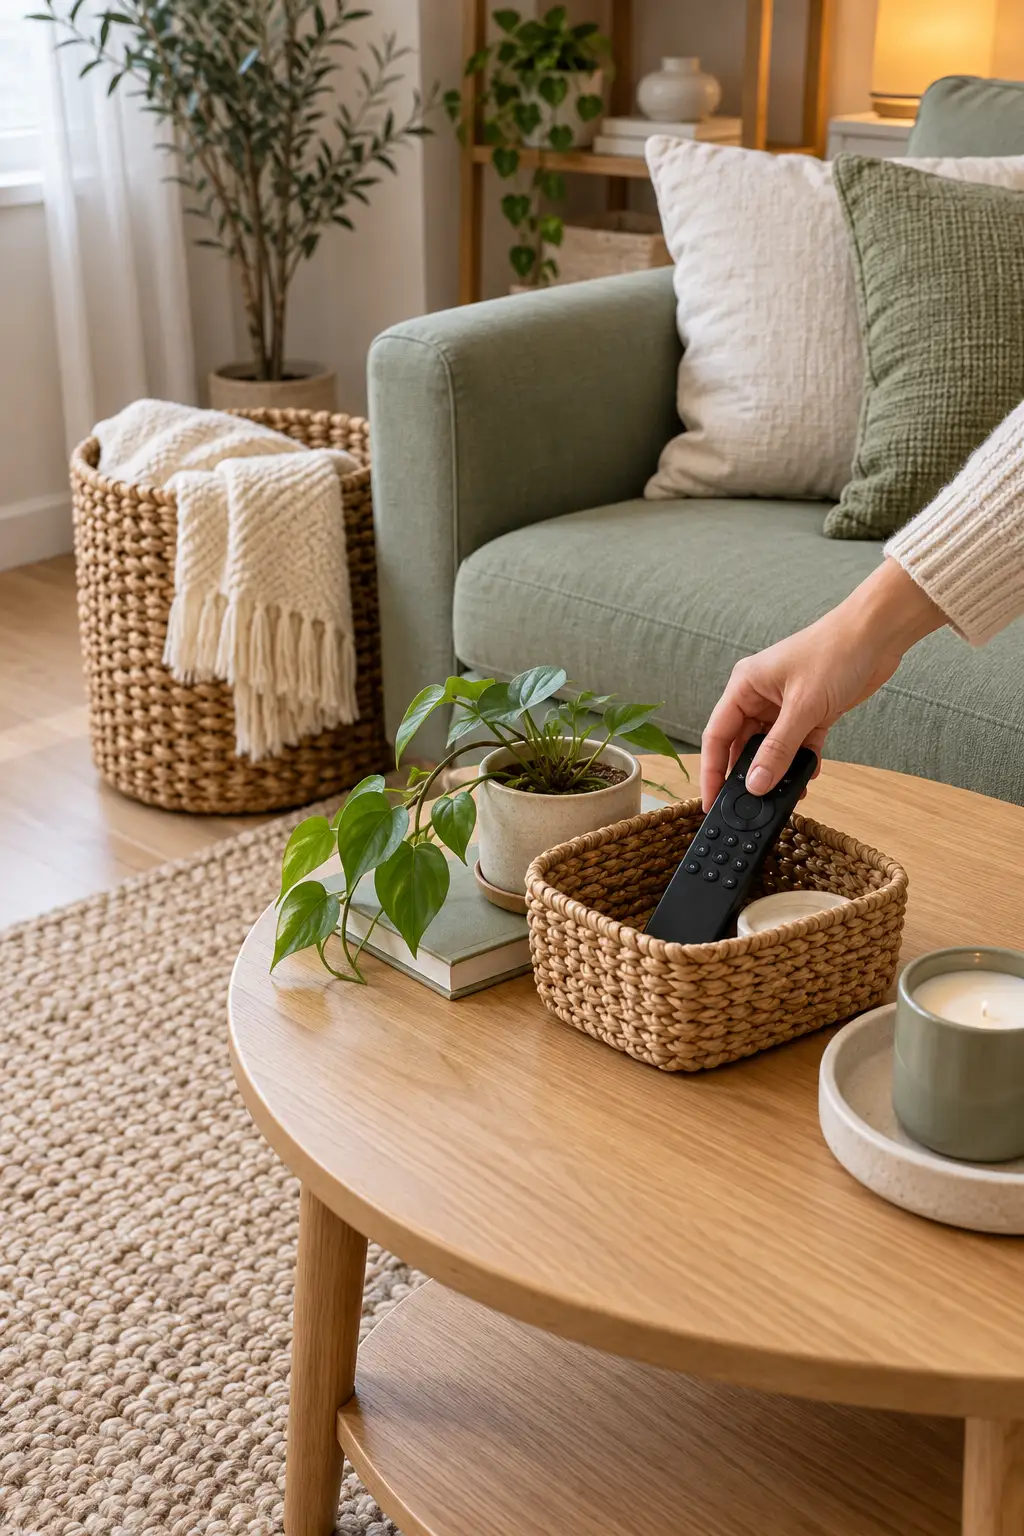
Living rooms in small apartments often do three jobs at once, so things drift. Pick up each item and set it where you actually use it. Remotes go in a basket by the couch, throw blankets in a bin beside it, and chargers in one drawer. If two things fight for one spot, the one you use less moves out.
8. Build an entryway drop zone last
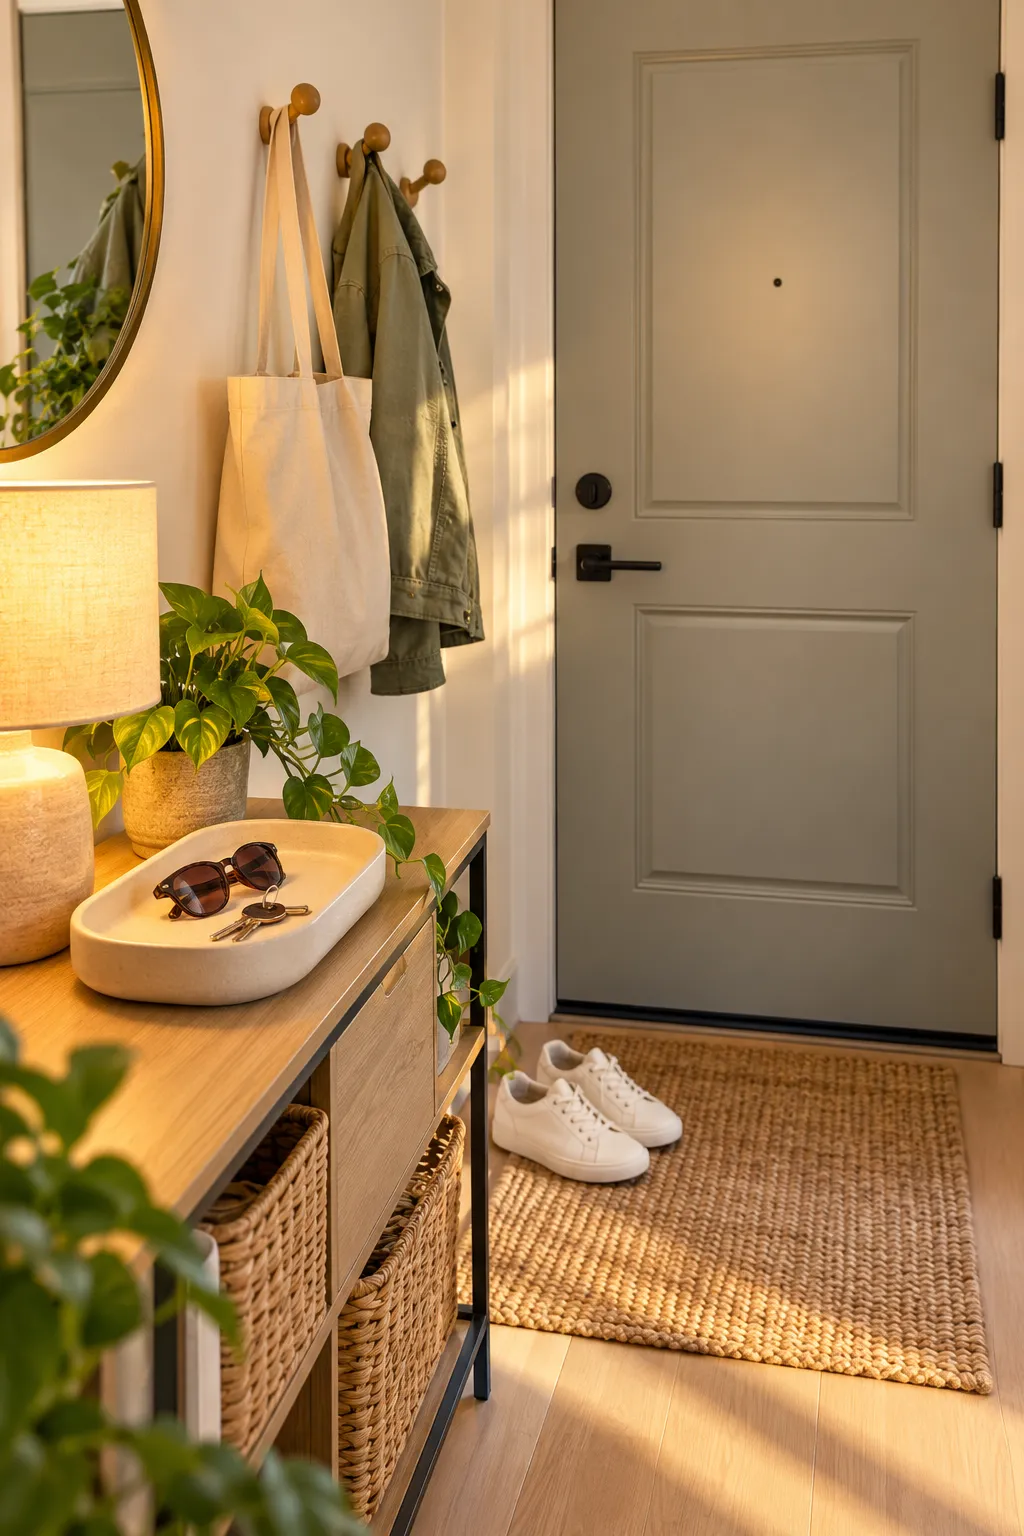
With every other room sorted, the entry only needs to hold what leaves the apartment with you. That’s a short list, and it’s why this spot comes last. Set up these four things, all within reach of the door:
- A small tray or bowl for keys, wallet, and sunglasses.
- 2 or 3 hooks at shoulder height for your daily bag and jacket.
- Room for one pair of shoes per person.
- A wall folder or slim basket for incoming mail.
No entry closet? Adhesive hooks on the back of the front door work well, and most peel off cleanly when you move out. Test one on a hidden spot first if your walls are freshly painted.
9. Empty the “No Home Yet” box
By now this box is probably fuller than you’d like, and that’s normal. Take each item out one at a time. Give yourself 2 minutes to find it a real home. If no spot comes to mind, it moves to Donate. That rule feels harsh, but a small apartment can only hold what it has room for. Most boxes take about 20 to 30 minutes to clear.
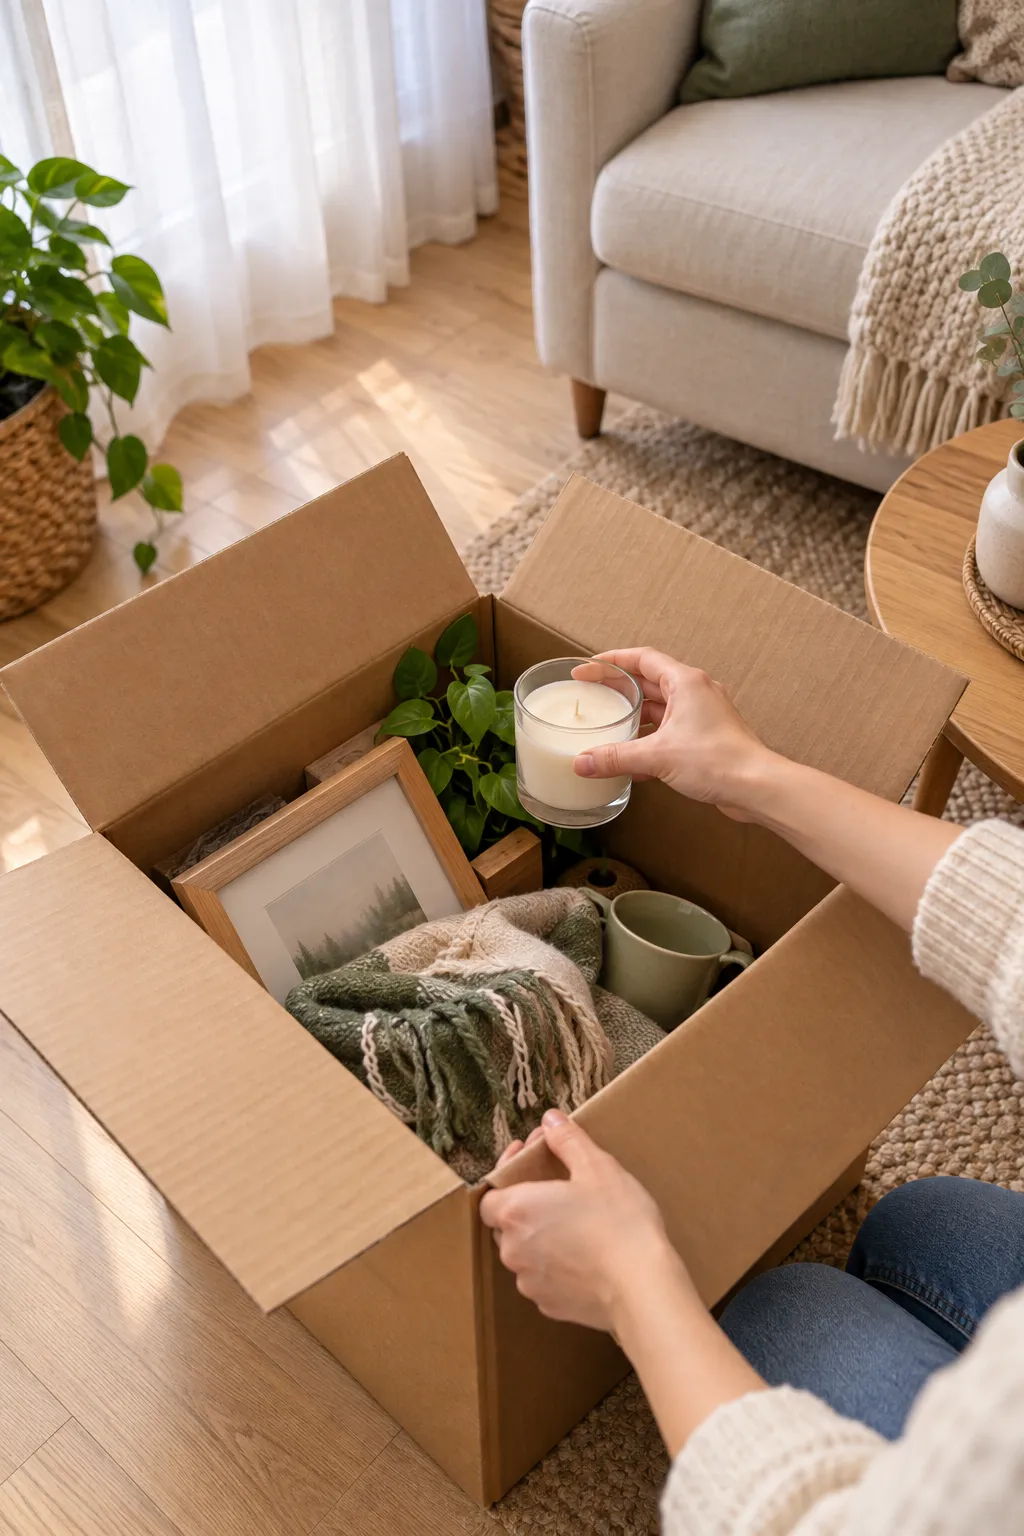
Don’t tape this box shut and slide it into a closet. A sealed “deal with it later” box almost always turns into a permanent one, and you’ll be moving it from apartment to apartment for years.
10. Take donations out of the apartment the same day
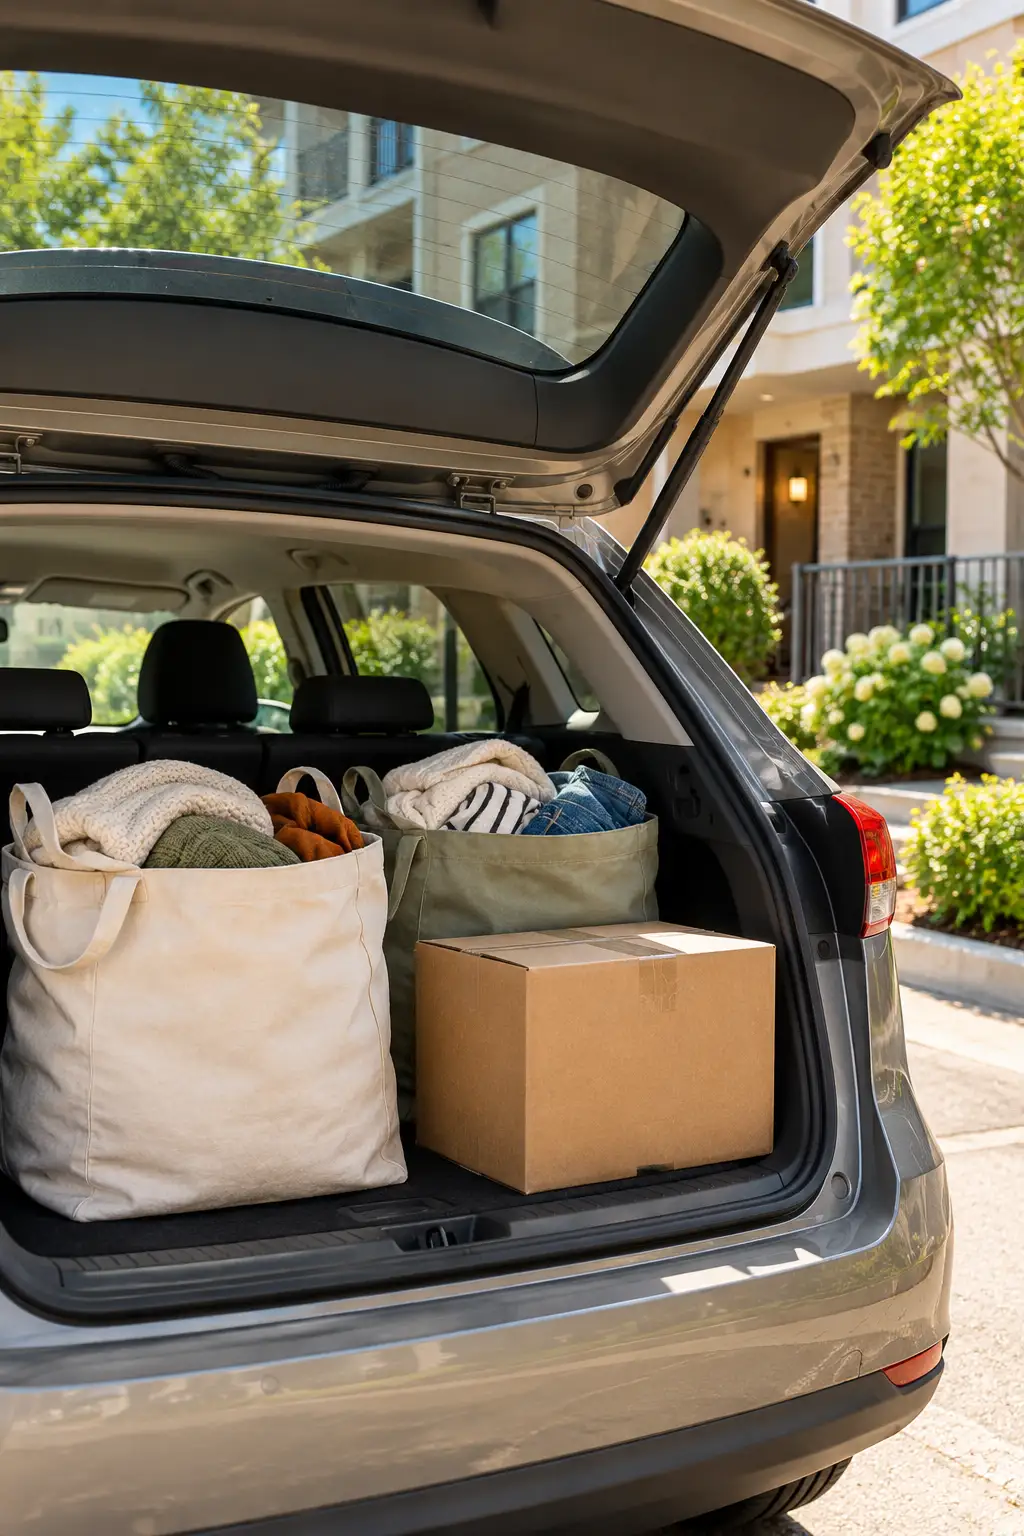
Donate bags that sit by the door for a week tend to get opened again. One sweater comes back out, then a mug, and the pile slowly creeps back into your closets. Load the bags into your car tonight and drop them off on your next errand run. No car? Many charities offer free pickup if you book online, or you can post items to a local “buy nothing” group. Carry the trash bags out today too.
11. Start a 10-minute nightly reset
Small apartments get messy fast, but they also bounce back fast. That’s the upside of less space. Every night, set a timer for 10 minutes and run through this:
- Put back anything that’s out of its home.
- Clear the kitchen counter.
- Empty the entry tray of anything that doesn’t belong.
- Wash or load the day’s dishes.
Stop when the timer goes off, even if a spot is still messy. The point is a habit you’ll keep, not a perfect apartment every night.
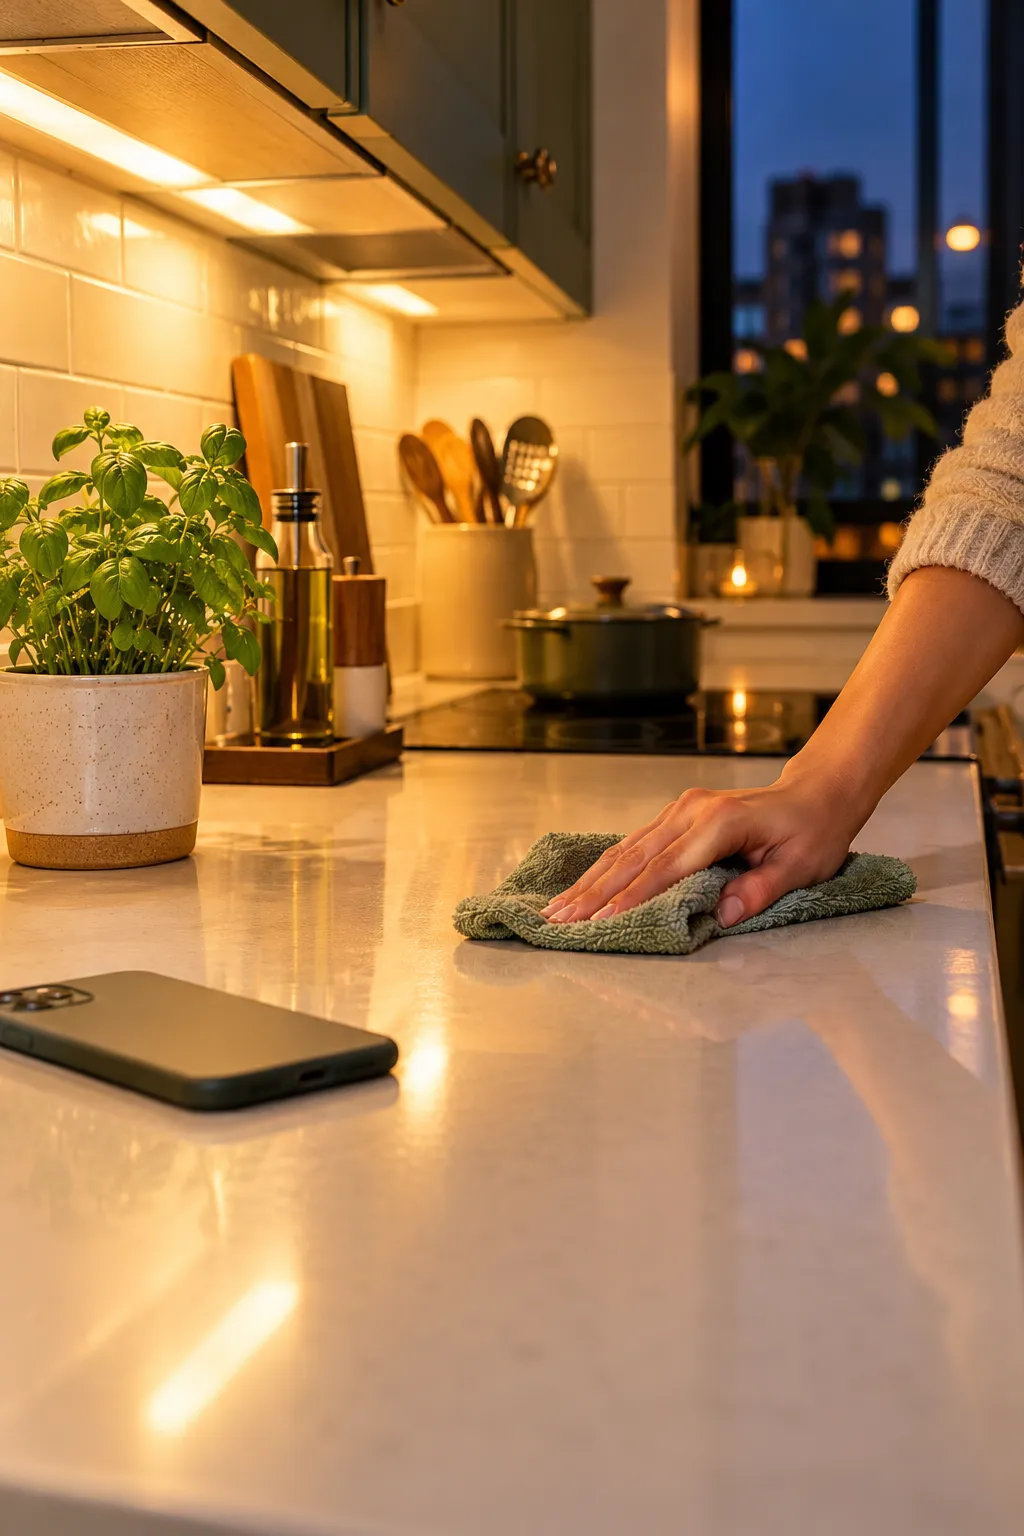
Tie the reset to something you already do every night, like right after dinner or right before you brush your teeth. A new habit sticks much better when it rides on an old one.
- 4 boxes: Keep, Donate, Trash, No Home Yet
- Heavy-duty trash bags
- Masking tape and a marker
- Notebook and phone timer
- Cleaner and microfiber cloths
- Measuring tape and shoeboxes
- Entry tray and a few hooks
- Walk through and list worst spots (10 min)
- Set up your 4 sorting boxes
- Clear the bathroom (45 to 60 min)
- Sort kitchen cabinets one at a time
- Cut the closet down (2+ hrs)
- Clear bedroom surfaces (30 min)
- Give living room items one home
- Build the entryway drop zone
- Empty the No Home Yet box
- Take donations out the same day
- Do a 10-minute nightly reset
You Did It
Every room in your apartment now has a home for its things, and you have a 10-minute habit to keep it that way. That’s apartment organization for beginners done in the right order: quick wins first, big decisions while you’re fresh, and the entry last.
A good next step is one small storage upgrade, like drawer dividers in the kitchen, now that you know exactly what needs to fit.
Save this guide to your organizing board so the room order is ready the next time things start to pile up.

