
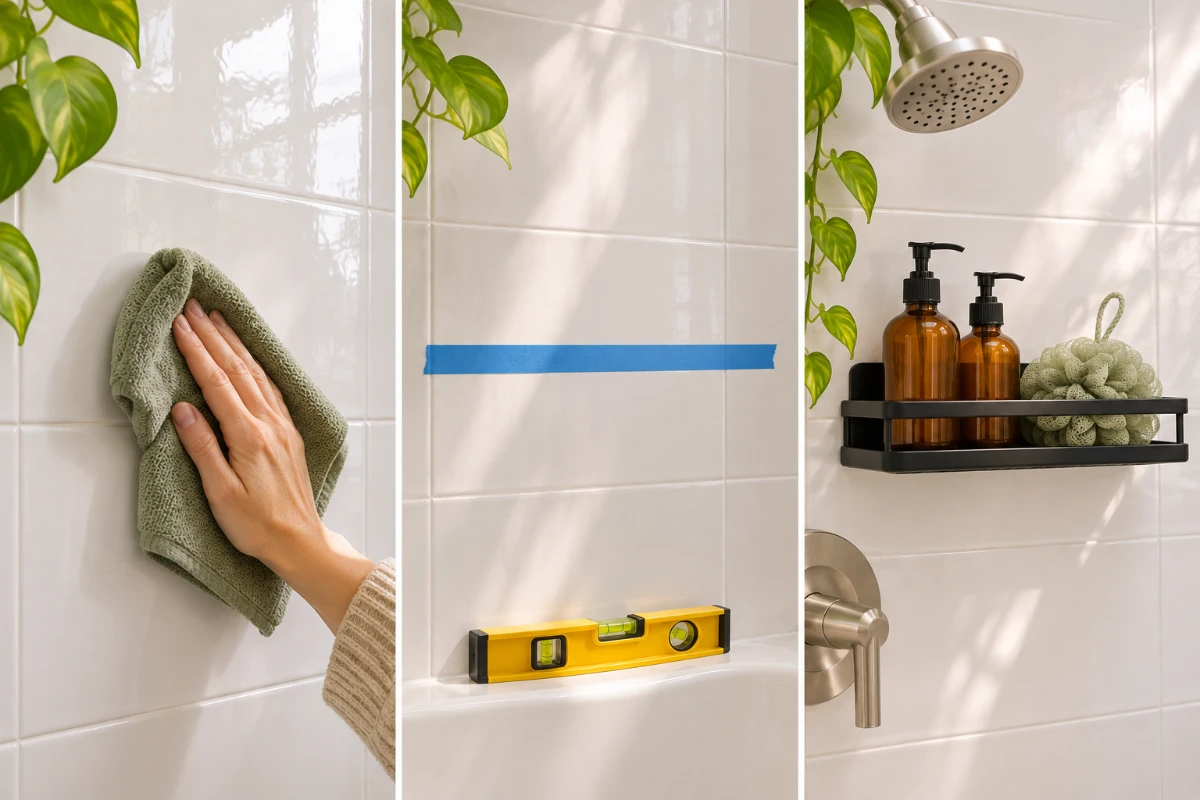
You found a cute bathroom shelf online, saw the words “drill required,” and closed the tab. Or you bought an adhesive shelf, stuck it to the tile, and heard it crash into the tub two days later. I lost two shelves that way in my first apartment. The problem was never the glue. It was my prep. If you rent, drilling into tile is usually off the table, so bathroom storage without drilling is your best bet. It works when you treat the tile right.
This guide shows you how to hang an adhesive shelf or caddy on tile so it holds full bottles of shampoo and still peels off clean on move-out day. You will clean the tile the right way, place the shelf where steam and grout can’t loosen it, and give the glue time to set. The hands-on part takes about 45 minutes. The waiting takes a full day, and that waiting is what makes it last. Grab your shelf, open a window, and let’s get that clutter off your sink.
- Adhesive shelf, caddy, or hooks labeled waterproof
- 1 spare set of matching adhesive pads
- Isopropyl rubbing alcohol (70% or 91%)
- 2 lint-free or microfiber cloths
- Paper towels
- Painter’s tape
- Small level (or a free level app on your phone)
- Measuring tape
- Phone timer
- Hair dryer (for removal later)
- Dental floss or fishing line (for removal)
- Old gift card or plastic scraper (for removal)
- Pick a shelf rated for double your load
- Choose flat tile away from grout and spray
- Skip showers for 12 hours
- Scrub the tile with rubbing alcohol
- Air-dry the tile for 10 minutes
- Mark a level line with painter’s tape
- Press the mounting plate for 30 seconds
- Wait 24 hours
- Slide the shelf onto the plate
- Load light items first and test
- Remove it cleanly on move-out day
1. Pick bathroom storage without drilling that can hold your heaviest item
Weight limits on the box are tested on clean, dry walls. Your bathroom is neither of those every morning. Add up everything you plan to store. A full 12-ounce shampoo bottle weighs close to 1 pound, so four bottles and a razor come to about 4.5 pounds. Choose a shelf rated for at least double your total. Look for “waterproof” or “for bathrooms” on the package. Regular adhesive strips made for painted walls lose their grip in steam within weeks.
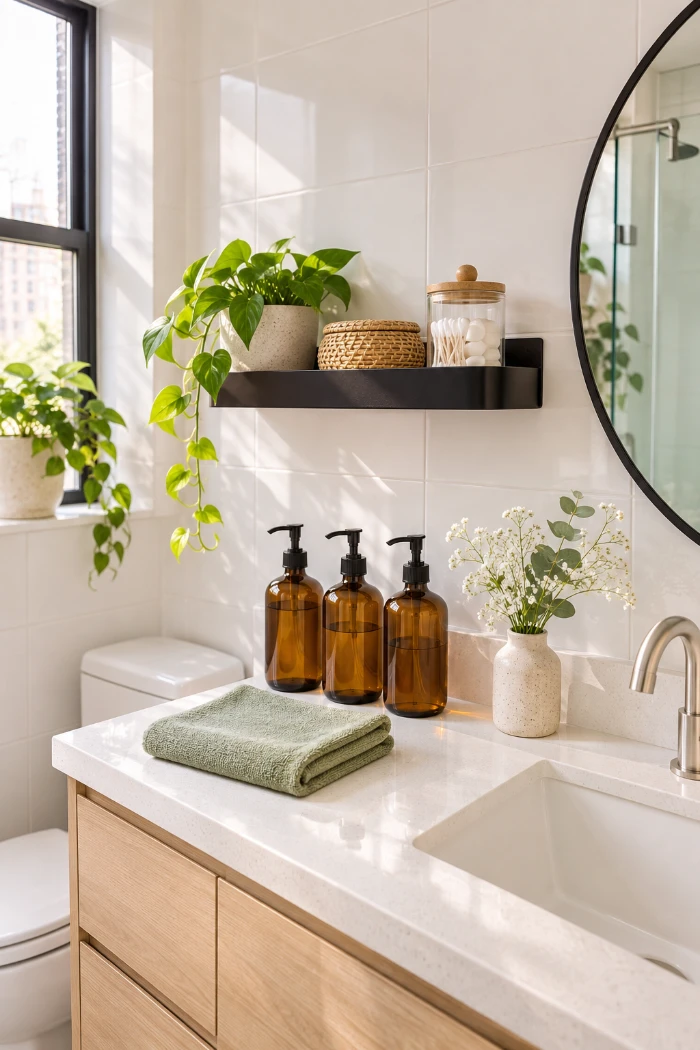
2. Choose a flat tile spot away from grout lines and direct spray
If even a sliver of the adhesive pad sits on a grout line, the bond will fail. Grout sits lower than tile and soaks up water, so it leaves a gap the glue can’t bridge. Run your palm over the spot you like and check for three things:
- Smooth, glossy tile with no bumps or texture
- One whole tile big enough to hold the full pad
- No water hitting it while the shower runs
Tiles smaller than 2 inches across, like mosaics, won’t work. A tension pole caddy that presses between the tub and ceiling is a better fit there.
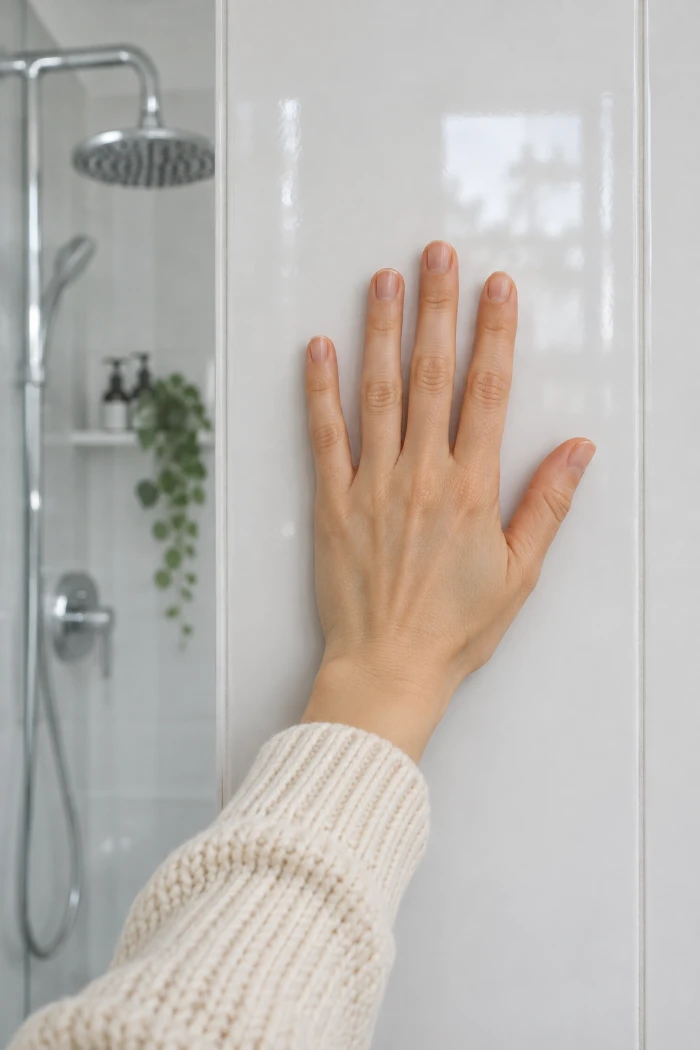
3. Skip hot showers for 12 hours before you start
Tile can feel dry and still hold moisture in its surface and in the grout around it. Hang your shelf at least 12 hours after the last shower. Before you start, run the fan or open a window for 1 hour, and make sure the room is above 50°F so the glue can bond.
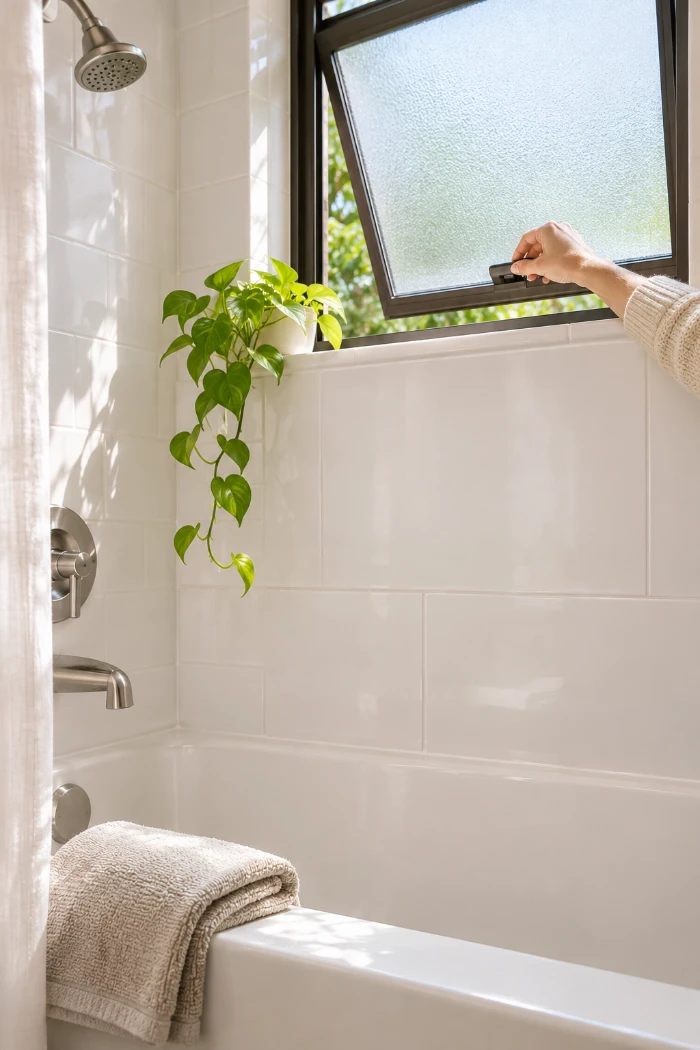
4. Scrub the tile with rubbing alcohol, not bathroom cleaner
Bathroom sprays are made to leave a shine, and that shine is a thin film the glue can’t grip. Pour about 1 tablespoon of rubbing alcohol onto a cloth. Wipe an area 2 inches wider than the adhesive pad on every side. Fold the cloth to a clean side and wipe again. No rubbing alcohol at home? Wash the spot with warm water and one drop of dish soap, then rinse it twice with plain water so no soap stays behind.
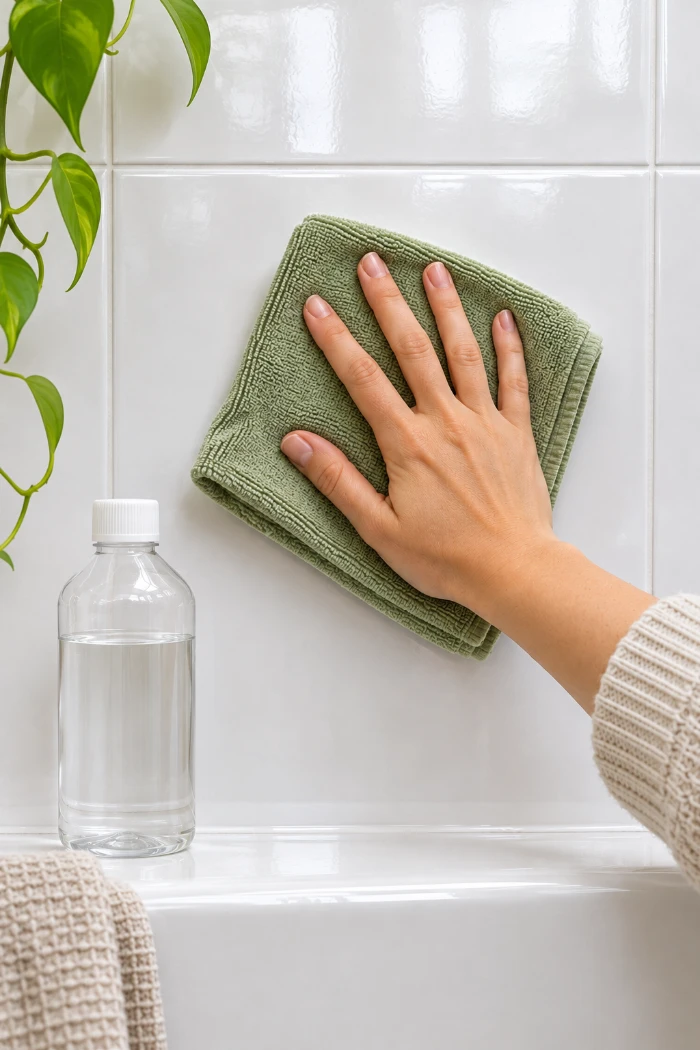
5. Let the tile air-dry for 10 full minutes
Alcohol dries fast on the tile face, but the grout around your spot holds it longer. Set a timer for 10 minutes and leave the area alone. Don’t pat it with a towel to speed things up. Towels leave lint. Fingers leave skin oil. Both weaken the bond.
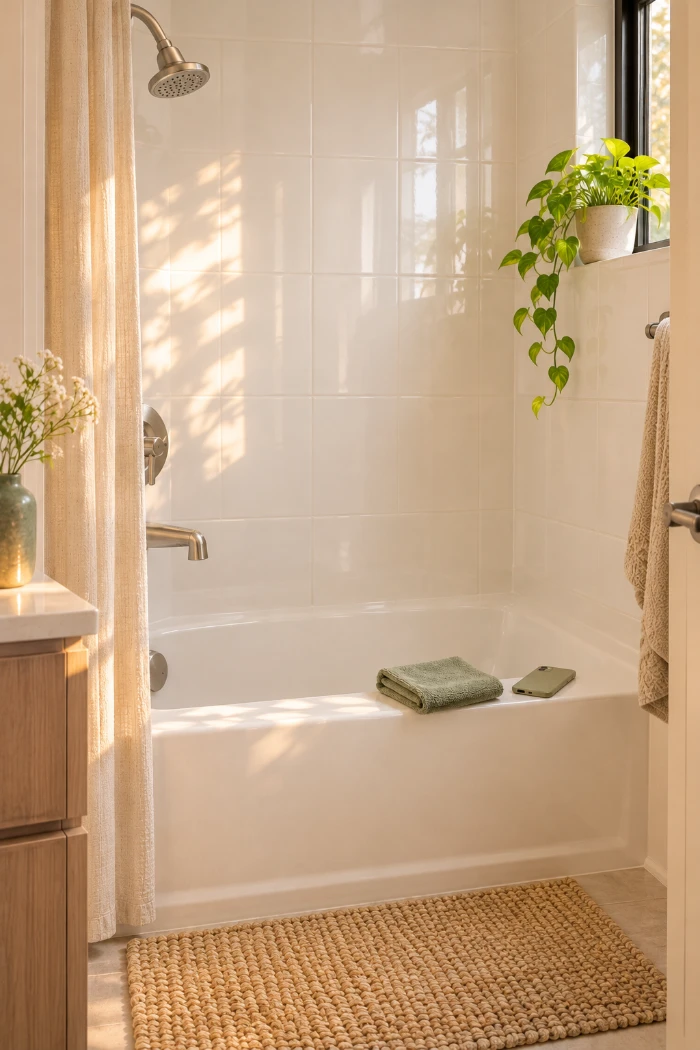
6. Mark your shelf line with painter’s tape and a level
Once the plate touches the tile, you get one shot, because peeling it off to fix a crooked line ruins the adhesive. Get the position right first:
- Hold the shelf where you want it and check you can reach it easily.
- Aim for about 48 inches above the tub floor for a shower shelf.
- Set your level on top and adjust until the bubble sits centered.
- Run a strip of painter’s tape under the bottom edge, at least 1 inch from where the pad will go.
No painter’s tape? Masking tape or a row of sticky notes works too.
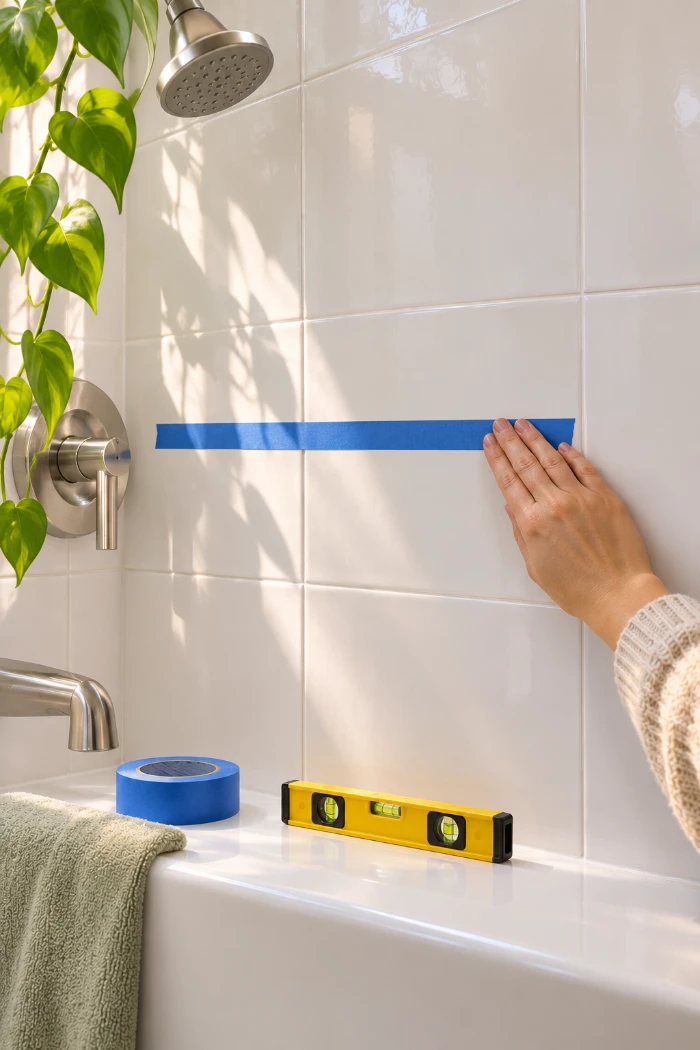
7. Press the mounting plate onto the tile for 30 seconds
Most bathroom adhesives are pressure-activated, which means a light tap leaves weak spots that let water creep in. Peel the backing off by its tab, holding the plate by the edges so your fingers stay off the sticky side. Check that the arrow on the plate points up. Set it in place above your tape line, then press hard with your palm or both thumbs for a full 30 seconds. Count out loud if you don’t have a timer handy. If the plate slides while you press, the tile is still damp. Pull it off right away, dry the spot for another 10 minutes, and use your spare pad.
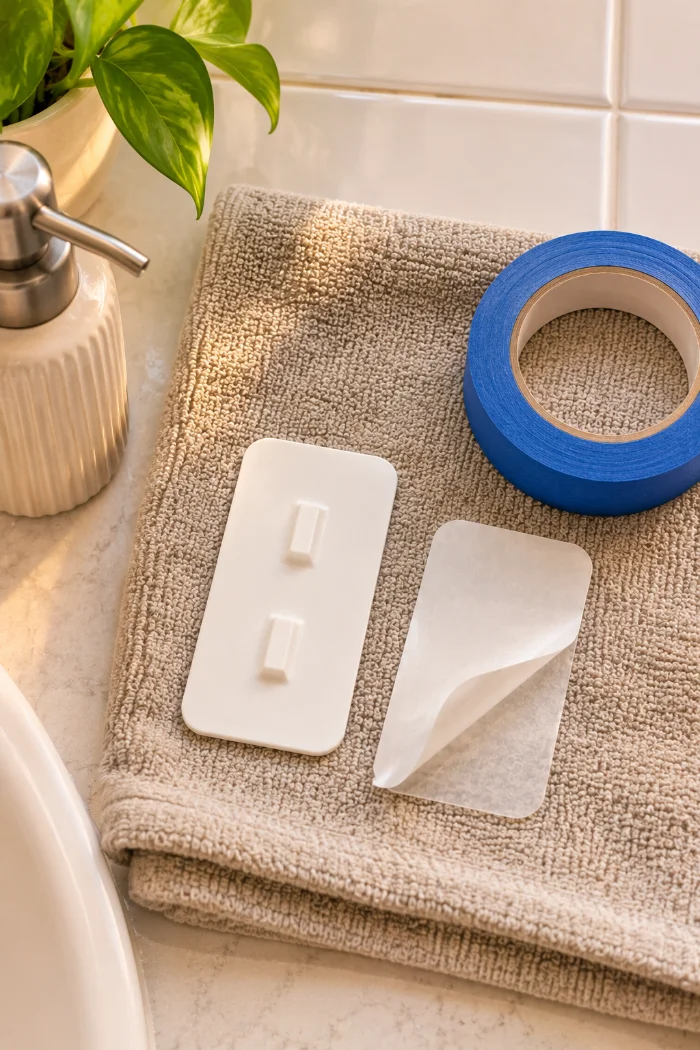
8. Wait 24 hours before hanging anything
The glue keeps settling into the tiny pores of the tile long after it feels stuck. Leave the bare plate alone for 24 hours. Some packages say 1 hour is enough, but bathroom steam slows the bond, so give it the full day. If your package asks for longer, go with the package.
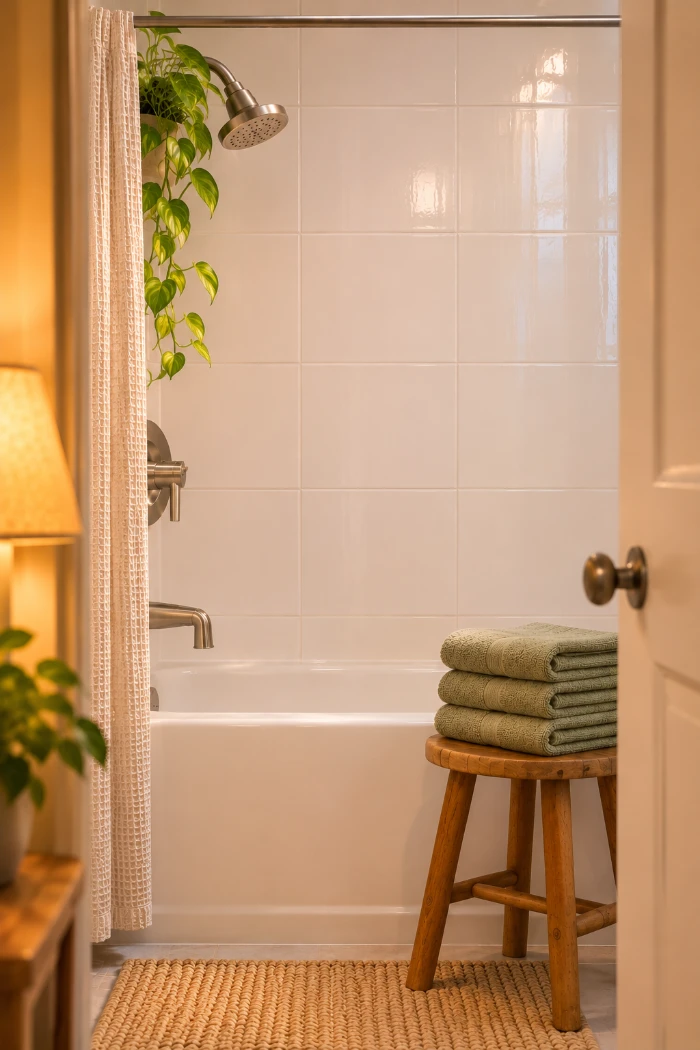
9. Slide the shelf or caddy onto the mounted plate
Listen for a click. That sound, or a firm stop, tells you the shelf is seated. Peel off the painter’s tape first so it doesn’t get trapped behind the shelf. Line up the slots on the back of the shelf with the hooks on the plate and slide it straight down. Push down, not toward the wall, because pressing in loads the edge of the plate and can lift it. If your model has a locking clip or small screw, tighten it by hand only.
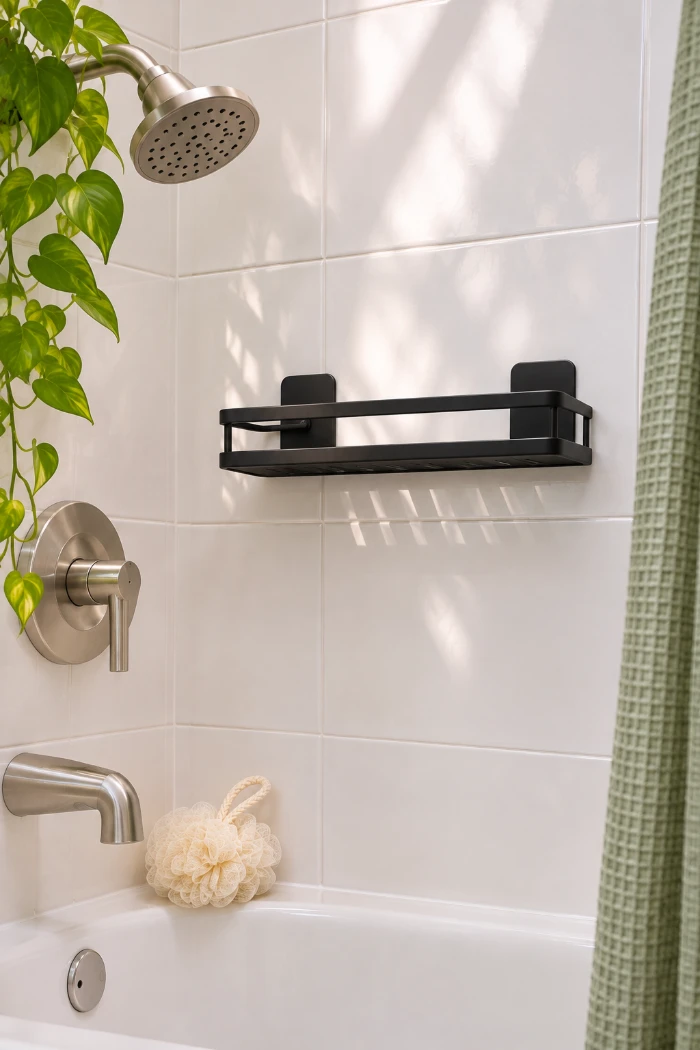
10. Load the lightest items first and test the hold
Two days of light use will tell you more than any weight rating on the box. Start small:
- Set out a toothbrush cup, a loofah, or a travel-size bottle.
- Leave them there for 48 hours, regular showers included.
- Check the plate each day for a lifted corner or a gap your fingernail fits into.
If nothing moves, add your full-size bottles one at a time. A shelf that sags or tilts under light items will fail under heavy ones, so take it down and redo Steps 4 to 8 with your spare pad.
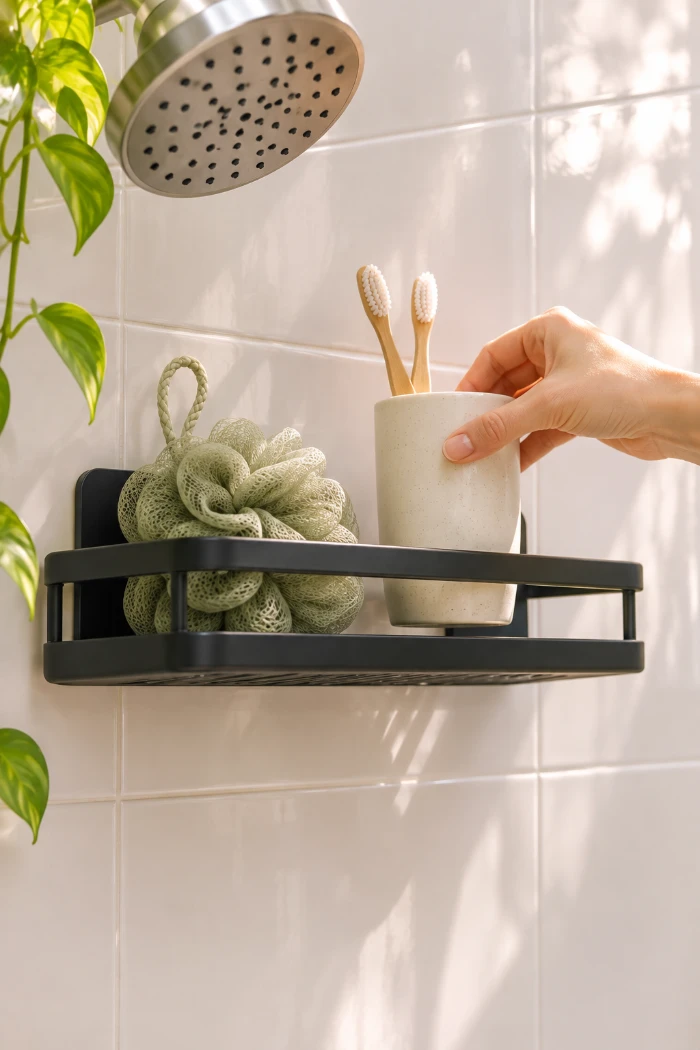
11. Remove the shelf without damaging the tile when you move out
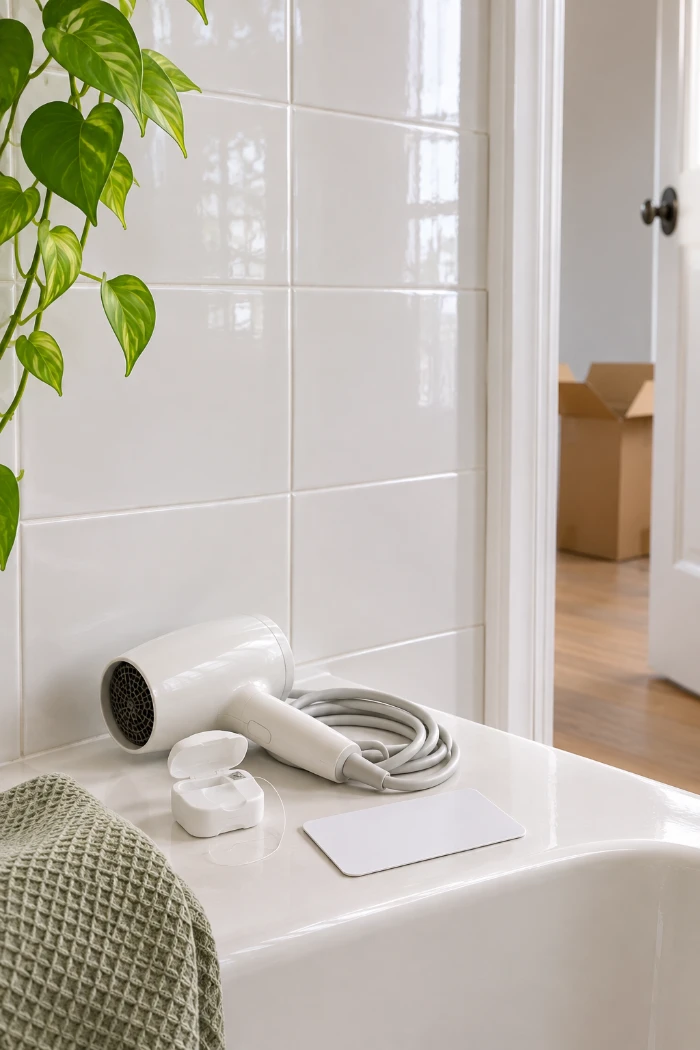
Yanking a plate straight off the wall can chip the tile glaze, and your deposit pays for that. Lift the shelf off its plate first. Warm the plate with a hair dryer on medium heat for 1 to 2 minutes, holding it about 6 inches away, so the glue softens. Slide dental floss or fishing line behind the top edge and saw it side to side down to the bottom. Rub off any leftover glue with rubbing alcohol and an old gift card.
- Pick a shelf rated for 2x your load
- Choose flat tile, no grout, no spray
- No showers for 12 hours before
- Wipe with rubbing alcohol, twice
- Air-dry 10 minutes, hands off
- Tape a level line
- Press the plate 30 seconds
- Wait 24 hours, keep steam away
- Slide the shelf straight down
- Test with light items for 48 hours
- Remove with heat and floss
Your shelf is on the tile, it’s holding real weight, and there isn’t one hole to explain to your landlord.
The prep took longer than the hanging, and that’s exactly why it will stay put.
Now that you know bathroom storage without drilling works, try the same method on a towel hook beside the shower or a small caddy inside the sink cabinet door.
Save this pin to your bathroom ideas board so the steps are ready when your next shelf arrives.