
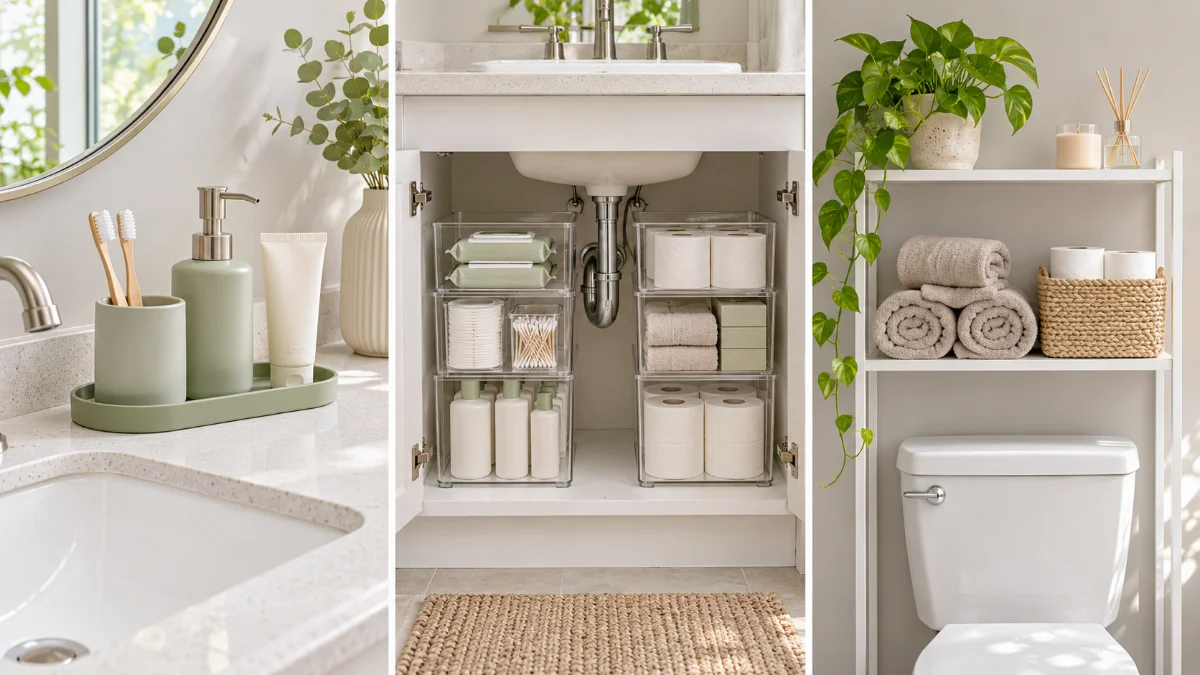
Your small bathroom probably has one cabinet, one tiny counter, and about forty bottles fighting for space on both. You buy a cute organizer, cram it in, and two weeks later the mess is back. That isn’t a you problem. It happens because your things never got a real home. This guide to bathroom organization for beginners fixes that with one plan: 5 zones.
By the end, every item you own will live in one of five spots: the counter, the medicine cabinet, under the sink, the shower, and the wall above the toilet. Each zone holds only the things you use in that spot. That’s why this works in a small space. Backup shampoo stops sitting next to your toothbrush, and the counter stays clear because nothing extra has a reason to land there.
Plan on about 2 to 3 hours, plus a quick store run for bins once you’ve measured. Nothing here needs a drill, so it works for renters too. Grab a trash bag and a big towel, put on a podcast, and let’s empty that cabinet.
- Empty everything onto a towel
- Toss expired, empty and unused items
- Wipe down every bare surface
- Measure each storage spot
- Sort your keepers into 5 zones
- ZONE 1Counter: 3 daily items on a tray
- ZONE 2Medicine cabinet, arranged by reach
- ZONE 3Stackable bins under the sink
- ZONE 4Rustproof caddy in the shower
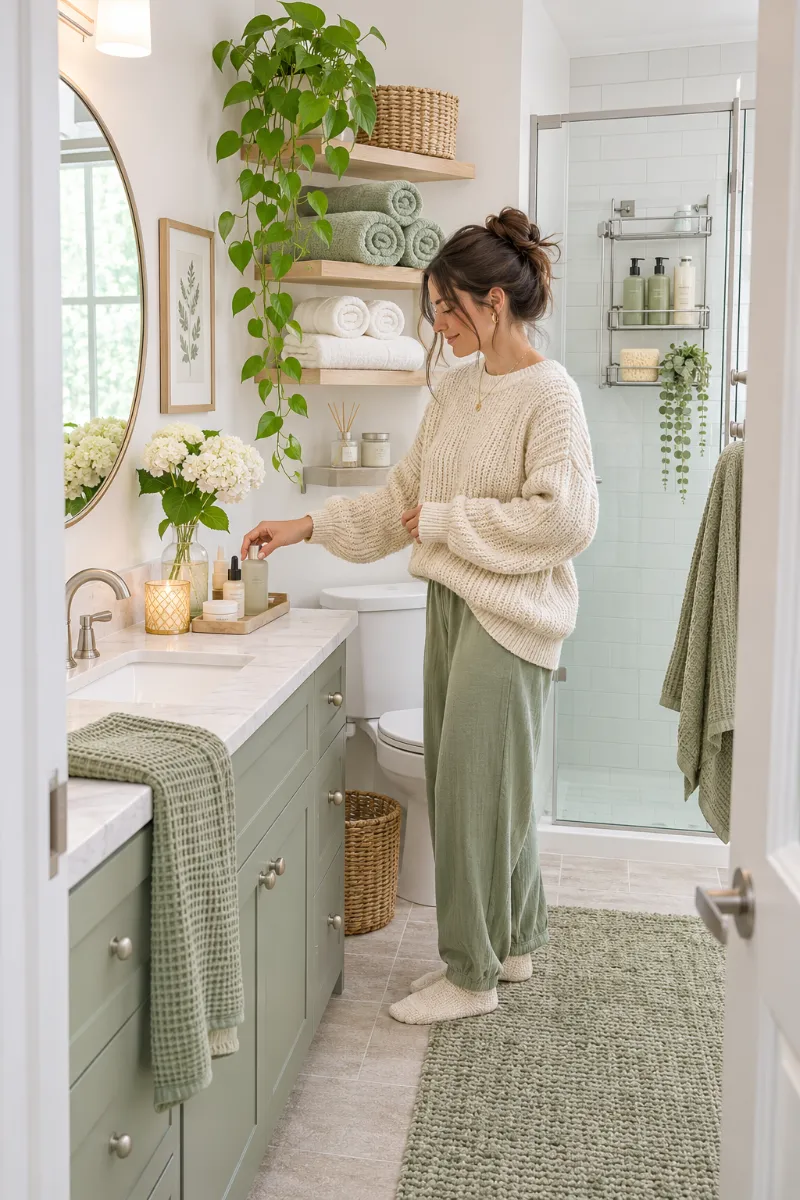
- ZONE 5Shelving over the toilet
- Label every bin and basket
- Do a 5-minute weekly reset
1. Empty every drawer, cabinet and shelf onto a towel
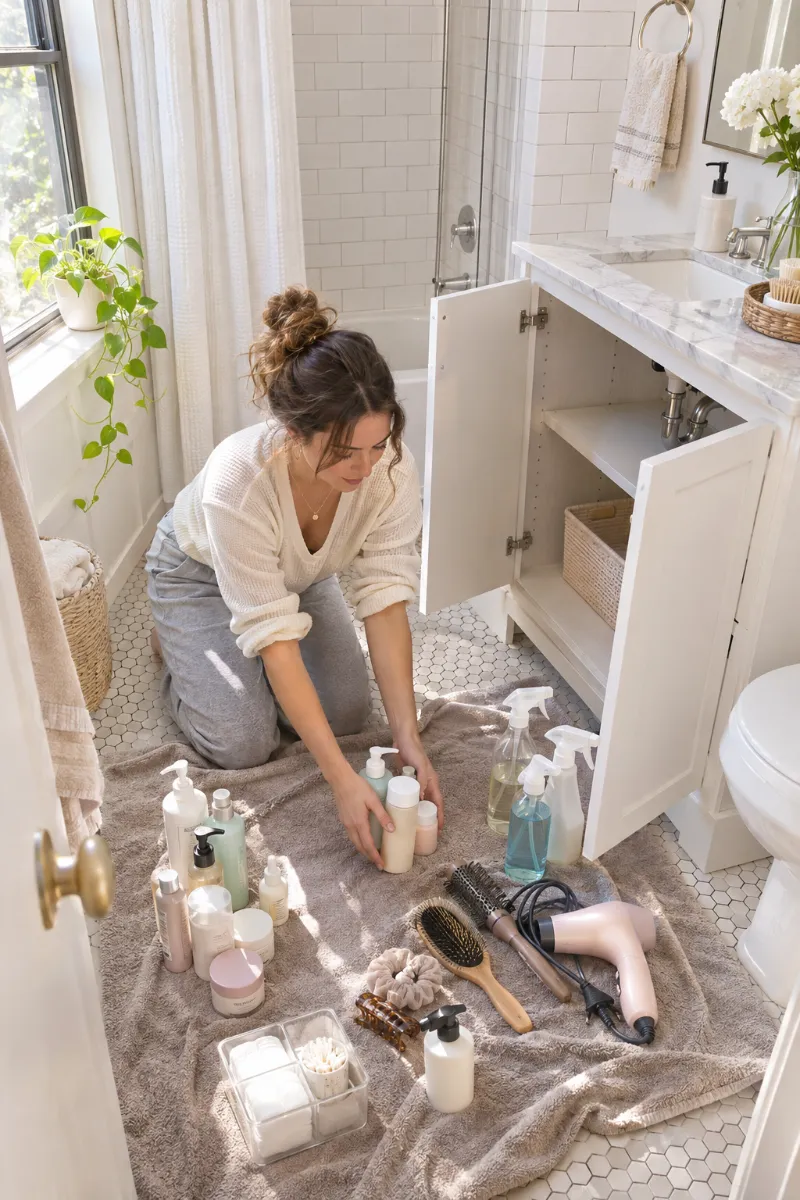
You can’t organize around clutter you can’t see. Spread a large towel on the bathroom floor, or on your bed if the floor is tiny, and pull out every item. That means under the sink, the medicine cabinet, the shower ledge, and the top of the toilet tank. The towel catches drips from leaky bottles. Seeing it all in one pile also shows you how much you really own, which is usually about twice what you guessed.
2. Toss anything expired, empty or unused for 6 months
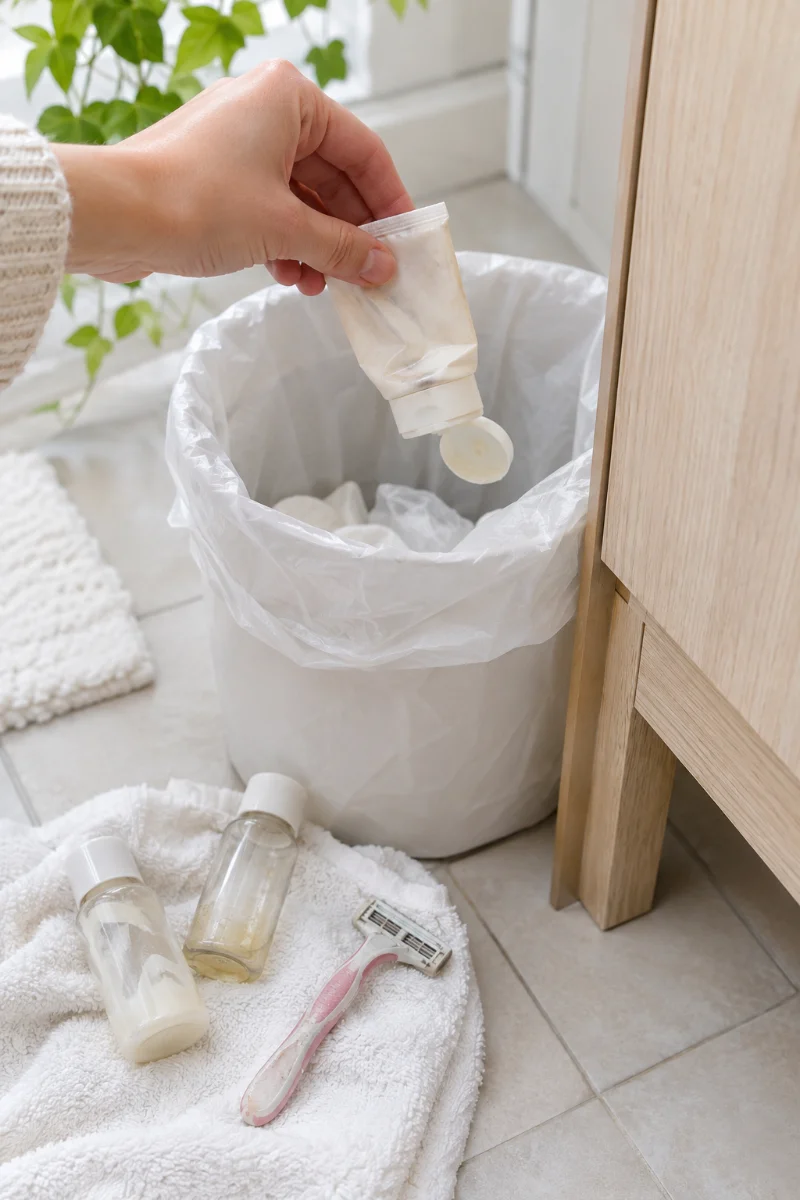
Six months is a fair test. If you haven’t touched it since spring, you won’t miss it. Go through the pile and pull out:
- Bottles with only a little left
- Makeup or sunscreen past its date
- Hotel minis you never open
- Dull razors and rusty tweezers
Look for a tiny open-jar symbol on lotions and creams. A mark like 12M means the product is good for 12 months after opening. Take old medicine to a pharmacy take-back bin instead of the trash.
3. Wipe down every surface while the bathroom is bare
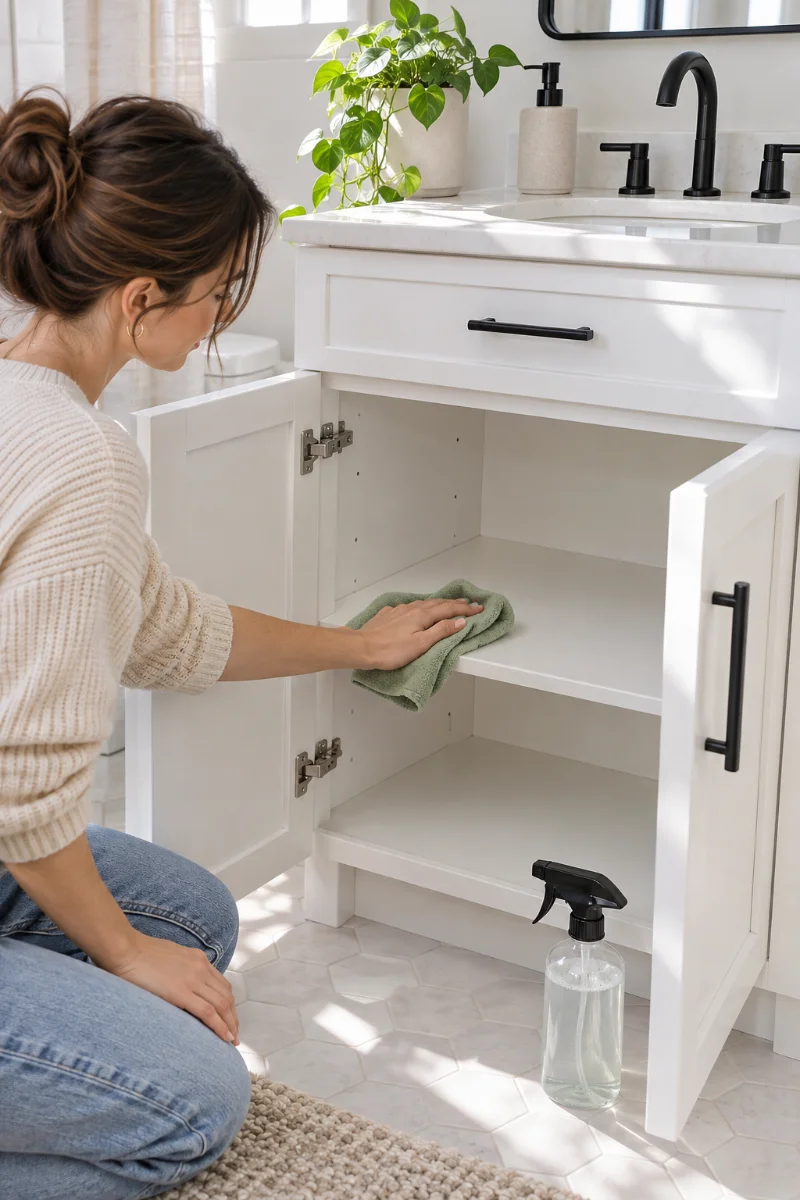
An empty cabinet is the only chance you’ll get to reach the back corners. Spray each shelf, drawer and the counter, wait 2 minutes so the cleaner can loosen grime, then wipe with a microfiber cloth. No microfiber? An old cotton T-shirt works well. Leave the doors open for 15 minutes to dry, because trapped moisture grows mildew under bins.
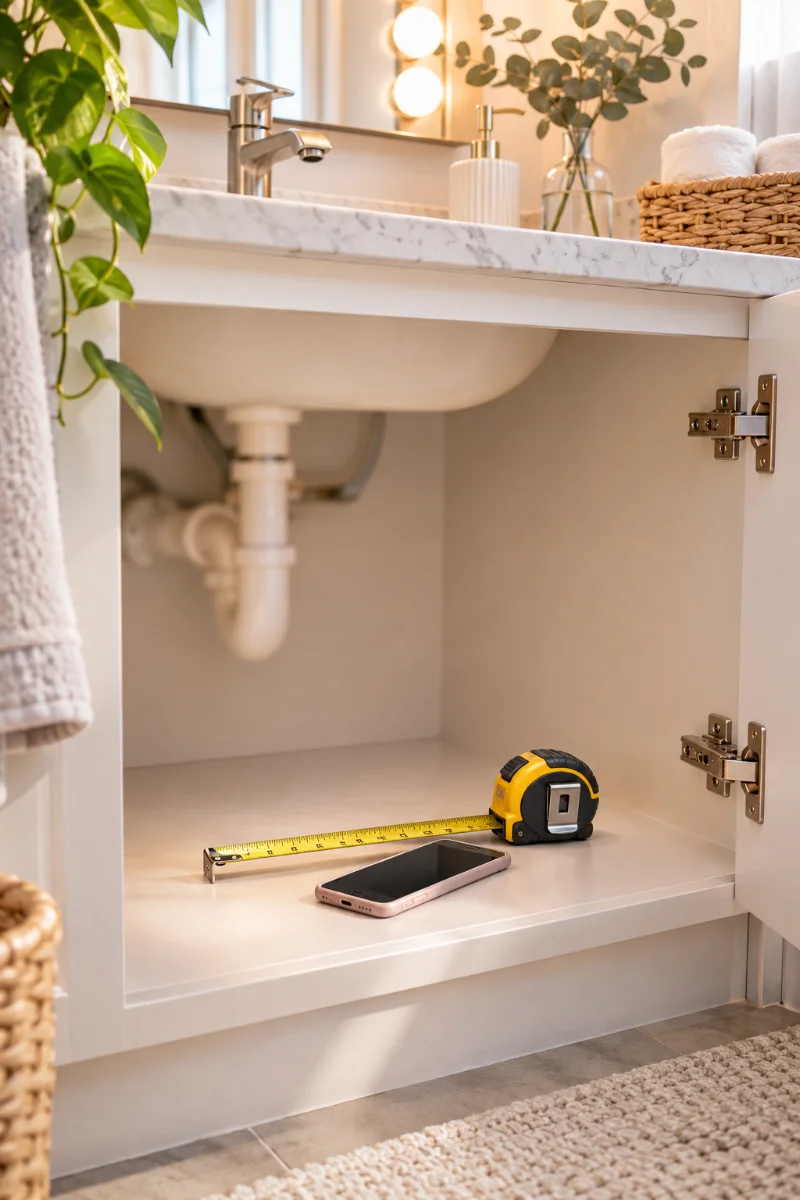
4. Measure each storage spot before you buy a single bin
If a bin is even ½ inch too tall, the cabinet door won’t shut. Measure the width, depth and height of the space under the sink, then the height of each medicine cabinet shelf. Write down where the pipes drop, since that space is lost. For Zone 5, measure how wide and how tall your toilet tank is, because an over-the-toilet unit’s legs have to clear it on both sides. Take ½ inch off every number to leave a little wiggle room.
5. Sort your keepers into 5 zones, the heart of bathroom organization for beginners
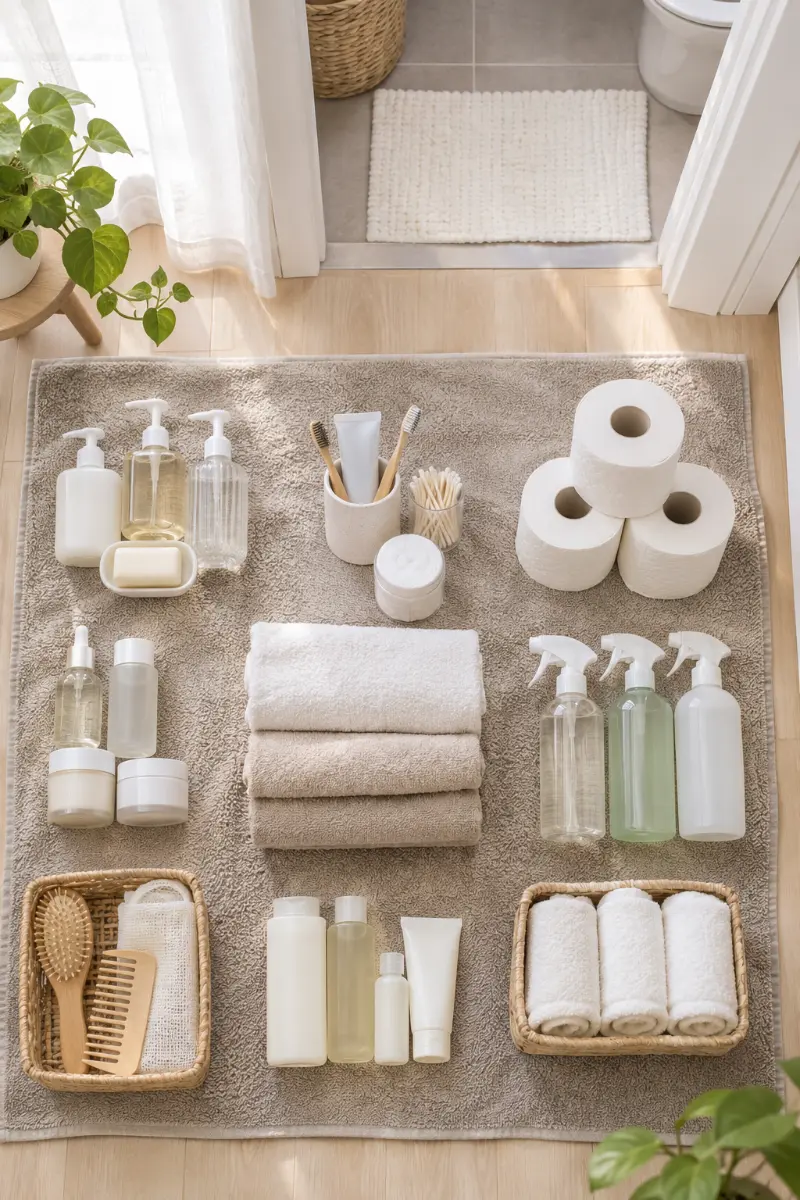
Each item goes where you use it, not wherever it happens to fit. Make five small piles on your towel:
- Zone 1, Counter: things you use at the sink every day
- Zone 2, Medicine cabinet: small daily and weekly items
- Zone 3, Under the sink: backups, cleaners and tools
- Zone 4, Shower: only what you use in the shower
- Zone 5, Over the toilet: towels, toilet paper and extras
Anything that fits no zone goes in the box for other rooms.
6. Clear the counter down to 3 daily items on a tray (Zone 1)
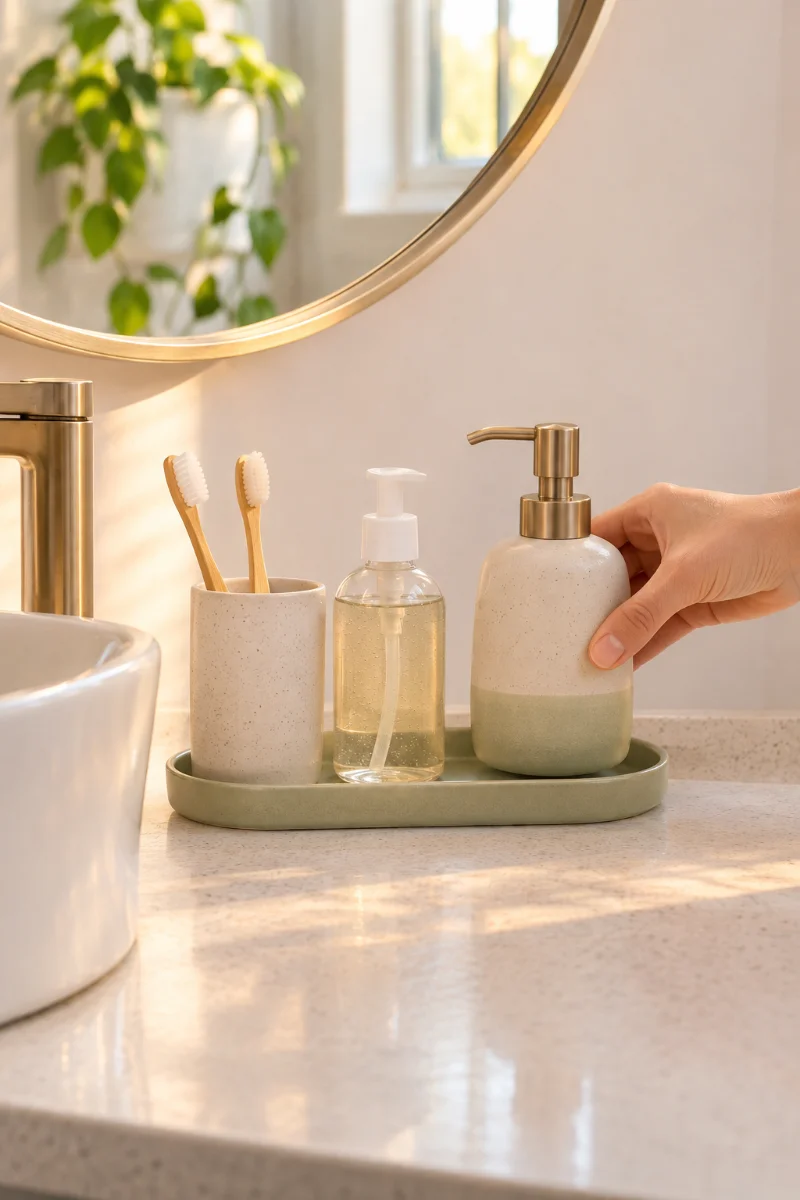
Open counter space does more to make a tiny bathroom feel bigger than any decor you could buy. Pick the three things you touch every morning, often a toothbrush cup, hand soap and face wash, and set them on a small tray beside the sink. The tray keeps drips off the counter. You can also lift it in one move to wipe underneath. No tray? A small plate or a shallow lid works. If a fourth item keeps creeping back, it belongs in Zone 2.
7. Arrange the medicine cabinet by how often you reach for things (Zone 2)
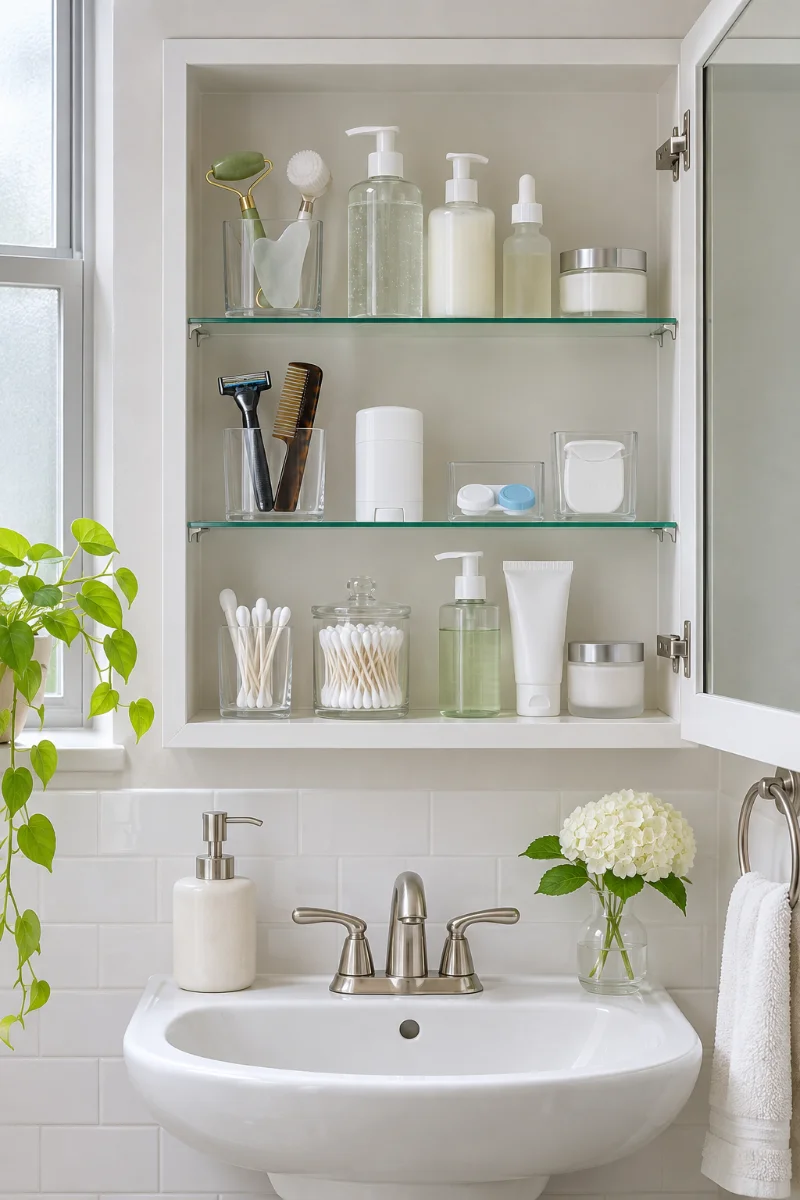
Three shelves, three jobs. Put things you use every day, like deodorant, contact solution or floss, on the eye-level shelf. Weekly items go one shelf up. The top shelf holds things you rarely touch. Stand small bottles in cups so they don’t fall out when the door swings open. One more thing: heat and steam can weaken pills, so keep actual medicine in a cool, dry drawer outside the bathroom, out of kids’ reach.
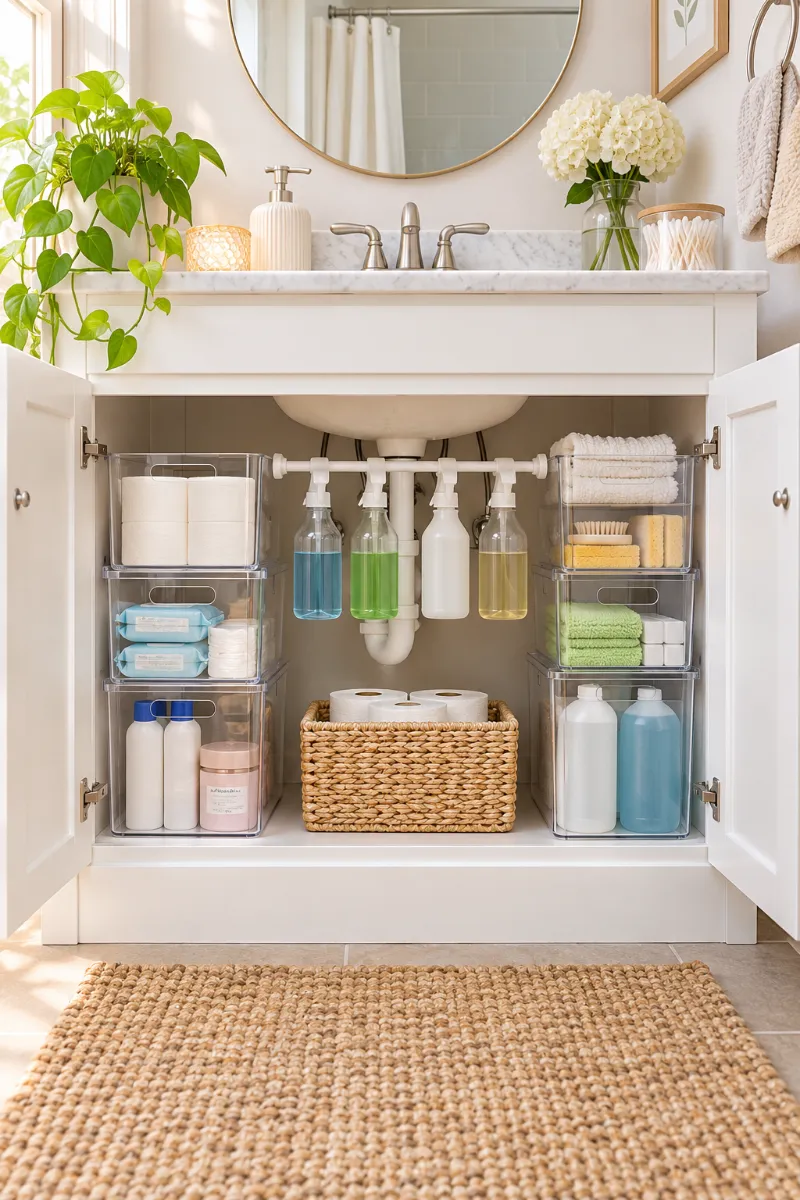
8. Fit stackable bins around the pipes under the sink (Zone 3)
Pipes take up the middle of this cabinet, so work with the space on each side. Set a clear bin on each side with the front edge facing you, and stack two short bins anywhere the cabinet is tall enough. Clear bins show what’s inside without pulling them out. Keep cleaners in one bin and backup toiletries in another. If a bin rubs the drain pipe, swap it for a narrower one, because pushing on the pipe can loosen a joint and cause a slow leak.
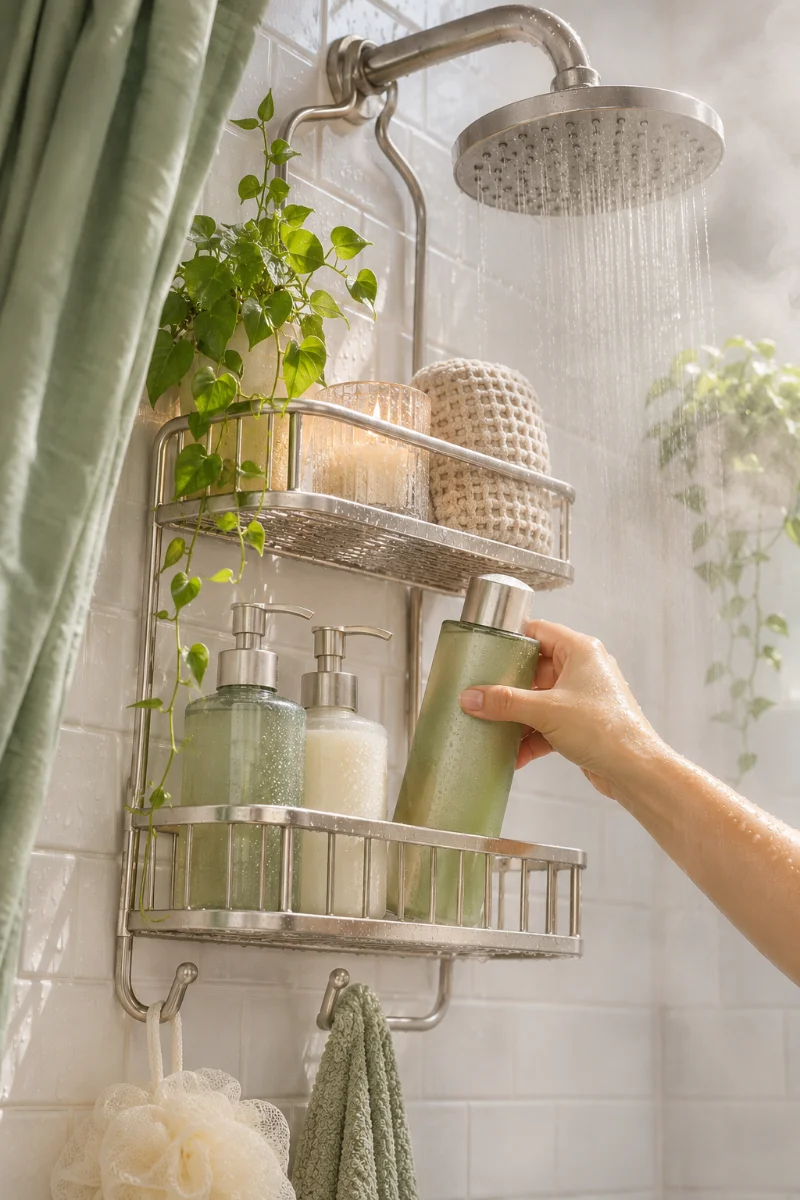
9. Hang a rustproof caddy in the shower (Zone 4)
Can’t drill into your tile? Most renters can’t, and you don’t need to. Pick the caddy that fits your shower:
- Tension pole caddy: fits floor to ceiling and holds the most
- Over-the-showerhead caddy: hangs from the pipe with no setup
- Adhesive corner shelf: sticks to smooth tile only
Choose stainless steel or aluminum, since both resist rust. Adhesive shelves need clean, dry tile and 24 hours before you load them. If a hanging caddy slides down, wrap a rubber band around the pipe underneath it for grip.
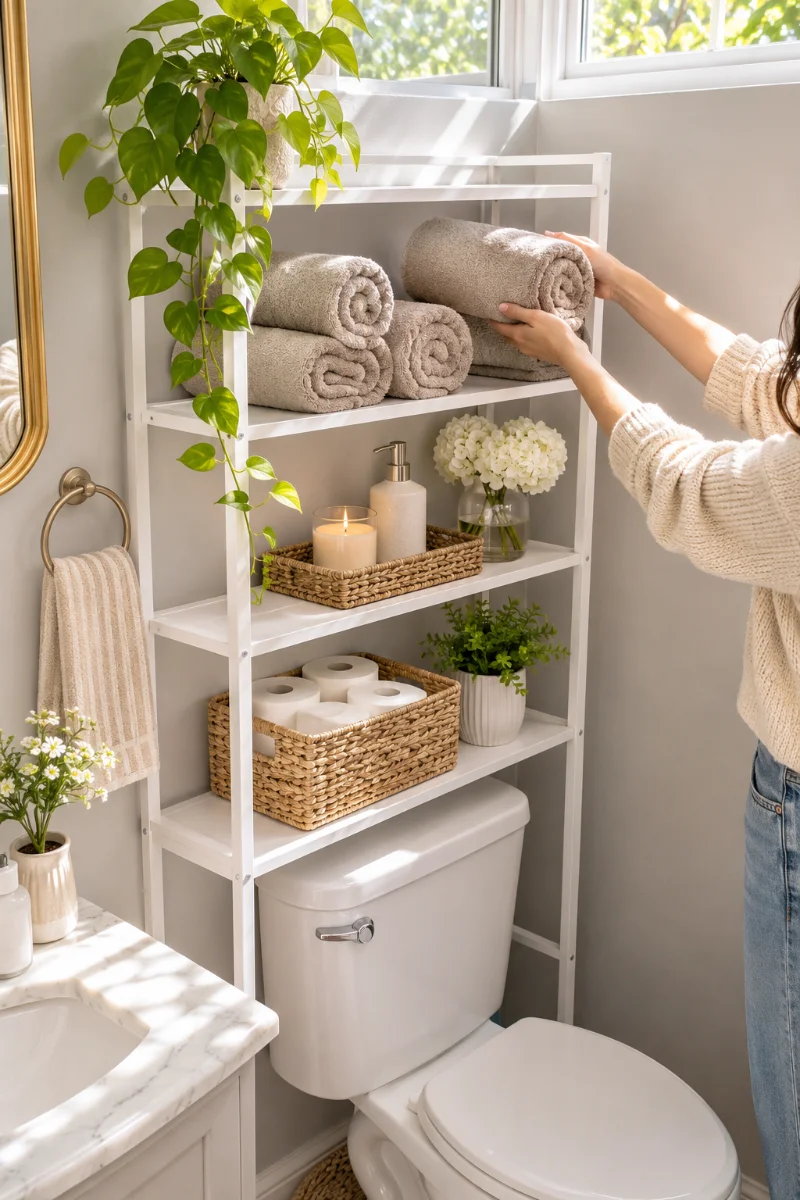
10. Add over-the-toilet shelving for towels and backups (Zone 5)
When the floor and cabinets are full, the wall above the toilet is the biggest empty space left. A freestanding over-the-toilet unit slides around the tank, so there’s no drilling. Before you buy, make sure the gap between its legs is at least 1 inch wider than the tank width you measured in Step 4. Put heavy things like toilet paper on the bottom shelf and light towels up top, which keeps it from tipping. If it wobbles, use the anti-tip strap from the box. One small screw hole is quick to patch when you move out.
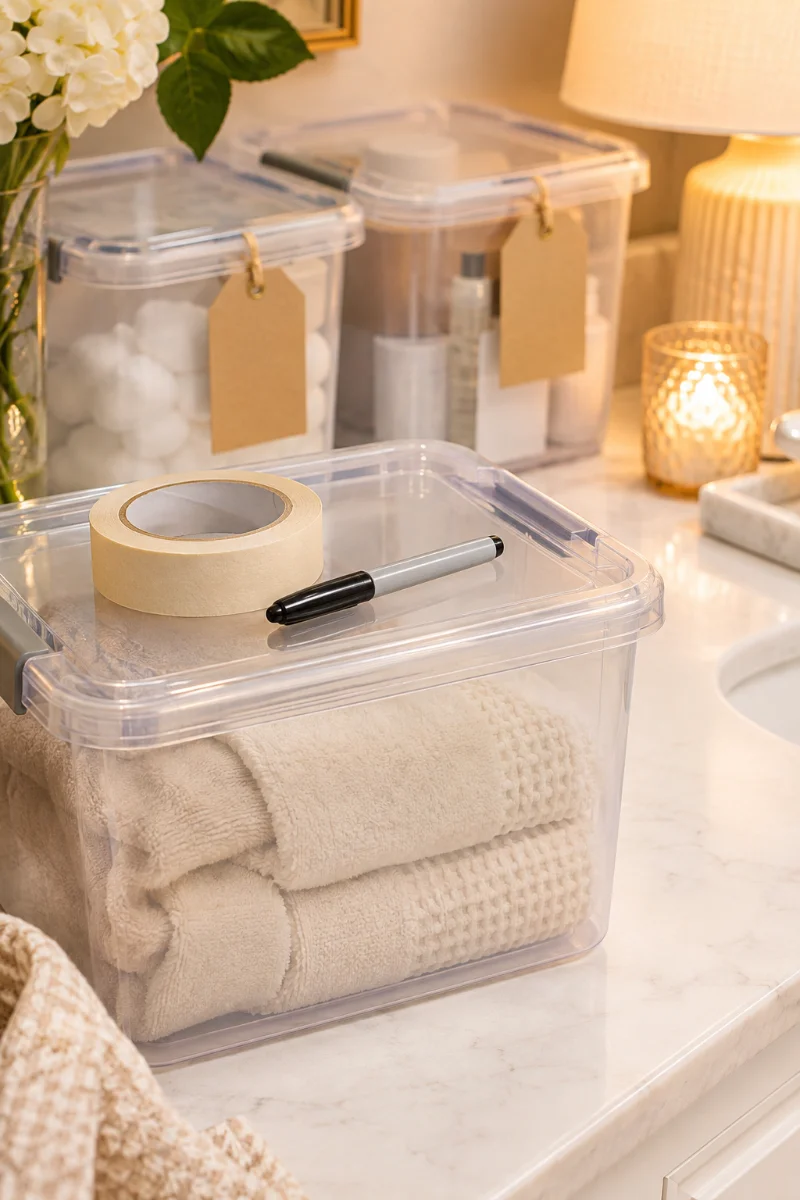
11. Label every bin and basket before you close the doors
A label tells everyone in your home where things go back, not only you. Stick one on the front of each bin, facing out, with one or two words like “Hair” or “Backups.” No label maker? Masking tape and a marker work well and peel off clean.
12. Set a 5-minute weekly reset to keep it working
Clutter comes back one bottle at a time, not all at once. Pick one day, like Sunday night, and set a weekly reminder on your phone. When it goes off, put anything on the counter back in its zone, toss empty bottles, and move new backups under the sink. A short check each week catches the mess while it’s small, so it never turns back into a weekend project.
Beginner Questions, Answered
Your bathroom now has five zones, and every item has a home it can go back to.
That’s the whole idea behind bathroom organization for beginners: keep only what you use, right where you use it.
Give it a week and see how much faster your mornings go.
When you’re ready, try the same zone idea on your kitchen sink cabinet next.
Save this pin to your bathroom ideas board so the steps are close by for your next weekly reset.