
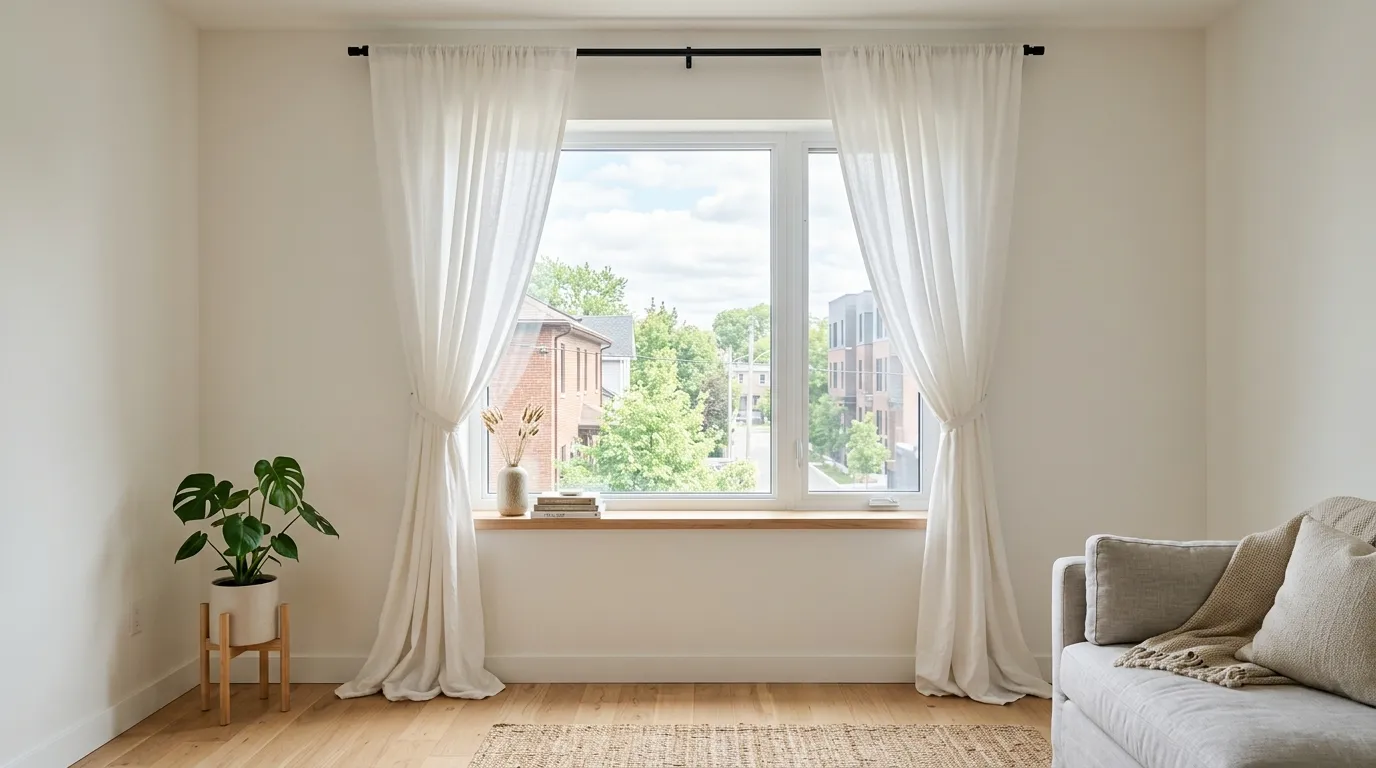
Your lease says no holes in the walls. Your window is bare. And every morning the sun hits your pillow at 6 a.m. like it has a personal problem with you.
Learning how to hang curtains without drilling is less about clever gadgets and more about one number: how much your curtains actually weigh. That is the part most renters skip. They grab a tension rod, load two heavy blackout panels onto it, and hear the whole thing hit the floor at 2 a.m. Then they decide no-drill curtains do not work.
They do work. You need the right mount for the weight you are hanging, and a surface clean enough for it to grip.
This guide covers two methods. One uses a tension rod pressed inside a recessed window frame. The other uses adhesive brackets on flat trim or wall, for windows with no recess to push against. Your window picks the method for you in Step 1, so you are not guessing.
Hands-on work runs about 45 minutes. If you land on the adhesive path, add 1 hour of waiting while the glue cures. Nothing here needs a power tool, a sewing machine, or your security deposit.
Clear your windowsill. Let’s get them up.
What You Need
- Soft measuring tape
- Kitchen scale (or bathroom scale)
- 70% rubbing alcohol
- Lint-free cloth or paper towel
- Painter’s tape
- Pencil
- Your curtain panels
- Step stool or sturdy chair
- Handheld steamer or iron
- Spring tension rod, weight-rated
- Rubber furniture pads (optional grip)
- Adhesive curtain rod brackets
- Lightweight rod, 1 inch or less
- Iron-on hem tape
At a Glance
Steps 8 and 9 are a fork. You will do one, not both.
- Check your window frame for a recess
- Measure the mounting space
- Weigh your curtain panels
- Match your hardware to that weight
- Wipe the surface with rubbing alcohol
- Mark your rod height with painter’s tape
- Slide the panels onto the rod
- Twist the tension rod into the recess (recessed windows)
- Press the adhesive brackets on and wait (flat walls)
- Tug-test the rod
- Shorten long panels with hem tape
- Steam the folds straight
1. Check your window frame for a recess
Stand square to the window and press the flat of your hand against the trim beside the glass. If your hand sinks into a pocket at least 1 inch deep, you have a recess. A tension rod will brace inside it. If the trim sits flush with the wall, there is nothing for a rod to push against, and that window needs adhesive brackets. Note which one you have before you buy anything.

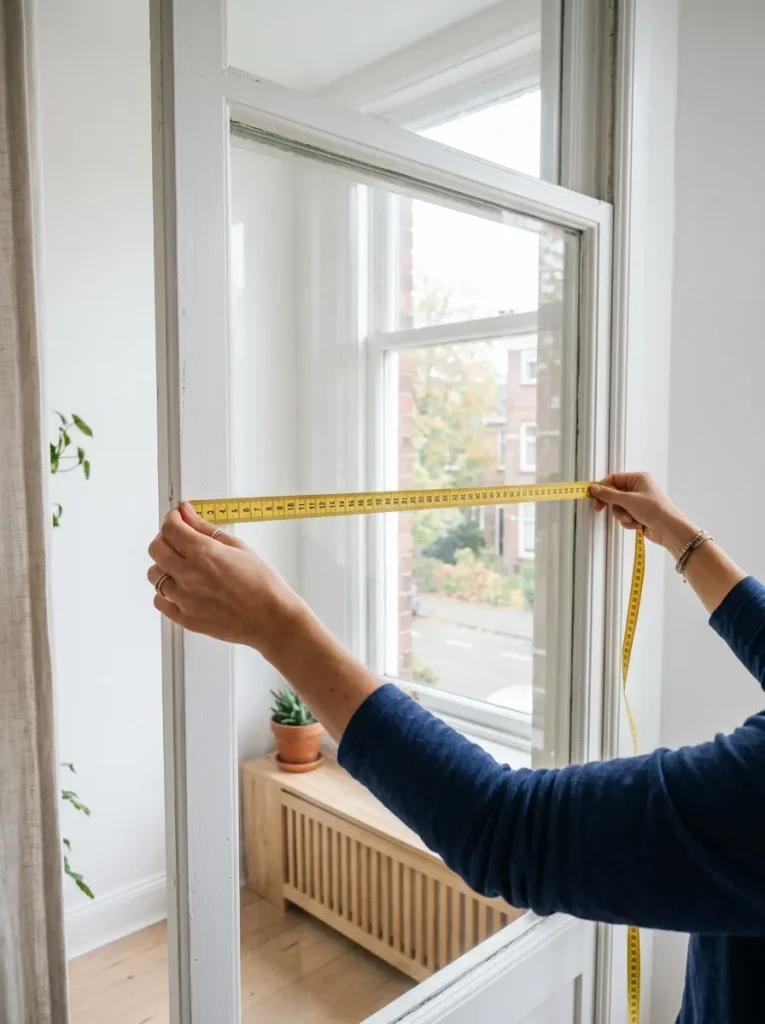
2. Measure the mounting space with a soft tape
Two numbers matter. For a recess, measure the width from inside edge to inside edge, then the depth from the front of the frame to the glass. For a flat wall, measure the window width, then add 4 inches on each side so the open panels clear the glass and let light in.
Use a soft tape, not a metal one. A metal tape bows inside a recess and reads long by half an inch. That half inch is enough to land you with a rod that will not hold.
3. Weigh your curtain panels on a kitchen scale
Almost nobody does this, and it is the reason most no-drill curtains end up on the floor. Fold one panel loosely and set it on a kitchen scale. Double that for the pair, then add 1 to 2 pounds for the rod itself. A sheer panel runs about 1 pound. A lined blackout panel can hit 4 pounds on its own. Your total is the number your hardware has to beat.
Thermal curtains weigh more than they look. They’re a big part of my plan for a cozy small bedroom in winter, so weigh yours before you pick hardware.

No kitchen scale? Step on a bathroom scale holding both panels, then step on again without them. The difference is your curtain weight. Round up to the next whole pound and shop above that number, never right at it.
4. Match your hardware to that weight
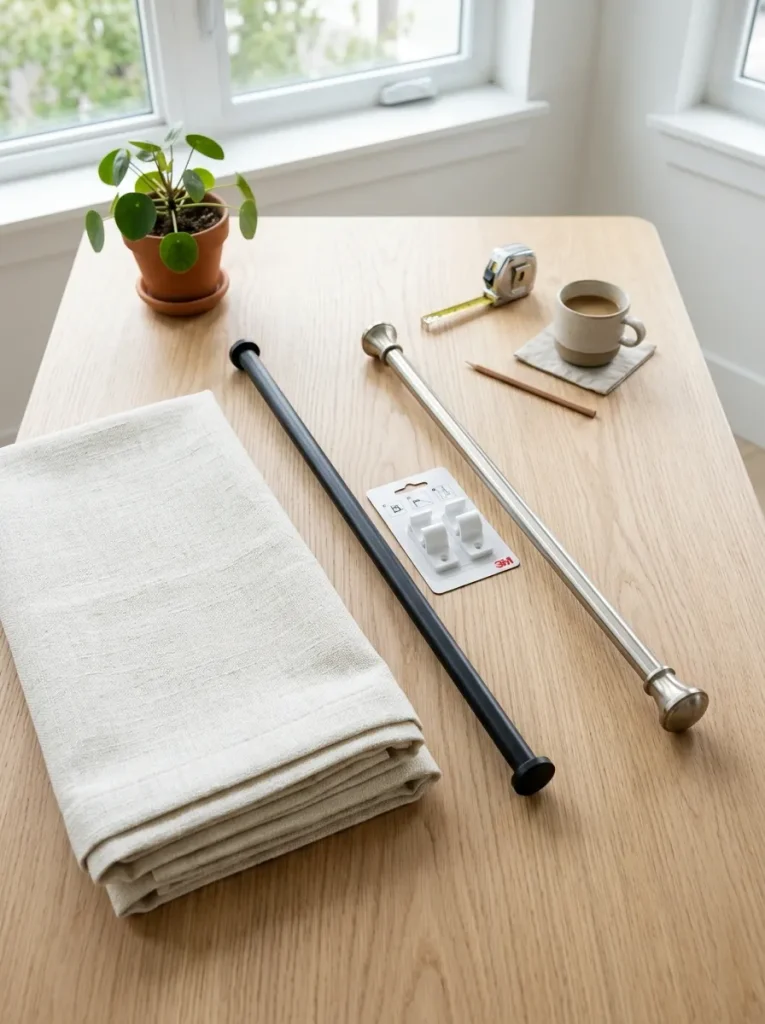
Every rod and bracket has a weight rating printed in small type on the back of the package. Take the number you got from weighing, and shop at least 2 pounds above it. Here is where most panels land:
- Under 3 pounds total — a standard spring tension rod, or basic adhesive brackets
- 3 to 8 pounds — a heavy-duty tension rod with a wide rubber end cap, or brackets rated for 10 pounds or more
- Over 8 pounds — swap to lighter panels, or split one heavy pair across two rods
That last option sounds like a cop-out, but a 12-pound blackout set is not going to stay up on adhesive, and no product review will change that.
5. Wipe the mounting surface with rubbing alcohol
Dampen a lint-free cloth with 70% rubbing alcohol and wipe the spot where your rod or bracket will sit. Go over it twice. Then leave it alone for 5 minutes to dry completely.
Window trim collects a greasy film from cooking, dust, and hands. Adhesive sticks to that film instead of the wall, and the film peels away days later, taking your curtains down with it. Rubber tension caps grip a clean surface better too.

Adhesive brackets fail on three surfaces no matter how clean they are: textured or orange-peel walls, fresh paint under 30 days old, and anything coated in flat or matte paint.
On textured walls, stick the brackets to the smooth painted trim around the window instead. On flat paint, expect the adhesive to lift paint when you eventually remove it — test one bracket in a hidden corner first and give it a hard pull after an hour.
6. Mark your rod height with painter’s tape
If you are working with a recess, your height is already decided — the rod goes at the top, tight under the frame. Skip to the next step.
On a flat wall, run a strip of painter’s tape 4 to 6 inches above the window frame. Step back to the far side of the room and look. A line that reads level up close often reads crooked from across the room, and that view is the one you live with.
7. Slide the panels onto the rod before anything goes up
Thread both panels on now, while the rod is in your hands at waist height. A tension rod that is already braced will not survive you shoving fabric down it, and adhesive brackets will pop off the wall the moment you push sideways against them. Grommets, rod pocket, clip rings — whichever your panels use, they all go on first.

Slide one panel on, then a rubber band around the rod at the halfway point, then the second panel. The band keeps both panels from sliding to the middle every time you open them, and it costs nothing.
8. Twist the tension rod into the recess
This step is for recessed windows only. Flat-wall readers, skip to the next one.
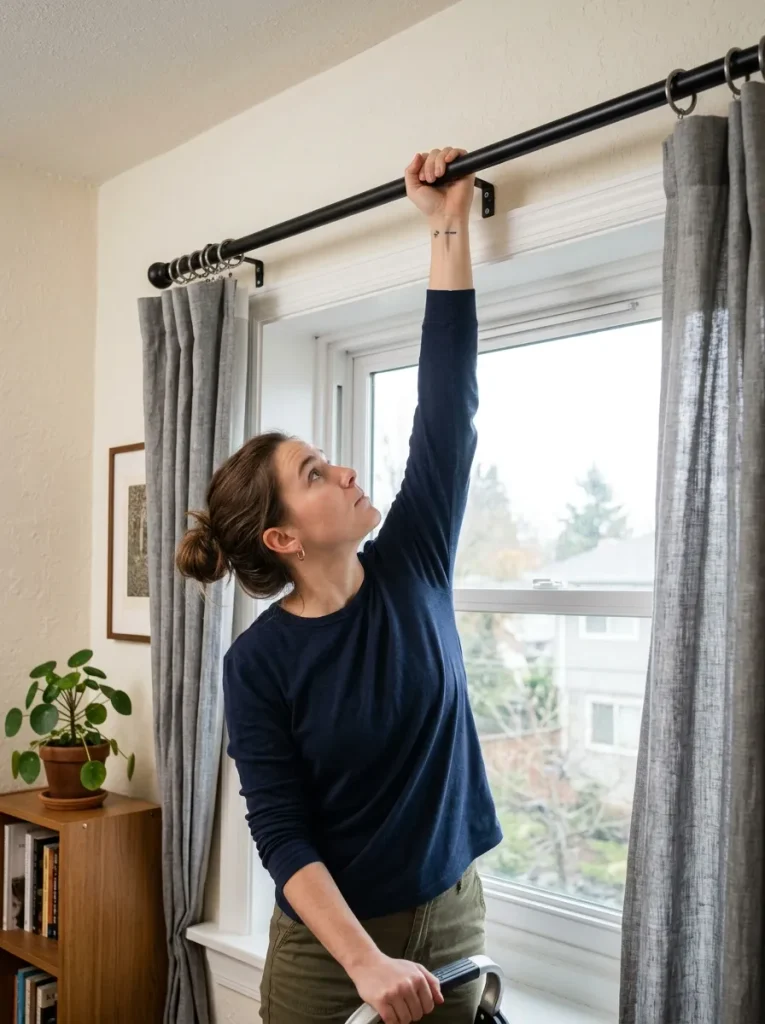
Set the rod’s length by twisting the two halves apart until it measures about 1 inch longer than your recess width. That extra inch is the spring tension — too little and it drops, too much and you cannot get it seated at all.
Lift the rod into the recess, angle one end into a corner, then walk the other end up until both ends sit flat against the sides. Push the free end in and twist the rod clockwise while holding it level. You will feel the spring bite and the rod will stop turning. That resistance is the whole mechanism.
If the rod keeps sliding down painted trim, cut two circles from a rubber furniture pad and stick one over each end cap. Rubber on paint holds far better than the factory plastic.

9. Press the adhesive brackets on and walk away for an hour
This step is for flat walls only. If your rod is already tensioned in a recess, skip ahead.
Peel the backing off one bracket and press it onto your painter’s tape line. Hold steady pressure for a full 30 seconds — count it out, because the adhesive bonds under pressure, not time alone. Repeat with the second bracket at the opposite mark, then pull the tape away.
Now leave it. The glue needs 1 hour to reach full strength, and loading a bracket at twenty minutes is the single most common way this project fails. Go do something else.
When it’s time to take them down, pull the tabs slowly and straight. Ripping adhesive off at an angle is how renters lose part of their deposit.

10. Tug-test the rod before you trust it
Grab the rod at its center and pull straight down with real force — more than a curtain will ever put on it. Then pull it toward you, away from the wall. Nothing should shift.
A rod that moves a little now will be on your floor by the weekend. Take it down, clean the surface again, and reseat it.
11. Shorten long panels with iron-on hem tape
Stand back and look at where the fabric lands. Panels should either brush the floor or stop half an inch above it. Anything pooling in a heap collects dust and reads as an accident.
To fix the length without a needle:
- Pull the panel taut and mark the new hem with a pin
- Take the panel down and lay it flat, wrong side up
- Fold the excess up along your pin line and press the crease with a warm iron
- Slide iron-on hem tape inside the fold, then press for 10 seconds per section
Let it cool completely before you rehang. Warm adhesive tape will peel right back open under the weight of the fabric.

12. Steam the folds so the panels hang straight
Fresh panels come out of the package with hard creases across them, and those creases fight the way fabric is supposed to fall. Run a handheld steamer down each panel from top to bottom, holding the head about 2 inches off the fabric. No steamer? A regular iron on its lowest setting works, with a thin cotton towel laid between the iron and the fabric.
Once the wrinkles drop, fold the panel into loose vertical pleats with your hands, working from the rod down. Tie a ribbon or a length of string loosely around the middle and leave it overnight.
Untie it in the morning. The fabric holds the folds, and the whole window looks like someone hung it on purpose.

When Something Goes Wrong
Most no-drill problems come down to weight or a dirty surface. Find yours below.
Questions Renters Ask
Will my landlord notice anything?
Tension rods leave nothing behind at all. Adhesive brackets can pull a small chip of paint on their way off, so warm them with a hair dryer first and keep a sample pot of matching paint for move-out day.
How much weight can a tension rod really hold?
A standard spring rod tops out around 3 pounds over a short span. Heavy-duty versions handle 8 to 10 pounds, but the rating drops fast as the span gets wider — a rod rated for ten pounds at 30 inches holds far less at 60.
Can I hang blackout curtains this way?
Yes, but weigh them first. A lined blackout pair often runs 8 pounds or more, which rules out most tension rods. Adhesive brackets rated above your total weight, mounted on clean trim, are the reliable route.
What if my window has no frame at all?
Frameless windows are common in newer builds. Mount adhesive brackets directly to the wall, spaced 4 inches past each edge of the glass, and keep the panels on the light side.
Does this work on a metal window frame?
Better than any other option. Skip the adhesive entirely and use magnetic curtain rods, which clamp to steel frames and carry roughly 5 pounds. Test with a fridge magnet first — aluminum frames will not hold one.
How long do no-drill curtains actually last?
Years, as long as the hardware is rated above the load. Failures almost always trace back to weight or a surface that was never cleaned, not to the method itself.
No-Drill Curtains Cheat Sheet
- Soft measuring tape
- Kitchen or bathroom scale
- 70% rubbing alcohol + cloth
- Painter’s tape and pencil
- Tension rod or adhesive brackets
- Curtain panels
- Steamer or iron
- Iron-on hem tape (if needed)
The one rule: buy hardware rated 2 pounds above your total curtain weight.
- Check for a recess
- Measure the space
- Weigh the panels
- Match hardware to weight
- Wipe with alcohol, dry 5 min
- Mark height with tape
- Slide panels on the rod
- Twist rod into recess (recessed)
- Press brackets, wait 1 hr (flat)
- Tug-test hard
- Hem with iron-on tape
- Steam, then tie folds overnight
Your Windows Are Done
You measured, weighed, cleaned, and hung a full set of curtains without touching a drill or risking your deposit. That is the whole skill.
Give it a week. If the rod has not budged, you can trust it with heavier panels next time.
Now do the other rooms, you already know how to hang curtains without drilling, and the second window takes half as long.
Pin this to your apartment ideas board so it is waiting for you the next time a bare window is driving you up the wall.
Mounting the rod high and wide is a big part of how to make a small room look bigger, and now you can do it without a drill.

