
You open the cabinet to grab one frying pan, and three lids slide out onto your feet. Then you lift two pots to reach the one you need. In a tiny kitchen, this happens every night. I lived like that for two years in a studio with exactly two lower cabinets before I figured out how to store pots and pans in a small kitchen without the daily crash.
The fix is not a bigger kitchen. It is a better order. By the end of this guide, every pan you own will have one spot, and you’ll be able to grab it with one hand. We start by cutting down what you own, because most people keep far more cookware than they cook with. Then we sort what is left by how often you use it, and give each group a home that fits.
Almost every fix here works for renters. Any step that needs a drill comes with a no-drill option. Plan on about 2 to 3 hours, and most of that is sorting. You’ll need a tape measure, a free afternoon, and maybe one or two low-cost organizers. Clear your counter and let’s start.
- Tape measure
- Old towel or bedsheet
- Painter’s tape and a marker
- Donation box or large bag
- Damp cloth for wiping shelves
- Step stool
- Felt pan protectors (or paper towels)
- Adjustable vertical pan rack (or a metal magazine file)
- Cabinet-door lid rack (or 2–3 adhesive hooks)
- Wall rail with S-hooks, or a pegboard
- No-drill option: tension rod + S-hooks
- Heavy-duty adhesive hooks rated 5+ lb each
- Optional: shelf riser for extra layers
- Empty every cabinet onto the floor
- Sort into daily, weekly, and rarely used piles
- Donate duplicates and unused pans
- Measure every open space
- Give each pile a storage zone
- Stand frying pans in a vertical rack
- Hang lids on a cabinet-door rack
- Nest pots with protectors between them
- Hang favorite pans on the wall
- Store rarely used pieces up high
- Test it all by cooking one full meal
Pull every pot, pan, and lid out of the cabinets
You can’t sort what you can’t see. Spread an old towel or bedsheet on the floor so nothing gets scratched. Then line up every piece in rows, lids included. Check the sneaky spots too: the oven drawer, under the sink, and on top of the fridge. Leave the empty shelves for later.
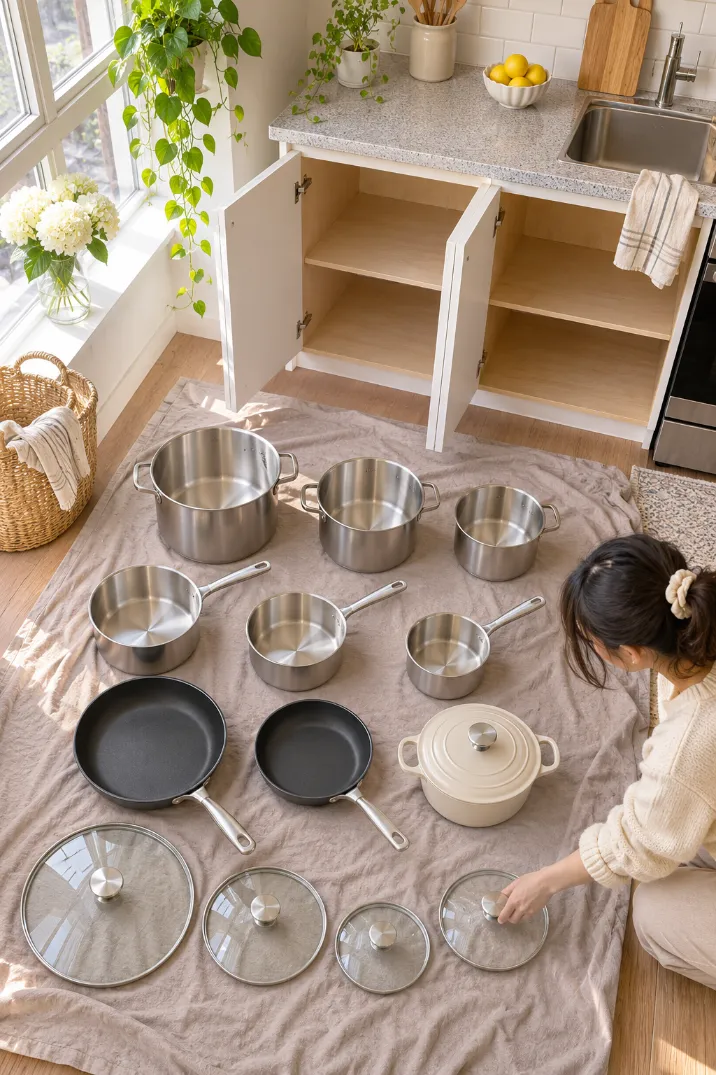
Sort your cookware into daily, weekly, and rarely used piles
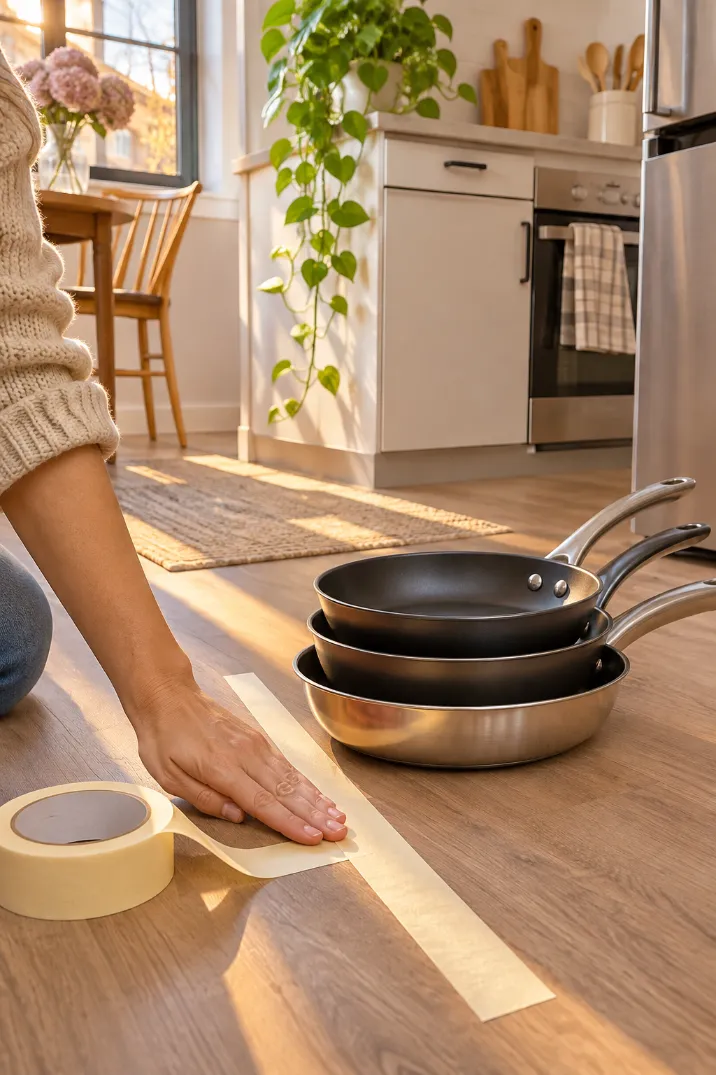
Three strips of painter’s tape on the floor make three zones. Label each one with a marker:
- Daily: pieces you use 3 or more times a week
- Weekly: pieces you use 1 to 2 times a week
- Rarely: holiday roasters, the giant stockpot, anything used a few times a year
Think back over your last 2 weeks of meals, not the meals you plan to cook someday. If your daily pile has more than 5 pieces, you’re sorting by hope, not habit. Move a few over.
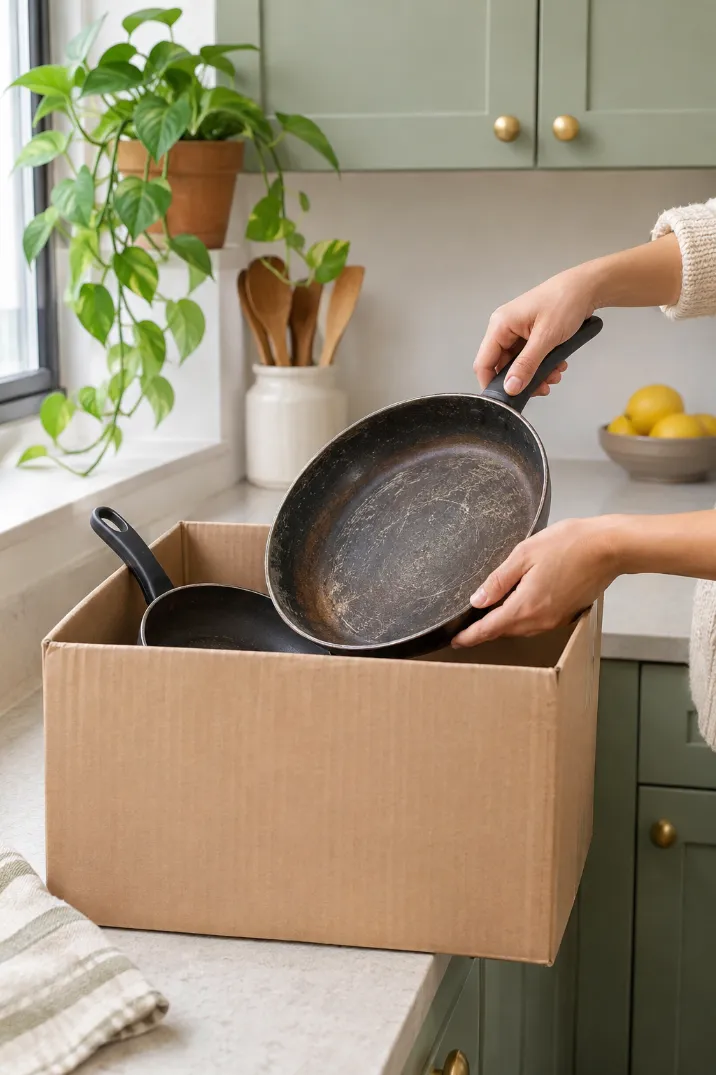
Let go of duplicates and pans you haven’t touched in a year
If two pans are the same size and do the same job, keep the better one. The other goes in the donation box. Do the same with anything you haven’t cooked with in 12 months, plus pans with warped bottoms that wobble on the burner. Flaking nonstick goes in the trash, not the donation box. Not sure about a piece? Put it in a “maybe” box with today’s date written on top. If you don’t open it in 3 months, donate it unopened.
Measure every empty space before you buy a single organizer
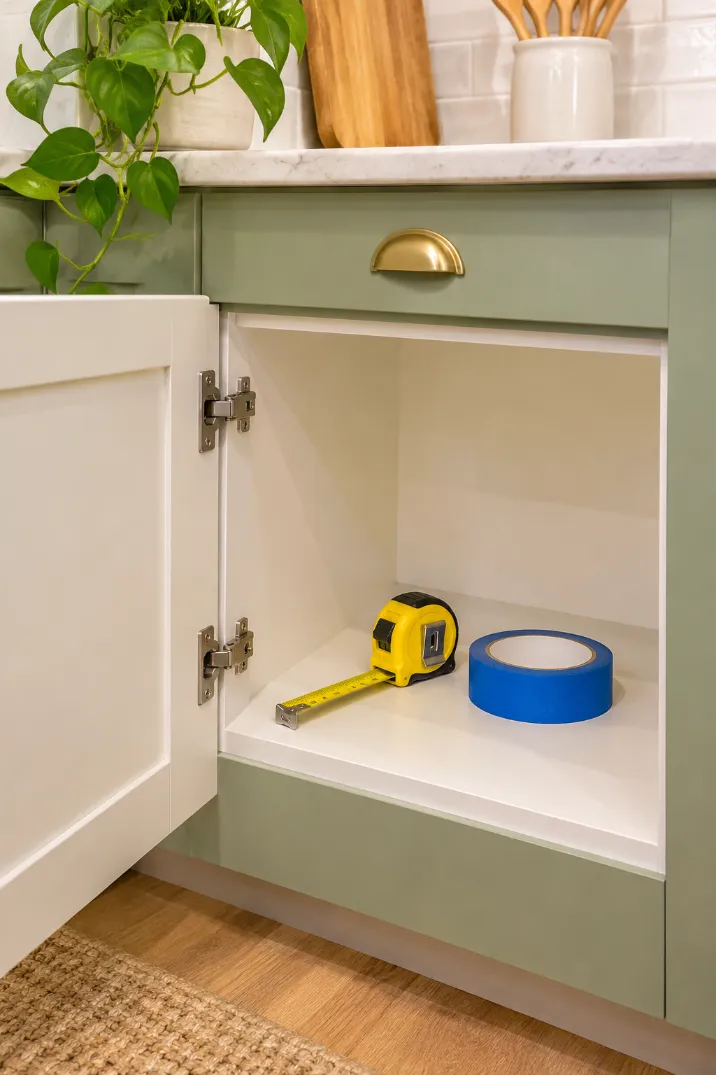
A pan rack that’s a half inch too tall won’t clear the shelf above it, and you won’t find out until you get it home. Measure the inside of each cabinet, not the outside:
- Width from side wall to side wall
- Depth from the back wall to the door frame
- Height from shelf to shelf, or from the floor of the cabinet to the sink pipes
- Door space between the hinges, plus how far the shelf edge sits from the closed door
Write each number on painter’s tape and stick it inside that cabinet. When you shop, subtract ½ inch from every number so the organizer slides in without a fight.
Store pots and pans by how often you cook with them
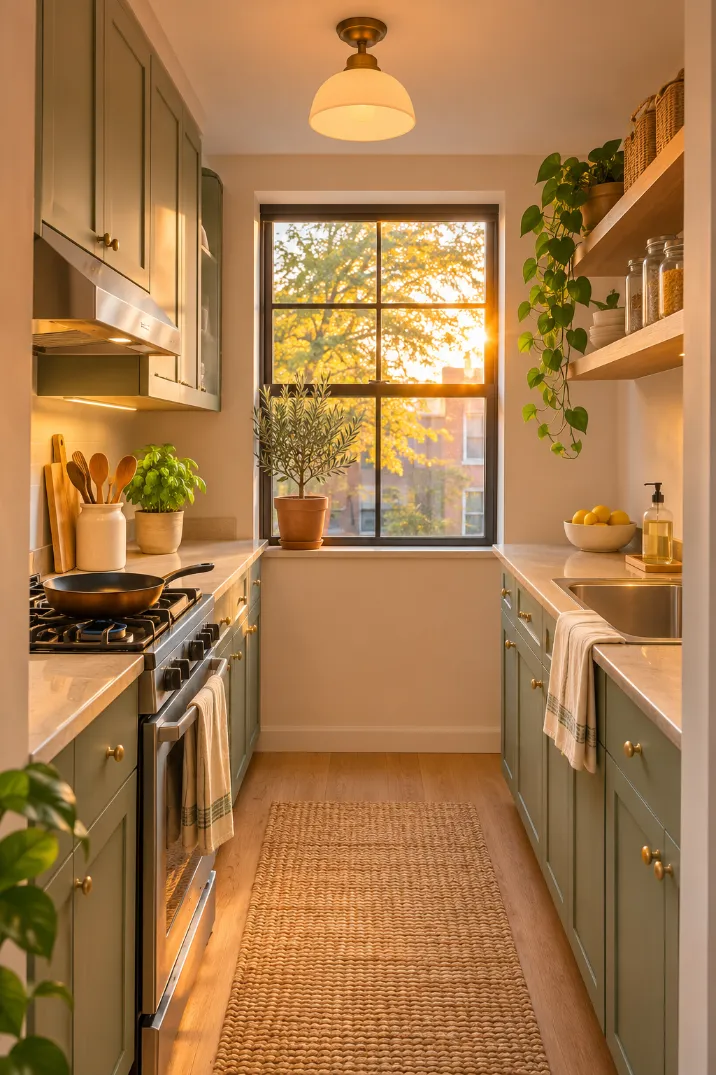
Where do you stand when you cook? Your daily pile belongs within one step of that spot, at waist height, beside or below the stove. Weekly pieces take the next-closest lower cabinet. Rarely used ones go up high. Mark each cabinet door with a strip of painter’s tape and its zone name. That gives you a map for the rest of the steps.
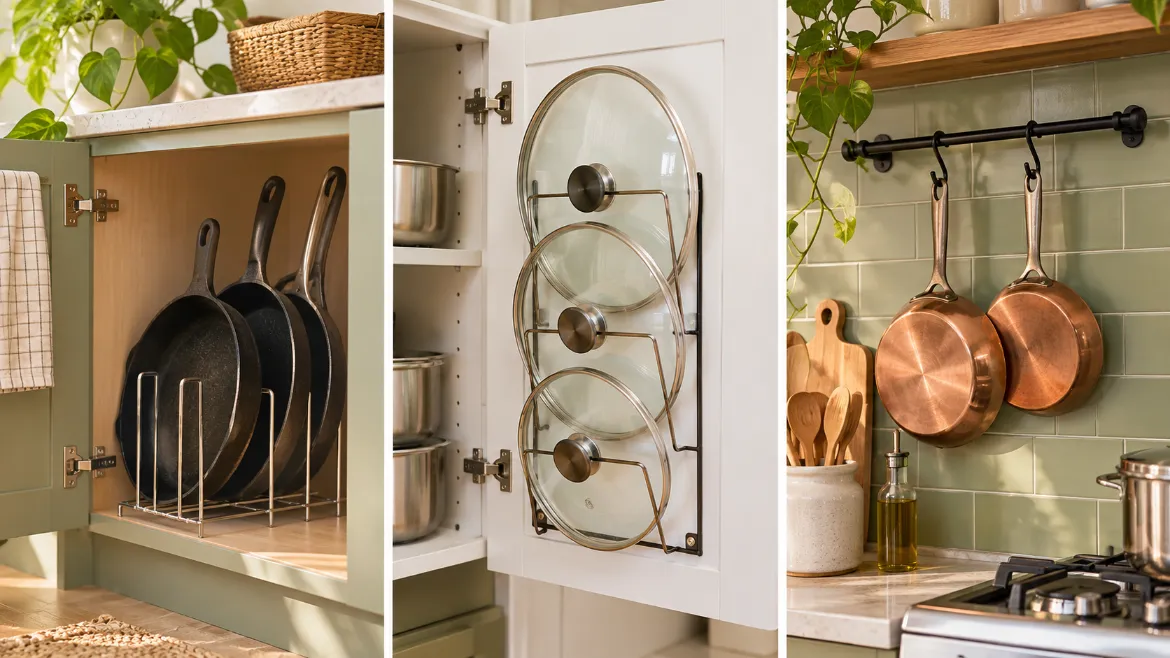
Stand frying pans upright in a vertical pan rack
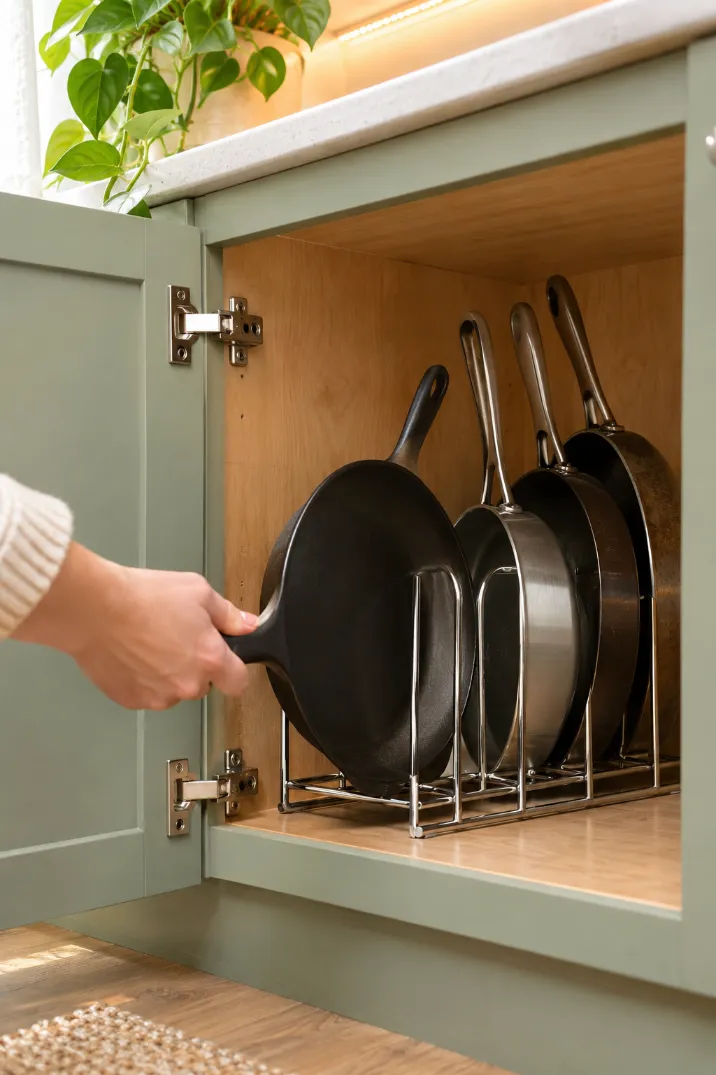
Turned on its side, a 10-inch skillet takes up about 2 inches of cabinet width instead of a whole shelf. Put the rack in your daily-zone cabinet with the open slots facing the door, so each pan slides straight out. Set the dividers a little wider than your thickest pan. The heaviest pan, usually cast iron, goes in a middle slot so the rack stays balanced. No rack? A metal magazine file holds 2 to 3 pans, and it fits baking sheets too.
Give your lids their own rack on the inside of a cabinet door
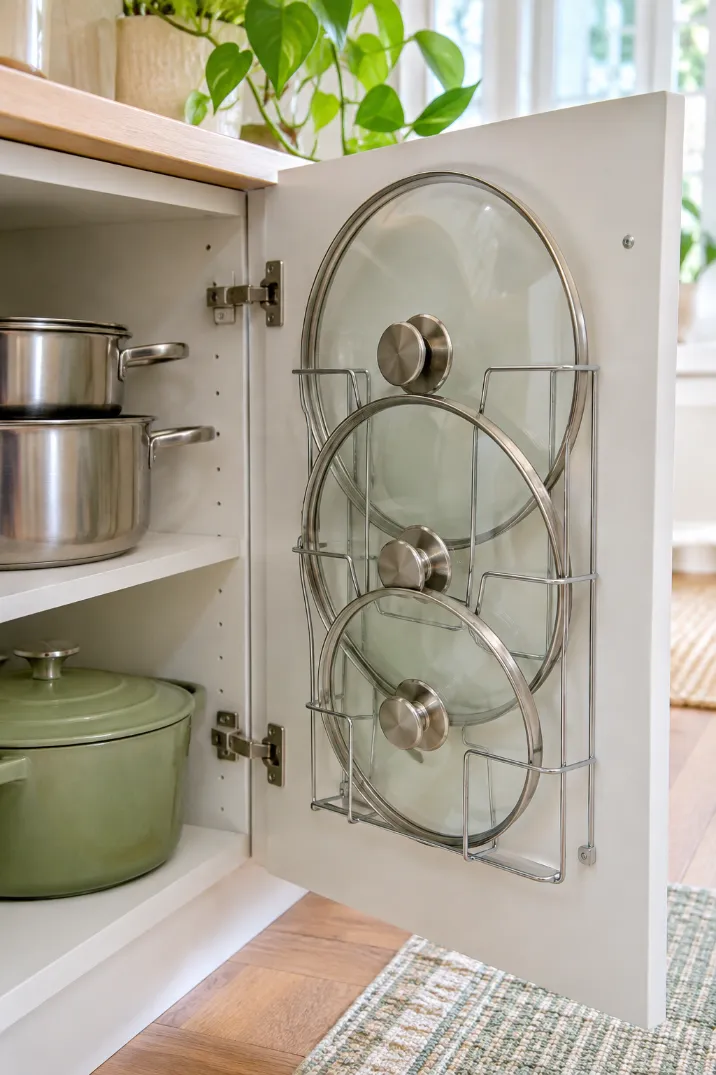
Remember the door-space number from Step 4? Most door-mounted lid racks need about 2 inches between the shelf edge and the closed door. Mount the rack on the inside of your daily-zone cabinet door, with the biggest lids in the bottom row. If you rent, choose a rack that comes with adhesive strips instead of screws. Close the door slowly the first time. If a lid knob bumps the shelf, move the rack up or down 1 inch and try again. No rack? Three adhesive hooks set in a line will hold lids by their rims.
Nest the pots you keep with a soft layer between each one
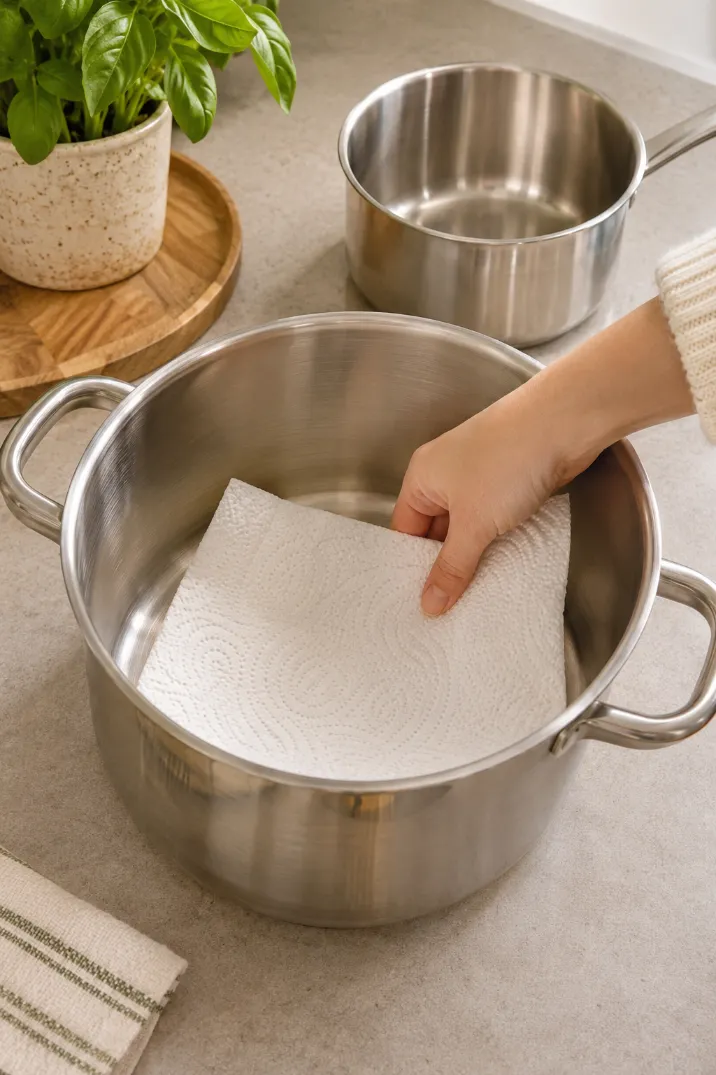
Biggest pot on the bottom, smallest on top. Slide a felt pan protector or a folded paper towel between each one. Without it, the rim of one pot grinds against the inside of the next, and nonstick coatings scratch first. Stop at 3 pots per stack. Any taller, and you’ll unstack the whole tower to reach the bottom one.
Hang your favorite pans on a wall rail or pegboard
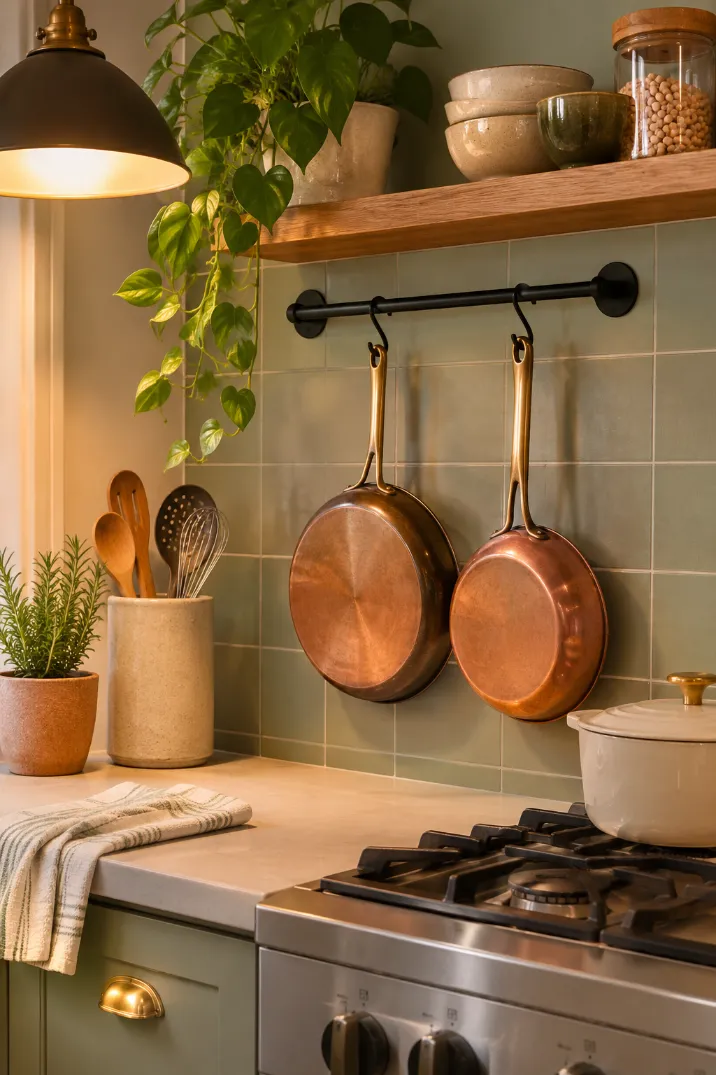
Only 2 or 3 of your best-looking daily pans go here, since everyone who walks in will see them. Pick the setup that fits your lease:
- Wall rail with S-hooks: screw it into wall studs and space the hooks about 6 inches apart
- Pegboard: a good pick if you want spots for utensils too
- Tension rod with S-hooks: wedge it between two cabinets or inside a nook, with no holes at all
Adhesive hooks work for light pans. Wait the full 24 hours before you hang anything on them.
Move holiday and rarely used pieces up high or into the oven drawer
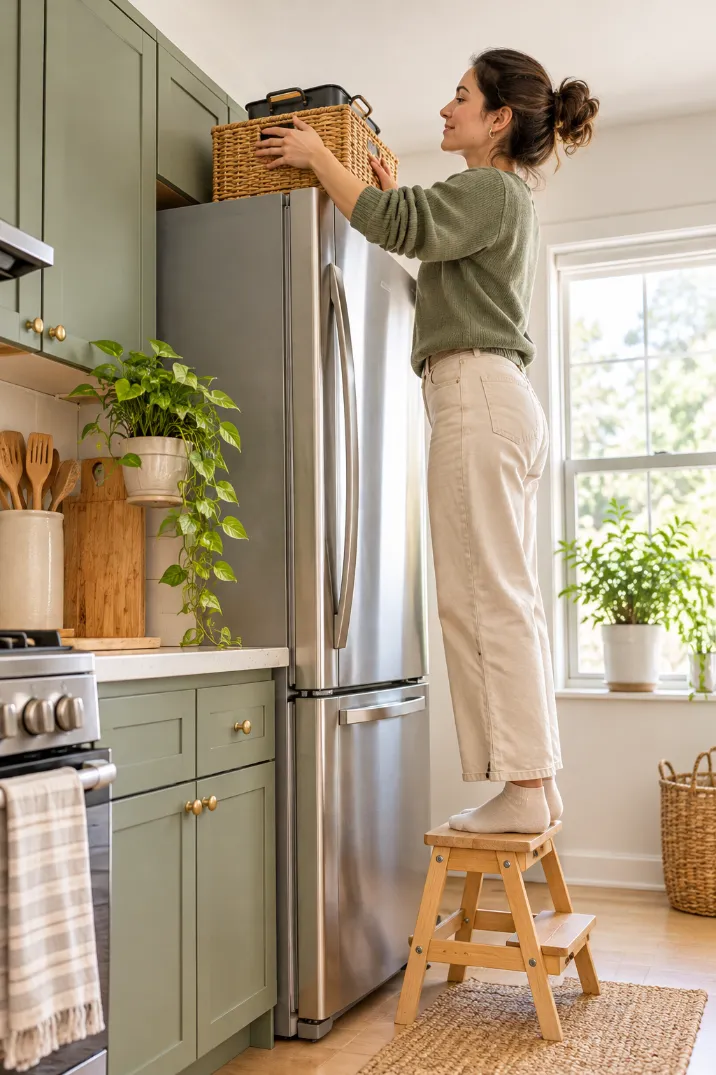
My turkey roaster gets used twice a year, so it lives on top of the fridge. Put your rarely used pieces in a basket with a lip so nothing slides off when you pull it down. The big stockpot can hold the smaller odds and ends inside it. Keep anything over 10 pounds below shoulder height. Lifting a heavy pot down from overhead is how wrists get hurt.
Cook one full meal to test your new setup
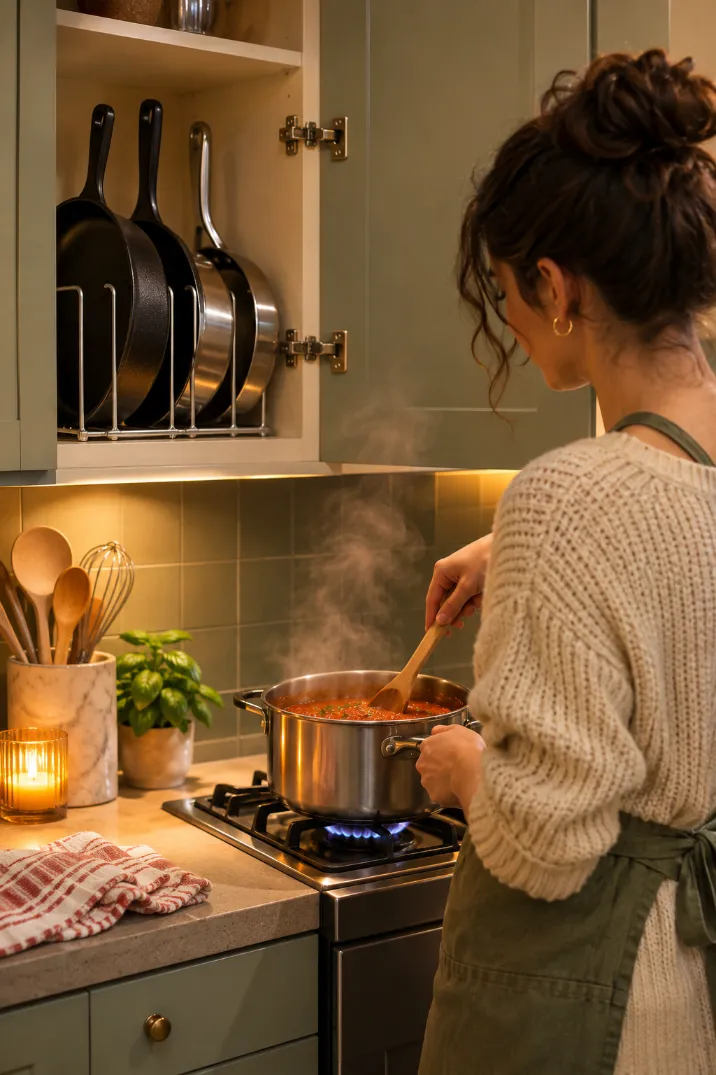
One dinner will tell you more than an hour of rearranging. As you cook, watch for these four signs that something is in the wrong spot:
- You reach past one pan to grab another
- A cabinet door bumps a lid when it closes
- You walk across the kitchen for something you use daily
- You unstack pots to reach the one at the bottom
Write each problem on a sticky note and put it on the fridge. Swap spots to fix them, then give the setup one week before you change anything else.
- Lids slide out every time you open the door
- You lift 3 pots to reach the one you need
- Duplicate pans you forgot you owned
- Nonstick scratched from bare stacking
- The holiday roaster hogs your best cabinet
- Lids stand in their own rack on the door
- Every pan comes out with one hand
- Fewer pans and more open shelf space
- Pots nested with protectors, 3 high max
- Rarely used pieces up high, out of the way
Your cabinet doors open quietly now, and every pan has one home you can reach with one hand.
That’s how to store pots and pans in a small kitchen: keep less, sort by habit, and put your walls and doors to work.
Once a week of cooking proves the setup works, give your under-sink cabinet the same sorting treatment.
Save this pin so it’s ready the next time a new pan sneaks into your kitchen.