
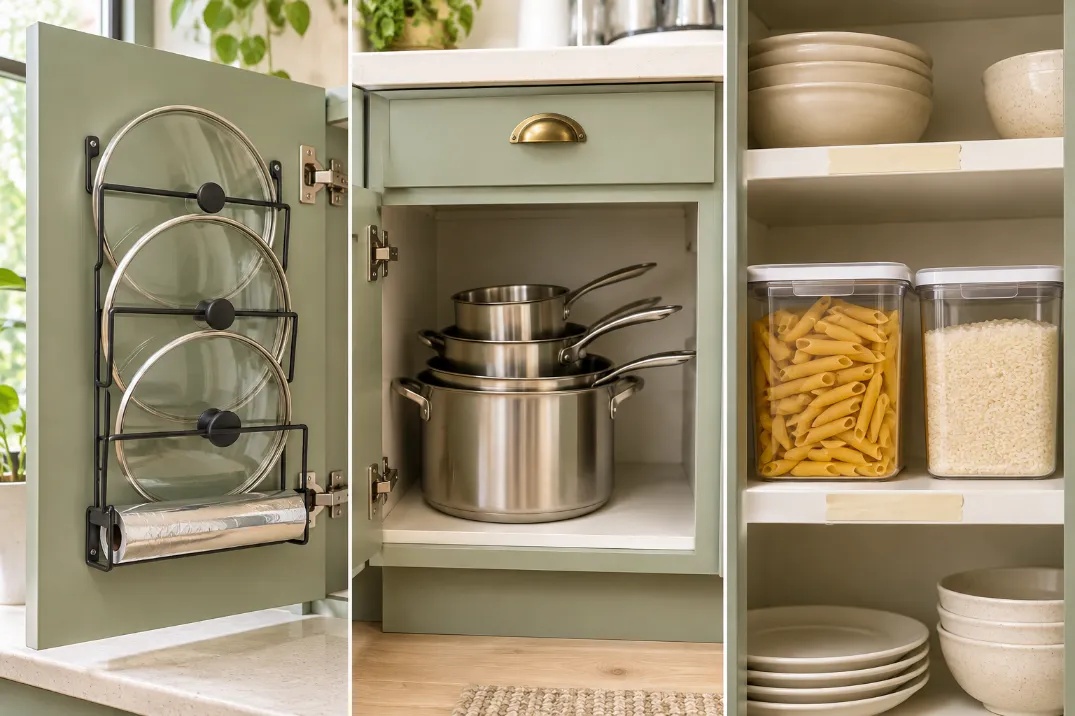
You open the cabinet for one pan, and three lids slide out with it. You shut the door with your hip before the mugs fall too. If your kitchen has only three cabinets, that probably sounds like a normal Tuesday. Learning how to organize kitchen cabinets this small is less about buying more stuff and more about giving each cabinet one clear job.
This guide walks you through emptying, sorting, and setting up all three cabinets so the things you use every day sit right where your hand reaches. You will put the empty space above your shelves to work, along with the back of each door and a few cheap containers. You will also move out anything that doesn’t need to live in a cabinet at all. That last part frees up more room than any organizer can.
Plan on about 3 hours for the whole job. Most of that time goes to sorting, and sorting is what makes the rest work. Nothing needs drilling, so this setup is renter-friendly. Clear your counter, grab a trash bag, and let’s start.
- Empty all three cabinets onto one surface
- Sort into keep, relocate, and donate piles
- Wipe each shelf and let it dry
- Measure every shelf
- Give each cabinet one job
- Add shelf risers
- Hang a door rack
- Nest pots and pans by size
- Pour dry goods into square containers
- Put daily items front and center
- Move the relocate pile out
- Label the shelf edges
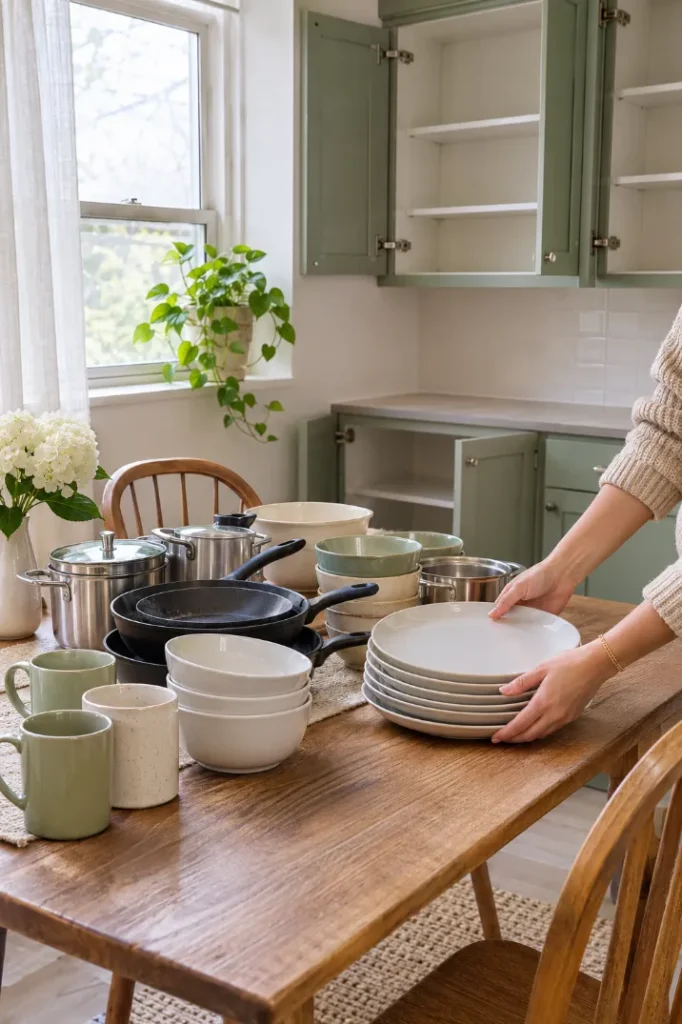
Empty all three cabinets onto one clear surface
Every item comes out, even the ones you know you are keeping. Seeing everything in one spot shows you how much you really own, and most people find duplicates they forgot about. If your counter is too small, use your kitchen table or a clean bedsheet on the floor. Group like with like as you unload: cups together, pans together, food together. That habit saves you about 20 minutes in the next step.
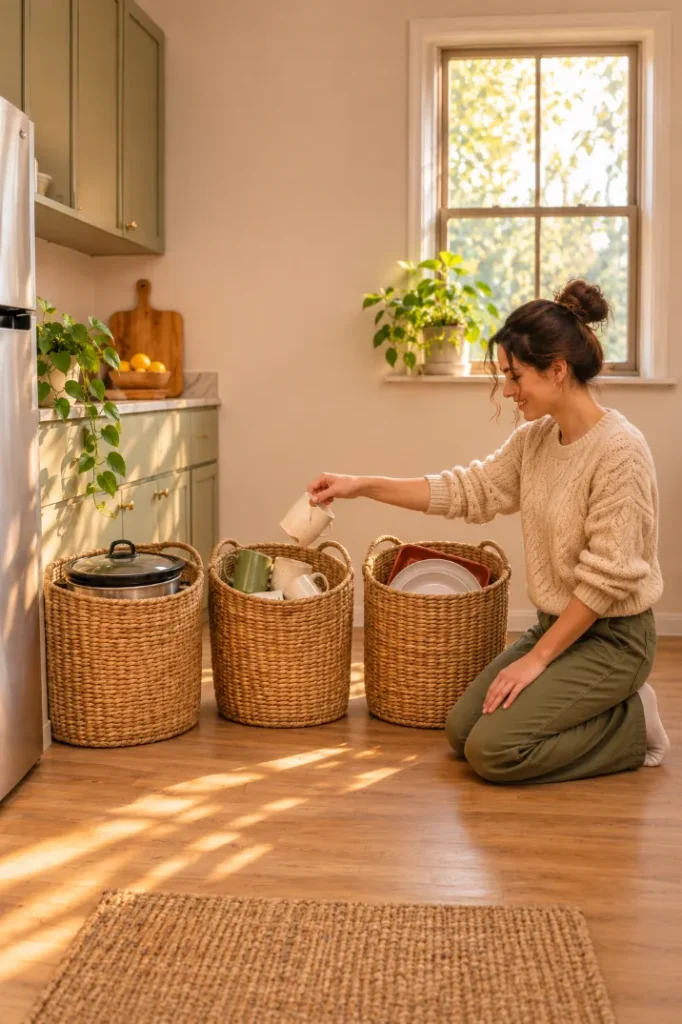
Sort everything into keep, relocate, and donate piles
Three piles, three boxes or baskets, and one rule for each:
- Keep: you used it in the last 6 months, and it belongs in a kitchen.
- Relocate: you use it, but rarely. Think holiday platters, the slow cooker, extra paper towels.
- Donate: duplicates, chipped mugs, and gadgets that do one job you never do.
Toss expired food and cracked containers as you go. If you hold something for more than 5 seconds trying to decide, put it in relocate. You can always bring it back later.
Wipe each shelf clean and let it dry completely
Crumbs and sticky rings under your new containers will draw bugs. Mix about 1 teaspoon of dish soap into 4 cups of warm water, wipe every shelf, then follow with a dry cloth. Leave the doors open for 30 minutes.
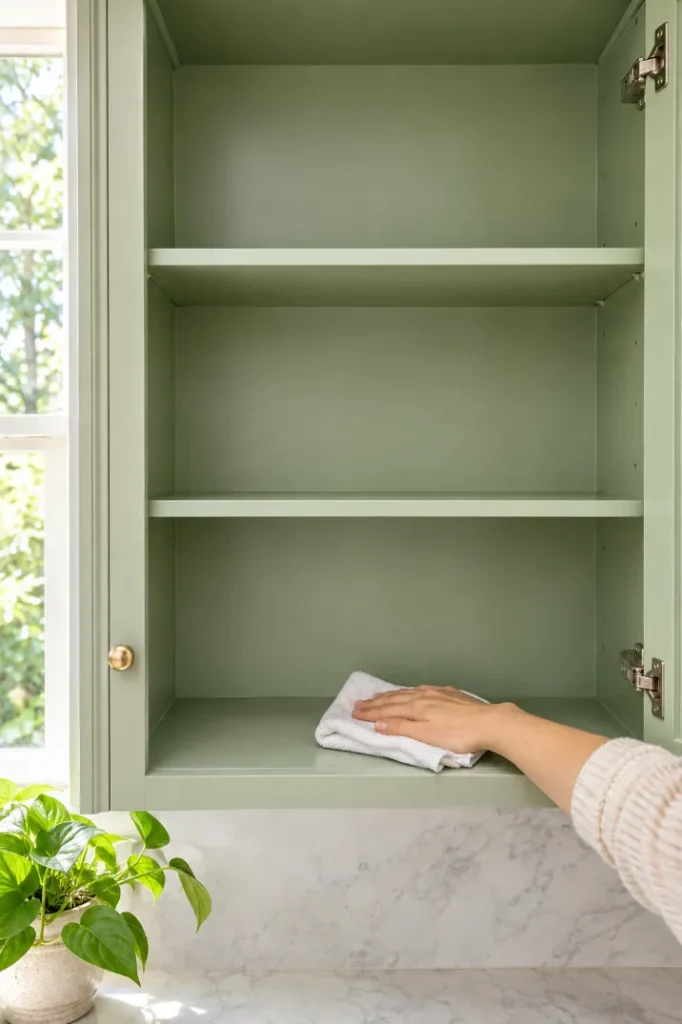
Particleboard shelves swell if water sits on them. Wring your cloth until it barely drips. Never lay shelf liner on a damp shelf, because trapped moisture can grow mold underneath.
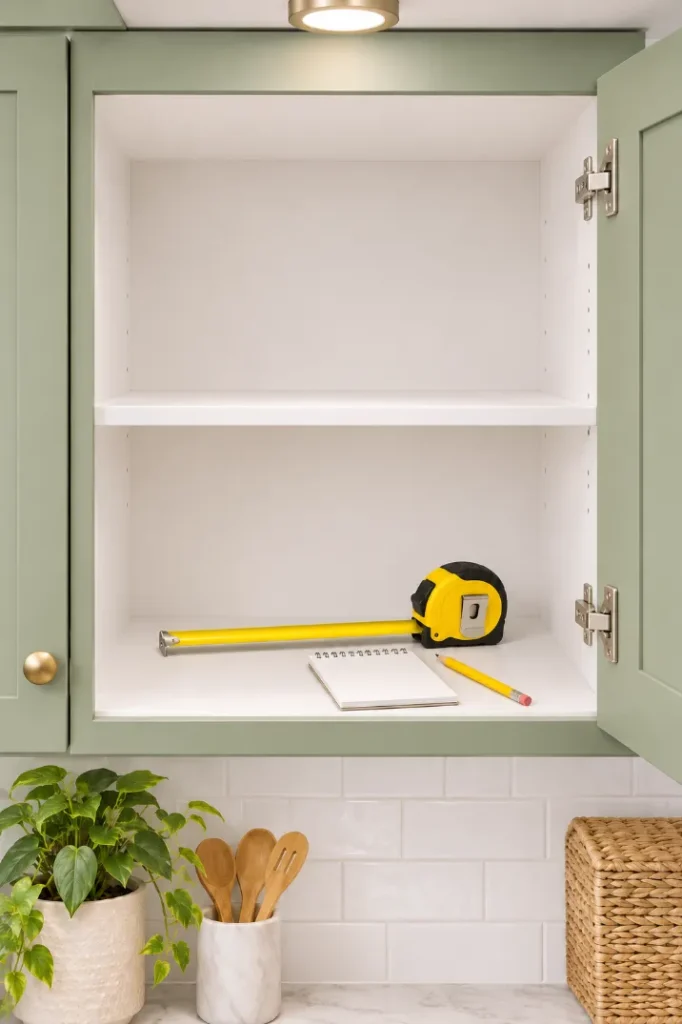
Measure the height, width, and depth of every shelf
Skip this, and you’ll buy a riser that is a half inch too tall. Measure each shelf’s inside height, width, and depth. Take the height from the shelf surface to the bottom of the shelf above, not to the cabinet frame. Write all three numbers down, labeled by cabinet. Then check the gap between each shelf’s front edge and the inside of the closed door. A door rack needs about 2 inches there.
Organize kitchen cabinets by zone, one job per cabinet
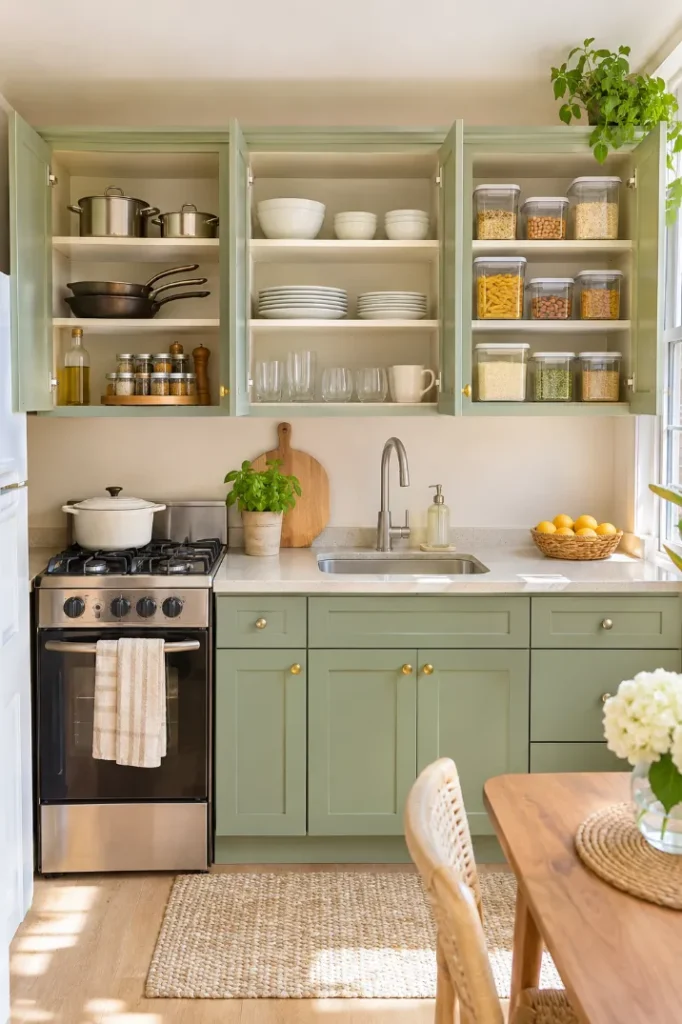
A small kitchen runs smoothly when each cabinet holds what you use in the spot right next to it:
- Cabinet nearest the stove: pots, pans, oils, spices, and cooking tools.
- Cabinet nearest the sink or dishwasher: plates, bowls, cups, and glasses, so unloading takes a few steps instead of a lap around the room.
- The remaining cabinet: food, such as cans, grains, snacks, and baking basics.
The most common slip is letting a stray mug drift into the food cabinet because there’s an open gap. Gaps are room to grow, not a parking spot.
Add a shelf riser to double the usable space
Most cabinet shelves have 6 to 8 inches of empty air above whatever sits on them. A riser turns that air into a second level. Stack plates and bowls underneath, and line mugs or glasses along the top. Press down on one corner once it’s in place. If it wobbles, a foot is sitting on a seam or a shelf edge, so shift it until all four feet rest flat.
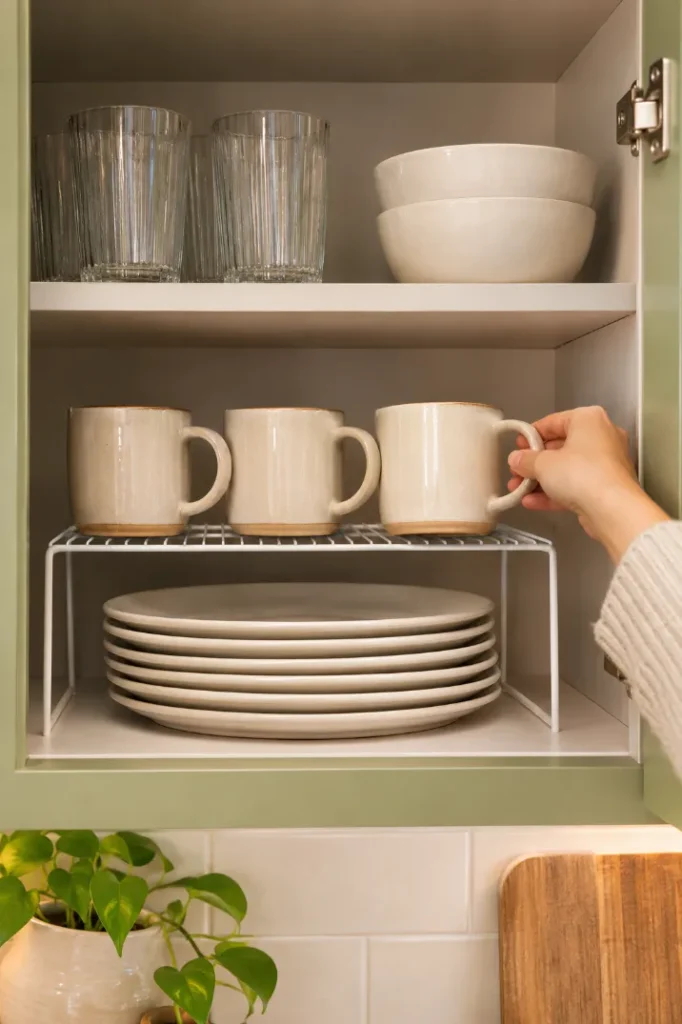
Choose a riser whose legs stand at least 1 inch taller than your stacked plates. Leave another 1 inch between your tallest mug and the shelf above so you can lift it out without tipping.
Hang a door-mounted rack for lids, foil, and wraps
Pot lids are the reason most small cabinets feel full. The back of the door is flat, empty, and the right size for them. Hook an over-the-door rack across the top edge, or stick adhesive hooks about 3 inches in from each side. The lid rack goes on the stove cabinet door, and the wrap holder goes on the food cabinet. (No rack? Set two adhesive hooks a lid’s width apart, and the lid rests on them by its rim.)
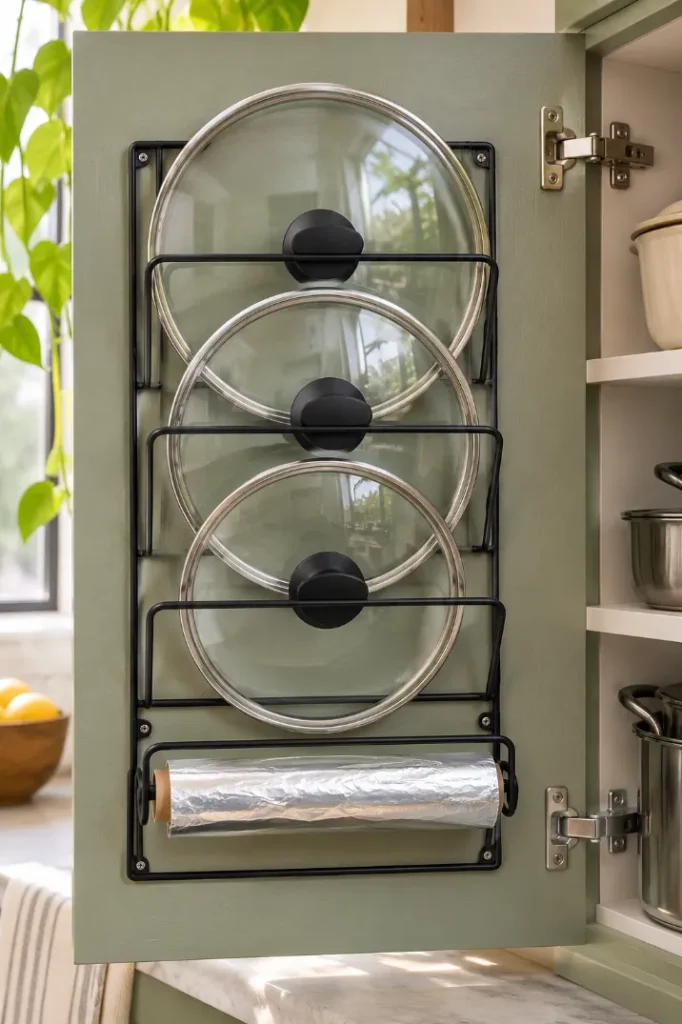
Close the door slowly the first time. If the rack or a lid bumps a shelf edge, the hinge will bend over time, so move the rack up or down until it lands between shelves. Adhesive hooks need 24 hours before they can hold any weight.
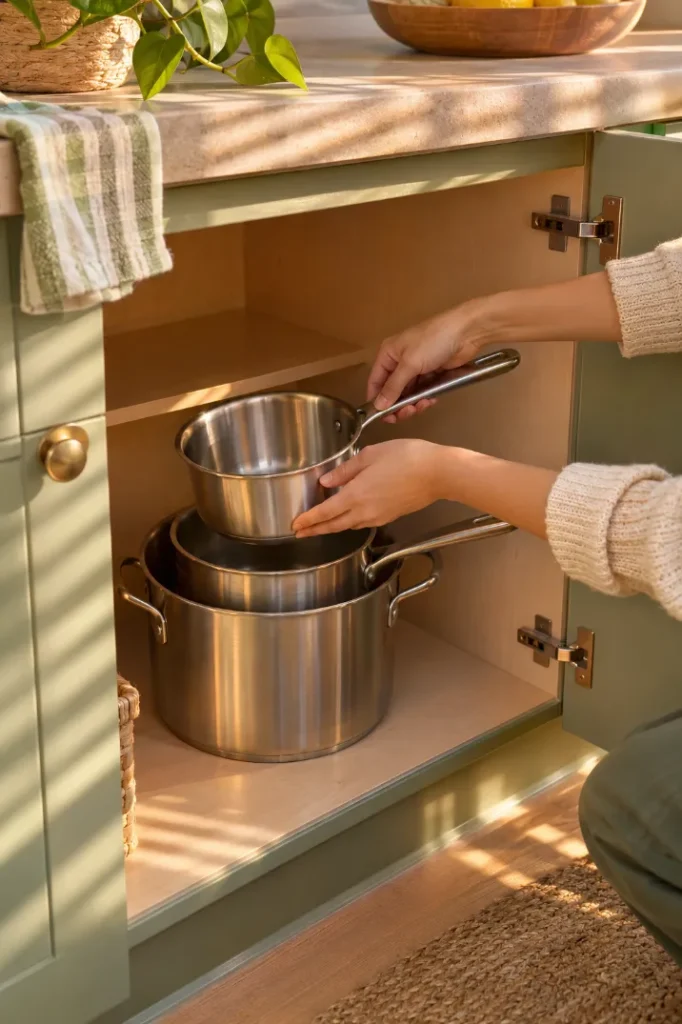
Nest pots and pans by size, largest on the bottom
Stacking pans like a tower means lifting off four to reach one. Nesting drops each pan inside the next bigger one, so the pile stays short and steady. Put the largest pot on the bottom shelf, since heavy things belong down low. Lay a paper towel between nonstick pans so the coating doesn’t scratch. Turn every handle toward the door so the stack slides out in one move. If you own more than two skillets, stand them upright in a metal file sorter instead.
Pour dry goods into square, stackable containers
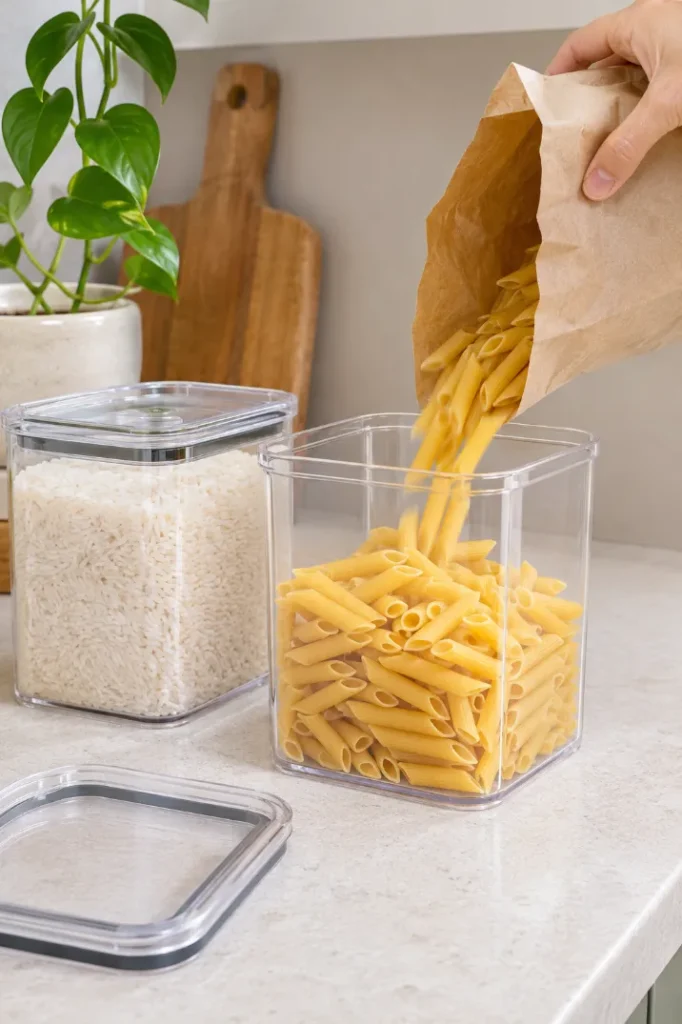
Square containers sit edge to edge with no wasted corners. Round ones leave gaps you can never use. Containers around 2 quarts hold a 1-pound box of pasta or a 2-pound bag of rice. Before anything goes on the shelf:
- Wash and dry each container completely, since damp flour clumps.
- Fill each one with a single food: rice, pasta, oats, flour, or sugar.
- Cut the cooking directions off the bag and tape them inside the lid.
- Write the expiry date on masking tape stuck to the bottom.
Put daily-use items at the front of the easiest shelf
Picture your first five minutes in the kitchen tomorrow: one mug, one bowl, the coffee, the pan you fry eggs in. Those belong at the front of the shelf between your shoulder and hip height, where you never stretch or crouch. Things you reach for once a month go to the back or the top shelf. This one shift makes three cabinets feel like five.
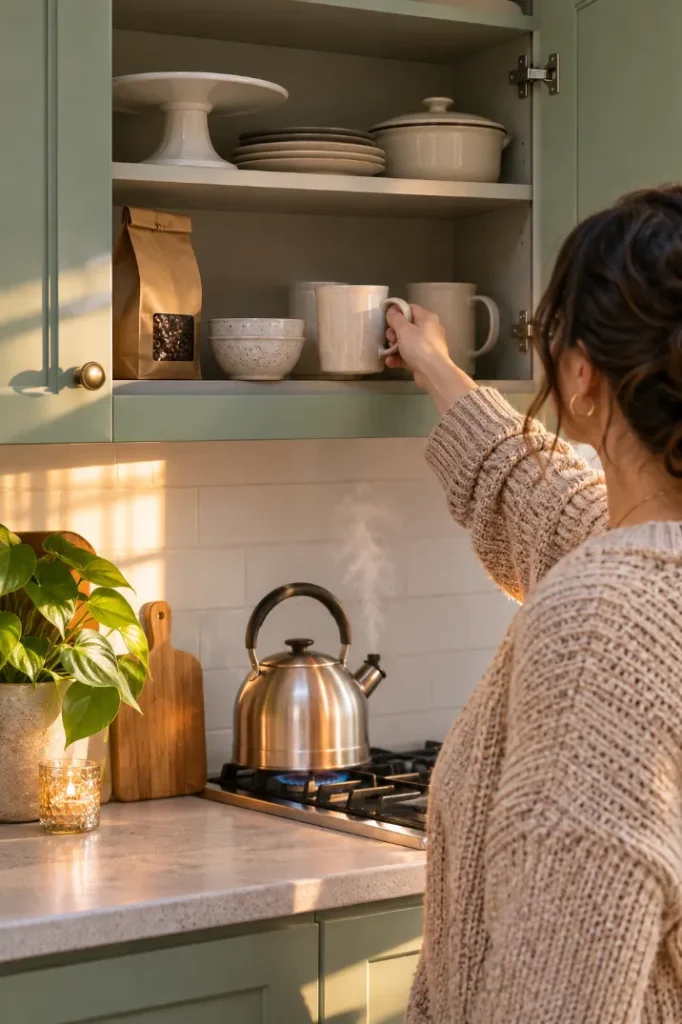
Try the one-reach test. If you have to move something out of the way to grab an item you use every day, swap their spots.
Move the relocate pile to its new home outside the cabinets
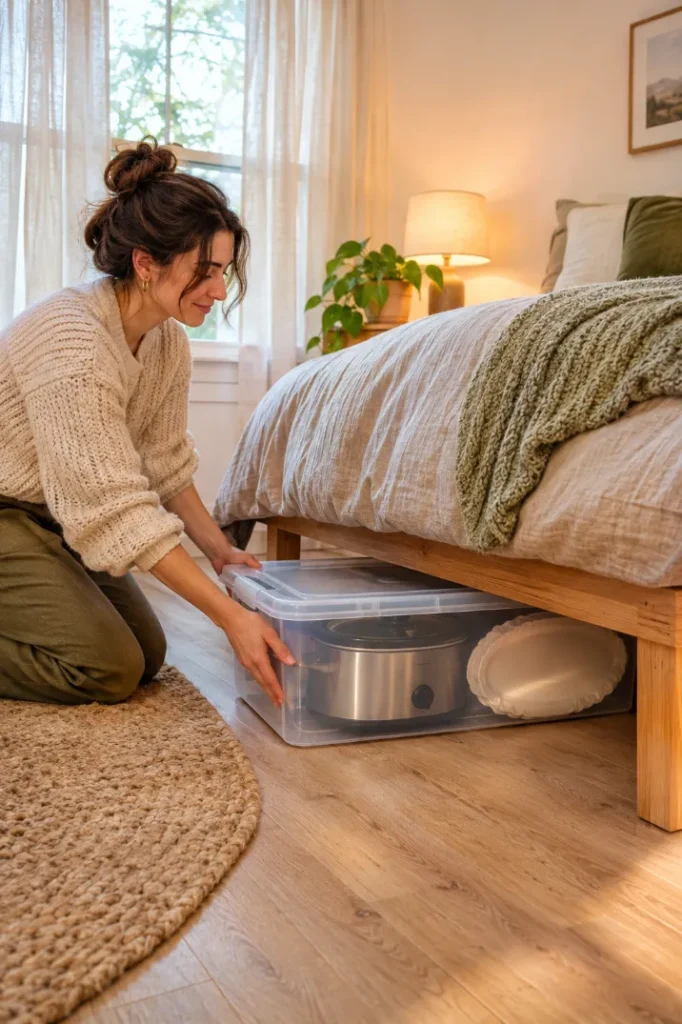
Most of that relocate box doesn’t need a kitchen spot at all. A lidded bin under the bed holds the slow cooker, holiday platters, and the waffle maker. Light extras like paper towels and napkins fit in a basket on top of the fridge. If there’s a gap of 6 inches or more beside the fridge, a slim rolling cart can hold backup cans and snacks. Give the box a deadline. Anything without a home after 24 hours goes to donate.
Label the shelf edges so the system sticks
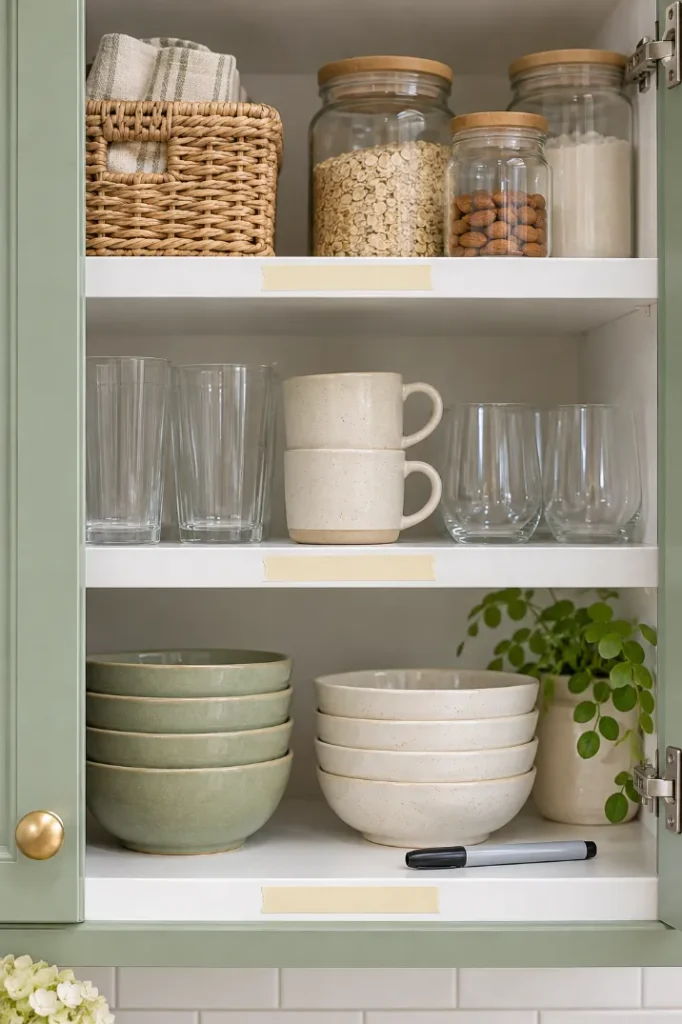
Labels do the remembering for you, and for anyone else who unloads the dishwasher. Stick them on the front edge of each shelf, not on the containers, so the spot keeps its job even when a container changes. Keep the words short: “Bowls,” “Pasta,” “Lids.” Masking tape and a marker work fine for the first 2 weeks while you test the layout. Switch to printed labels once nothing has moved.
Yes. Every step here is no-drill: freestanding risers, over-the-door racks, and removable adhesive hooks. Test any adhesive on a hidden corner of the door first.
If you have space under the sink, put it there, since that space doesn’t count against your three cabinets. If not, a slim lidded can about 10 inches wide fits in most gaps beside the fridge.
Shelf risers, because they add the most space for the money. A door rack comes next. Buy containers last, and use clean glass jars until then.
A tiered spice step in the stove cabinet keeps every label in view. Magnetic tins on the side of the fridge are another option and free up the shelf completely.
Do a 10-minute check once a month to pull out strays and expired food. Empty and sort everything again every 6 months.
You Did It
Three cabinets, one job each, and nothing inside that hasn’t earned its spot. That’s how to organize kitchen cabinets when space is tight, and it took you one afternoon. Live with the layout for two weeks, then swap your tape labels for printed ones. When you’re ready for more room, the empty wall beside your stove is a good place to add a rail. Save this pin so the steps are waiting for you at your 6-month reset.