
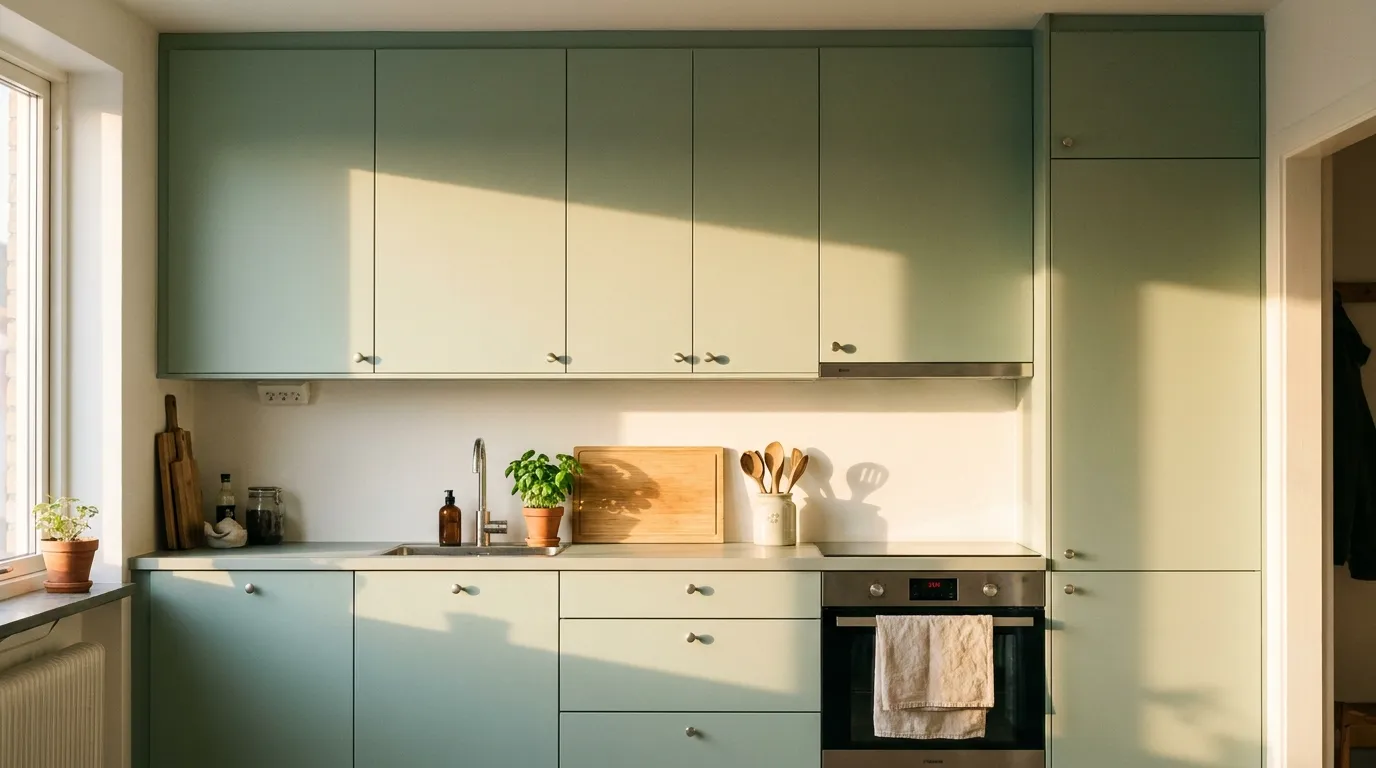
Your rental kitchen works fine. The cabinets are the problem. Maybe they’re orange oak from 1998, or a scuffed white that never looks clean no matter how hard you scrub. You can’t paint them. You can’t swap the knobs. You still have to look at them every morning while the coffee brews.
I lived with cabinets like that for two years before I learned how to update rental cabinets the right way. The answer is peel-and-stick vinyl, put on with care, on doors you take down first. That last part is what most people skip. It’s also why their vinyl bubbles and lifts at the corners within a month.
By the end of this guide, every cabinet door will be wrapped in fresh vinyl. They’ll hang back up with the same hinges and knobs you started with. Nothing gets drilled, painted or replaced. When you move out, the vinyl warms up with a hair dryer and peels away clean.
This takes time. Plan on 4 to 6 hours of hands-on work for a small kitchen, plus a 48-hour test before you start. It isn’t hard, but it rewards patience. Clear off your counters and let’s get going.
- Peel-and-stick cabinet vinyl (buy 15% extra)
- Painter’s tape
- Dish soap and warm water
- Rubbing alcohol (70% isopropyl)
- Lint-free cloths (microfiber works)
- Small zip-top bags, one per door
- Sewing pin, for bubbles
- Screwdriver (usually a Phillips #2)
- Measuring tape
- Metal ruler or straight edge
- Sharp craft knife plus spare blades
- Cutting mat (or flat cardboard)
- Felt-edge squeegee (or a card wrapped in a soft cloth)
- Hair dryer
- Permanent marker
- Get a written okay from your landlord
- Run a 48-hour test patch
- Number every door with tape
- Remove doors and bag the hardware
- Scrub off kitchen grease
- Wipe with rubbing alcohol and dry
- Measure and add 1 inch per side
- Cut the vinyl on a flat surface
- Anchor the top edge
- Smooth with a squeegee as you peel
- Wrap the edges and trim corners
- Warm the edges with a hair dryer
- Open hardware holes and rehang doors
1. Read your lease and get a written okay from your landlord
Most leases ban painting but say nothing about vinyl. Some do, though, and some landlords have strong feelings either way. Look for a section called “alterations” or “changes to the unit.” Then send a short text or email that explains your plan: removable vinyl on the doors, the same hardware, all of it taken off before move-out. A written reply protects your deposit far better than a “sure, go ahead” in the hallway.
If this is your first rental project, my beginner’s guide to renter-friendly decorating explains what landlords usually say yes to.

2. Stick a test patch inside one door for 48 hours
If your cabinet finish is old or thin, vinyl glue can grab it too hard. You want to find that out on a hidden spot, not across your whole kitchen. Cut a 3-inch square of vinyl and press it firmly inside one door, near a bottom corner. Leave it for 48 hours. Then warm it with a hair dryer on low for 20 seconds and peel it back slowly.
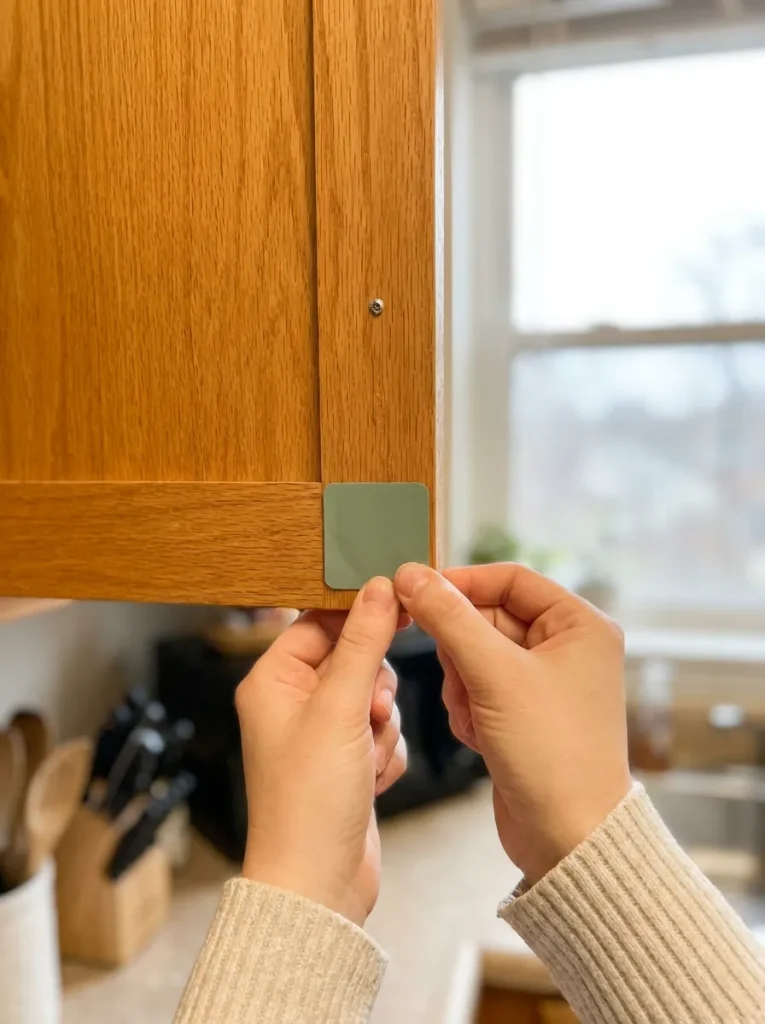
If the patch pulls off any color, shine or wood fibers, stop here. That finish is too fragile for this vinyl. Try a brand labeled “low tack” or “removable,” and run a new test before you go any further.
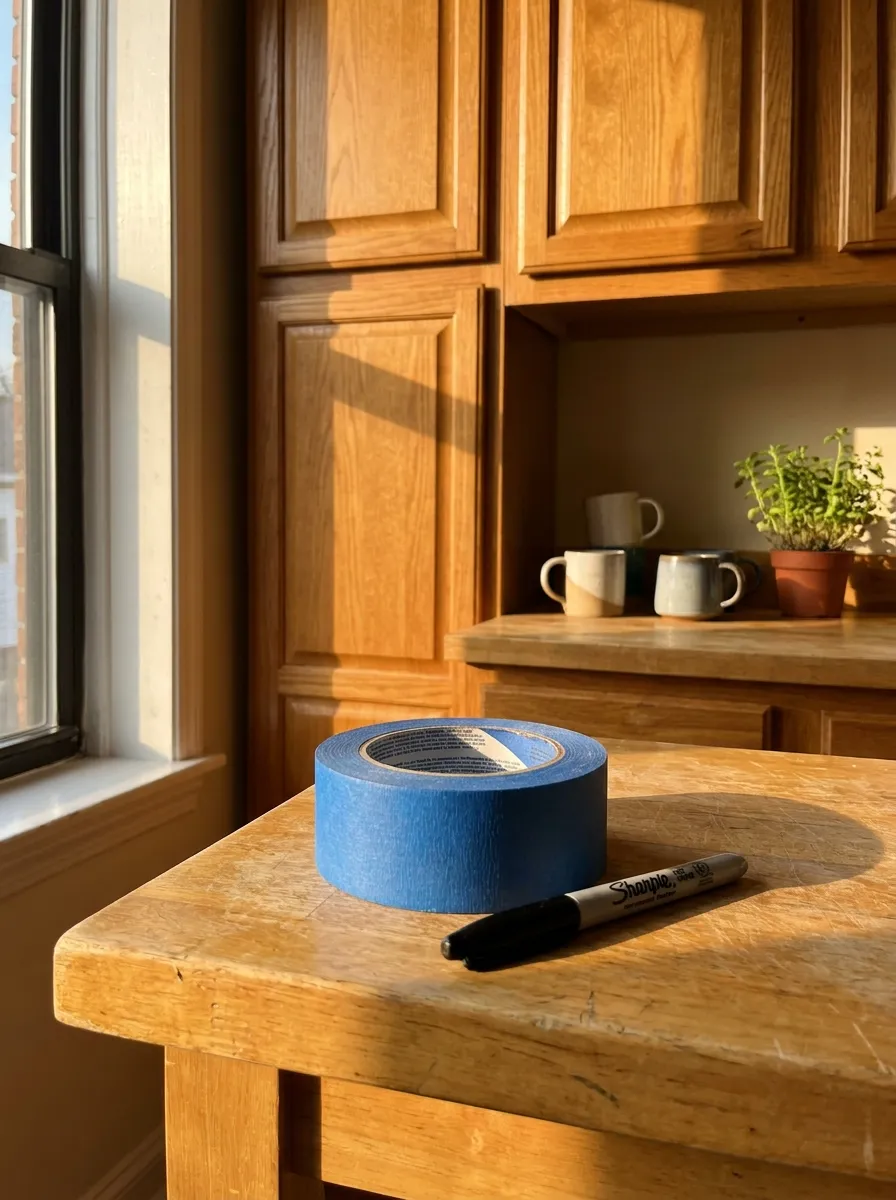
3. Number every door with painter’s tape before you remove anything
Ten doors can look identical and still fit only one spot each. Over the years, hinges wear into their own place. Put a strip of tape inside each door and another on the cabinet frame right beside it. Write the same number on both. Work left to right, top row first, then take a phone photo of each wall.
4. Unscrew the doors and bag the hardware by door number
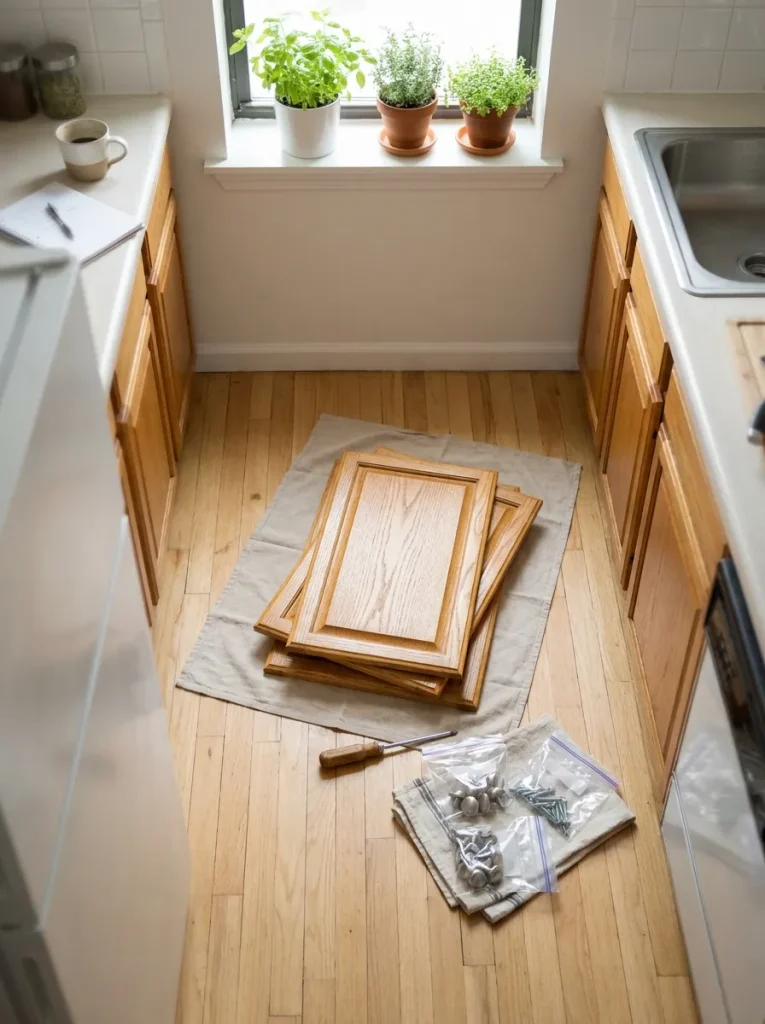
Open one door all the way. The hinges stay on the cabinet frame, and only the screws going into the door come out. That keeps the hinge settings as they are, so your doors line up again later. For each door:
- Hold the door steady with your free hand.
- Unscrew the hinges from the back of the door.
- Remove the knob or pull from the front.
- Drop every screw and the knob into the bag with that door’s number.
Stack the doors flat on a towel, never leaning against a wall.
Label those bags well. Losing the original hardware is one of the most common ways renters lose part of their deposit.
5. Scrub off kitchen grease with warm soapy water
Cabinet doors near the stove collect a thin film of grease you can’t always see. Vinyl will not stick to it. Stir 1 teaspoon of dish soap into 4 cups of warm water. Wash the front, back and every edge of each door with a soft cloth. Spend extra time around the knob holes, where hands touch most. Wipe again with a clean, damp cloth to rinse off the soap. Then run a fingertip across the door. If it still feels tacky, wash it a second time. For stubborn spots, a paste of baking soda and water works without scratching.
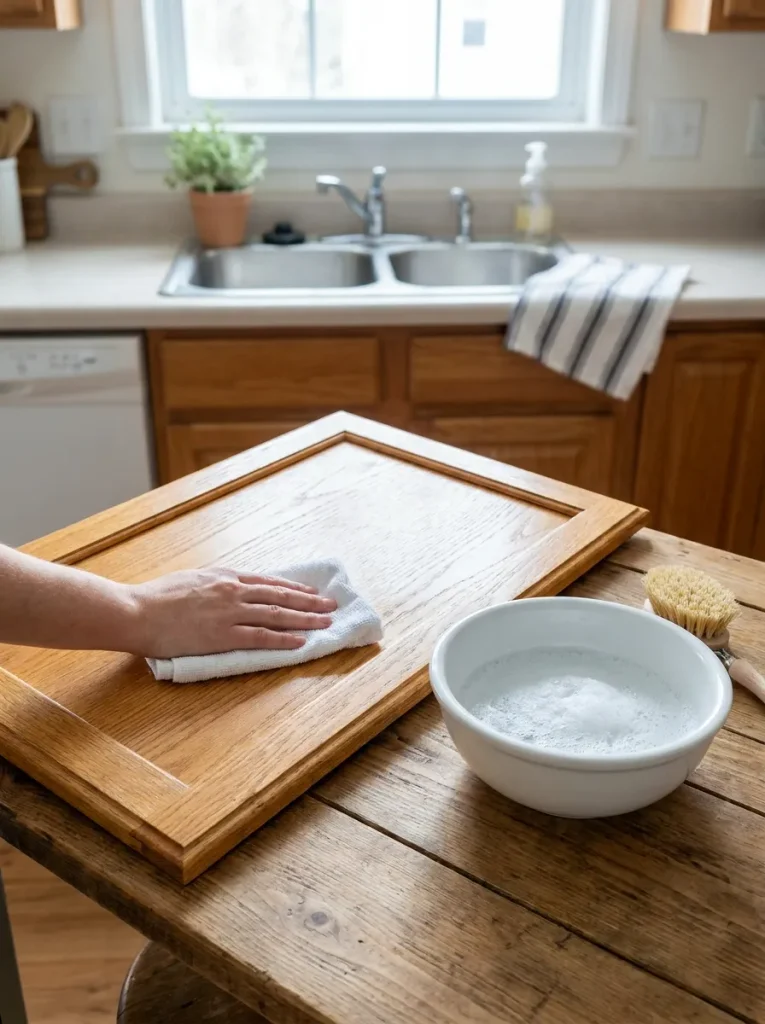
6. Wipe each door with rubbing alcohol and let it dry
Thirty minutes of waiting here saves you from bubbles later. Rubbing alcohol strips away leftover soap and finger oils that water misses. Dampen a lint-free cloth and wipe every surface, edges included. Let the doors dry for 30 minutes. From now on, hold them by the edges only.
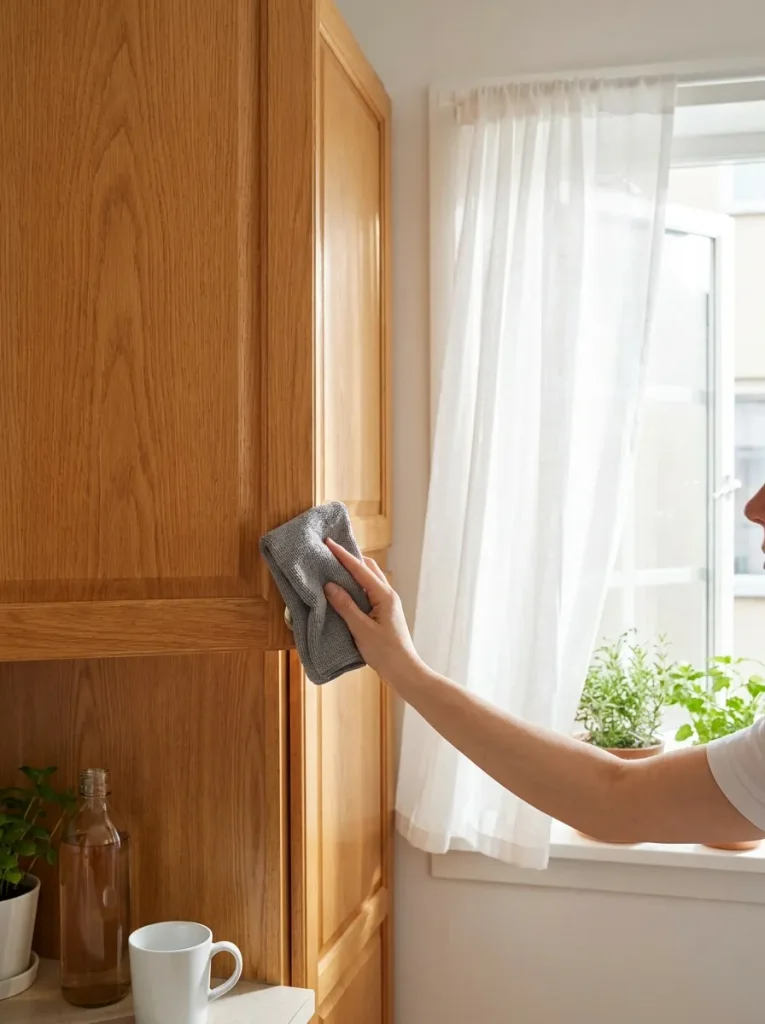
Rubbing alcohol catches fire easily. Turn off the stove, open a window, and keep the bottle and used cloths away from any flame or pilot light.
7. Measure each door and add 1 inch on every side
Doors that look the same size are often 1/8 inch apart. Measure every door on its own, height first, then width. Add 2 inches to each number, which gives you 1 inch extra on every side. That extra wraps around the edges to the back, where it grips best. Write each cut size on a notepad next to its door number.

If your vinyl has a wood grain, plan every piece so the grain runs up and down on all the doors. Matching the direction is what makes a wrapped kitchen look like real wood instead of stickers.
8. Cut the vinyl on a flat surface with a sharp craft knife
If your vinyl has a grid printed on the backing, use it to keep your lines square. Roll the vinyl face down on your cutting mat. Mark your measurements on the backing with a marker. Lay the metal ruler along the line and press it down hard with your flat hand. Pull the knife along the ruler in one smooth pass. Swap in a fresh blade every 3 to 4 doors, because a dull blade drags and tears the edge. No craft knife? Sharp scissors work too, since the cut edges end up hidden behind the door.
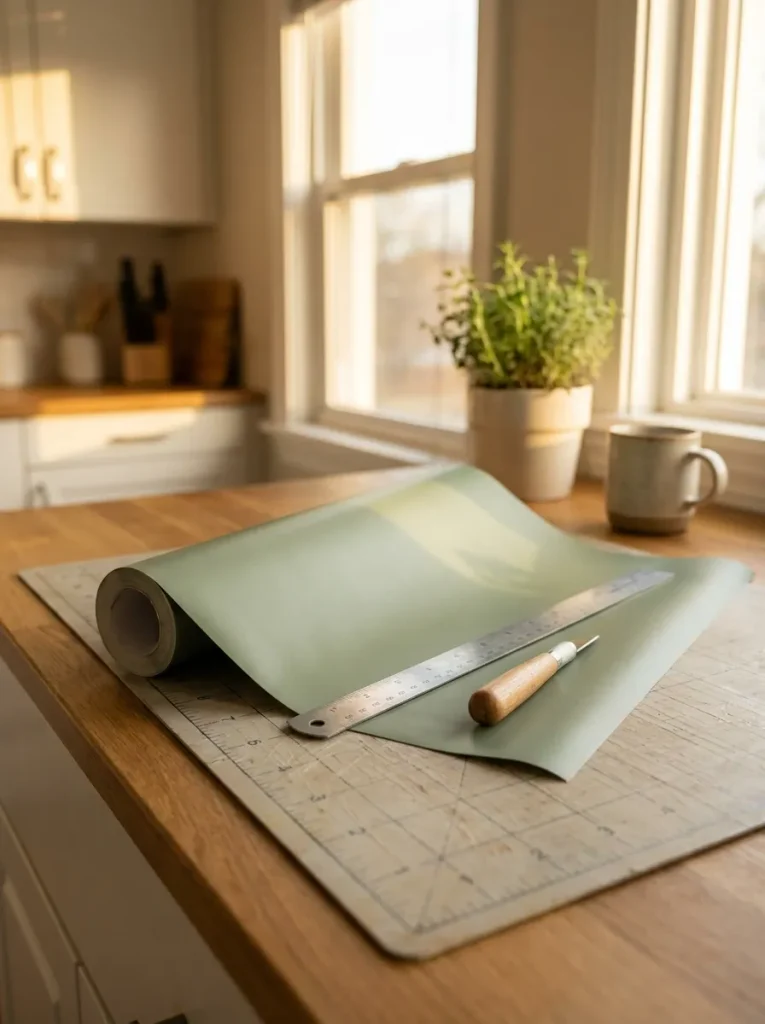
Keep the hand holding the ruler flat on top of it, with your fingertips well away from the cutting edge. Cut in the direction that moves the blade away from that hand, never toward it.
9. Anchor the top edge before you peel off the backing
Two inches of backing is all you remove at first. If you peel the whole sheet, the vinyl curls up and sticks to itself. Lay the door face up on your work surface. Peel back 2 inches along the top of the vinyl and fold the backing down so it stays out of the way. Line the piece up so 1 inch hangs past the top edge and the sides hang over evenly. Press the sticky strip down from the center out. Most cabinet vinyl lets you lift and reset it for the first few minutes, so fix a crooked start now.
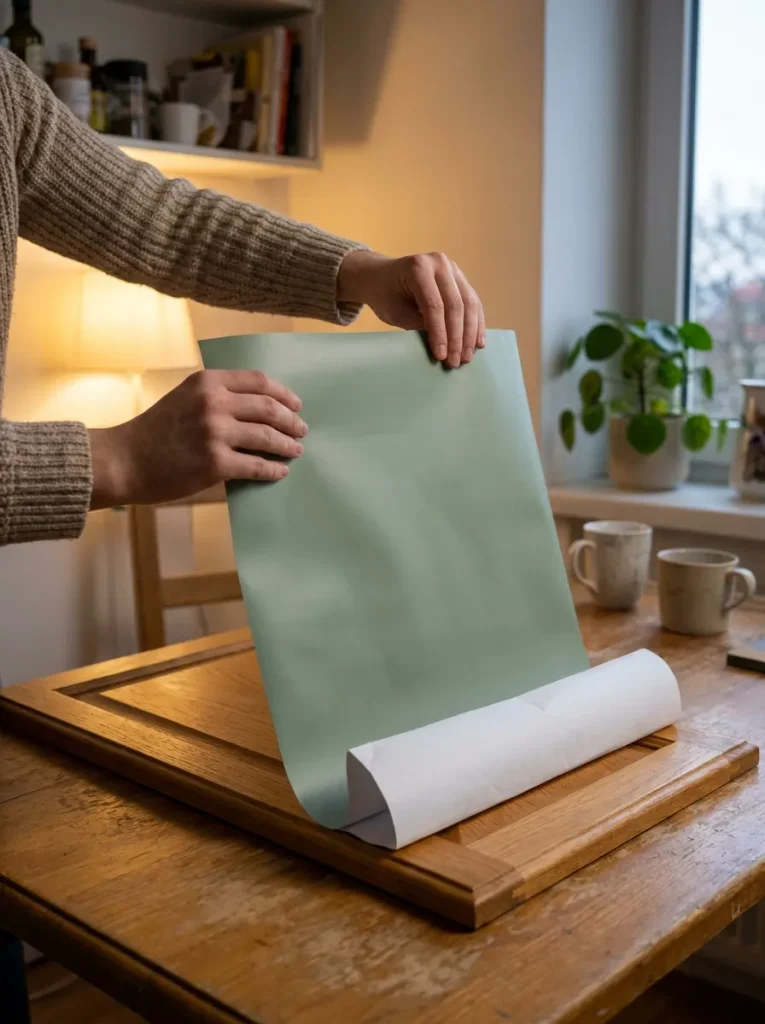
10. Smooth the vinyl down with a felt squeegee as you peel
Slow wins here. Hold the squeegee at a low angle in one hand. With the other hand, pull the backing out from underneath, 2 to 3 inches at a time. Push the squeegee from the center out toward the edges, never from the edges in, so trapped air has a way to escape. Overlap each stroke by about half. Keep going until you reach the bottom edge.

Spot a wrinkle? Don’t press it flat. Lift the vinyl back to a few inches before the wrinkle and lay it down again. Pressing a wrinkle only turns it into a permanent crease.
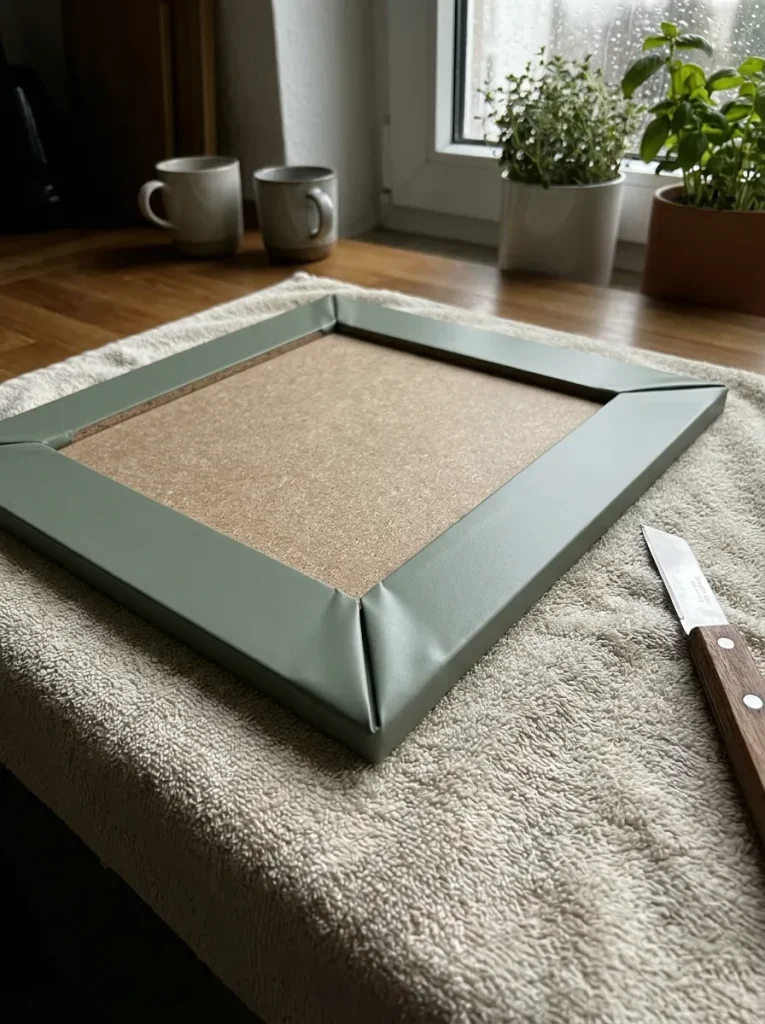
11. Wrap the edges around the back and trim the corners
Corners are where most wraps fail, because two flaps of vinyl try to fold into the same spot. Flip the door face down onto a clean towel. Then:
- At each corner, cut the overhang on a slant, stopping 1/8 inch from the door’s corner.
- Fold the long sides over the edge and onto the back.
- Fold the short sides over next.
- Press every flap down firmly with your thumb.
A tiny overlap at each corner is normal. A thick, puckered corner means too much vinyl is left there, so trim a little more.
12. Warm the edges with a hair dryer so they stay put
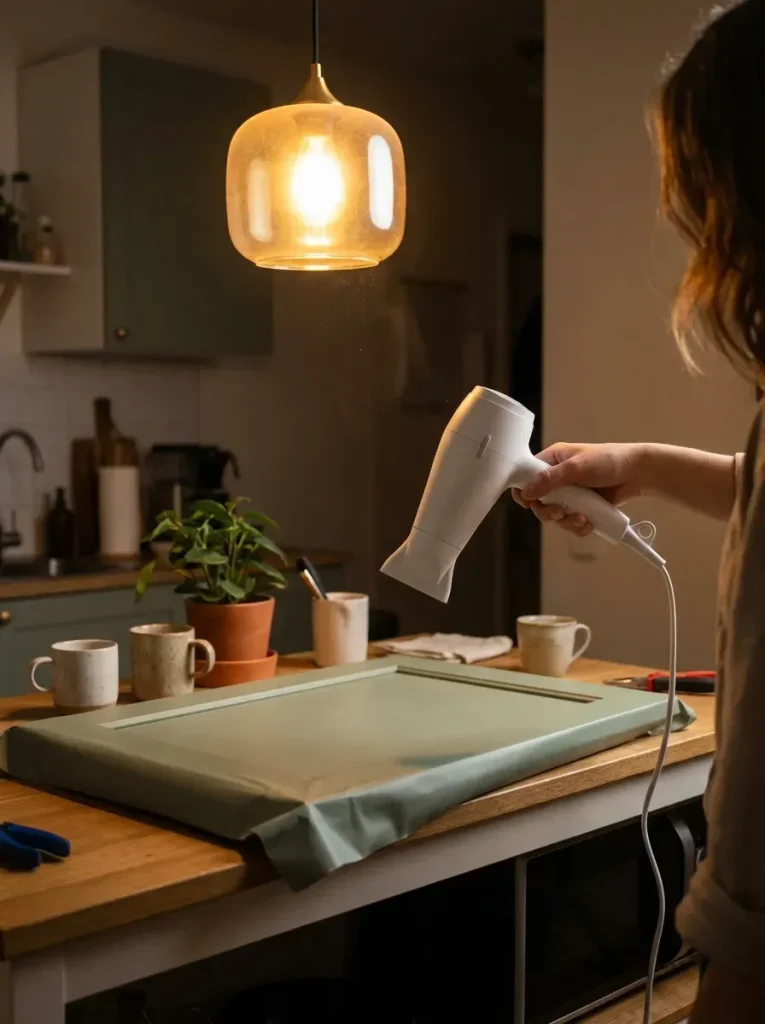
Heat is what keeps the flaps from springing loose next week. Set the hair dryer to medium and hold it 6 inches away. Warm each edge and corner for 20 to 30 seconds, then press it down with the squeegee while it’s still warm. Keep the dryer moving, because holding it in one place can warp the vinyl or leave a shiny patch.
13. Rehang the doors and update rental cabinets one hardware hole at a time
Your old knob holes are hiding under the vinyl. Push a sewing pin through each one from the back of the door. On the front, cut a small X over each pin hole with your craft knife and screw the knob back on. If a folded flap covers a hinge screw hole on the back, cut an X there too. Match each door to its number on the frame and screw the hinges into their old holes. Then peel off the tape labels. Wait 24 hours before you wipe down the new surface.
Not if your test patch came off clean. Warm each panel with a hair dryer and peel it back slowly at a low angle. Wipe off any leftover glue with rubbing alcohol on a soft cloth.
You can, but the edges near the hinges are very hard to wrap neatly in place. Those edges are where lifting usually starts, so taking the doors down is worth the extra time.
Smooth, glossy doors work well after the alcohol wipe. Deep texture or grooves will show through the vinyl and give it less to grip, so run your test patch on those first.
Use a soft, damp cloth with a drop of dish soap. Skip scrub pads, bleach and harsh sprays, which can dull or scratch the vinyl.
Good cabinet vinyl usually holds up for years of normal use. Doors right next to the stove wear faster because of the heat, so check those edges every few months.
Frames have no back for the vinyl to fold onto, so their edges lift sooner. Most renters pick a door color that works with the frame they already have and leave the frames alone.
- Dated, yellowed or scuffed doors
- A grease film that never fully washes off
- Knobs and hinges you can’t replace
- A kitchen you crop out of every photo
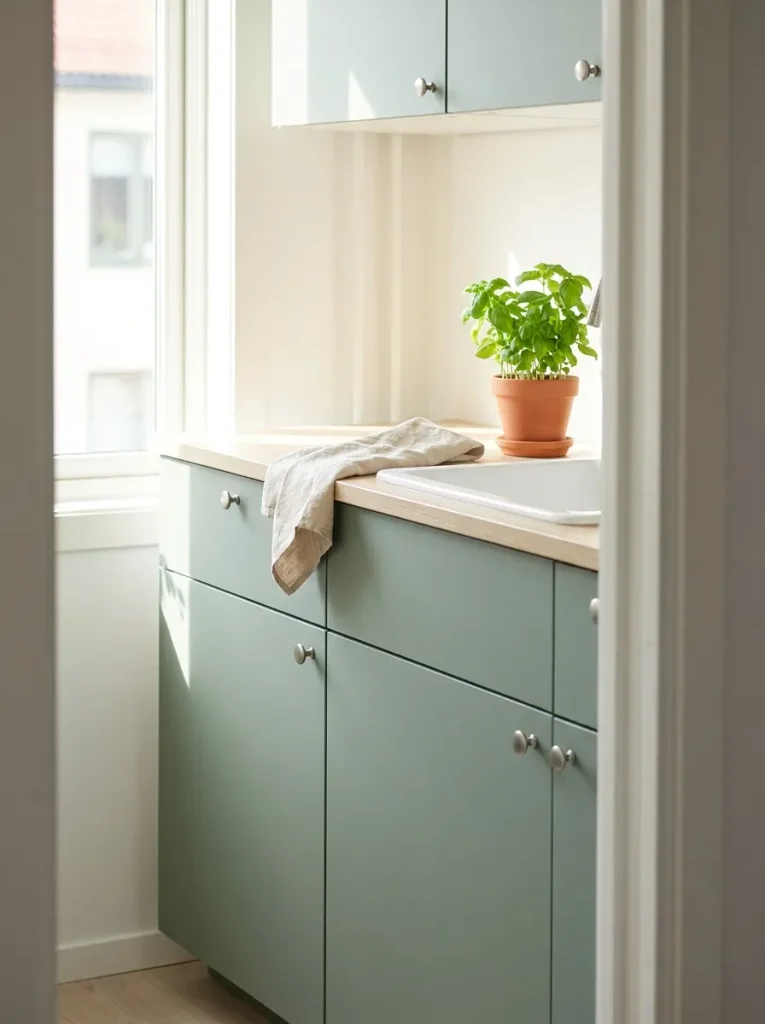
- Fresh, even color or wood grain on every door
- A smooth surface that wipes clean
- The same knobs and hinges, now looking planned
- A finish that peels off clean at move-out
Good to know: Up close, you may see a faint line at each corner fold. From across the room, it reads as a solid finish.
- Cabinet vinyl (+15% extra)
- Painter’s tape and marker
- Zip-top bags
- Dish soap and rubbing alcohol
- Lint-free cloths
- Screwdriver
- Tape measure and metal ruler
- Craft knife and cutting mat
- Felt squeegee
- Hair dryer and sewing pin
- Get landlord okay in writing
- Test patch for 48 hours
- Number doors and frames
- Remove doors, bag hardware
- Wash off grease
- Alcohol wipe, dry 30 min
- Measure, add 1 inch per side
- Cut vinyl with a sharp blade
- Anchor top 2 inches
- Squeegee center out as you peel
- Slant-cut corners, fold edges back
- Heat edges 20 to 30 sec
- Open holes, rehang, wait 24 hours
Enjoy Your New Kitchen
Your cabinets look fresh, and your deposit is still safe.
Now you know how to update rental cabinets with vinyl, a squeegee and a little patience.
Got leftover vinyl? Try it next on your bathroom vanity doors.
Save this pin to your renter board so it’s ready the next time you move.
If you have film left over, try the same film on your countertops. Here’s how to make them over without replacing a thing.
Cabinets are just one piece. For the rest of the room, here are 12 easy, removable kitchen ideas for renters.

