
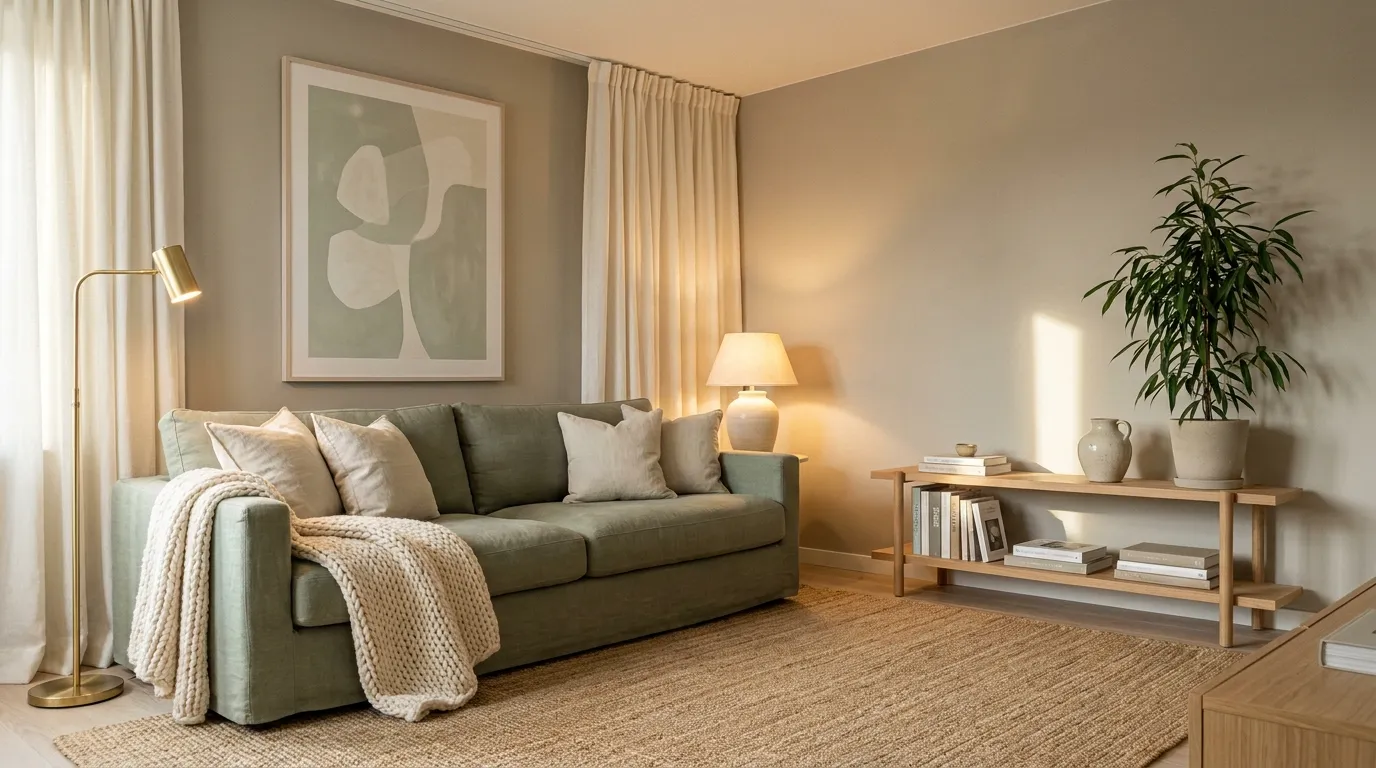
If you’ve been looking up how to make your apartment look expensive without spending much, you’re probably standing in a room that feels a little off. Nothing is broken. Nothing is ugly. It still looks like a first apartment.
I lived in that room for years. I kept buying throw pillows and candles, hoping the next one would fix it. It never did.
The problem was never the stuff I owned. It was clutter, harsh overhead light, curtains hung too low, and a rug the size of a bath mat.
This guide fixes those things in the right order. You’ll clear and clean first, then pick your colors, then make the big moves with light, curtains, and your rug. Small styling comes last, once the room is ready for it.
Every step is renter-friendly, and most of them cost less than a dinner out.
Plan for one weekend. The hands-on work takes about 6 to 8 hours, but you’ll want breaks between steps to shop and to look at the room with fresh eyes. Clear your Saturday morning and start with step one.
What You Need
- 3 bins or boxes (keep, donate, trash)
- Trash bags
- Microfiber cloths
- Magic eraser
- All-purpose cleaner
- Grout brush or an old toothbrush
- Warm white LED bulbs (2700K)
- 2 to 3 lamps in different heights
- Cord clips or a cable box
- Curtain rod (window width plus 16 to 24 inches)
- Floor-length curtain panels (84 or 96 inches)
- Rug (5×8 or larger for most living rooms)
- Measuring tape
- Matching knobs and switch plates
- Screwdriver and zip-top bags
- One large art print or mirror
- Removable hooks or strips, plus a level
- Linen or wool throw and pillow covers
- One plant, a few books, a small vase
At a Glance
- Clear surfaces down to 3 items
- Deep clean the small details
- Pick a 3-color palette
- Swap bulbs for warm 2700K light
- Add lamps at 3 heights
- Hide cords and chargers
- Hang curtains high and wide
- Size up your rug
- Swap knobs and switch plates
- Hang one oversized art piece
- Layer natural textures
- Style surfaces in groups of 3
1. Clear every surface down to three items or fewer
Clutter is the fastest way a room reads as cheap. Expensive rooms look calm because your eye has space to rest. Go surface by surface: coffee table, kitchen counter, nightstands, dresser, shelves. Leave 3 items or fewer on each one. Everything else goes into a bin marked keep, donate, or trash. Don’t sort the keep bin today. Slide it into a closet and deal with it next week.
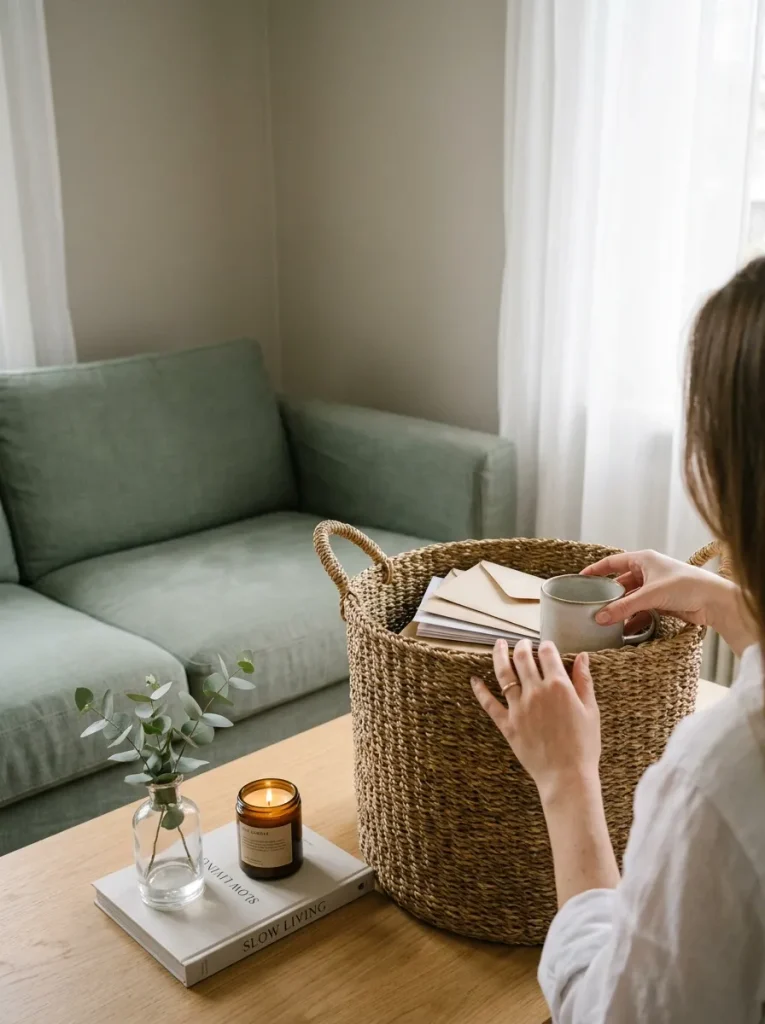
Take a phone photo of each surface before you start. Photos show clutter your eyes stopped noticing months ago.
2. Deep clean the small details that make a room look tired
Two hours of detail cleaning does more than any new pillow. Grime in small places makes even nice furniture look worn, and guests notice it before you do. Spend about 2 hours on these spots:
- Wipe light switches and switch plates.
- Scrub grout lines with a grout brush or old toothbrush.
- Wash windows, sills, and tracks.
- Dust baseboards with a damp microfiber cloth.
- Polish mirrors and picture frame glass.
Work from top to bottom so falling dust lands on spots you haven’t cleaned yet.
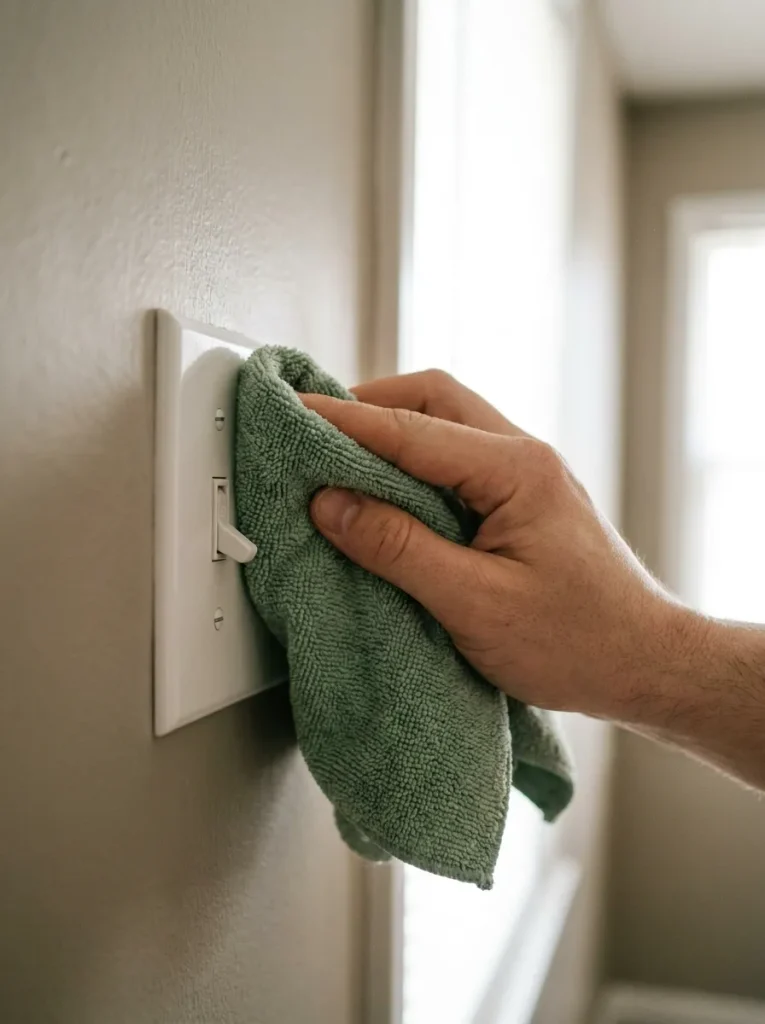
Magic erasers are mildly scratchy. On flat or matte wall paint, they can leave a shiny patch your landlord will spot. Test a hidden area behind furniture first.
3. Choose a three-color palette and stick to it
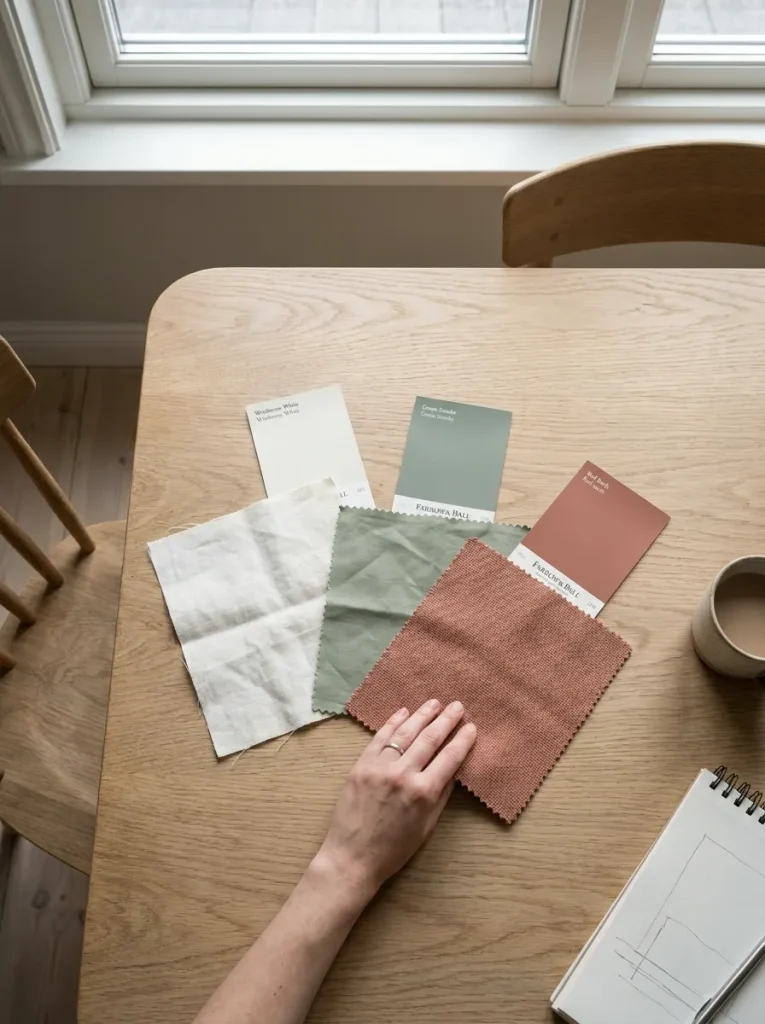
If your sofa and walls are already neutral, two of your colors are picked for you. Use the 60-30-10 rule. 60% of the room is your main neutral (walls, big furniture). 30% is a second color (rug, curtains, bedding). 10% is your accent (pillows, art, a vase). Matching colors make inexpensive pieces look like they were chosen together. Save your three colors in your phone notes and check every purchase against them.
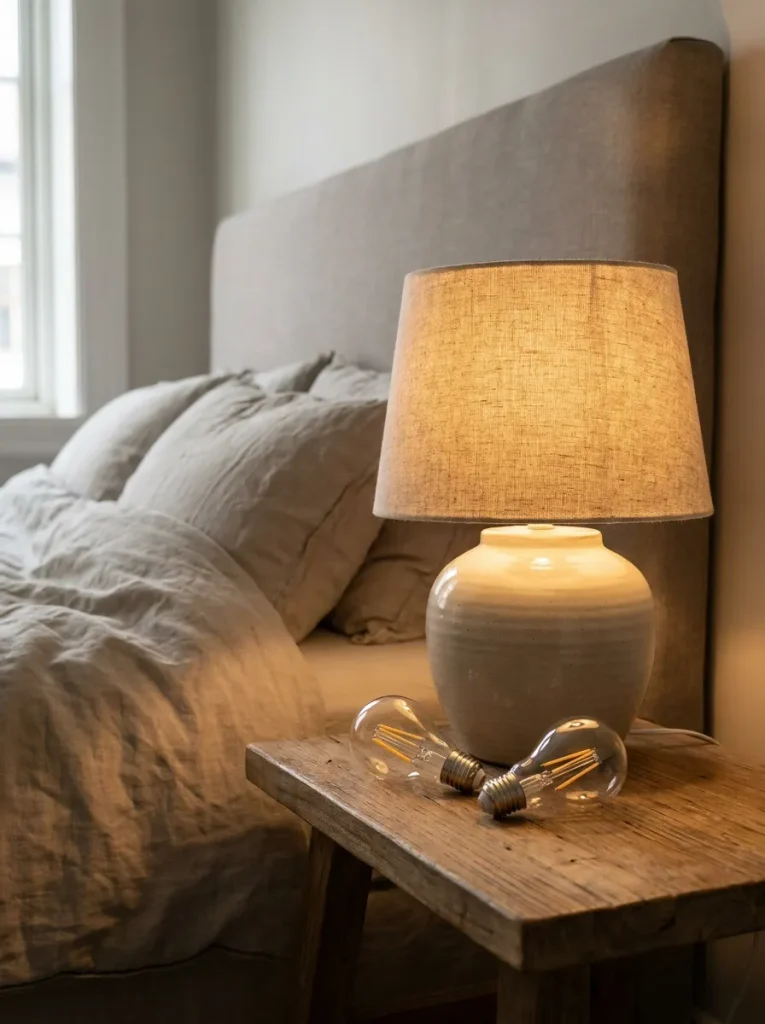
4. Swap every bulb for warm white 2700K light
Look at the bulb box, not the bulb. You want 2700K on the label. That number is color temperature. Low numbers glow warm and golden, like candlelight. High numbers, like 5000K, look blue and harsh, like an office. Mixed bulbs make a room look patchy, so change every bulb in a room at once, even the ones that still work. For main lamps, pick bulbs around 800 lumens.
5. Add lamps at three different heights
At night, one ceiling light makes every corner look flat and every shadow look harsh. Nice homes and hotels light rooms in layers instead. Place a floor lamp at about 5 feet tall, a table lamp near sofa-arm height at 2 to 3 feet, and one low accent light on a shelf or console. Spread them in a loose triangle so light reaches each corner. Then turn the overhead light off after sunset. Don’t want to buy three lamps? Move one you already own and add a battery-powered puck light to a shelf.
Three heights is the shortcut version of a bigger idea. If you want the full method, here’s how to layer lighting in a small apartment using the three-source rule.
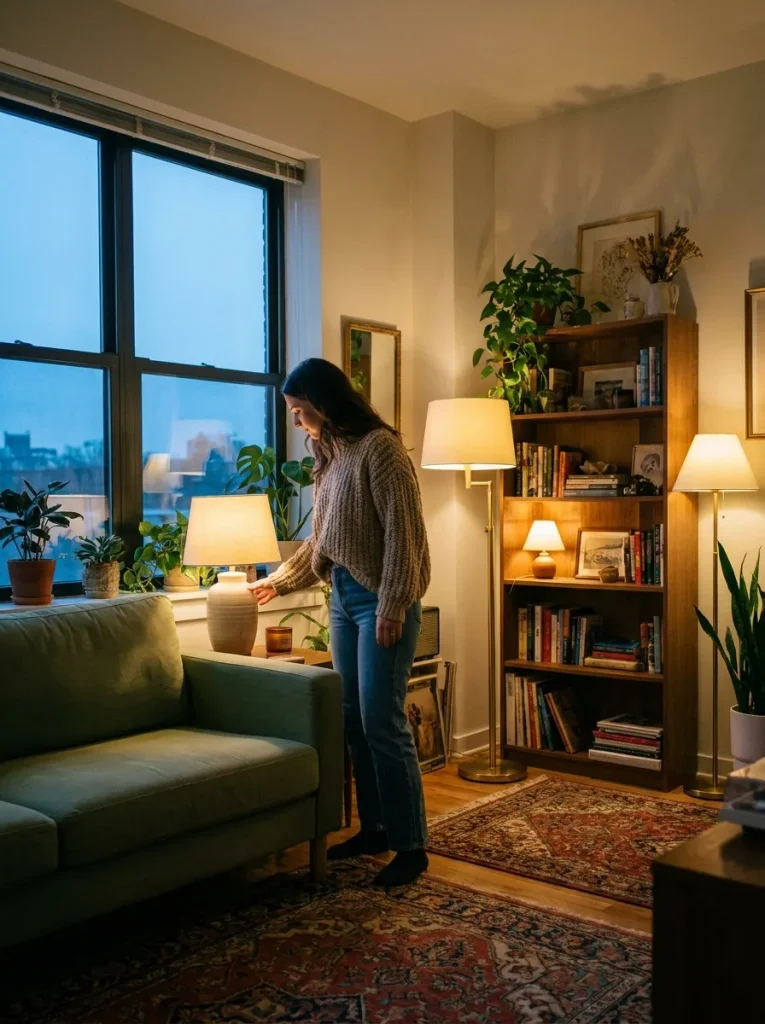
Thrift stores are full of solid lamp bases with ugly shades. Buy the base for a few dollars and put a plain linen drum shade on it. It will look like a lamp that cost five times as much.
6. Hide every visible cord and charger
Three or four dangling cords can undo all the work you put into your lighting. Spend about 30 minutes on this round:
Here’s a full walkthrough on how to hide cords in an apartment so lamps look built in.
- Run lamp cords down the back legs of furniture and clip them in place.
- Tuck power strips into a cable box or behind a basket.
- Move phone chargers into a drawer or a small lidded box.
- Cover cords that cross a wall with stick-on cord channels.
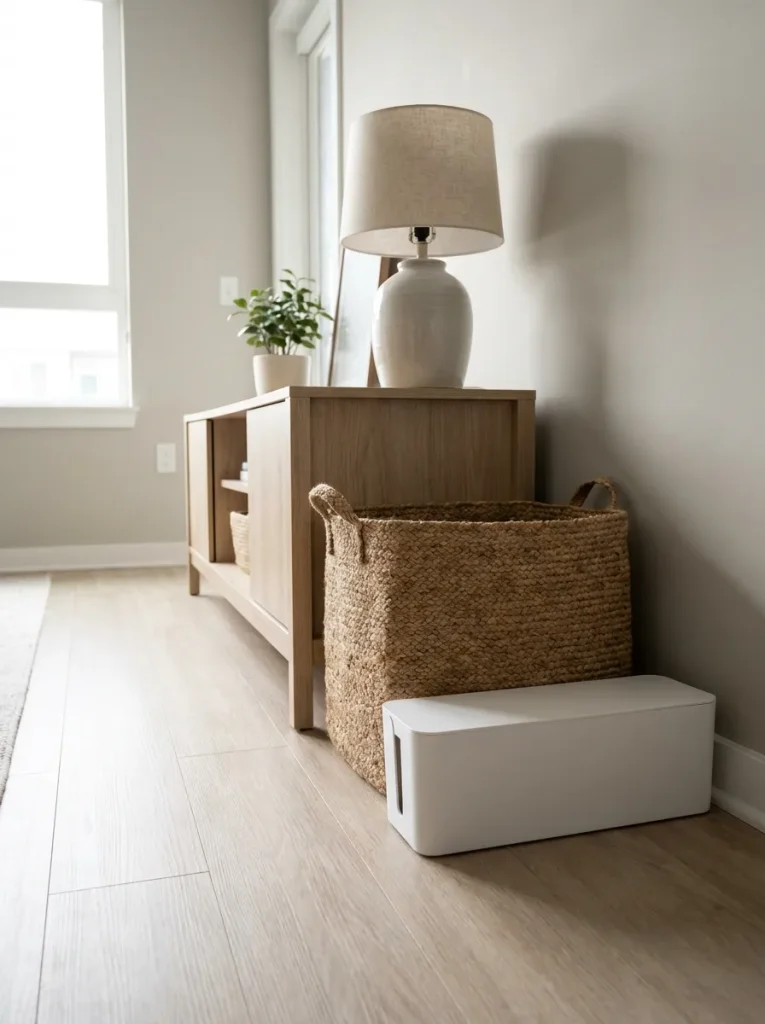
Never hide cords under a rug. Foot traffic wears down the coating, and the trapped heat can start a fire. Route them along walls or behind furniture instead.
7. Hang your curtains high and wide
Where does your curtain rod sit right now? If it’s right on top of the window frame, it makes your ceiling look lower than it is. Mount the rod 4 to 6 inches below the ceiling, and extend it 8 to 12 inches past each side of the window. When the curtains are open, they cover wall instead of glass, so the window looks bigger and lets in more light. Small screw holes are usually fine in rentals, but check your lease first. If you can’t drill, use heavy-duty adhesive curtain hooks rated for your curtains’ weight.
Not allowed to drill? You can still go high and wide. Here’s how to hang curtains without drilling a single hole in your rental.
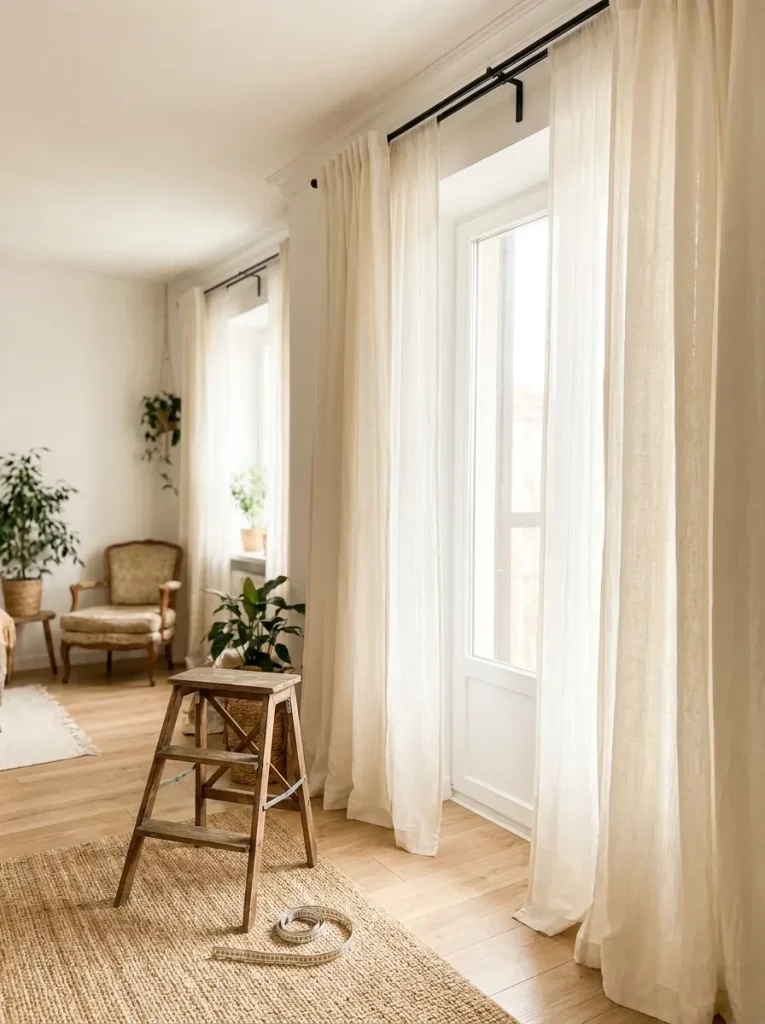
Measure from the rod down to the floor before you buy panels. Once the rod moves up, standard 84-inch curtains often hang short and stop above the floor. Most raised rods need 96-inch panels.
8. Size up your rug so the furniture sits on it
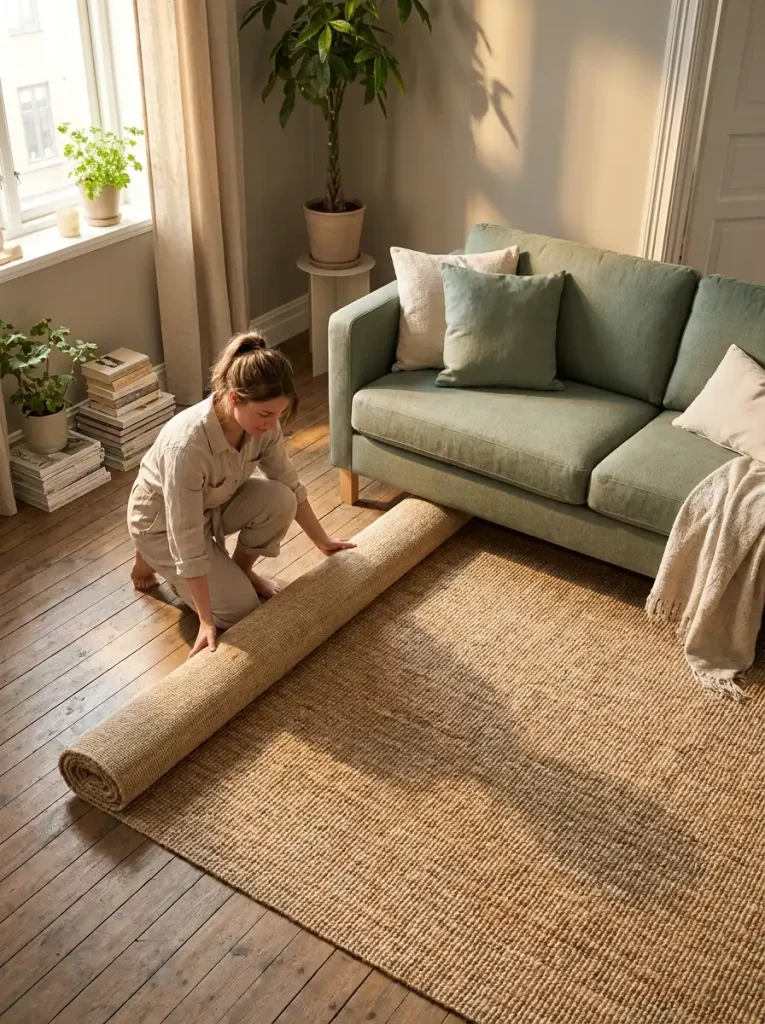
A small rug floating in the middle of the floor makes the whole room look smaller. The front legs of your sofa and chairs should rest on the rug. In most small living rooms, that means a 5×8 at minimum, and often an 8×10. Leave 8 to 12 inches of bare floor between the rug and the walls. If a large rug is too pricey, buy a big, inexpensive jute or flat-weave rug and layer your smaller patterned rug on top.
A bigger rug also happens to be the easiest way to hide a floor you hate. If yours needs more help, I’ve got 18 renter-friendly fixes for ugly floors.
9. Swap builder-grade knobs and switch plates for a matching finish
Shiny silver knobs and yellowed plastic switch plates are details people feel without naming. Pick one finish, like brushed brass, matte black, or brushed nickel, and use it everywhere. One finish across the whole apartment looks planned.
- Bring one old knob to the store so the screw size matches.
- Measure the distance between screw holes on pulls, usually 3 inches or 96 mm.
- Unscrew switch plates (two screws each) and swap them. Don’t touch the wiring.
- Drop every original piece into a labeled zip-top bag.
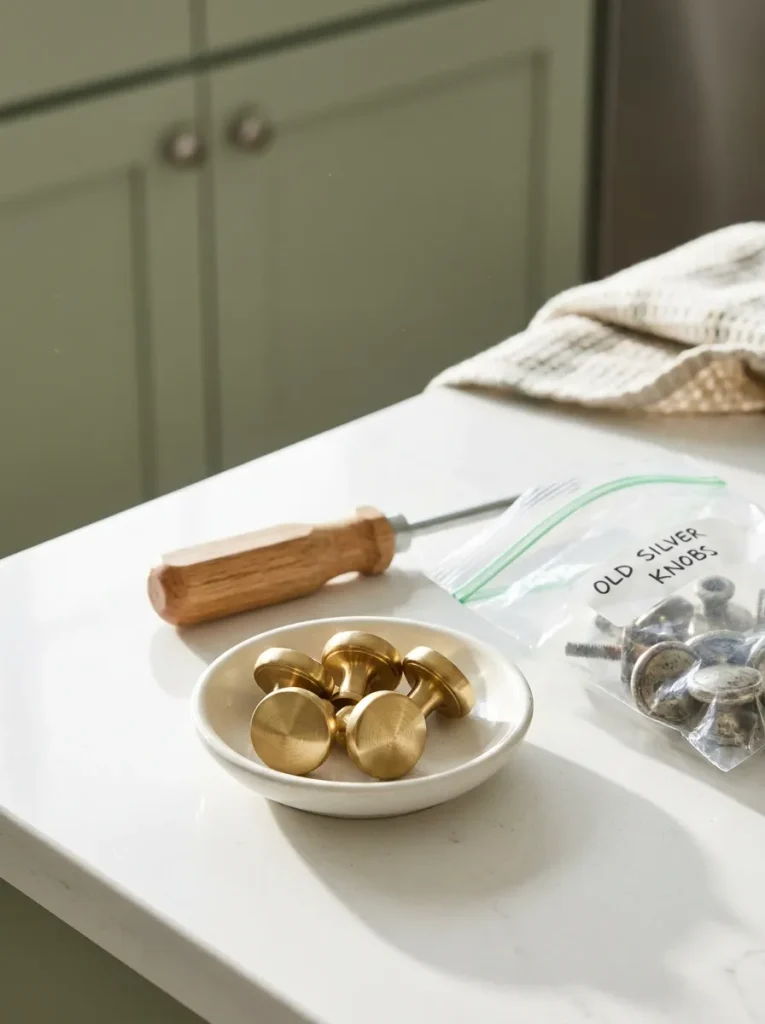
Tape the bag of original hardware inside the cabinet under your kitchen sink. On move-out day, it will be right where you need it, and swapping everything back takes about 20 minutes.
10. Hang one oversized piece of art instead of many small frames
Lots of small frames scattered around a small room read as clutter. One large piece reads as a choice. Aim for art about two-thirds the width of the furniture below it, hung 8 to 10 inches above the sofa back or headboard. On an open wall, center it at 57 inches from the floor. Outline the size with painter’s tape first and live with it for a day. Large art doesn’t have to cost much. Print a digital download at a print shop in a large size, or lean a big floor mirror against the wall.
One big piece also tricks the eye into reading the wall as larger. It’s one of my 20 easy ways to make your apartment look bigger.
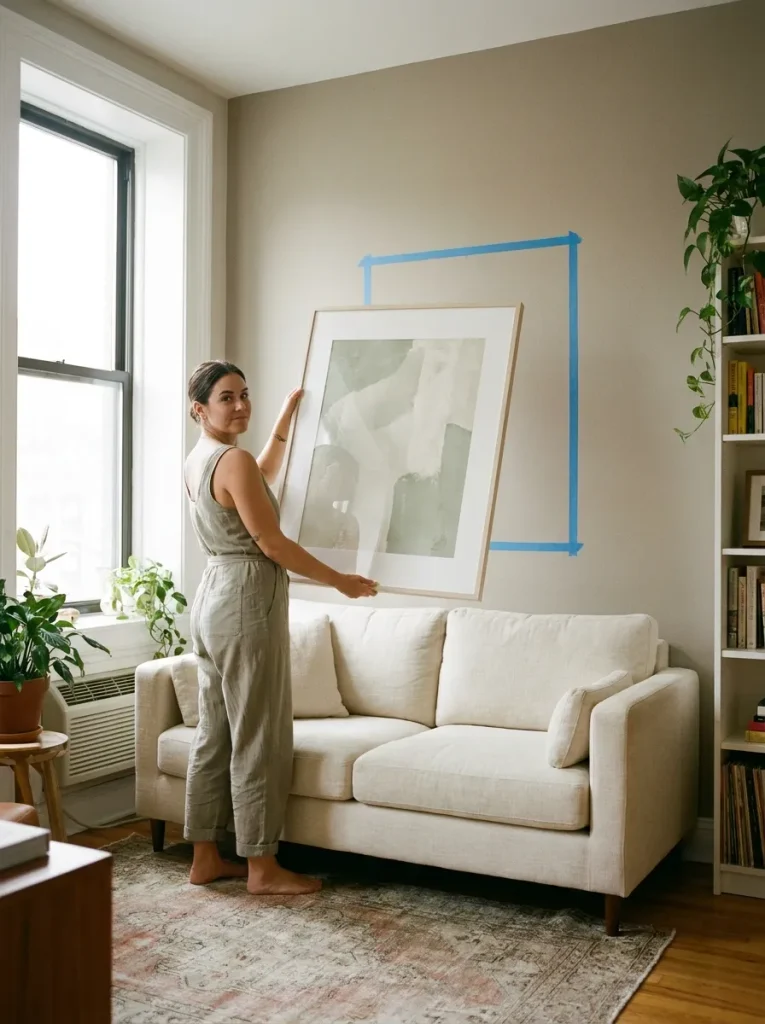
Check the weight limit on the package before you use removable strips. A heavy mirror or framed print over your bed needs a proper wall anchor, not adhesive. If the frame is close to the limit, use one more pair of strips than the package says.
11. Layer natural textures like linen, wool, and wood
Polyester is the giveaway. Natural materials catch light unevenly, and that softness is what reads as expensive. Give each room at least 3 textures: a linen pillow cover, a chunky knit or wool throw, and something wooden or ceramic. Keep them all inside your palette from step 3. You don’t need new pillows, either. New covers on your old inserts cost far less and look the same.
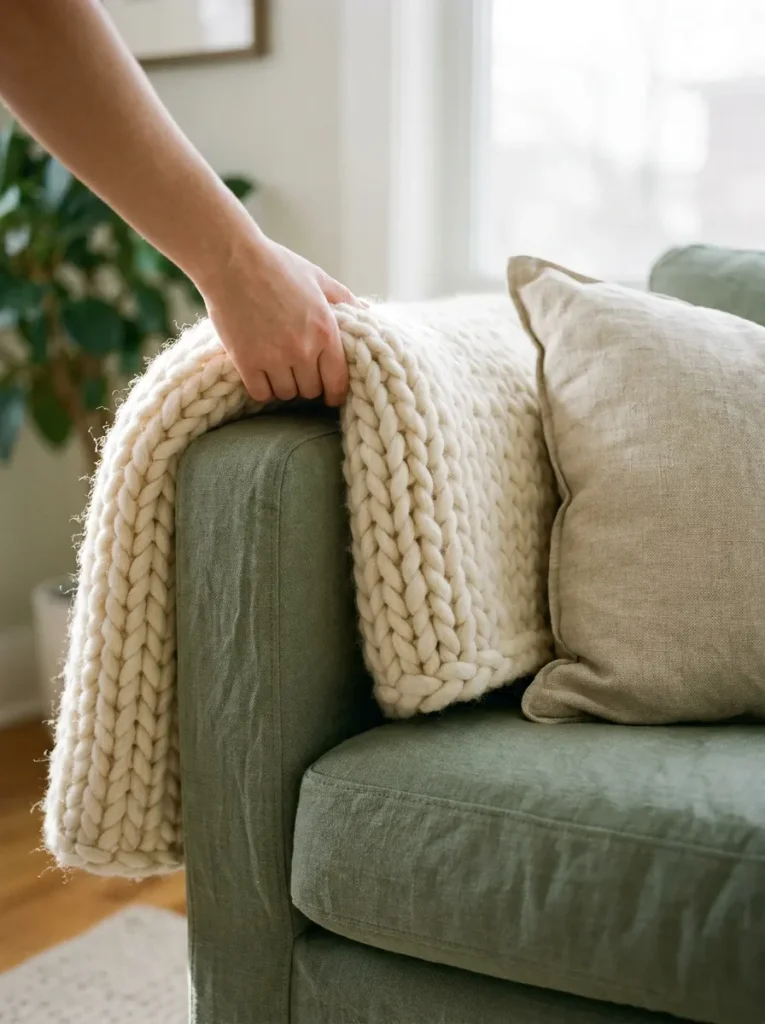
Put an insert one size bigger than the cover, like a 20-inch insert in an 18-inch cover. The pillow looks full and plump instead of flat, the way pillows look in hotels.
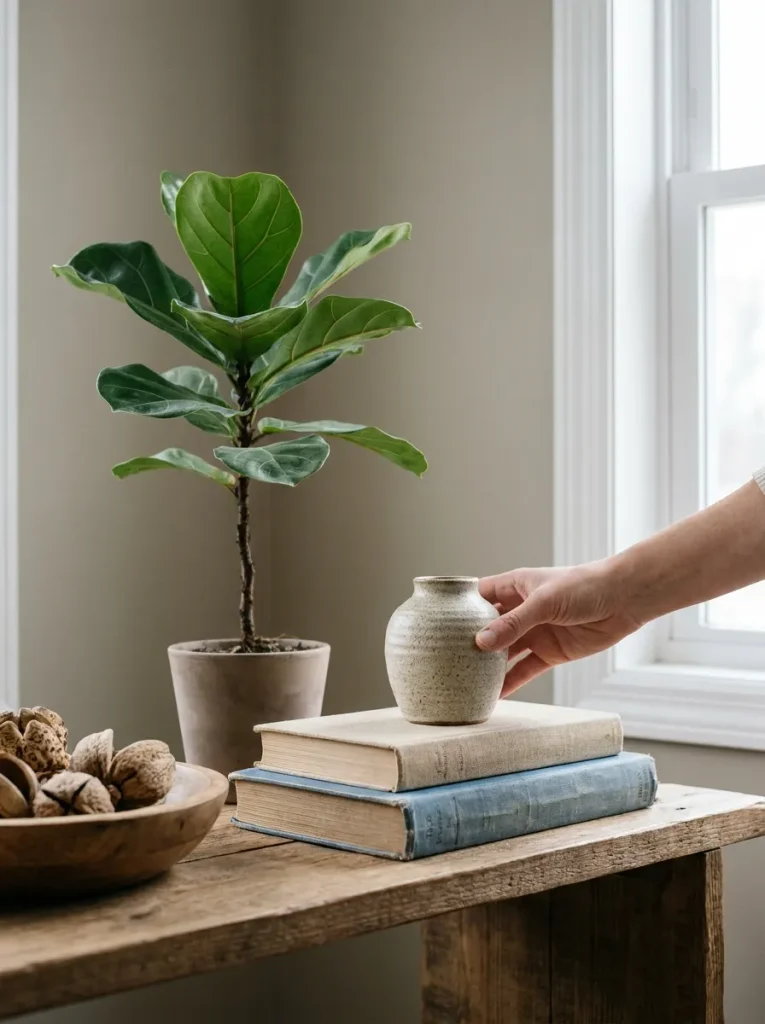
12. Style shelves and tables in groups of three at different heights
Three objects, three heights. Groups of three look relaxed, while pairs look stiff. For each group, pick:
- Tall: a plant, a vase with branches, or a lamp
- Medium: a stack of 2 or 3 books lying flat
- Low: a small bowl, a candle, or a tray
Put the tall piece toward the back and let the pieces overlap a little. Leave bare space between groups. On a shelf, that empty space is part of the look, so resist filling it.
Common Mistakes to Avoid
These are the slip-ups that keep a room looking cheap, even after all the work.
Frequently Asked Questions
Expensive Look Cheat Sheet
- Bins, cloths, cleaner, magic eraser
- 2700K warm white bulbs
- 2 to 3 lamps
- Cord clips or cable box
- Long rod and 96-inch curtains
- 5×8 or 8×10 rug
- Matching knobs and switch plates
- One large art print or mirror
- Linen, wool, and wood pieces
- Plant, books, small vase
- Clear surfaces to 3 items
- Clean switches, grout, windows
- Pick 3 colors (60-30-10)
- Swap in 2700K bulbs
- Add lamps at 3 heights
- Hide cords and chargers
- Hang curtains high and wide
- Put furniture legs on the rug
- Use one hardware finish
- Hang one big art piece
- Add 3 natural textures
- Style in groups of 3
Conclusion
Your apartment now has clear surfaces, warm layered light, tall curtains, and pieces that look chosen on purpose.
That’s how to make your apartment look expensive without a big budget. You didn’t buy a new room. You fixed the one you already had.
Next, give your entryway the same treatment, since it’s the first thing guests see when they walk in.
Save this pin to your apartment ideas board so the steps are ready the next time you move.
Want to take this room by room? The bathroom is the quickest win, and here’s how to make a rental bathroom look expensive in a single weekend.

