
You open the cabinet above the stove, and a stack of plastic lids slides out and hits the floor. Again. In a small kitchen, every inch has to do two jobs, so clutter shows up fast and refuses to leave. If you’ve looked up kitchen organization for beginners and felt worn out by photos of perfect walk-in pantries, start here instead.
This guide takes you through one cabinet at a time. You’ll clear it, clean it, sort what’s inside, and put back only what you use, in the spot where your hand already reaches. Then you repeat. You don’t take over the whole kitchen at once, and you don’t buy bins before you know what fits.
Here’s why it works. Small wins keep you moving. Finishing one cabinet in 30 to 45 minutes feels good, and that feeling carries you to the next one. Trying to do the whole room in one afternoon is how most people end up with every dish on the counter and no energy left to put any of it back.
Be honest about time. A typical apartment kitchen takes about 4 to 6 hours in total. You can spread it over a weekend, or do one cabinet each night this week. Grab a trash bag and a box, and let’s open that first door.
What You Need
Everything in the left column is probably already in your home. Hold off on the right column until Step 7.
- 2 large trash bags
- 1 box or tote for donations
- 1 laundry basket for “goes elsewhere” items
- All-purpose cleaner (or warm water + a few drops of dish soap)
- 2 microfiber cloths (or an old cotton T-shirt)
- Tape measure
- Masking tape + permanent marker
- Your phone, for photos and a timer
- Non-adhesive shelf liner
- Shelf risers (wire or bamboo)
- Clear bins or baskets
- Adhesive hooks (renter-friendly)
- Over-the-door or in-cabinet lid rack
- Labels or a label maker
The Whole Process at a Glance
- Pick your most frustrating cabinet
- Clear a landing zone on the counter
- Empty the cabinet completely
- Wipe the shelves and let them dry
- Sort into keep, donate, toss, relocate
- Check every expiration date
- Measure before buying organizers
- Group items by how you use them
- Put daily items at hip-to-shoulder height
- Stack upward with risers
- Use the inside of the door
- Label bins and shelf edges
- Repeat with the next cabinet
- Cut the counter down to three items
- Do a 5-minute nightly reset
Pick the one cabinet that frustrates you most
The cabinet you avoid opening is the right place to start. It might be the one under the sink, or the corner one where pots disappear. Starting there gives you the biggest payoff for your first 30 to 45 minutes, and seeing that change makes the next cabinet feel doable.
Can’t decide? Choose the cabinet closest to your stove, because you open it more than any other. Stick to one door or one drawer, not a whole wall.
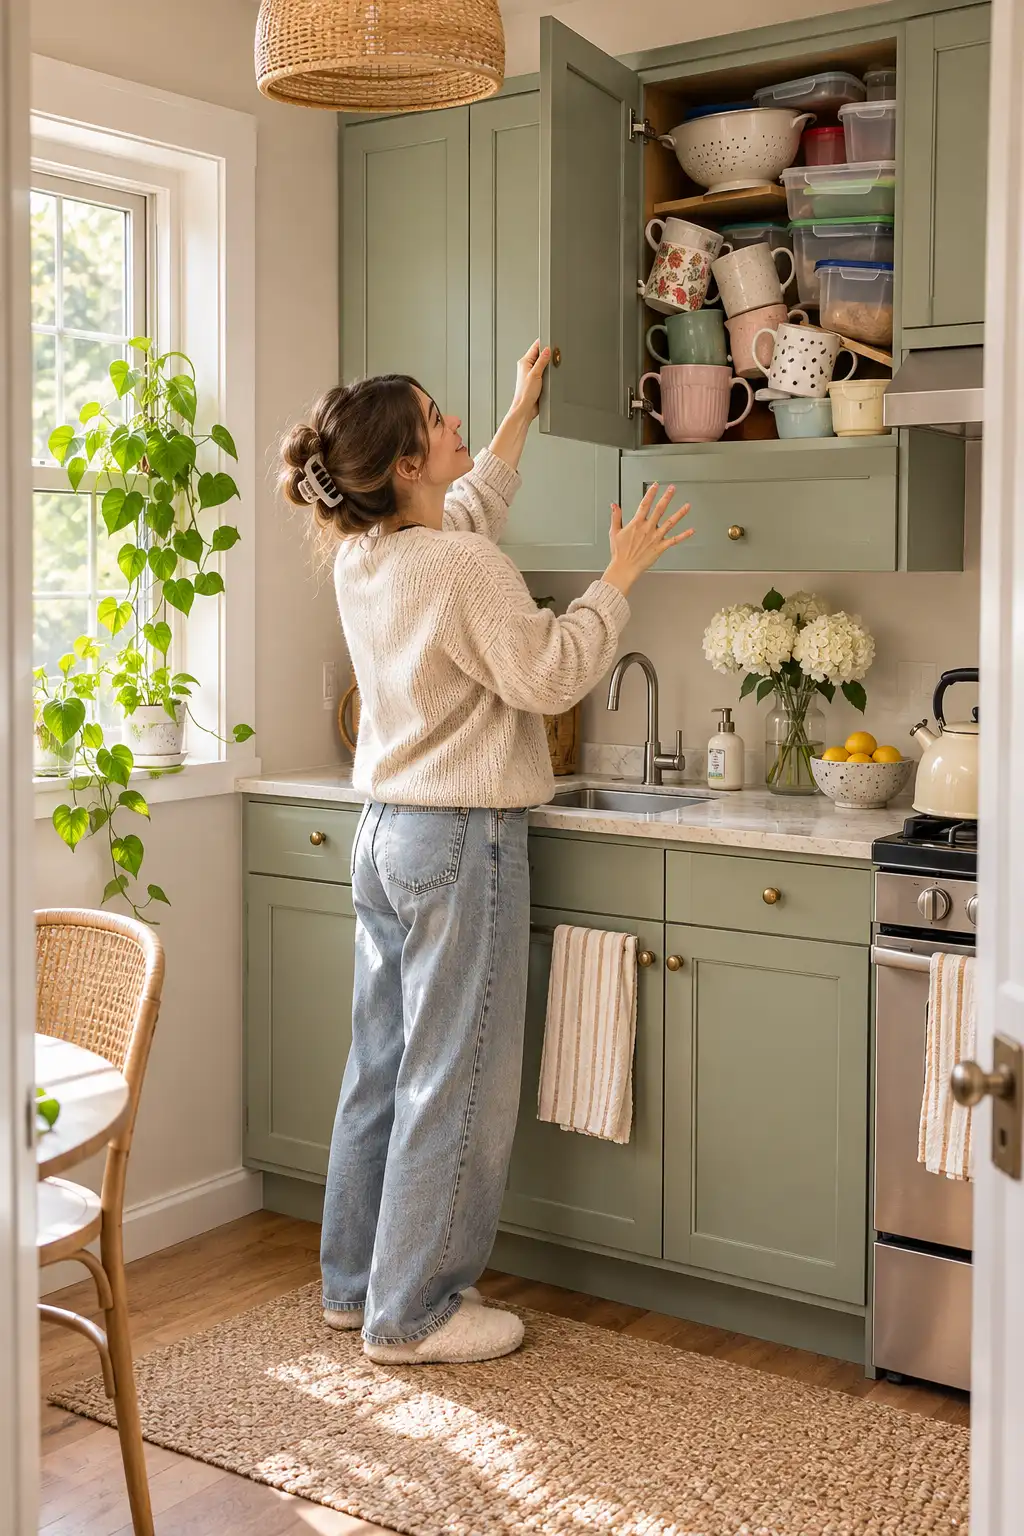
Clear a landing zone on your counter first
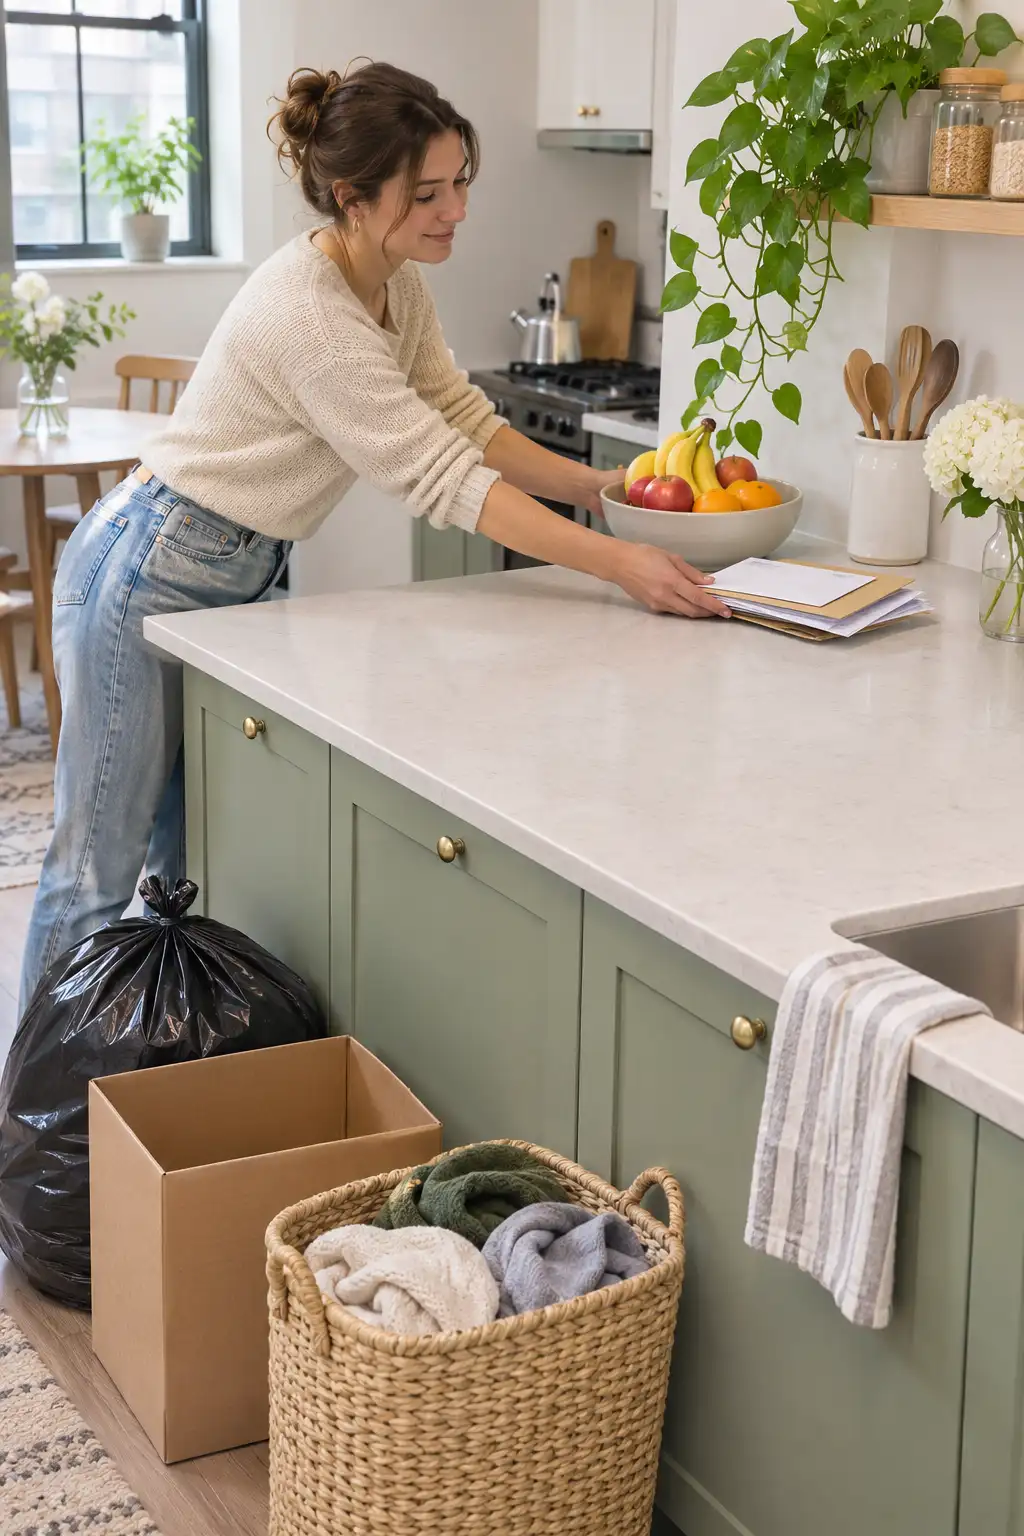
When your counter is already full, the cabinet’s contents end up on the floor or piled on the stove. Free up about 3 feet of counter space, then set these within arm’s reach:
- Trash bag
- Donation box
- “Goes elsewhere” basket
- Cleaner and cloth
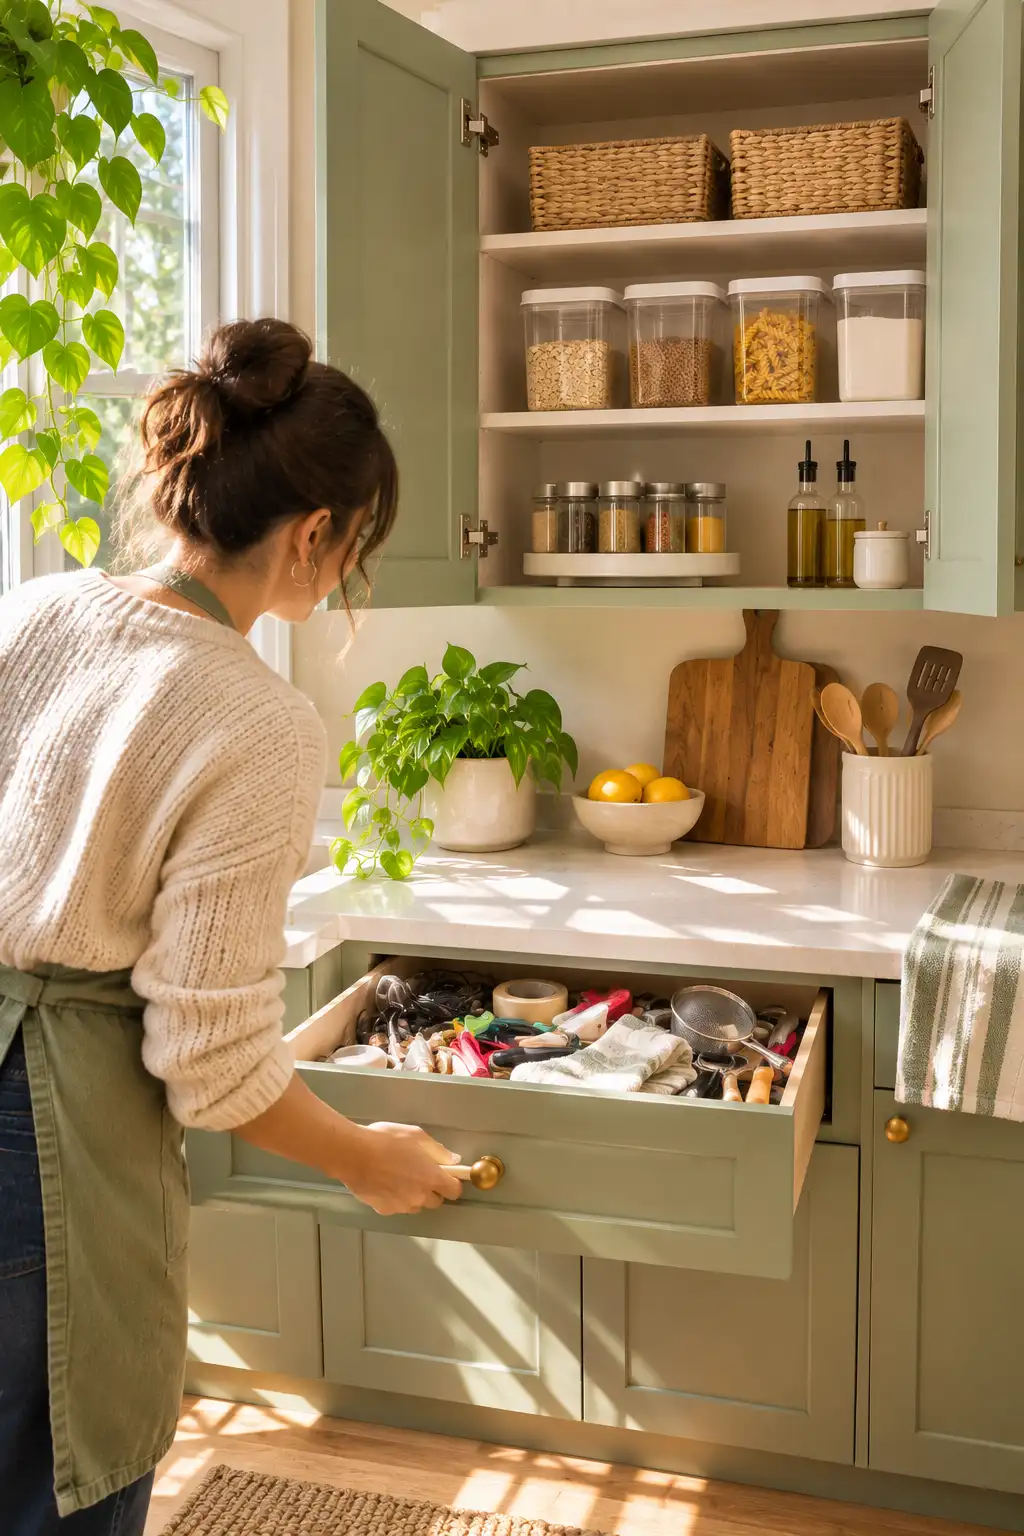
Empty that cabinet down to the bare shelf
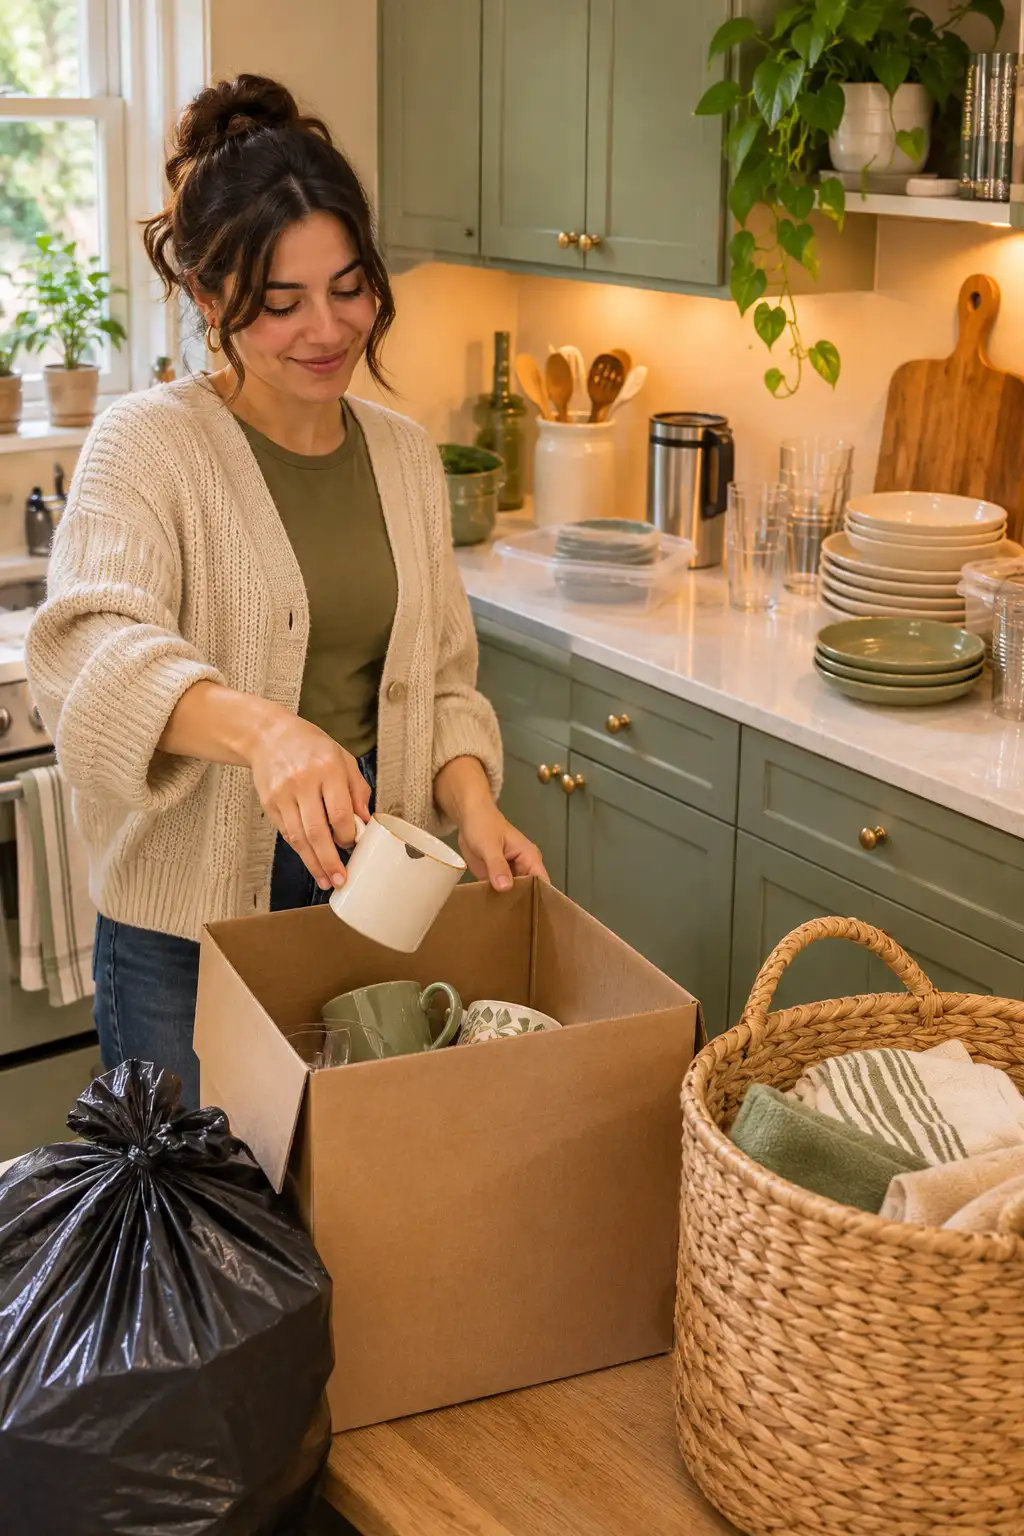
Every item comes out, including the mug wedged in the back corner since last spring. Leaving a few things in place feels faster, but it hides how much room you really have. As you pull items out, set them on your landing zone in loose groups: cups with cups, cans with cans. It doesn’t need to look neat yet.
Anything sticky, cracked, or chipped goes straight into the trash bag instead of onto the counter. That’s one less decision later.
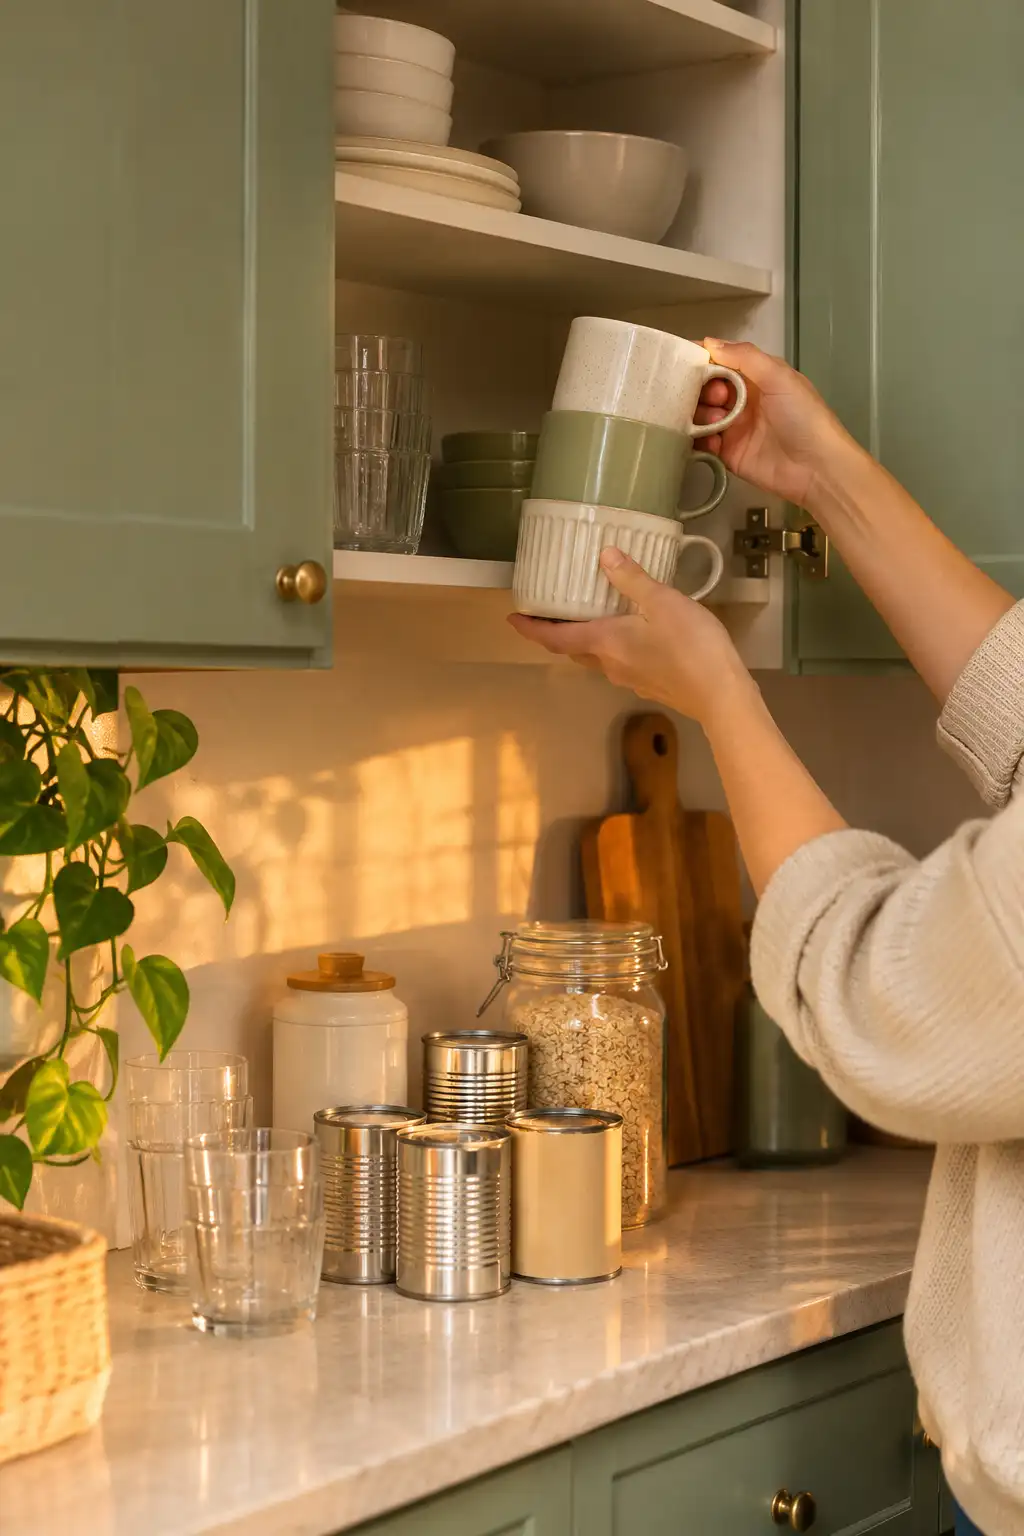
Snap a “before” photo with your phone before you pull out a single item. It keeps you going when you hit the messy middle, and in a few weeks it shows you which items keep sneaking back in.
Wipe the shelves and let them dry fully
Ten minutes of drying time now saves you a smelly mess later. Spray the shelf with all-purpose cleaner, or use warm water with a few drops of dish soap, and wipe from back to front so crumbs fall out instead of into the corners. Use your second cloth to dry it, then leave the door open while it airs out.
Under the sink, look for water stains or soft spots in the wood. Those usually mean a slow leak.
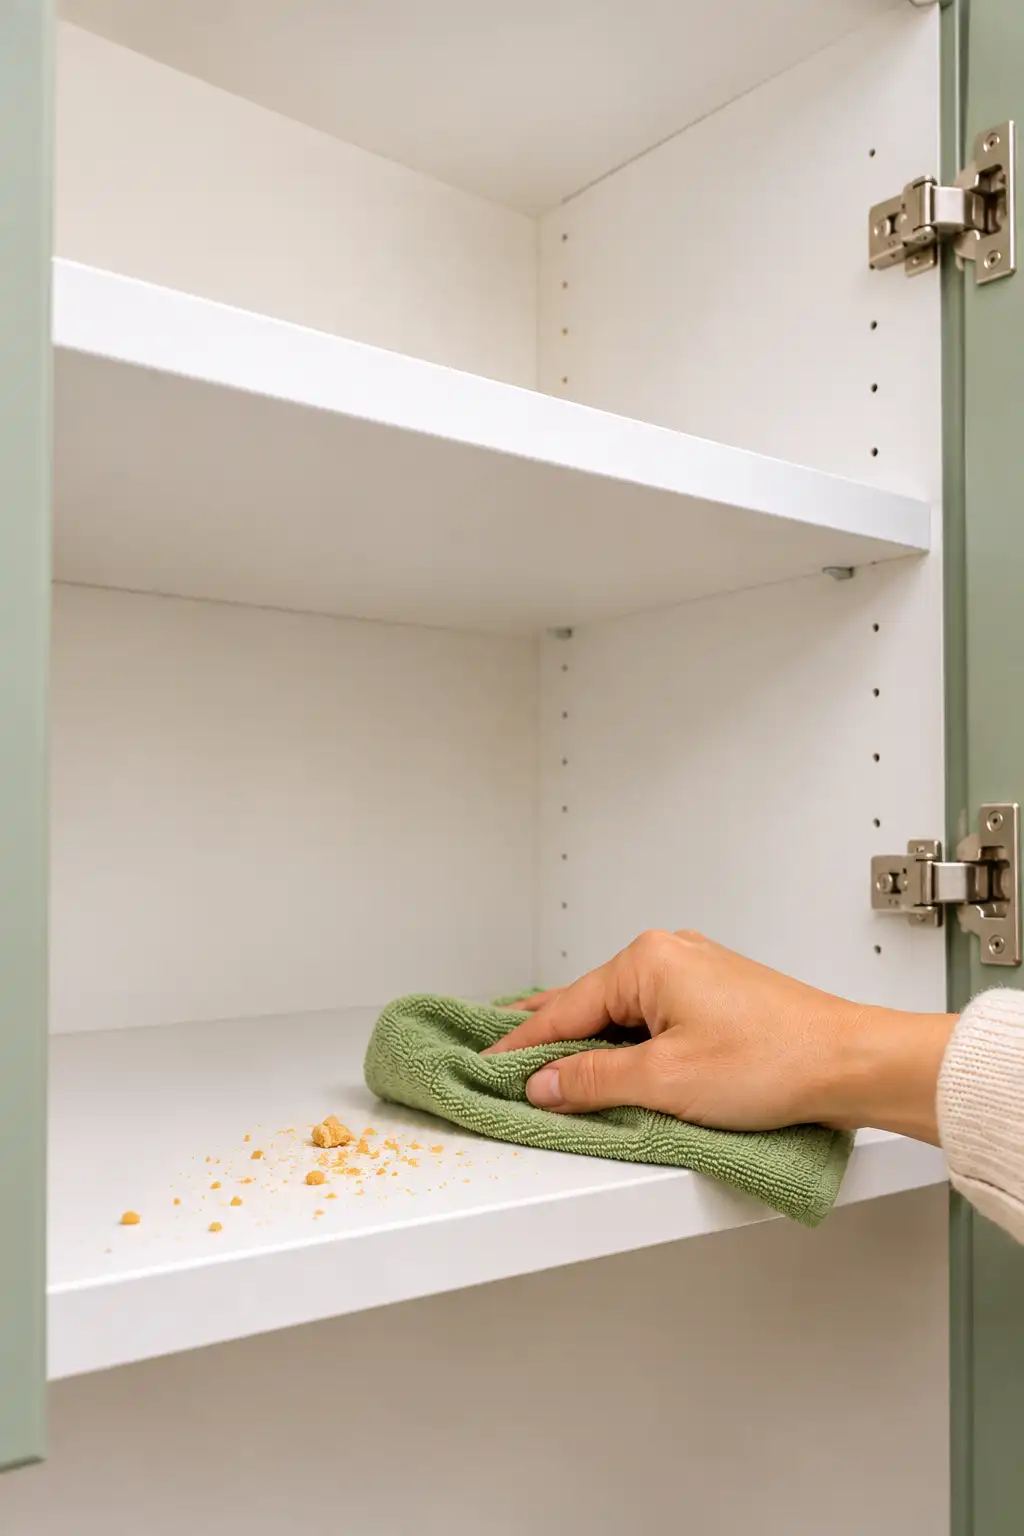
Never lay shelf liner or set cardboard boxes on a damp shelf. Trapped moisture leads to mildew and can warp particleboard cabinets. If you spot a leak under the sink, tell your landlord or fix it before anything goes back in.
Sort everything into four piles: keep, donate, toss, relocate
Have you used it in the last 6 months? That one question settles most items. Each pile works like this:
- Keep: you use it, and it belongs in this cabinet
- Donate: it works, but it hasn’t been touched in 6 months
- Toss: it’s broken, stained, or missing a lid
- Relocate: you use it, but it lives somewhere else, like batteries or tape
Give each item about 10 seconds. If you stall, put it in donate for now. You can pull it back out before the box leaves the house.
Check every expiration date before anything goes back
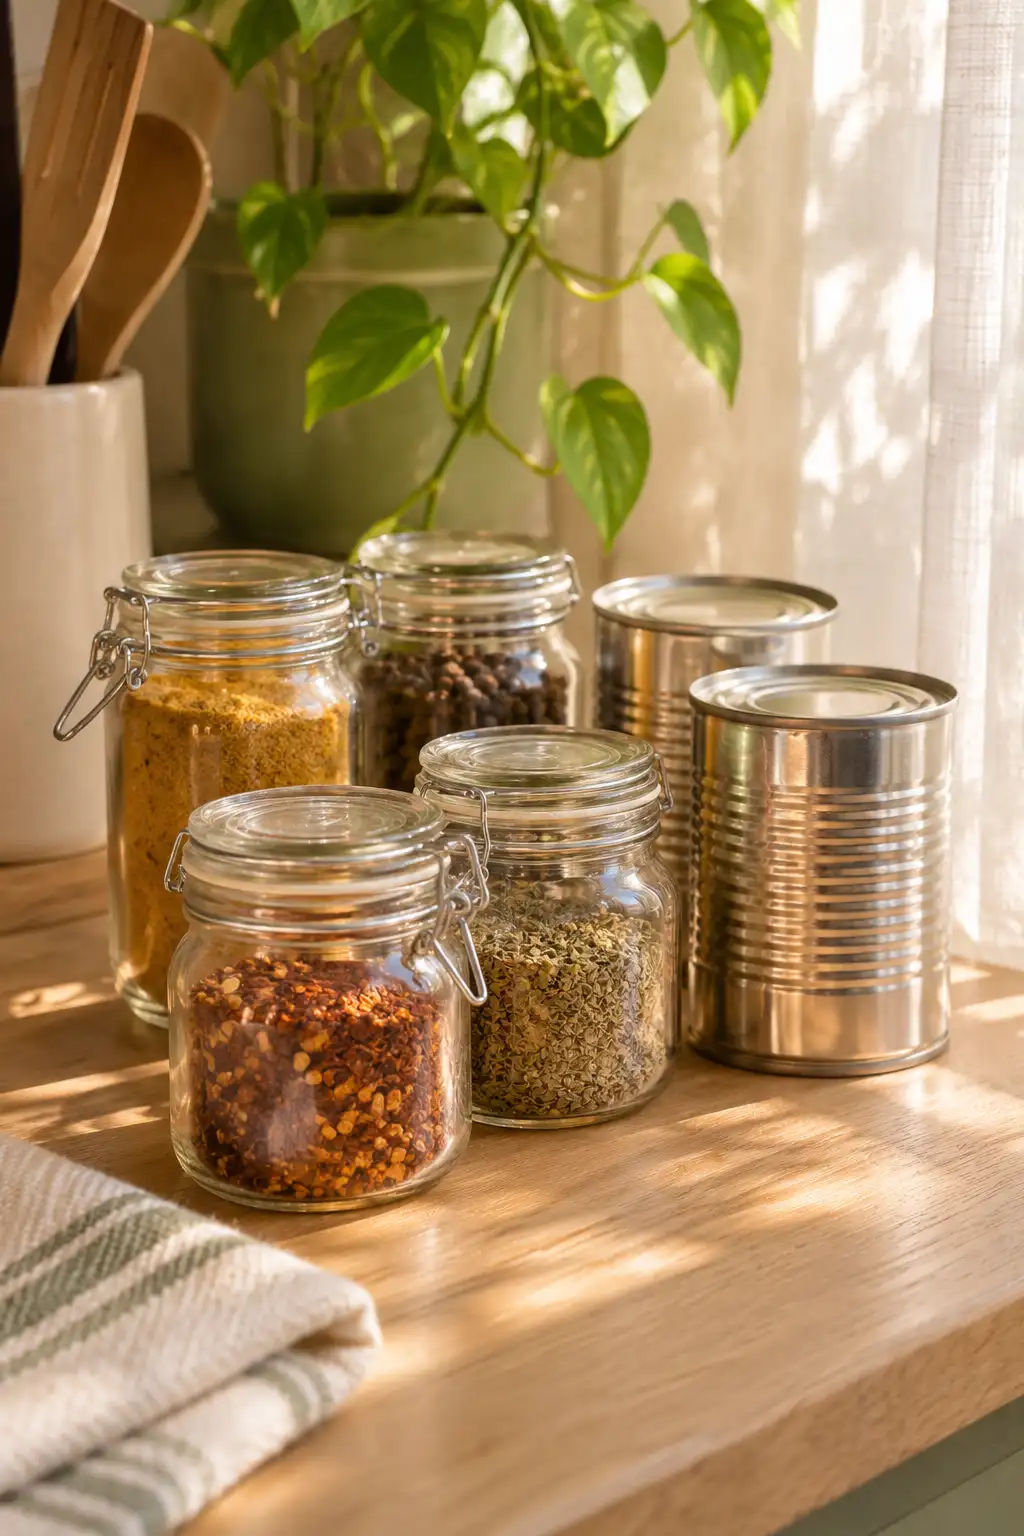
Spices are the sneaky ones. Most lose their flavor after 1 to 2 years, even if the jar looks fine. Rub a pinch between your fingers, and if you can’t smell much, toss it.
For canned goods, check the can itself, not only the date. Bulging, rusted, or deeply dented cans (especially along the seam) go in the trash no matter what the label says.
Measure the empty shelf first, the golden rule of kitchen organization for beginners
Write down three numbers for each shelf: width, depth, and height to the shelf above. Measure from inside the cabinet, past the door hinge, because hinges often steal about 1 inch that product photos never show. Measure the door opening too. A bin can fit the shelf and still be too wide to pass through the frame. Save the numbers in your phone notes so you have them in the store.
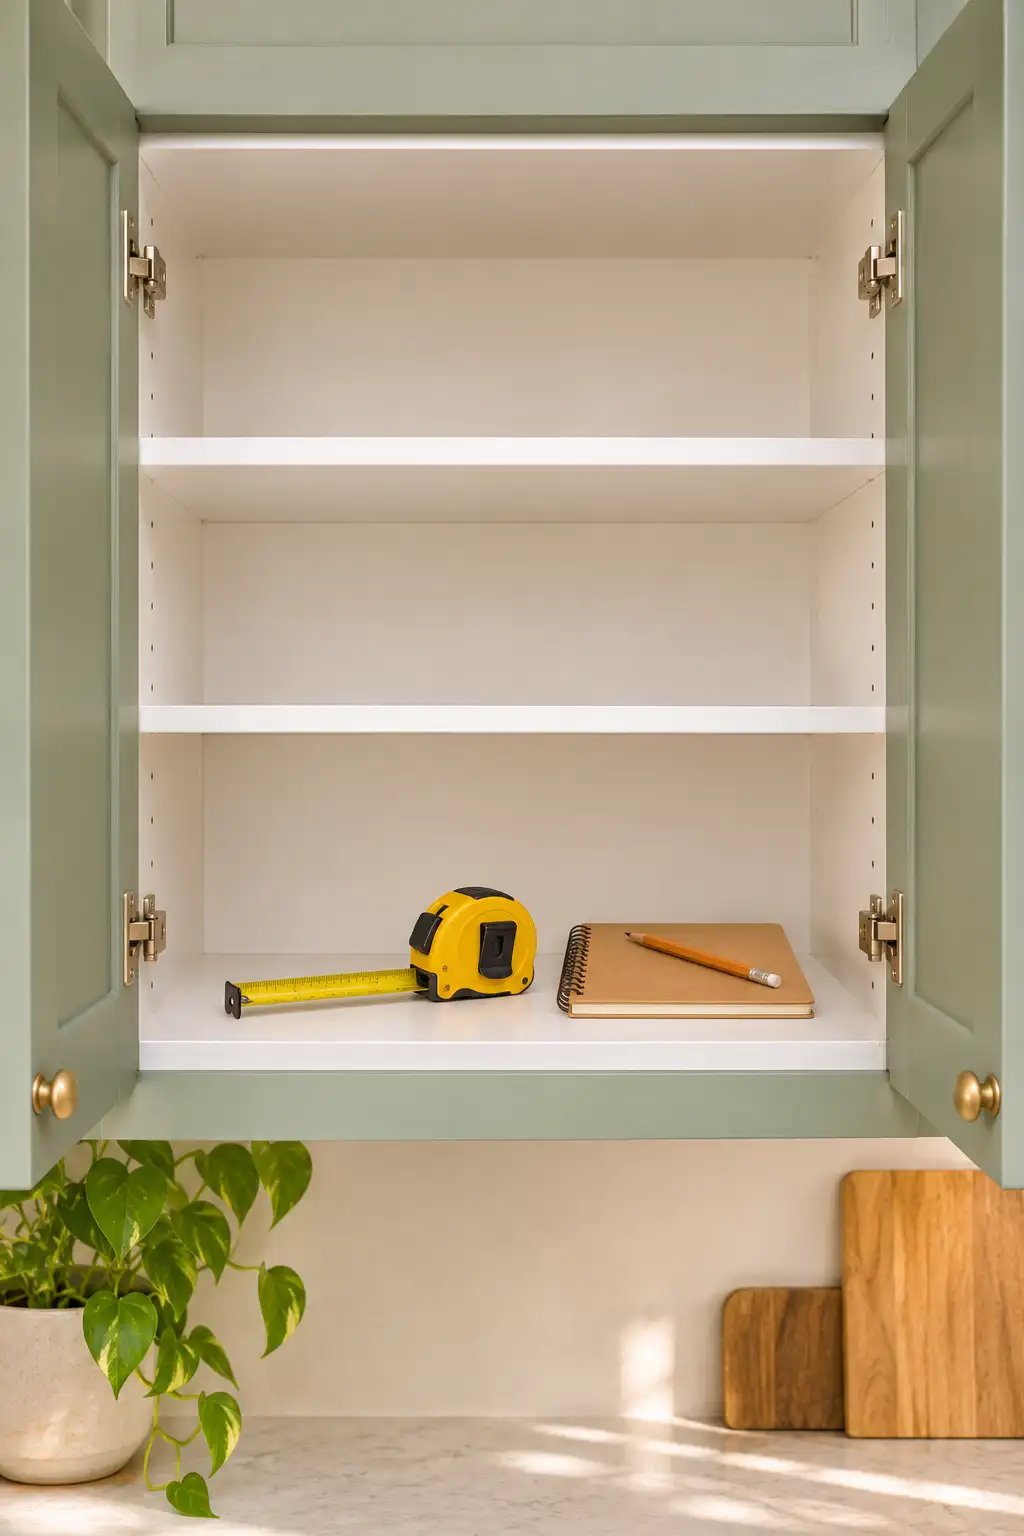
Buying organizers before this step is the most common beginner mistake. Upper cabinets are usually only about 12 inches deep, which rules out a lot of popular pantry bins. Measure first, shop second.
Group what’s left by how you use it
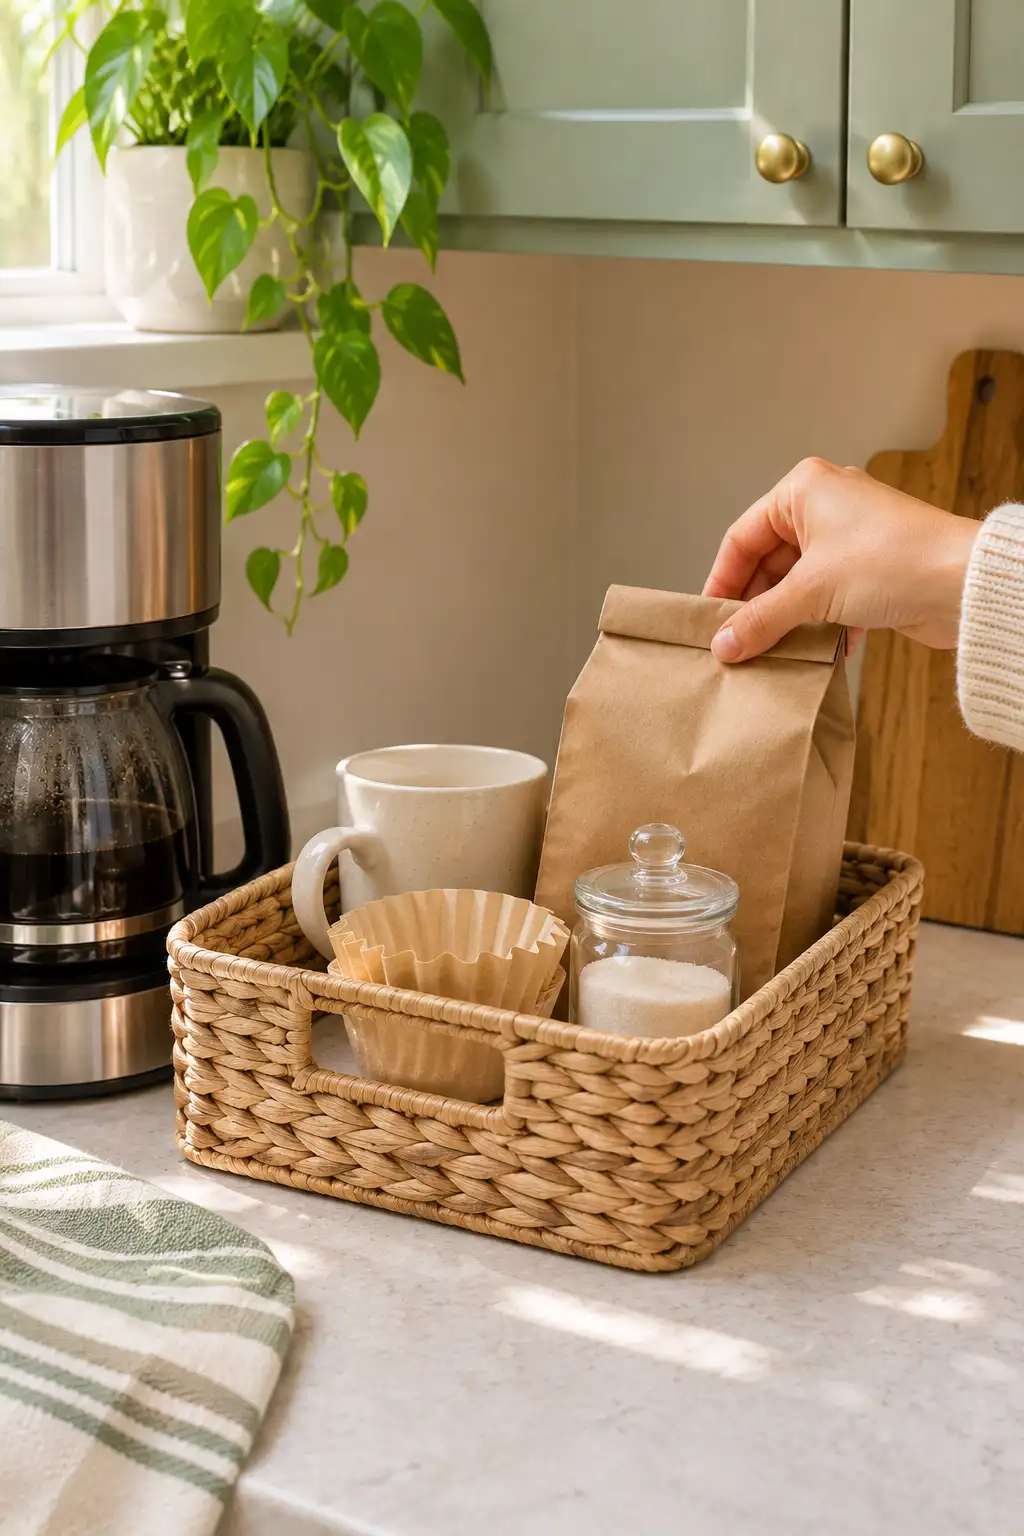
Picture making your morning coffee. Everything that task needs should sit together, so you aren’t opening three doors before you’re awake. Good starter zones include:
- Coffee and tea
- Baking (flour, sugar, measuring cups)
- Food containers and their lids
- Cleaning supplies
Not sure a zone will work? Test it in a shoebox for 1 week before you buy a bin.
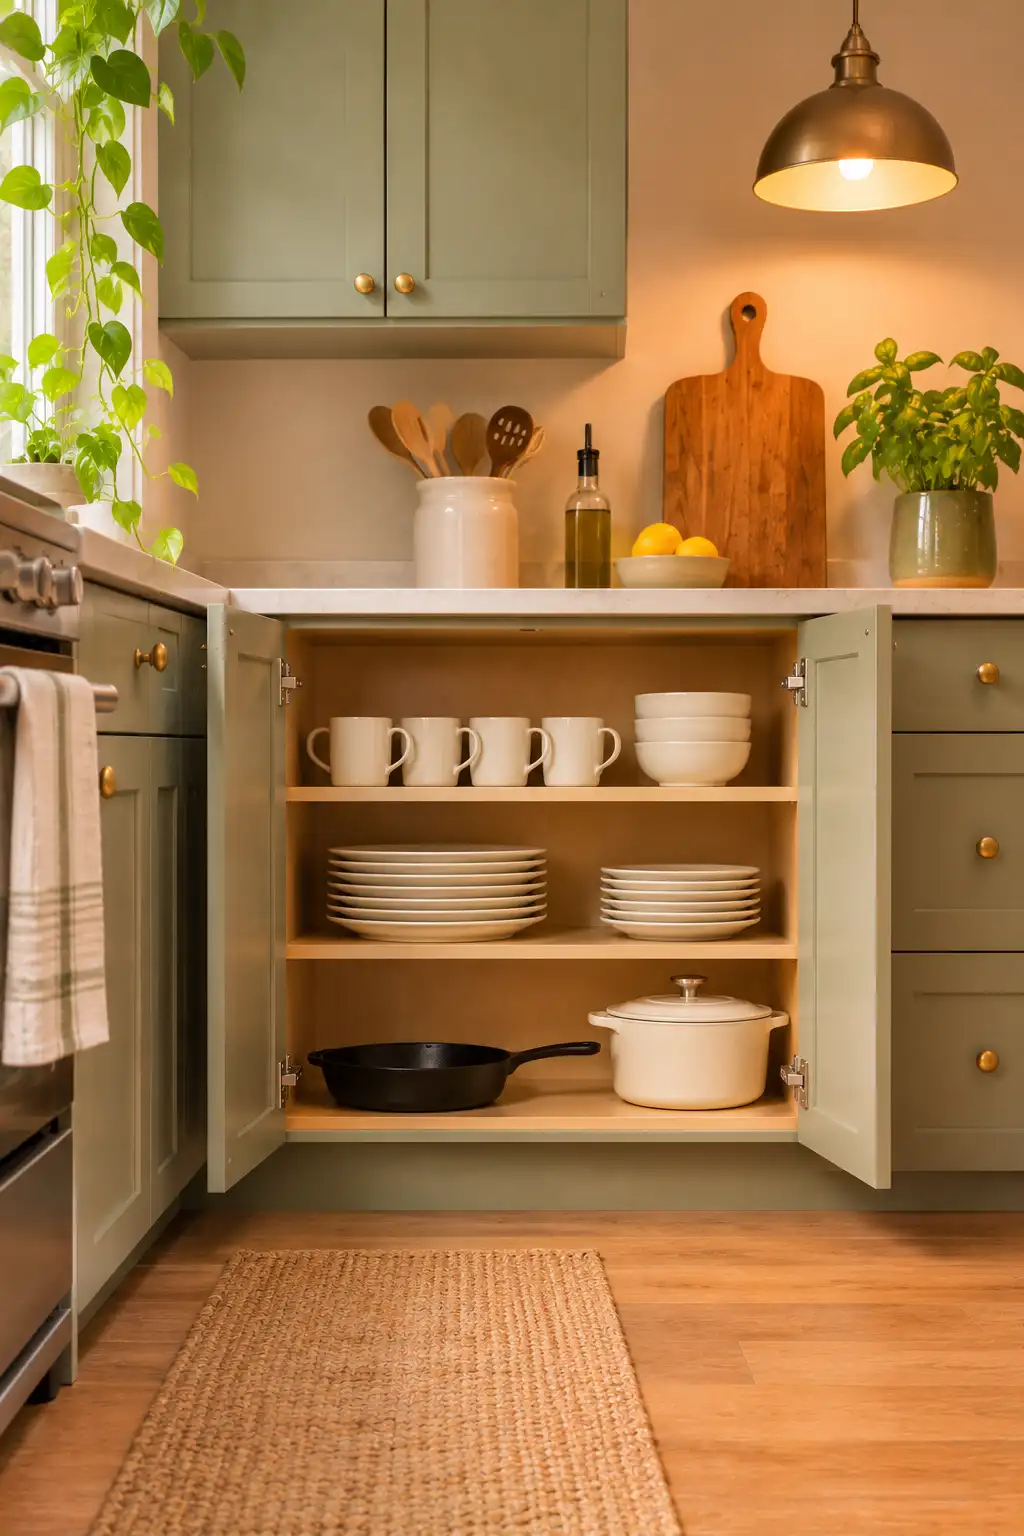
Put daily items between hip and shoulder height
Anything you reach for every day belongs on the shelves between your hips and shoulders. That band is where your hand goes without thinking, so keeping daily plates and mugs there means fewer cabinets left hanging open. Above shoulder height, store things you use a few times a year, like a roasting pan or party platters.
Below the hip, keep the heavy pieces. A cast-iron skillet or slow cooker is safer to lift up from a low shelf than to pull down from a high one. On every shelf, daily items go in front and backups go behind.
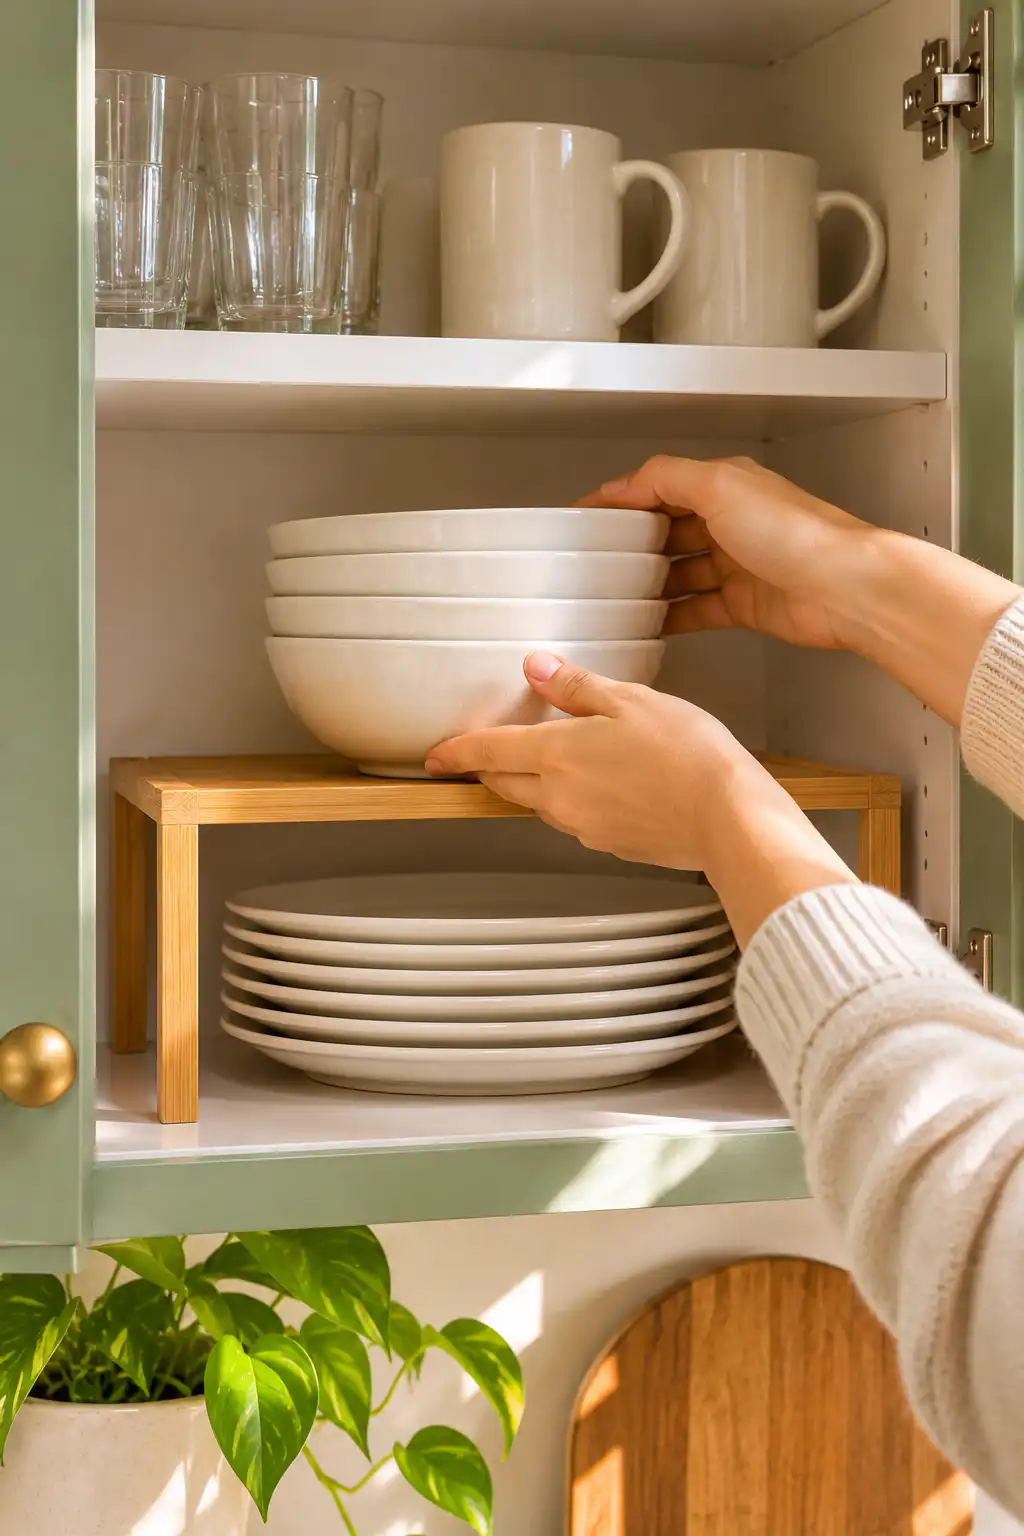
Stack upward with risers or a second shelf
Most small cabinets waste the top half of every shelf. A wire or bamboo shelf riser turns one shelf into two, with plates underneath and bowls on top. Leave about 2 inches of space above the tallest stack so you can lift things out without scraping the shelf above.
No riser yet? Rest a sturdy cutting board on two same-size cans to test the idea before you buy one.
Hang lids, wraps, and towels on the inside of the door
That flat door panel is free storage, and it’s the one spot almost nobody uses. Adhesive hooks can hold oven mitts or a dish towel. An adhesive lid rack or a small file holder keeps pot lids standing on their sides instead of sliding around the shelf.
Before you stick anything, close the door slowly and watch where the shelf edges come close. Mount your hooks above or below those spots, or the door won’t shut. Wipe the door with rubbing alcohol first so the adhesive grips, then wait the time listed on the package, often 1 to 24 hours, before hanging anything.
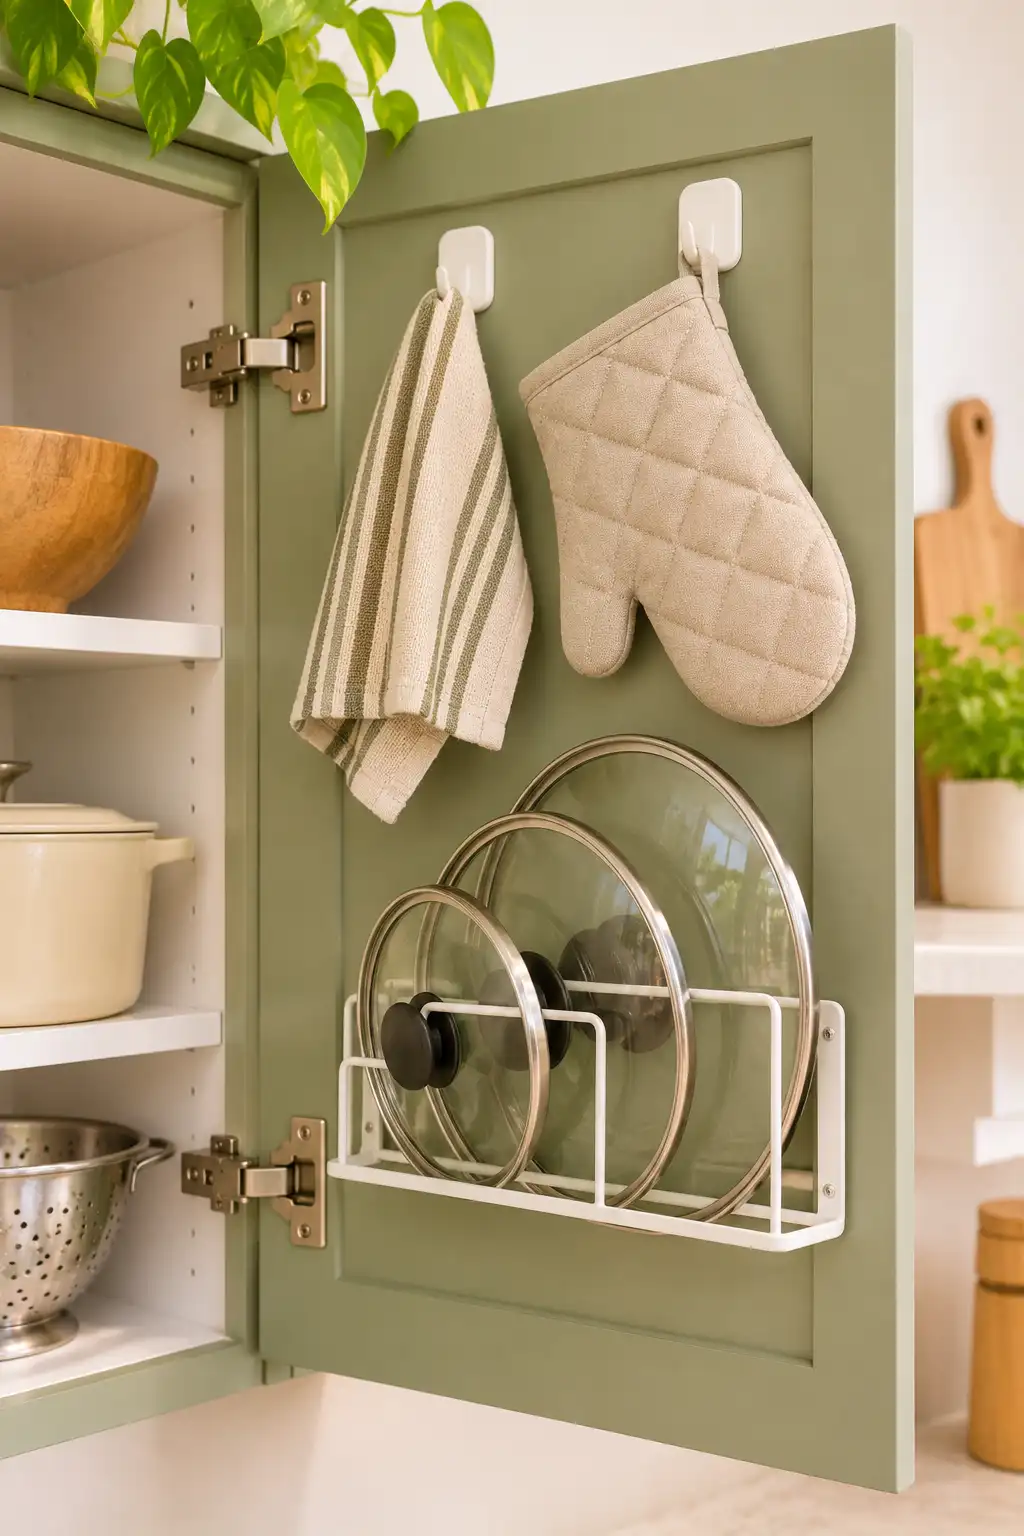
Renting? Choose removable adhesive hooks with a pull tab. When you move out, pull the tab slowly and straight down, not outward, and they come off without peeling paint or leaving holes.
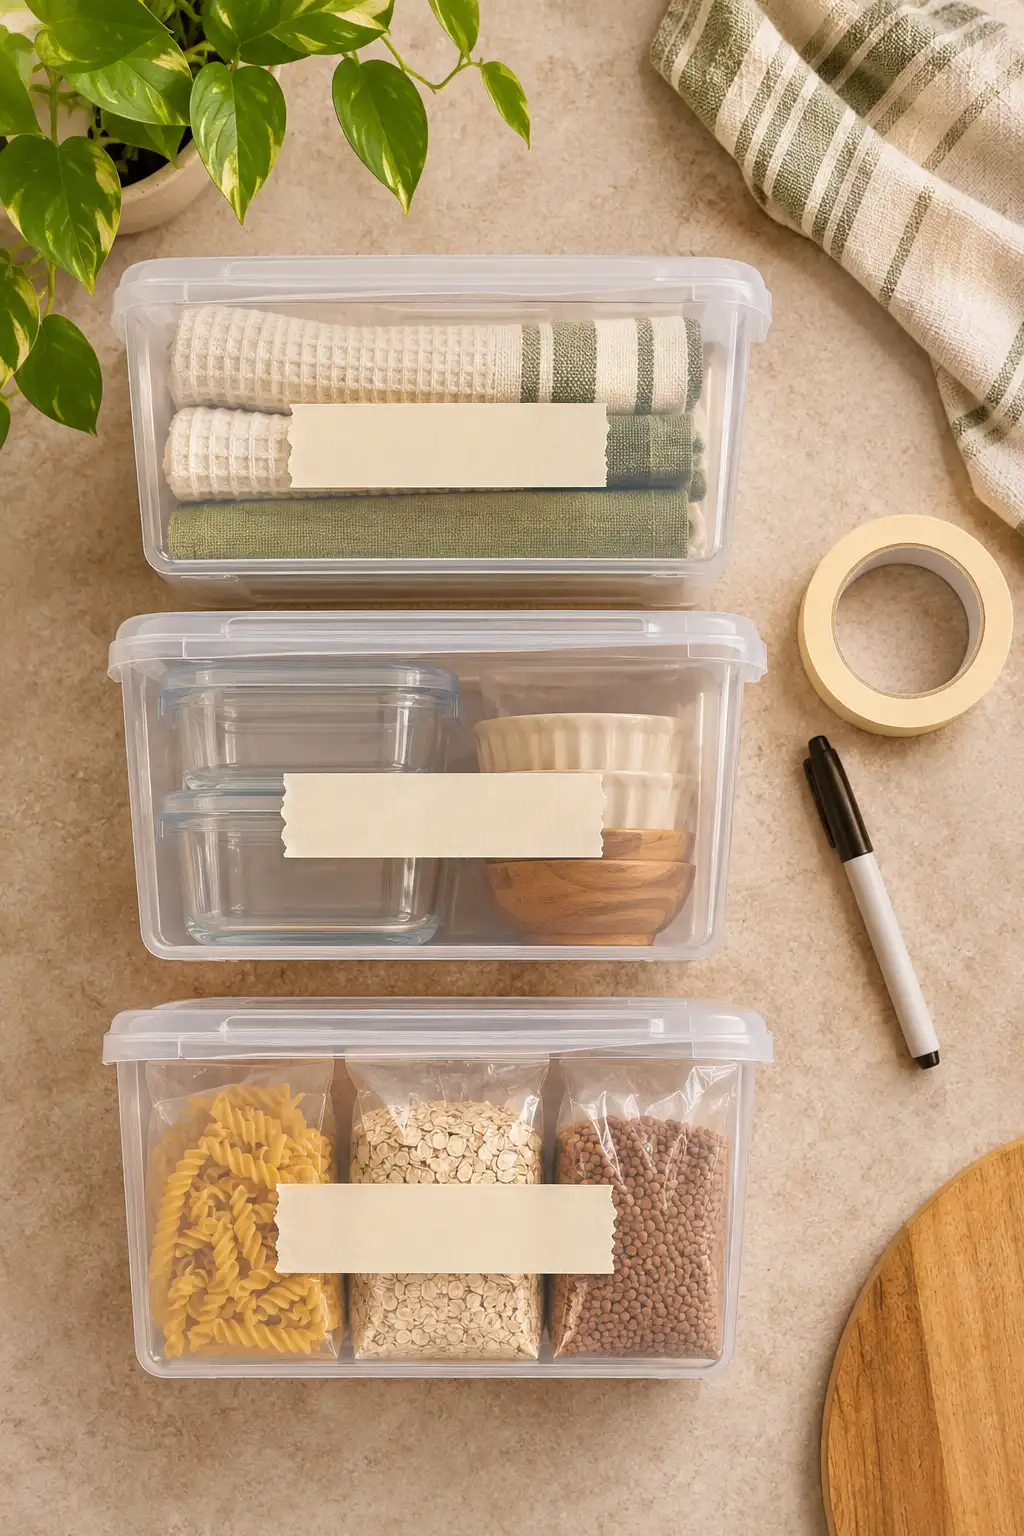
Label each bin and shelf edge
Labels aren’t really for you. They’re for everyone else who puts things away, including roommates, partners, and you at 10 p.m. when you’re tired. Masking tape and a marker work fine for the first month. Switch to nicer labels once you know the zones are sticking.
Write the category, not the item. “Baking” stays useful when you run out of flour, but a “Flour” label leaves a mystery bin. For shelves without bins, stick the label on the front edge.
Repeat the process with the next cabinet or drawer
The second cabinet usually goes faster, because you already know the four piles. Work outward from the stove: the closest cabinets first, then drawers, then the pantry shelf. Save the under-sink cabinet for last, since cleaning supplies rarely affect how you cook.
Open only one door at a time. With two cabinets emptied at once, your landing zone fills up and you lose track of what came from where. At the end of each session, carry everything in the relocate basket to its real home so the basket doesn’t turn into new clutter. One cabinet a day is a great pace.
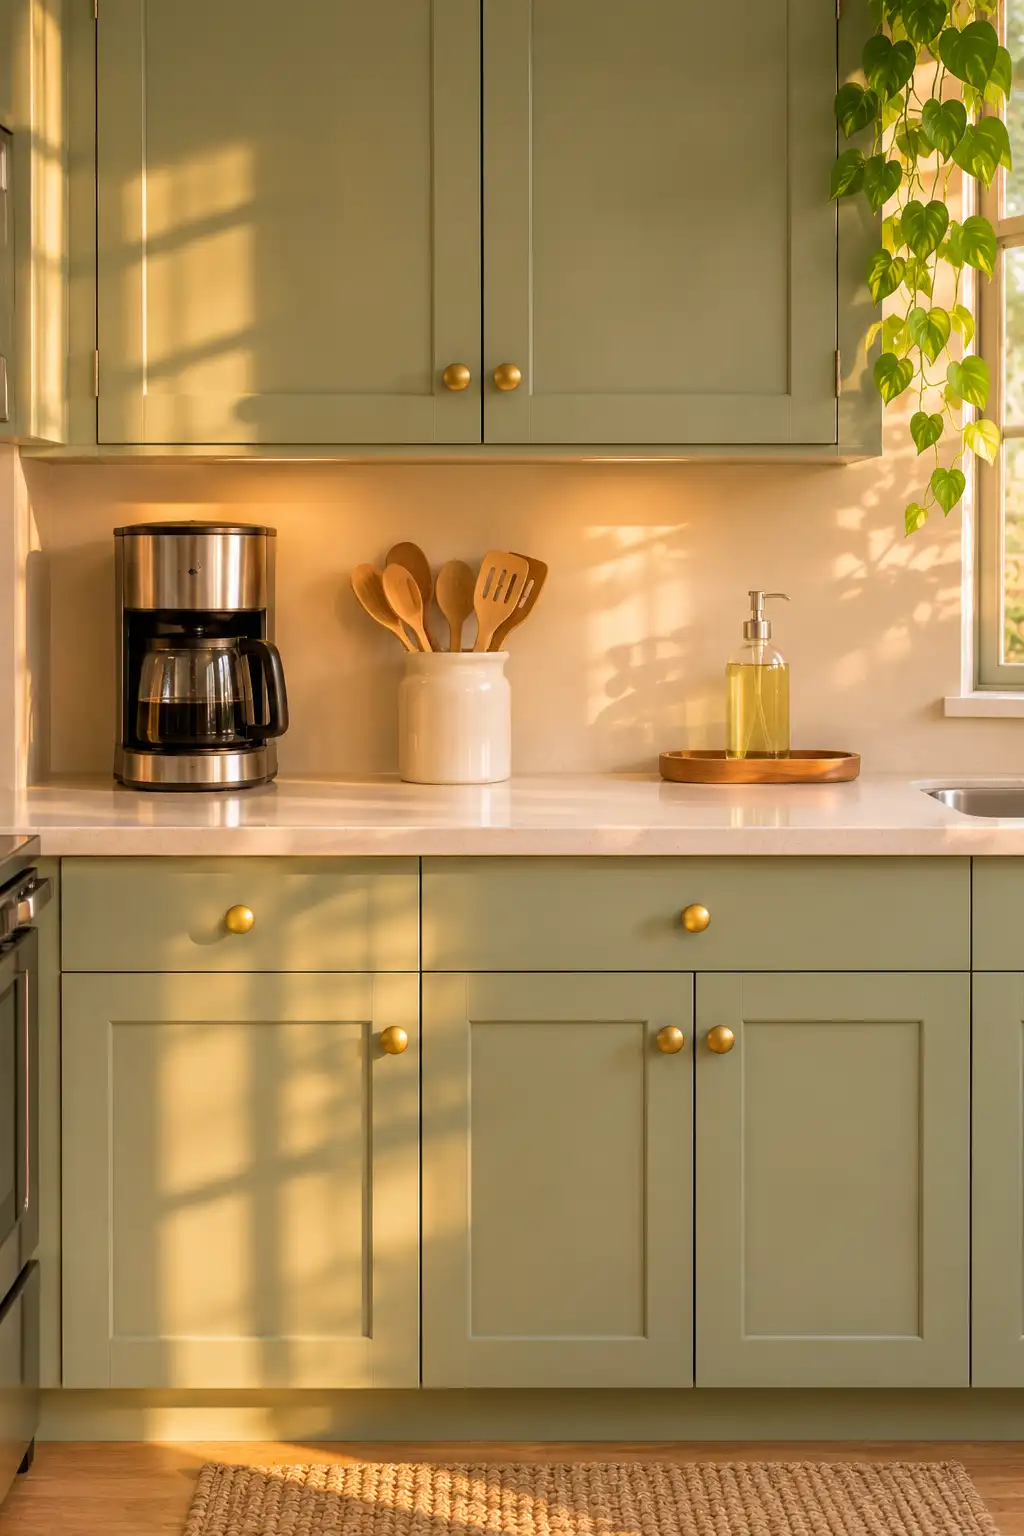
Clear your counter down to three everyday items
If something doesn’t get used every day, it doesn’t earn counter space. For most people the three items are a coffee maker, a utensil crock, and dish soap. A small tray lets several little things count as one. Everything else goes into the zones you built, which gives you real room to chop and prep.
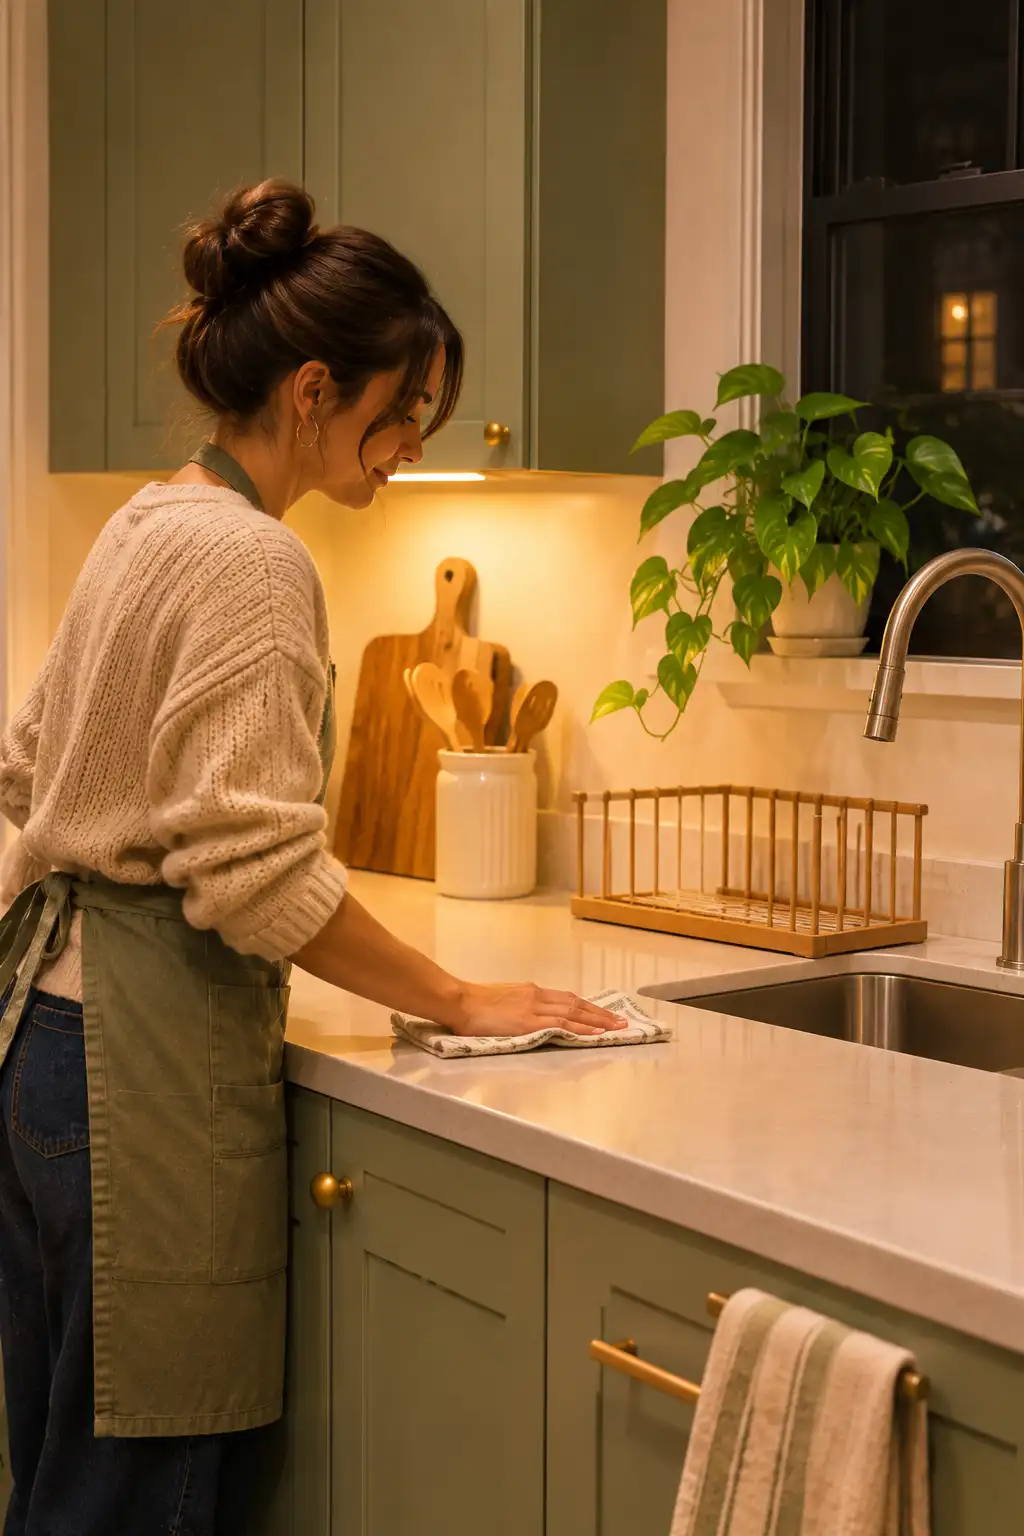
Set a 5-minute nightly reset so it stays this way
Attach the reset to something you already do every night, like starting the dishwasher or turning off the kitchen light. A habit hooked to an existing one is far easier to remember. Set a timer for 5 minutes and do these:
- Put strays back in their zones
- Empty the dish rack
- Wipe the counter
- Drop out-of-place items in the relocate basket
When the timer rings, stop, even if it isn’t perfect. Five minutes each night beats a three-hour cleanup every month.
Troubleshooting
Hit a snag? Find your problem on the left and try the fix on the right.
| If This Happens | Try This |
|---|---|
| You sorted everything, and it still doesn’t fit | Keep only 1 backup of each item in the kitchen. Move extra paper towels and bulk buys to a bin in a closet or under the bed. |
| A cabinet is messy again within a week | Something in it is stored too far from where you use it. Move that item closer to its task, even if it breaks your zone plan. |
| Your roommate or partner keeps putting things back wrong | Walk them through the zones once and label the shelf edges. If one item keeps landing in the same “wrong” spot, make that spot its home. |
| Food containers and lids never match | Recycle any container without a lid, and any lid without a container. Nest the rest by size and store the lids standing up on the door rack. |
| The corner cabinet is still impossible to reach | Add a turntable so you can spin items to the front. Otherwise, use the corner for things you need only a few times a year. |
| Adhesive hooks keep falling off | Clean the spot with rubbing alcohol, wait the full cure time on the package, and check the weight limit. Steam from a kettle or dishwasher can loosen them, so mount them away from heat. |
Beginner Questions, Answered
Can I organize a small kitchen with no budget?
Yes. Shoeboxes, cereal boxes cut in half, and clean glass jars from pasta sauce all work as free bins. Buy real organizers only after a zone has worked for about 1 week.
Where do appliances I don’t use every day go?
Put heavy ones, like a slow cooker or stand mixer, on a low shelf so they’re safe to lift. If you use something once a month or less, it can live in a closet outside the kitchen.
Do I need clear bins?
No. Clear bins help you see what’s inside, but any bin works once it has a label on the front.
How often should I declutter again?
Do a quick pass every 3 months. Check expiration dates and pull out anything you haven’t touched since the last round.
What if I only have one free hour?
Do Steps 1 through 9 on one cabinet. That takes about 45 minutes and gives you a finished space to build from next time.
What to Expect
- Cabinets you avoid opening
- Lids and containers that fall out
- Buying duplicates because you can’t find things
- No clear space to chop or prep
- Long cleanups that never seem to end
- Every item has a home you can name
- Daily things within easy reach
- You can see what you own at a glance
- Only 3 items on the counter
- A 5-minute nightly reset
It won’t look like a showroom, and it doesn’t need to. It needs to work for the way you cook.
You Did It
You did it. Your kitchen went from “don’t open that door” to a space where everything has a home.
The hardest part of kitchen organization for beginners is starting, and you’re already past it.
Next up, try the same four-pile sort on your fridge. It takes about 20 minutes.
Save this pin to your Kitchen board so you have the cheat sheet handy the next time a cabinet starts to slip. 📌