

Your lease says no nails. Your walls are flat and white. And every apartment photo you have saved looks like a warm little cave of light that you cannot figure out how to copy without losing your deposit.
Learning how to hang christmas lights in an apartment is less about the hooks you buy and more about what you do to the wall before the hooks go on. Most renters skip that part, press an adhesive hook onto a dusty wall, and wake up two days later to a strand of lights on the floor. Then they try tape. Then the tape pulls off a strip of paint in January, which is the exact thing they were trying to avoid.
This guide walks you through a method that holds a full strand through the whole season and comes off clean. You will measure, test one hook on your real wall, prep the surface, and hang the lights in the right order so nothing sags. There are also options for brick and textured walls, where sticky hooks fail no matter how carefully you press them.
Hands-on time is about 35 minutes. The rest is waiting on adhesive to cure, and that wait is not optional.
🛒 What You Need
- ✨ LED string lights (2 strands, 20 ft each)
- 📎 Damage-free adhesive hooks, small (16-pack)
- 🔌 Damage-free adhesive cord clips (8-pack)
- 🧴 70% rubbing alcohol
- 🧻 Clean cloth or cotton pads
- 🔵 Blue painter’s tape
- 📏 Tape measure
- ✏️ Pencil
- 🪜 Step stool or sturdy chair
- ➰ Indoor extension cord, 6 ft (if needed)
- ⏲️ Outlet timer (optional)
- 🧱 Tension rod or over-the-door hook (brick and textured walls)
At a Glance
- Measure the wall or window
- Pick lightweight LED lights
- Test one hook on your wall
- Choose a no-stick method for brick or texture
- Gather supplies and clear the floor
- Wipe every hook spot with rubbing alcohol
- Mark hook positions with painter’s tape
- Press on the hooks and wait one hour
- Drape the lights from the outlet end
- Clip the cord flat against the trim
- Plug in, test, and fix the sags
- Take them down without peeling paint
1. Measure the wall or window you want to light
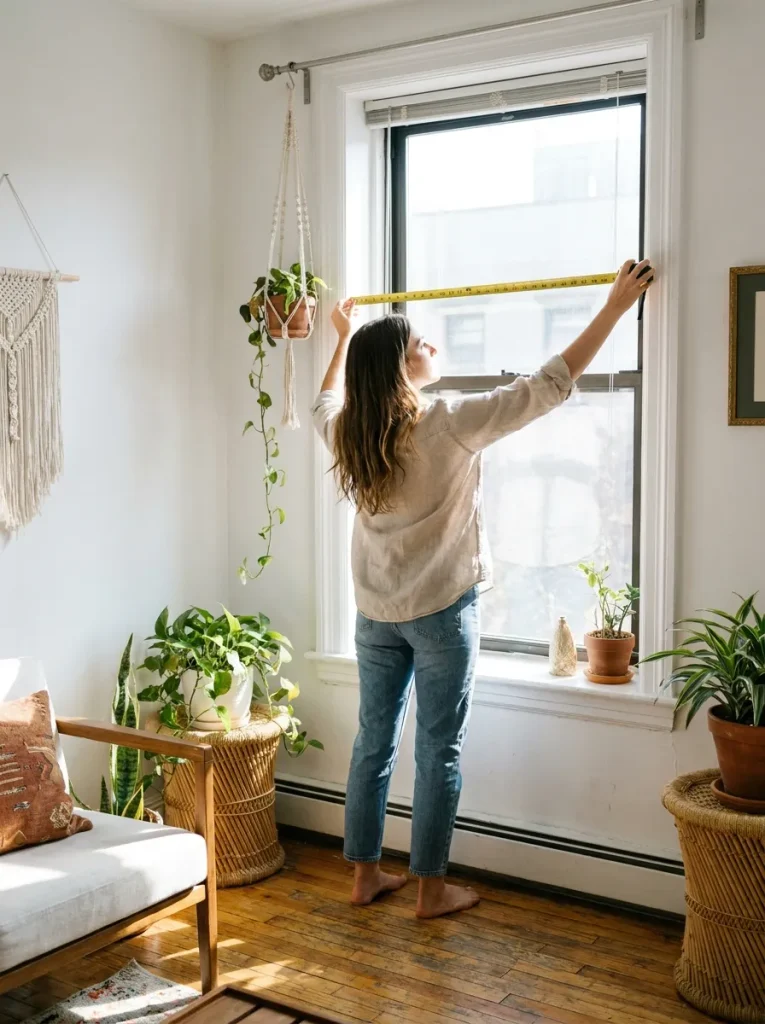
Two numbers decide everything that follows: the width of the space and the drop you want between hooks. Run your tape measure across the top edge and write the number on your phone. Then add 12 inches for every 3 feet of width if you want the lights to swag instead of hanging in a straight line. A 9-foot window with a gentle swag eats about 12 feet of strand.
Lighting a wall rather than a window? Pair the lights with one of these holiday wall decor ideas for apartments without a mantel.
2. Pick lightweight LED lights instead of the heavy ones
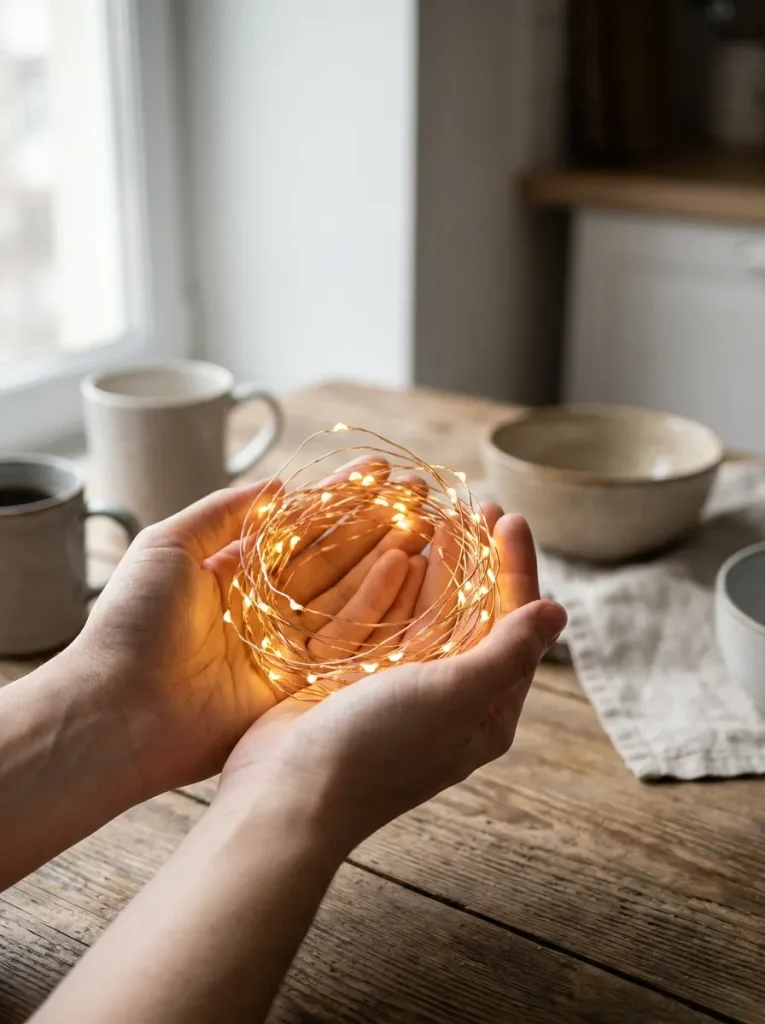
Weight is the whole game with adhesive hooks. Old incandescent strands with glass bulbs can pull 2 to 3 pounds across a short run, and that is enough to peel a hook off the wall on a warm afternoon. LED strands on thin copper or rubber wire weigh a fraction of that. Look at the box for the word LED and pick up the package — if it feels heavy in your hand, it is too heavy for your wall. Battery-powered LED strands are the lightest option and skip the cord problem entirely.
Check the weight limit printed on your hook package and treat it as the limit for the whole span, not per hook. A 16-pack rated at 1 pound each does not mean your wall holds 16 pounds. Lights pull sideways and down at the same time, which cuts real holding power by about half.
3. Test one adhesive hook on your wall before buying a full pack
Rental paint is unpredictable. Flat builder-grade paint, fresh paint under 30 days old, and anything with a chalky feel will release a hook no matter how well you prep. Stick one hook in a low spot behind a door, hang something light from it, and leave it for 24 hours.
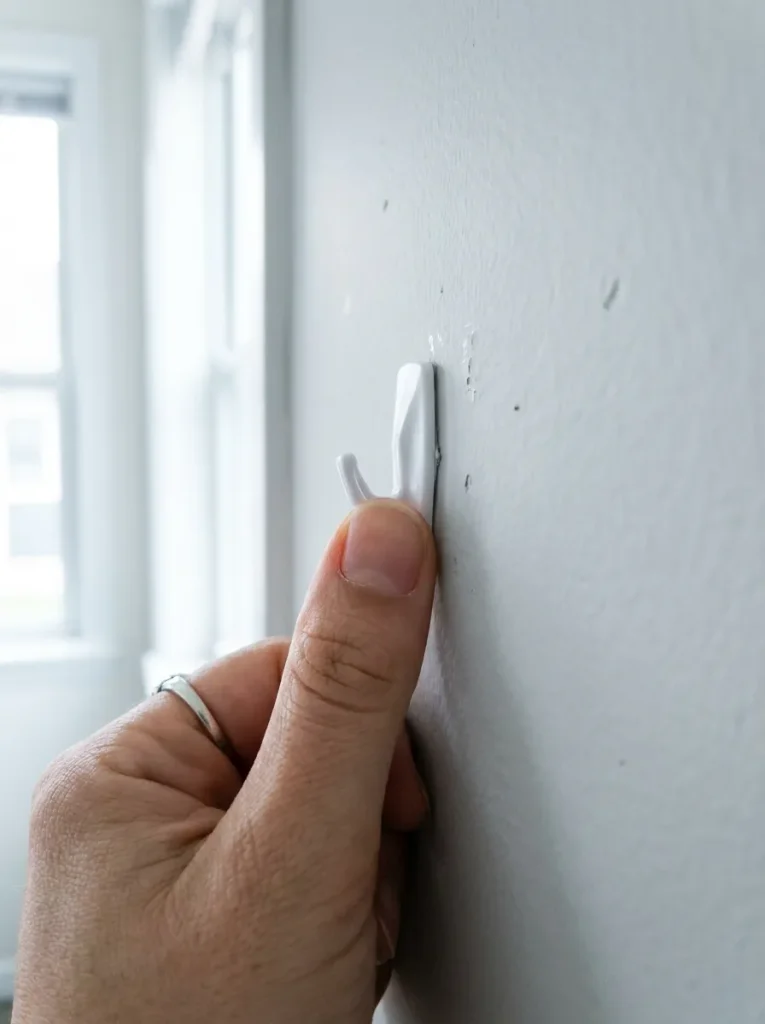
Rub your finger on the wall first. If it comes away with a light chalky dust, the paint is flat and porous, and adhesive hooks will fail. Skip straight to Step 4 and save yourself the test.
4. Choose a no-stick method for brick, textured, or rental-paint walls
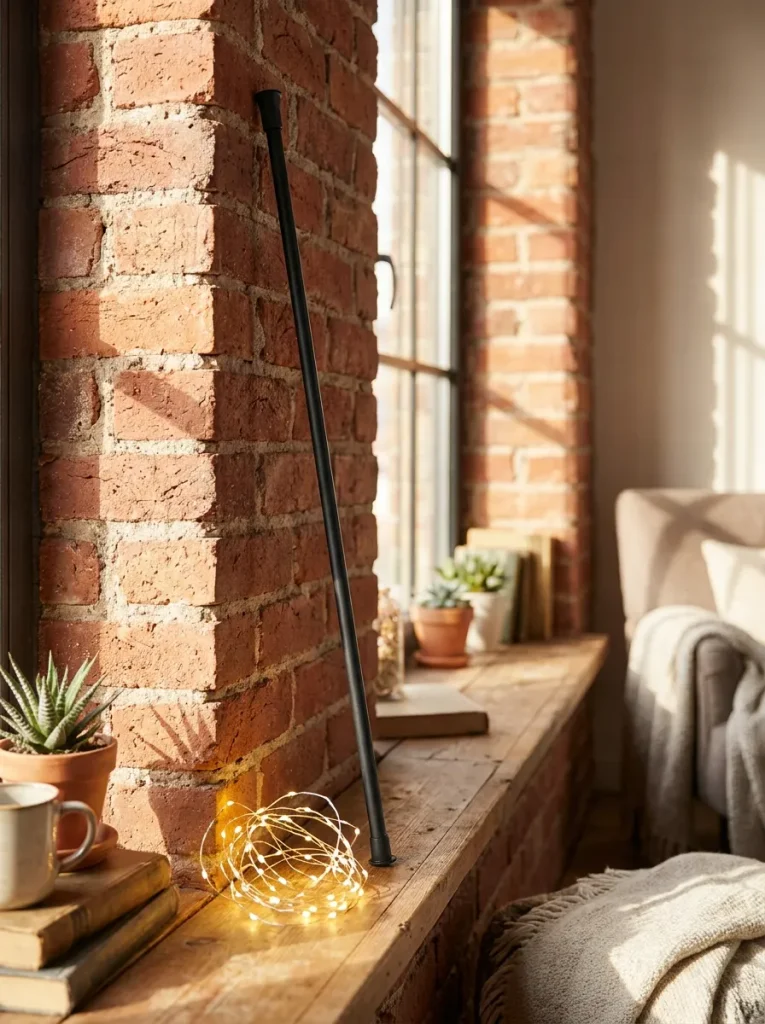
If your hook slid off during the test, the wall is not the problem to solve — it is the surface to work around. Exposed brick, popcorn texture, and chalky flat paint all reject adhesive no matter how long you press. Four workarounds that hold:
- A tension rod wedged inside the window frame, with lights draped over it
- An over-the-door hook at each end of the span
- Your existing curtain rod, with the strand woven behind the fabric
- Brick clips, which grip the mortar line without drilling
Brick clips fit standard brick only. Measure your brick height first — anything over 2.5 inches needs the oversized version.
5. Gather your supplies within arm’s reach
Move the sofa or bed away from the wall before you climb anything. You need about 3 feet of clear floor to set your stool down flat. Then bring the hooks, alcohol, cloth, tape, and pencil to that spot so you are not climbing down every ninety seconds to grab something.
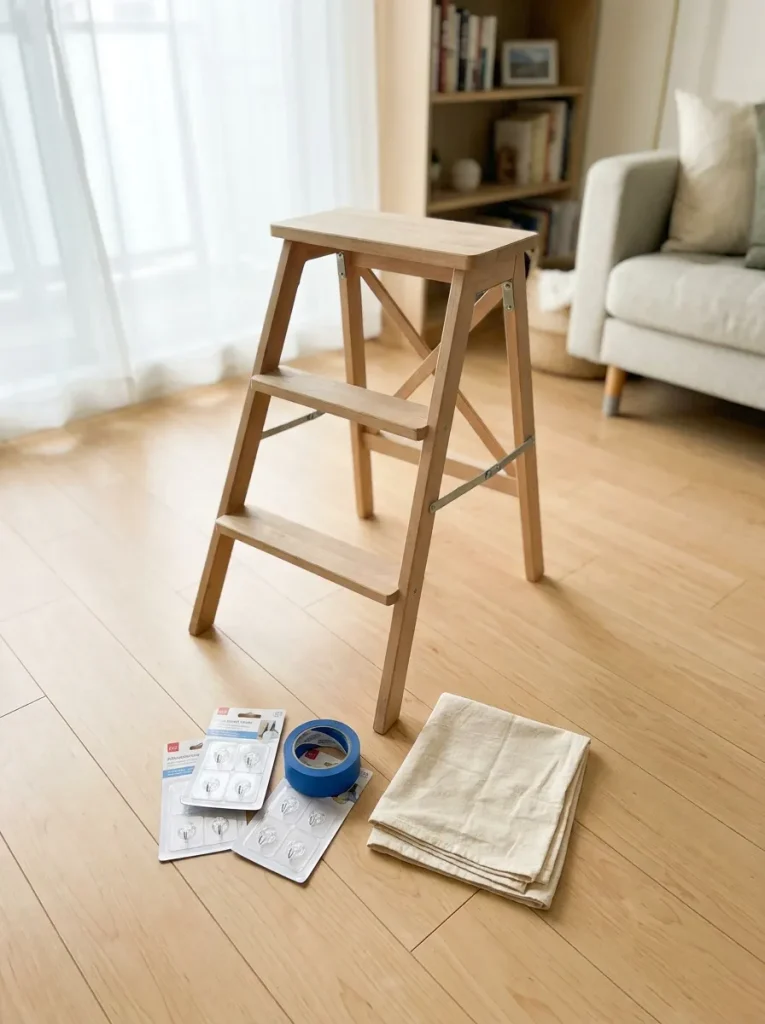
6. Wipe every hook spot with rubbing alcohol
Five minutes of wiping decides whether your lights survive December. Walls collect a thin film of cooking grease, dust, and skin oil that you cannot see, and adhesive grabs that film instead of the paint underneath. Dampen a cloth with 70% rubbing alcohol and wipe a 3-inch circle at each hook spot. Let each spot air-dry for 60 seconds before anything touches it.
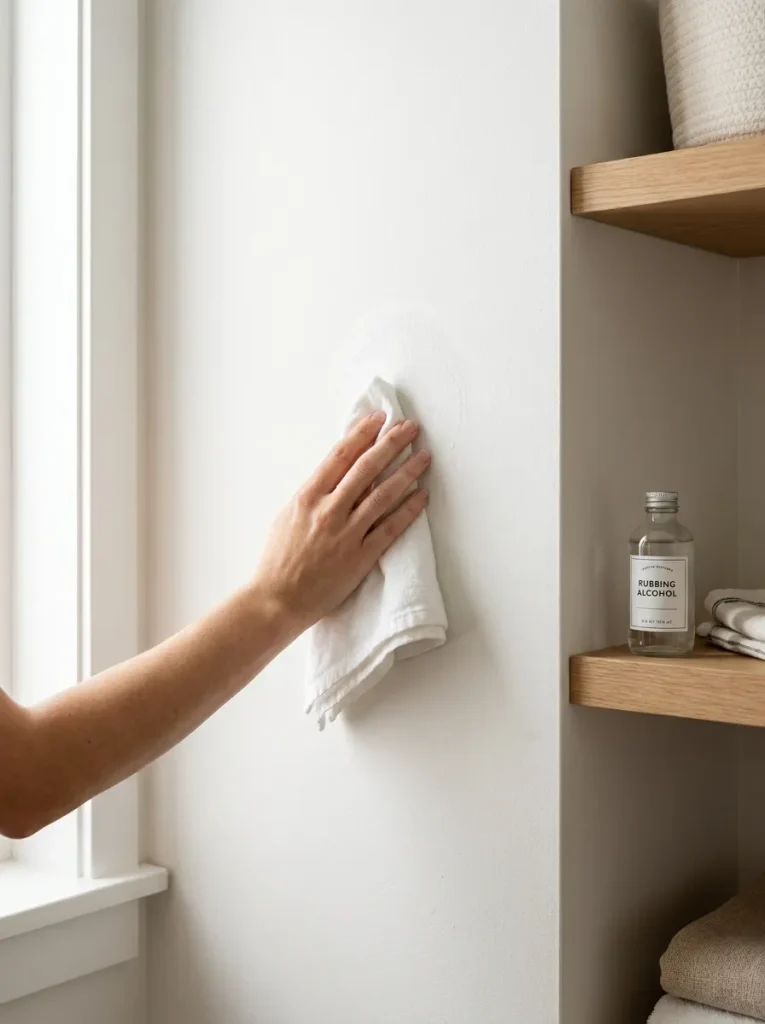
Use rubbing alcohol only. Glass cleaner, all-purpose spray, and soapy water all leave a residue behind that blocks the adhesive — and that residue is the reason most hooks let go on day three.
7. Mark your hook positions with painter’s tape
Eyeballing the spacing is where a good plan falls apart. Hooks look evenly spread while you are standing two feet away and crooked the moment you sit down on the couch. Tear off small tabs of blue painter’s tape and press one at each hook spot, spacing them every 12 to 18 inches across the span. Then walk back 6 feet and look at the line of tape against the ceiling edge. Move any tab that fights that line. Tape moves freely. Cured adhesive does not.
8. Press each hook on and set a one-hour timer
Peel the backing, line the hook up with its tape tab, and hold it against the wall with steady thumb pressure for a full 30 seconds. The adhesive needs that pressure to spread into the paint. Then walk away for one hour. Hanging anything before that hour is up is the single most common reason these fall.
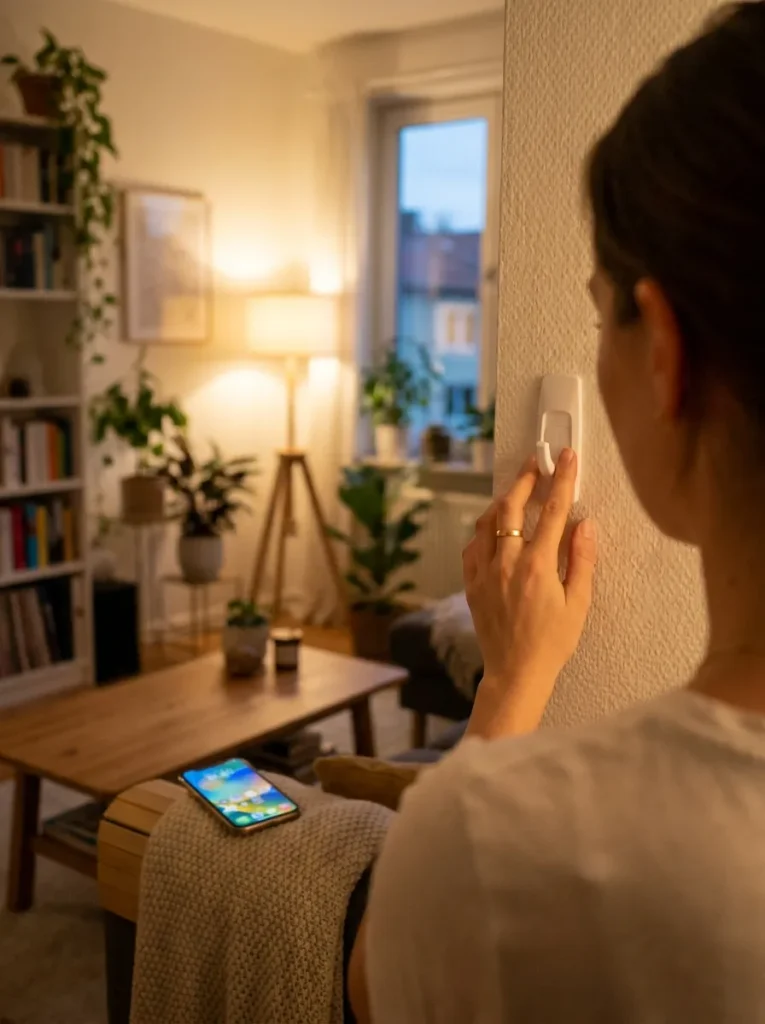
9. Hang your christmas lights starting at the outlet end
Whichever end of the strand has the plug goes up first, because working the other direction leaves you three feet short with nothing to do about it. Loop the wire over the first hook, let it dip, and catch it on the next one. Keep the dips shallow on your first pass, a strand that looks perfect while you hold it will sag another inch or two once you let go.
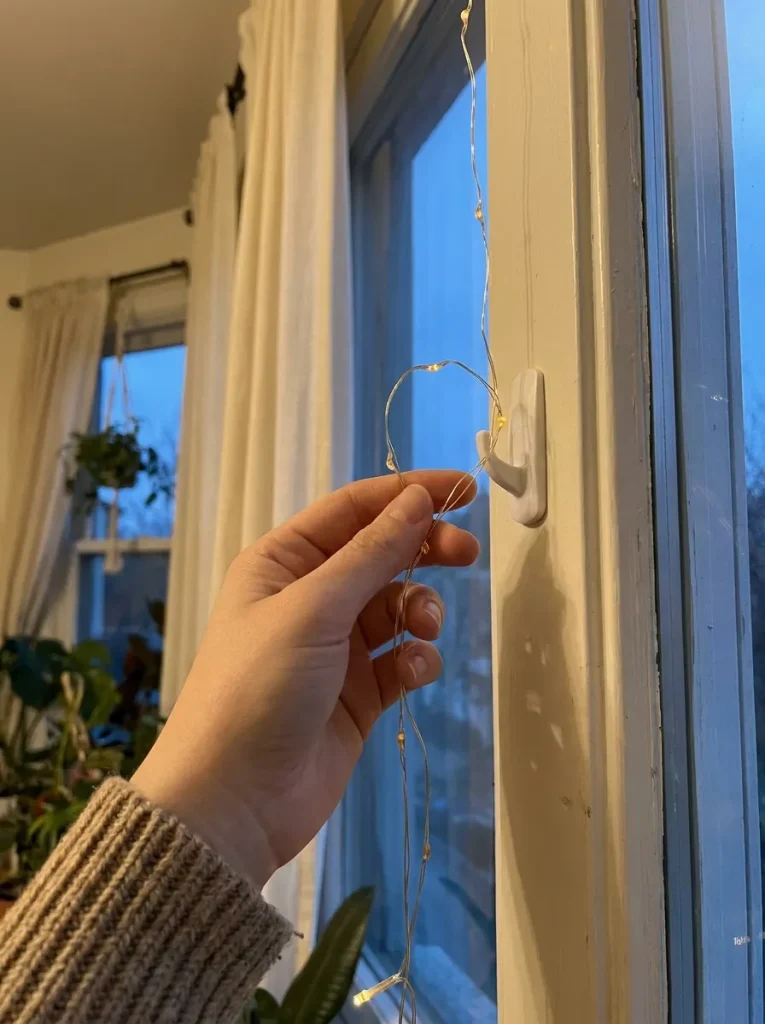
Hook the wire between two bulbs, never on a bulb base. Bulb bases are wider, so they ride up and out of the hook as the strand settles, and that is what creates one random drooping section by morning.
10. Run the cord down and clip it flat against the trim
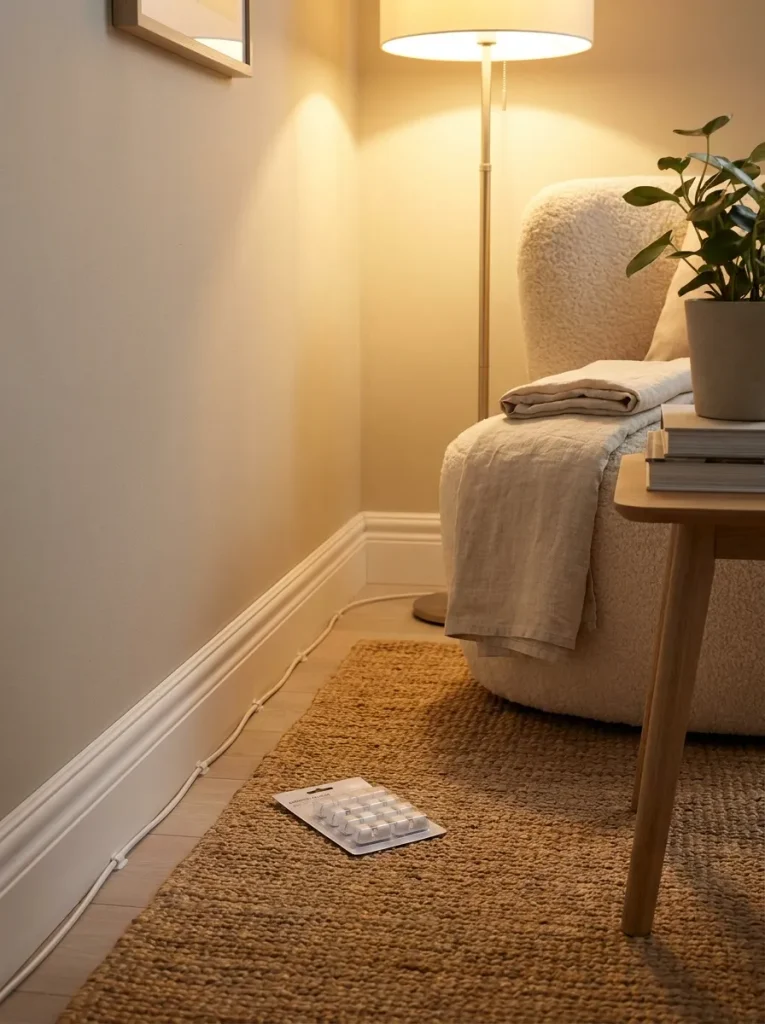
A cord dangling in open air pulls sideways on your last hook all season. Bring it straight down the nearest corner or door frame, then across to the outlet along the top of the baseboard. Press an adhesive cord clip every 18 inches to hold that path. Keep the cord flat against the surface at every clip — a cord that bows out gets caught by a sleeve or a vacuum handle, and one good tug takes the whole strand down with it.
11. Plug in, test, and fix the sagging spots
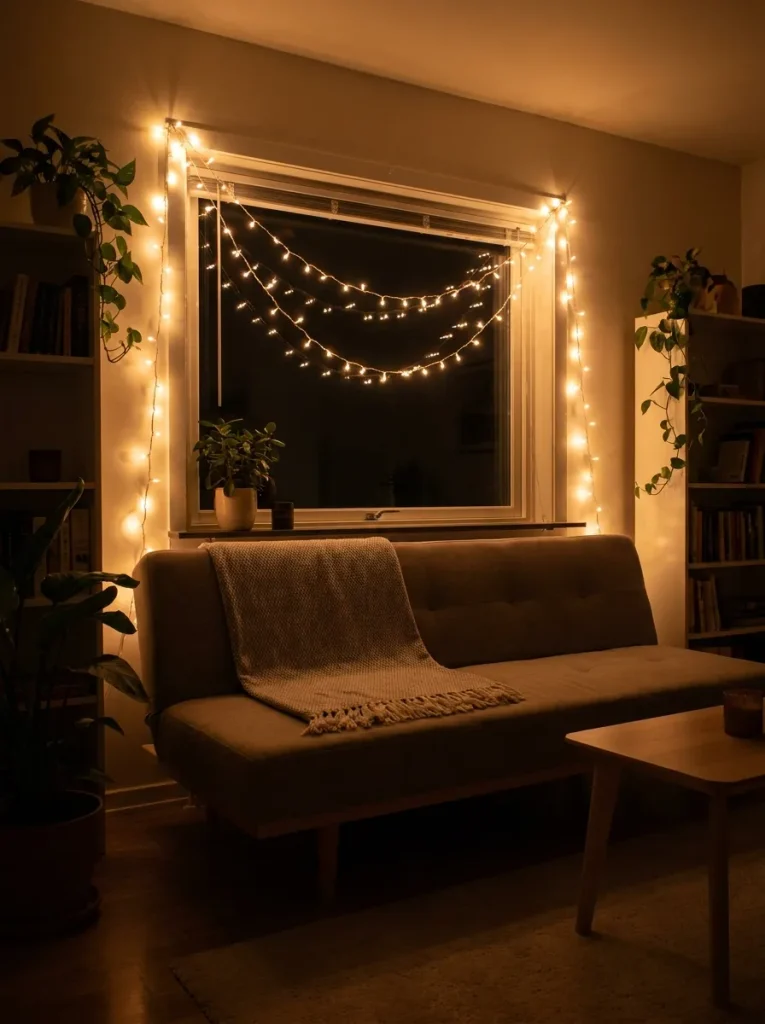
Lights on, room lights off. Sit where you normally sit and look at the span from there, not from the stool. Uneven dips show up instantly from across the room and stay invisible up close. To fix one, lift the wire off the hook and slide it two or three bulbs in either direction until the curve matches its neighbors.
Do not run the cord under an area rug to hide it. Foot traffic wears through the insulation where you cannot see it, and most renter’s insurance policies treat that as a preventable fire risk. Run it along the baseboard instead, even if the path looks longer.
An outlet timer set for 5 p.m. to 11 p.m. saves you from reaching behind furniture every night.
12. Pull each hook tab straight down to remove them
Come January, resist the urge to grab the hook and pull. That rips paint every time. Find the small fabric tab under each hook, pinch it, and pull it slowly straight down along the wall, parallel to the surface, not out toward you. The strip stretches thin and releases on its own. Stretch it up to 12 inches if it needs that far before it lets go.
Pulling straight down is the key. Ripping them off at an angle is one of the classic renter decorating mistakes that take paint with them.
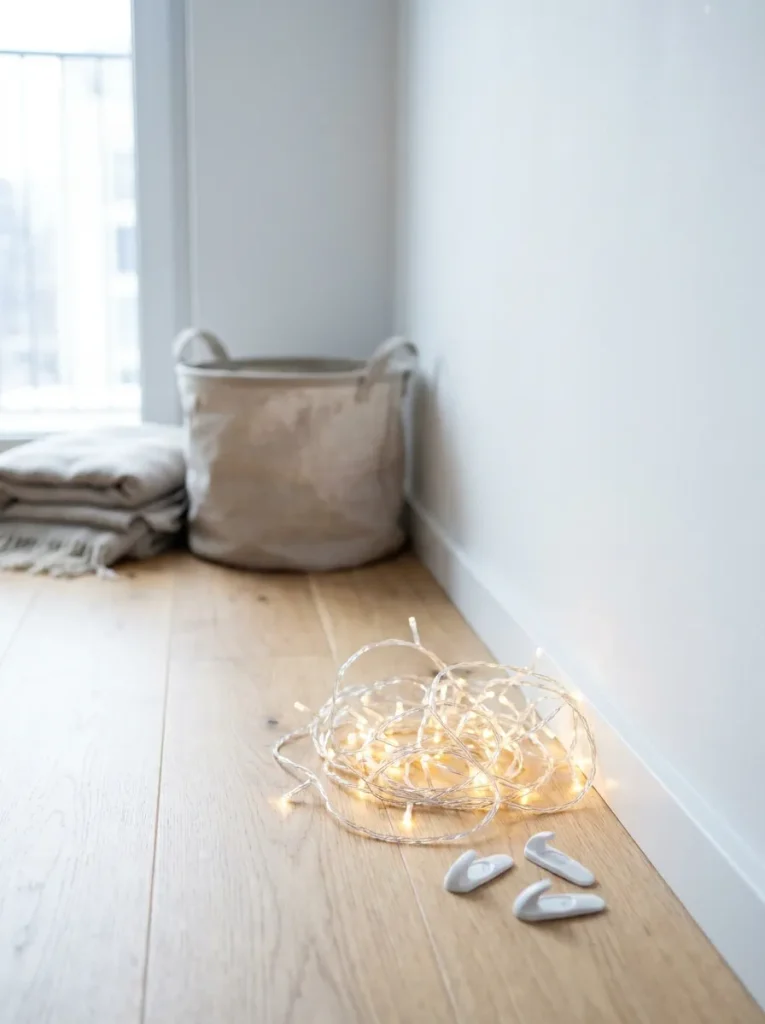
If a tab tears off before the strip releases, hold a hair dryer on the hook for 20 seconds on low heat. The warmth softens the adhesive enough to work a piece of dental floss behind the hook and saw it free.
When Things Go Wrong
Questions Renters Ask
Will adhesive hooks damage my apartment walls?
Not if you remove them by pulling the tab straight down along the wall. Damage happens when people pull the hook outward, which tears the paint layer off with the adhesive.
How many hooks do I need for one strand?
Roughly one hook per 12 to 18 inches of span. A standard 9-foot window needs about 7 hooks with a light LED strand.
Can I hang lights on a textured or popcorn wall?
Adhesive will not hold on texture because it can only touch the high points. Use a tension rod inside the window frame, an over-the-door hook, or your existing curtain rod instead.
Is it safe to leave string lights on overnight?
LED strands run cool and are far safer than old incandescent bulbs, but an outlet timer is still the better habit. Set it to shut off when you go to bed.
Can I hang lights on the ceiling this way?
Yes, but cut your hook spacing in half and use only battery-powered LED strands. Gravity pulls straight down on a ceiling hook, so there is no wall friction helping you.
What if my lease bans anything on the walls?
Nothing has to touch the wall. Drape the strand along a bookshelf edge, wind it around a headboard frame, or run it behind sheer curtains for the same glow.
Quick Reference Card
LED string lights · Adhesive hooks · Cord clips · 70% rubbing alcohol · Clean cloth · Painter’s tape · Tape measure · Pencil · Step stool · Extension cord · Outlet timer · Tension rod (textured walls)
- Measure the span and add 12 in. of slack per 3 ft.
- Buy lightweight LED strands only
- Test one hook for 24 hours before buying more
- Use a tension rod on brick or textured walls
- Clear 3 ft. of floor and bring supplies over
- Wipe each spot with rubbing alcohol, dry 60 sec.
- Mark hook spots with tape every 12 to 18 in.
- Press each hook 30 sec., then wait 1 hour
- Drape from the outlet end, wire between bulbs
- Clip the cord flat every 18 in. to the outlet
- Plug in and check the drape from across the room
- Remove by pulling each tab straight down
You Did It
Your lights are up, your walls are intact, and nothing about this required a single nail.
The hooks you did not use will hold a wreath on the back of your door or a garland along a bookshelf edge, so put the leftovers somewhere you will find them next December.
Now you know how to hang Christmas lights in an apartment the way that actually lasts through the season: prep first, patience second, lights third.
Pin this to your holiday decorating board so it is waiting for you when the boxes come out next year.
Not ready for the dark once the holidays end? Here’s how to keep the glow going all winter with cozy, renter-friendly lighting.

