
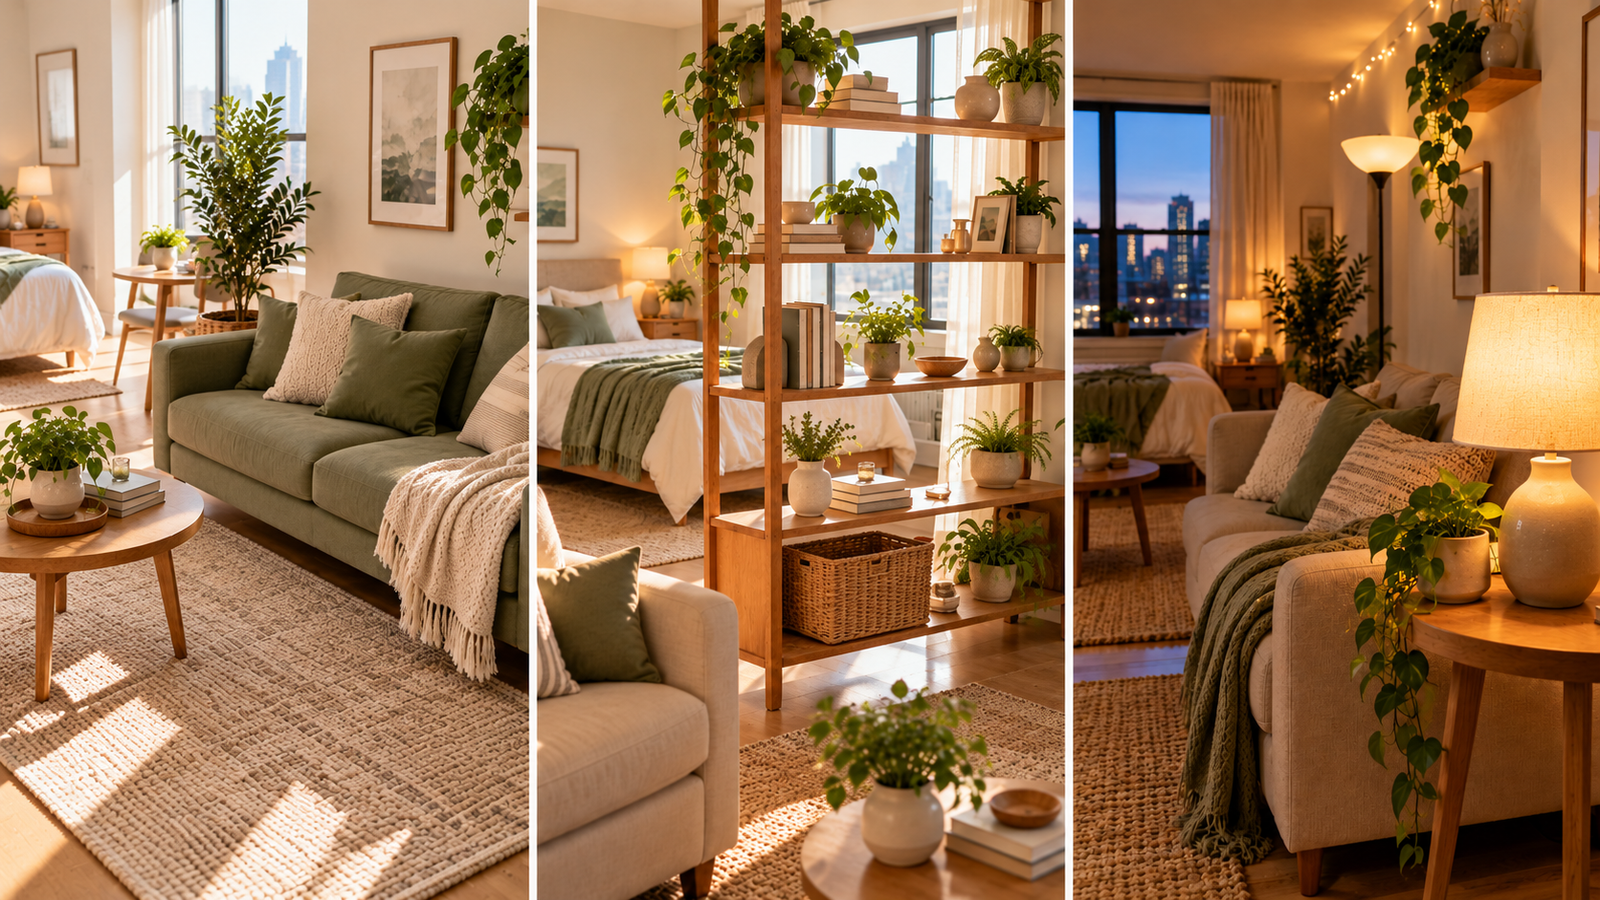
The first night in a new studio usually looks the same for everyone. There are boxes everywhere, a mattress leaning on the wall, and no idea where anything should go. You have one room, and it has to work as your bedroom, kitchen, office, and living room all at once. These studio apartment living tips break that big problem into small pieces you can handle one day at a time.
By day 30, you will have a clear spot to sleep, a spot to eat, and a spot to relax. Your things will have real homes. You will also have a nightly habit that keeps the room from sliding back into chaos.
This plan works because it makes you wait. Most beginners buy a sofa in week one. Then they find out it blocks the only outlet. In this plan, you live in the space first, watch how you use it, and buy only what fits. (I learned this the hard way with a loveseat I sold three weeks after I bought it.)
Be realistic about the time. The plan runs 30 days, but the hands-on work adds up to about 10 to 12 hours. Most days ask for 20 minutes or less. Grab a tape measure and your phone, and let’s start with day one.
Total Time
30 Days
One small task most days
Active Time
10 to 12 Hours
About 20 minutes a day
Difficulty
Beginner
No special skills needed
Before You Start
What You Need
Tools (Day 1)
- ✓ Tape measure (25-foot)
- ✓ Painter’s tape (1-inch roll)
- ✓ Phone with a camera
- ✓ Notebook or graph paper and a pen
- ✓ Screwdriver set or your bed frame’s tool kit
- ✓ Sturdy step stool
- ✓ One empty box for donations
Buy As You Go (Days 11 to 30)
- ✓ Rug, at least 5 x 7 feet
- ✓ Open bookshelf, or a tension rod and curtain
- ✓ One two-job piece (storage ottoman, drop-leaf table)
- ✓ Wall shelves with anchors, or a tall freestanding shelf
- ✓ Flat under-bed bins
- ✓ 3 lamps (floor, table, and one more)
- ✓ Large mirror, at least 24 x 36 inches
Hold off on the second list. Steps 5 to 7 will show you what your studio actually needs before you spend a dollar.
Your 30-Day Plan at a Glance
Days 1 to 3: Settle In
- Photograph every wall, floor, and appliance
- Measure the room and sketch it
- Set up your bed
- Unpack a 3-day essentials kit
Days 4 to 10: Plan the Layout
- Track how you use the space for 7 days
- Tape out three zones on the floor
- Place the largest piece on the longest wall
Days 11 to 20: Furnish and Store
- Separate the bed from the living area
- Anchor the living zone with a rug
- Swap in one piece that does two jobs
- Hang shelves above 5 feet
- Slide flat bins under the bed
Days 21 to 30: Light, Polish, Routine
- Add three light sources at three heights
- Hang a mirror across from the window
- Run a 10-minute reset every night
- Clear out what you didn’t use
1. Photograph every wall, floor, and appliance before you unpack
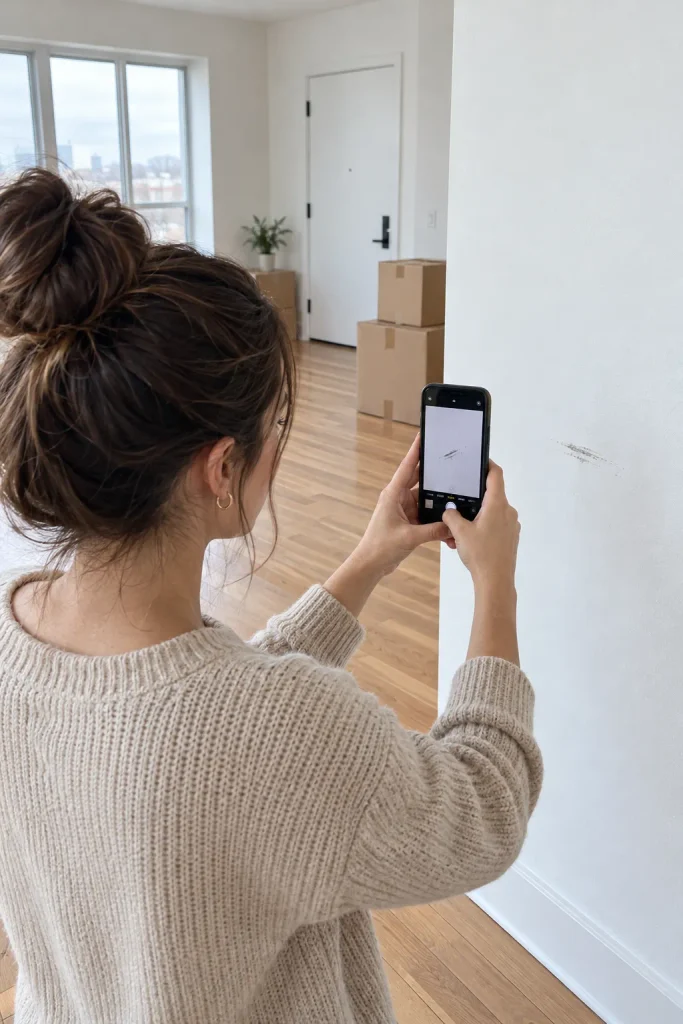
On move-out day, your landlord will compare the place to how it looked when you arrived. Without proof, an old scratch can come out of your deposit. Walk the room slowly. Take one wide shot of each wall, then a close-up of every chip, stain, or mark. Open the oven, fridge, and cabinets and photograph the insides too. Most studios need 40 to 60 photos. Email the full set to yourself so the date is saved.
⚠ Heads Up
Take these photos before a single box comes inside. Once furniture sits against a wall, you can’t see the damage behind it. Boxes dragged across the floor also leave fresh scuffs that will look like yours.
2. Measure the room and sketch where the windows, doors, and outlets sit
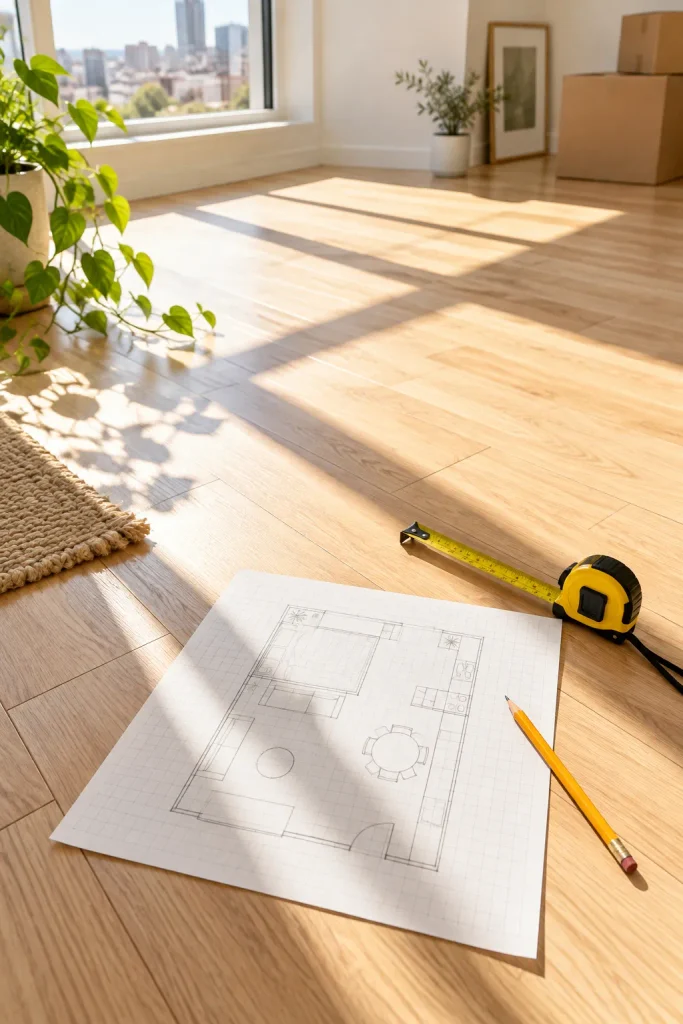
Outlets decide more of your layout than style does. A sofa in the wrong spot can block the only plug near the window. Draw the room as a box on graph paper, with 1 square = 1 foot, then mark:
- The full length and width of the floor
- Each window and its distance from the nearest corner
- The front door and which way it swings
- Every outlet, cable jack, and light switch
- The radiator or AC unit, if you have one
No graph paper? Any notebook page works. The drawing can be rough as long as the numbers are right.
3. Set up your bed on the first night
One good night of sleep gives you the energy for the next 29 days. Put the bed in the corner farthest from the front door for now. You will find its real spot in step 7. Most frames take 30 to 60 minutes to build. If yours needs tools you don’t have, lay the mattress on a clean blanket tonight and build the frame tomorrow.
4. Unpack only a 3-day essentials kit and leave the rest boxed
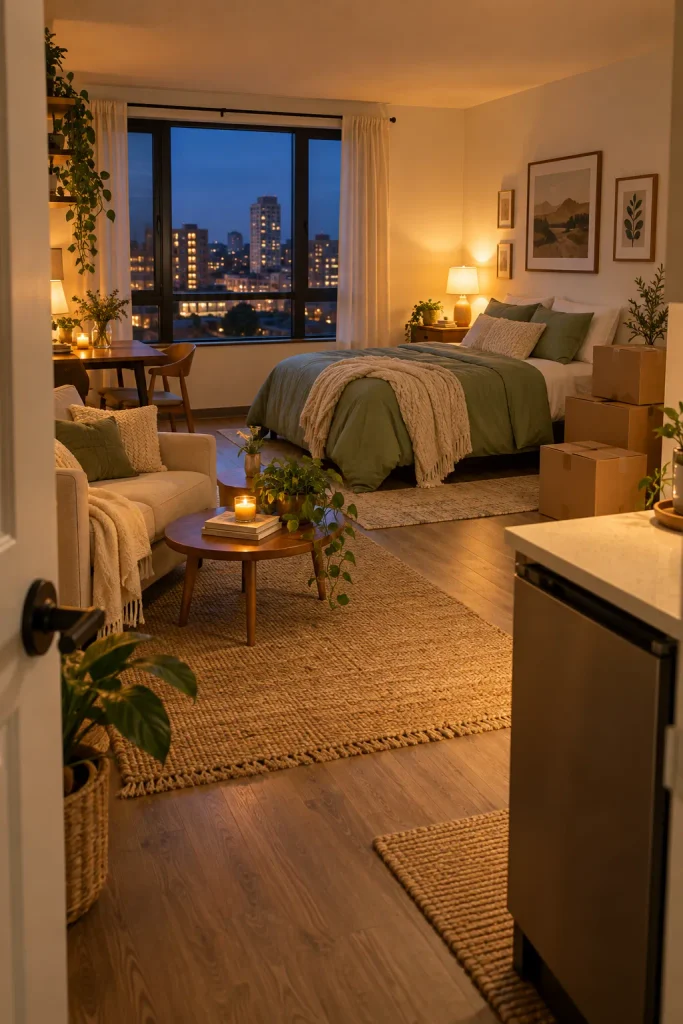
If you open every box on day one, your things end up on every surface with nowhere to go. A neat stack of closed boxes takes up less room than loose clutter. Pull out only what you need for the next 3 days:
- Three days of clothes
- Toiletries and one towel
- Phone charger and laptop
- One plate, bowl, mug, and fork, plus dish soap
- Sheets and a pillow
Stack the rest against one wall with the labels facing out.

5. Track how you use your studio for 7 days before buying furniture
Where do you actually eat dinner? Most people plan a cute dining corner, then eat on the bed every night. It’s better to learn that now than after you’ve bought a table. Each night for 7 days, write three short notes in your notebook: where you ate, where you sat to work or scroll, and where things piled up. It takes about 2 minutes. By the end of the week, you will see your real zones, not the ones you imagined.

✦ Pro Tip
Take one photo of the room each night from the same spot by the door. Swipe through all seven on day 7, and the spots where stuff keeps piling up will jump out at you.
6. Tape out three zones on the floor for sleeping, eating, and relaxing
Your week of notes tells you where each zone wants to go. Outline each one on the floor with 1-inch painter’s tape. A full-size bed needs about 5 x 7 feet of floor. Leave a walkway of at least 30 inches between zones so you aren’t squeezing past furniture. The tape lets you walk the layout and move it for free. Out of tape? Lay string or a row of shoes along the edges instead.

7. Place your largest piece of furniture against the longest wall
Unless a window, radiator, or door is in the way, the longest wall is the best home for your bed. A big piece floating in the middle cuts the room in half and eats your walkway. Check your sketch first so you don’t cover the only outlet. To move a heavy bed without scratching the floor, slip a folded towel under each leg and slide it. Leave 2 to 3 inches between the frame and the wall to protect the paint.
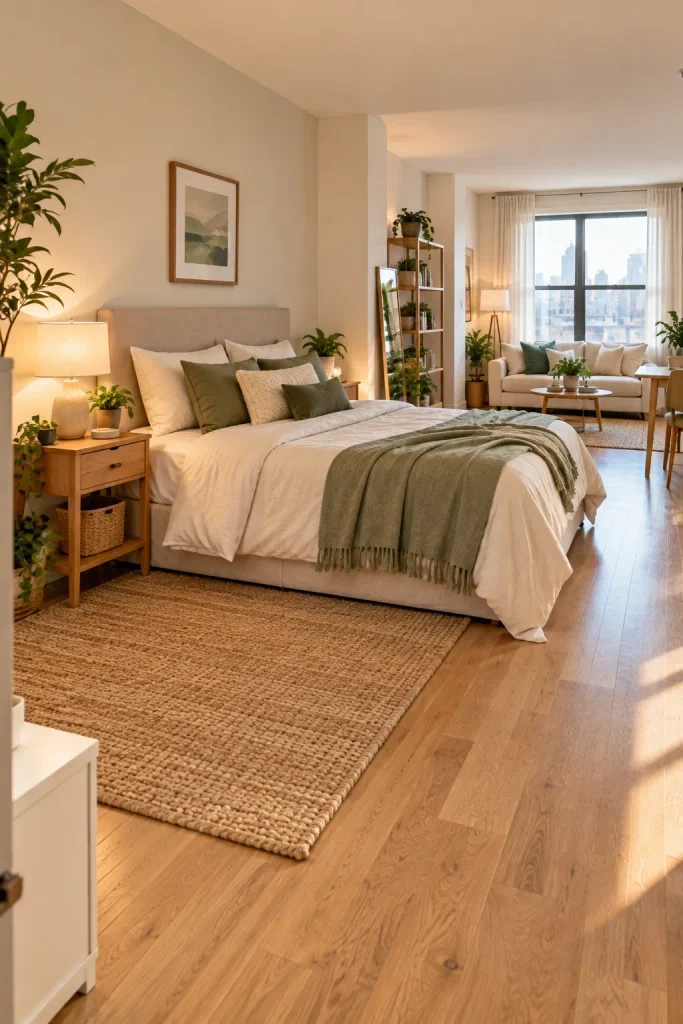
8. Separate the bed from the living area with an open shelf or a curtain
Sitting on the sofa and staring at an unmade bed makes a studio feel like one long bedroom. A divider gives you two spaces in one room. An open-back bookshelf about 4 to 5 feet tall works best, because light still passes through it. Set it at the side or foot of the bed. If your bed sits in a nook, a tension rod with a curtain does the same job with no drilling. Check the rod’s max length before you buy. Most cover gaps up to about 84 inches.

⚠ Heads Up
A shelf that stands away from the wall can tip over. Pick one with a wide base, and keep heavy books and baskets on the bottom two shelves only. Lighter decor goes up top.
9. Anchor the living zone with a rug at least 5 x 7 feet
A 5 x 7 rug is the smallest size that pulls a seating area together. Smaller rugs float in the middle of the floor and make the room look choppy. Slide the front legs of your sofa and chair about 6 inches onto the rug. Before you order, tape the rug’s outline on the floor to check the fit. On hardwood, put a thin rug pad underneath so it doesn’t slip.
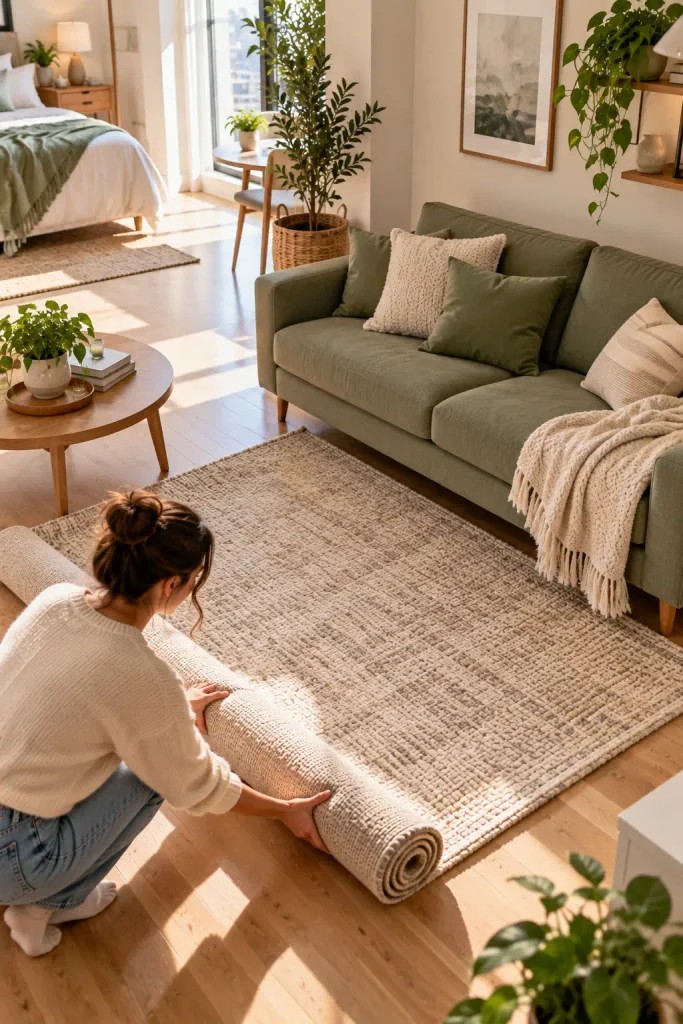
10. Swap one single-use piece for furniture that does two jobs
Which piece in your room does only one thing? In a studio, a coffee table that only holds a mug is taking up floor you can’t spare. Trade it for a lift-top coffee table that rises to desk height, or a storage ottoman that works as a seat, a footrest, and a blanket bin. Swap one piece, not five. Your notes from step 5 show which one gets used most. On a tight budget, a sturdy lidded trunk from a thrift store does the same job.

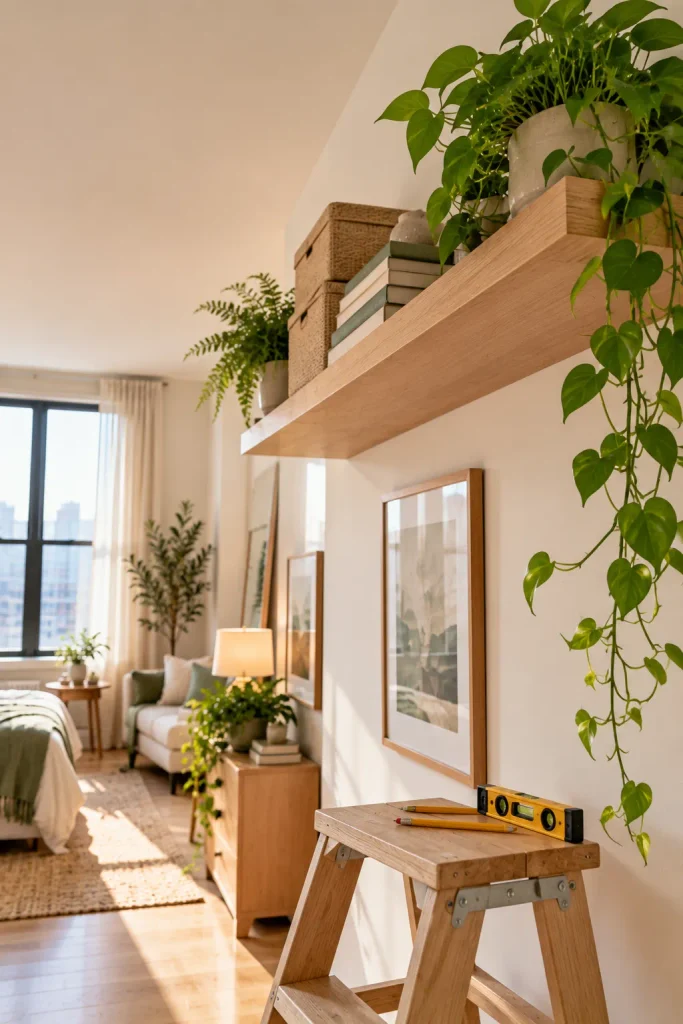
11. Hang shelves higher than 5 feet to use the vertical space
Most studios leave the top third of every wall empty. Shelves up high keep your floor clear and pull the eye upward, which makes the ceiling feel taller.
⚠ Heads Up
Read the wall damage rules in your lease before you drill. Many leases allow small nail holes but not big anchors. If drilling is banned, a tall freestanding bookshelf or a leaning ladder shelf gives you the same height with zero holes.
Once you’re cleared to drill:
- Find a stud with a stud finder, or knock until the sound turns solid
- Mark the bottom of the shelf at 60 inches or higher
- Pencil a straight line with a level
- Use wall anchors rated for 20 pounds or more if there’s no stud
- Fill it with things you use less than once a week
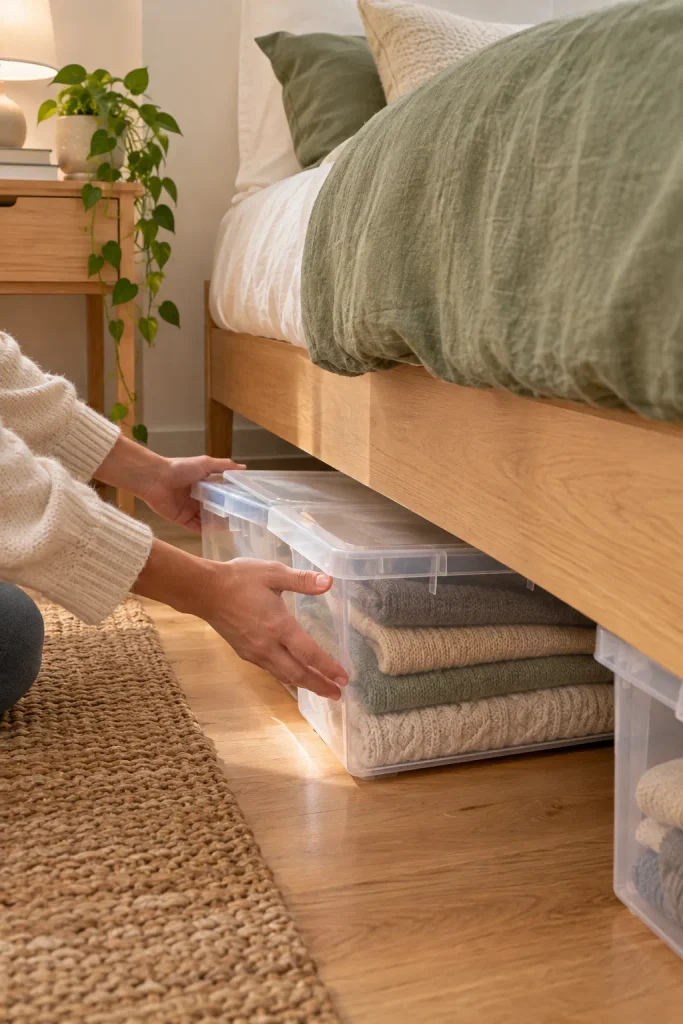
12. Slide flat storage bins under the bed
Measure the gap first. Go from the floor to the bottom of the bed frame, then buy bins about 1 inch shorter so they slide in without scraping. Pick bins with lids to keep dust out. Off-season clothes, spare sheets, and extra shoes all belong down here. If your frame sits lower than 5 inches, a set of bed risers will lift it 3 to 6 inches with no tools.
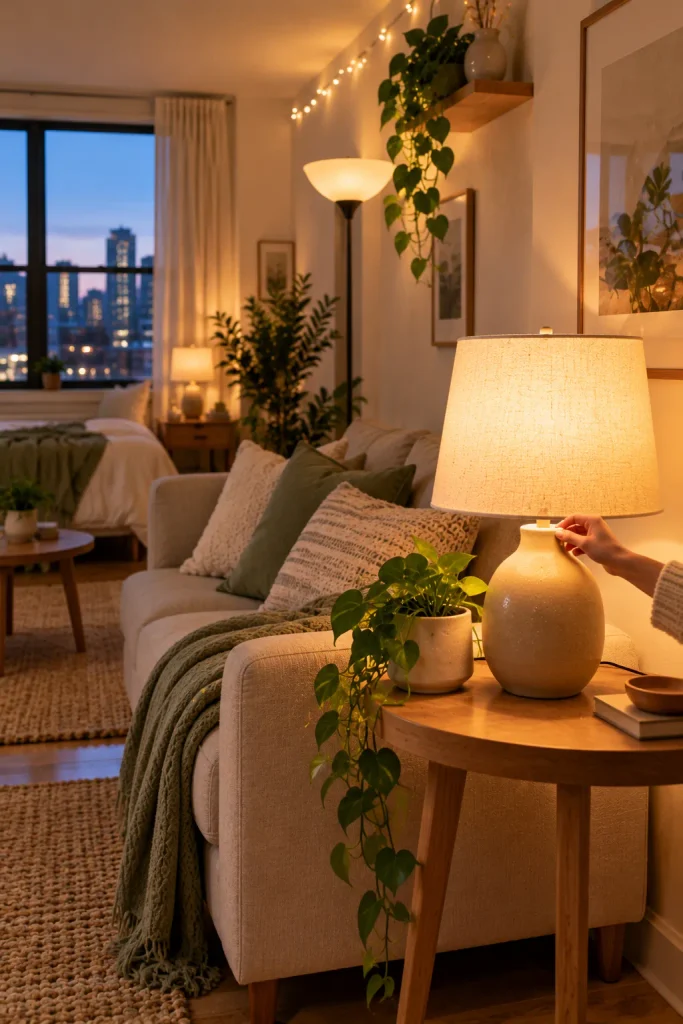
13. Add three light sources at three different heights
If your studio has only a ceiling light, the corners stay dim and the whole room looks flat at night. Lamps at different heights spread light into each zone. Set up one of each:
- Low: a table lamp beside the sofa or bed
- Middle: a floor lamp near your reading or work spot
- High: a plug-in wall sconce or string lights near the ceiling
Use warm bulbs marked 2700K in all three so the light matches.
✦ Pro Tip
Plug the low and middle lamps into one power strip with a switch, and set it where you can reach it from the door. One tap lights the room, no walking around in the dark.
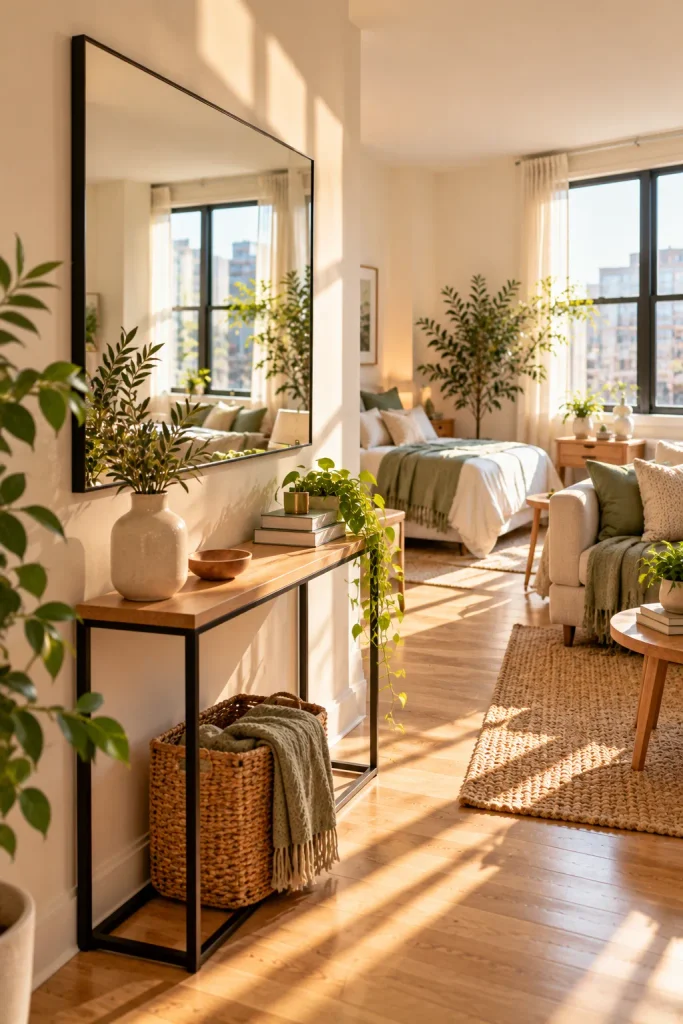
14. Hang a large mirror across from your main window
Light bounces. A mirror facing the window catches daylight and sends it back across the room, and it reflects the view too. Go for at least 24 x 36 inches. Small mirrors don’t throw enough light to matter. Hang it so the center sits about 57 to 60 inches off the floor, roughly eye level. Before you nail anything, hold it up and check what it reflects. If you see the kitchen sink or the bathroom door, shift it a foot or two. Renting with strict wall rules? A floor mirror leaned against the wall works the same way.
15. Run a 10-minute reset every night
Ten minutes is the difference between a cozy studio and a cluttered one. In one room, a single mess shows up everywhere. Set a timer and work through this order:
- Wash the dishes or stack them in the drying rack
- Put clothes in the hamper or back on their hooks
- Clear the table and counters
- Pull the bedding straight so the bed looks made from the sofa
Can’t finish in 10 minutes? Too many things still don’t have a home yet. Step 16 handles that.

16. Remove anything you haven’t touched by day 30
Anything still sealed in a box from step 4 has had a month to prove you need it. Open each one now. If you didn’t reach for an item in 30 days, it goes in the donation box. Seasonal clothes, papers, and keepsakes are the only exceptions. A studio can’t hide extras, so every spare item steals floor or shelf space. Drop the box off within 48 hours so it doesn’t turn into furniture.

Troubleshooting
Something Not Working? Try This
| If This Happens | Try This |
|---|---|
| The room still feels cramped | Take one piece off the floor for a week. Check that every walkway is at least 30 inches wide. |
| You can see the bed from the front door | Set your shelf or curtain at the foot of the bed. Add a throw and pillows so it reads like a daybed. |
| Clutter keeps landing on the same spot | That spot needs a home for things. Put a tray or basket there for keys, mail, and chargers. |
| One corner stays dark at night | Move the floor lamp into that corner, or run string lights along the top of the wall. |
| Furniture blocks the only outlet | Slide the piece 12 inches to one side, or run a flat-plug extension cord along the baseboard. |
| Cooking smells reach the bed | Run the range hood while you cook and crack a window for 10 minutes after. Wash bedding weekly. |
Questions Beginners Ask
Studio Apartment FAQ
How do I make a studio feel like more than one room?
Give each zone its own edge. A rug marks the living area, an open shelf or curtain marks the bed, and a lamp in each zone makes them feel separate at night.
Where should the bed go in a studio?
Against the longest wall, as far from the front door as you can get it. That keeps the walkway open and the bed out of view when someone walks in.
Do I need to buy everything in the first month?
No. Buy the pieces your 7-day notes proved you need, and let the rest wait. A half-furnished studio that works beats a full one that doesn’t.
What if my lease doesn’t allow nails or drilling?
Use freestanding shelves, tension rods, and a leaning floor mirror. Adhesive hooks work for light items. Ask your landlord in writing if you want something hung.
Can I fit a desk in a studio?
Yes, if it folds or doubles up. A drop-leaf table or a lift-top coffee table can be your desk by day and put away by night.
What to Expect
Day 1 vs. Day 30
Day 1
- ○ Boxes along every wall
- ○ Mattress wherever it landed
- ○ One harsh ceiling light
- ○ No idea where things go
- ○ Bed is the first thing guests see
Day 30
- ✓ Three clear zones
- ✓ Bed tucked behind a shelf or curtain
- ✓ Warm light at three heights
- ✓ Every item has a home
- ✓ A 10-minute reset that keeps it tidy
Save or Print
Studio First 30 Days Cheat Sheet
What You Need
- Tape measure + painter’s tape
- Phone, notebook, pen
- Screwdriver set + step stool
- Donation box
- Rug, 5 x 7 ft or larger
- Open shelf or curtain + rod
- One two-job furniture piece
- Wall shelves + under-bed bins
- 3 lamps + large mirror
Steps
- Photograph the empty room
- Measure and sketch it
- Set up the bed
- Unpack a 3-day kit only
- Track your habits for 7 days
- Tape out three zones
- Largest piece on longest wall
- Divide bed from living area
- Add a 5 x 7 rug
- Swap in a two-job piece
- Hang shelves above 60 inches
- Store flat bins under the bed
- Add lamps at three heights
- Hang a mirror facing the window
- Reset for 10 minutes nightly
- Donate what you didn’t use
Your Studio, 30 Days Later
A month ago this was a room full of boxes. Now it has a place to sleep, a place to eat, and a place to unwind, and you know exactly where everything goes.
These studio apartment living tips only keep working if the nightly reset does, so hold on to that habit.
For your next project, pick one empty wall and make it yours with art or a small gallery shelf.
Save this pin to your apartment board so it’s ready the next time you move.

