
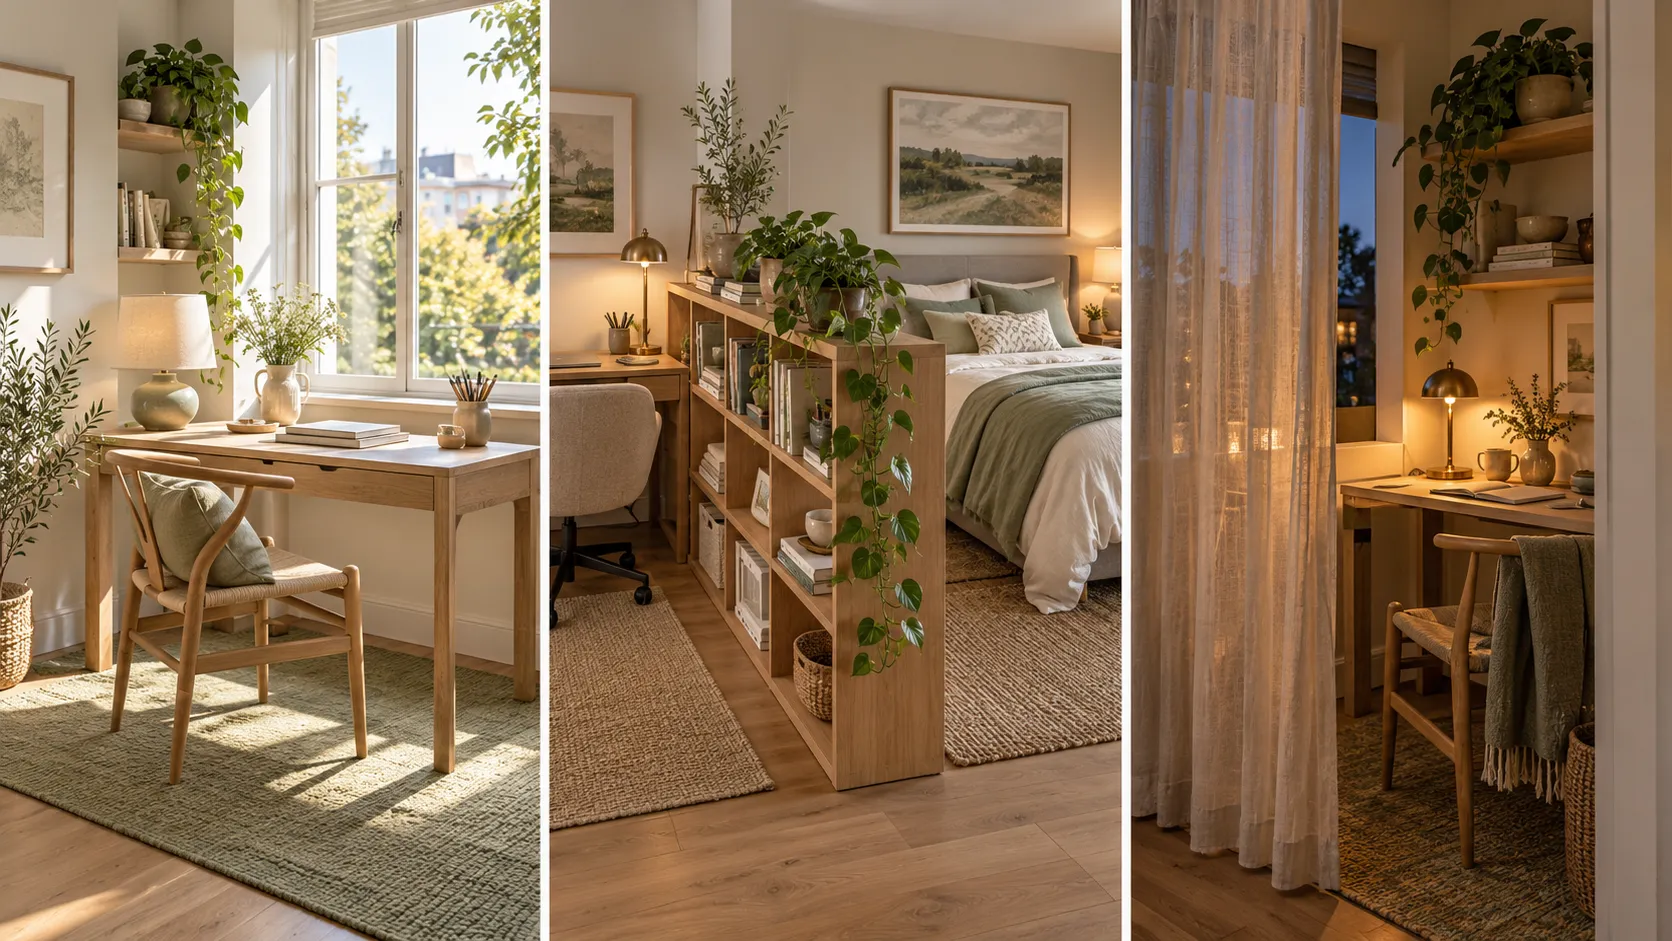
Your laptop lives on your bed. Work calls happen at the kitchen counter. By Friday, the whole room feels like an office you can never leave. If that sounds familiar, the fix is not a bigger apartment. It is a smarter studio apartment work from home setup.
This guide shows you how to claim one small corner of your studio and make it a real work zone. You will pick the right spot, fit a desk that does not crowd the room, and use a rug, a divider, and a lamp to make that corner feel separate from where you sleep and relax. At the end of each workday, you will be able to close it all down in five minutes.
Every step is renter-friendly. There is no drilling, no painting, and nothing that puts your deposit at risk. Most of the work is measuring and moving furniture, so you do not need any special skills.
Plan for one weekend. The hands-on part takes about three to four hours, but shopping for a desk or rug can stretch things out. Grab a tape measure, and let’s find your spot.
What You Need
Gather these before you start moving furniture.
- Compact desk (30 to 40 in. wide)
- Desk chair
- Small rug (3×5 or 4×6 ft)
- Divider: bookshelf, folding screen, or tension rod curtain
- Desk lamp (LED, 400 to 800 lumens)
- Leaning shelf or removable wall hooks
- Lidded basket or bin
- Tape measure (25 ft)
- Painter’s tape (1 roll)
- Pencil and scrap paper
- Surge-protected power strip
- Cord cover or adhesive cable clips
- Felt furniture pads
- Laptop stand (or a stack of books)
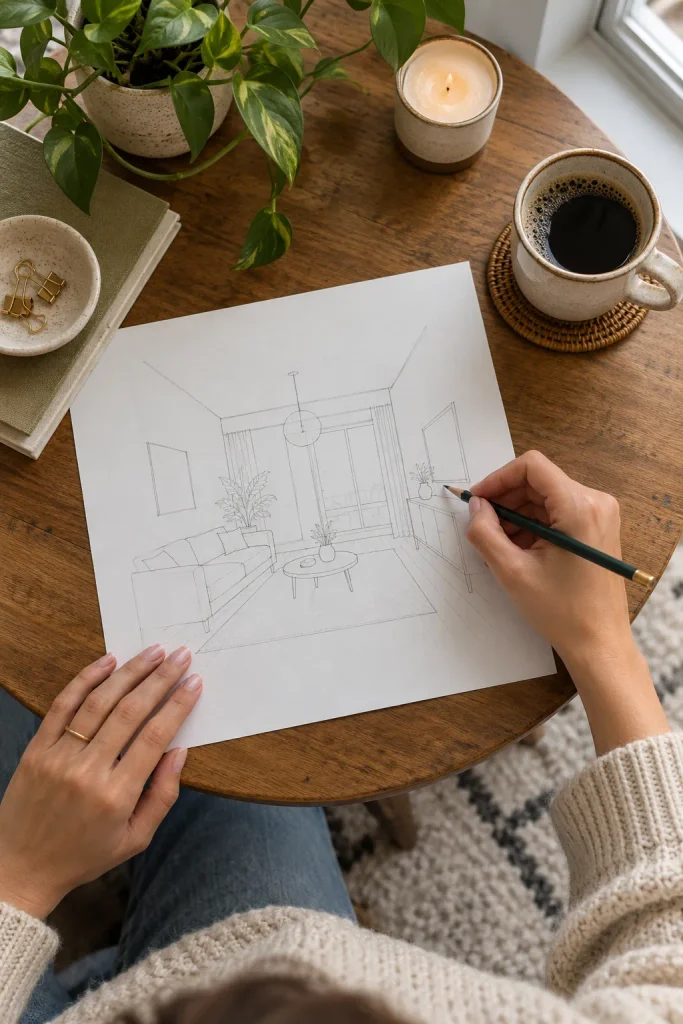
1. Sketch a Quick Floor Plan With Every Outlet and Window Marked
Scrap paper and a pencil are all this takes. Draw your room as a rough box, then add:
- The bed, sofa, and kitchen area
- Every outlet (mark it with an X)
- Every window (mark it with a double line)
- Doors and the paths you walk every day
Skip the ruler. The shape matters more than perfect scale. This 10-minute sketch keeps you from dragging a heavy desk around the room twice.
2. Plan Your Studio Apartment Work From Home Setup Around Light and Power
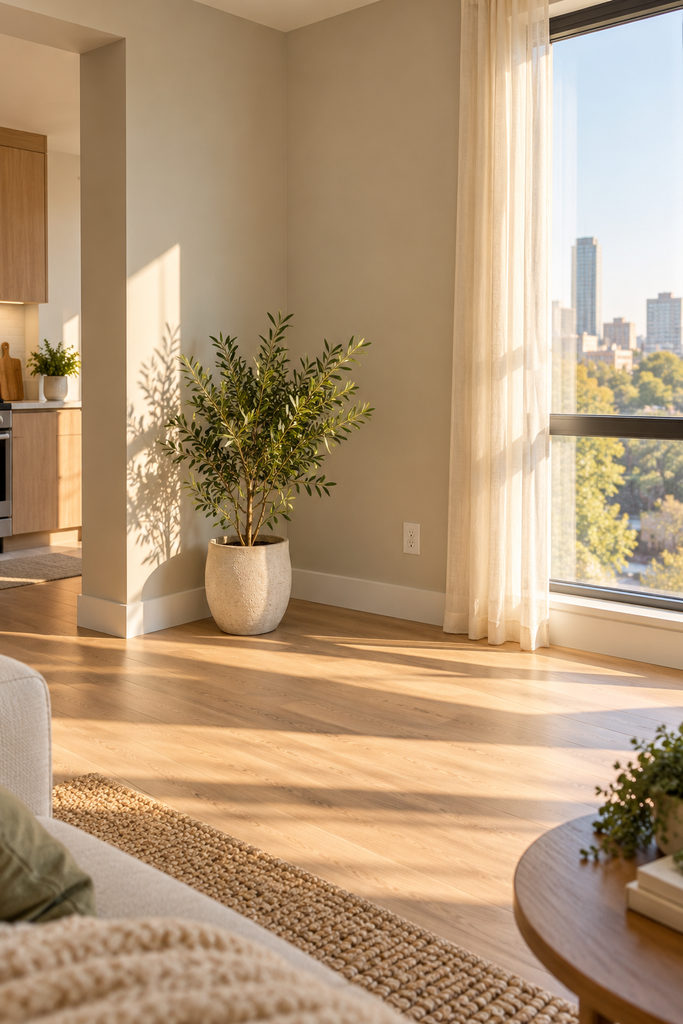
If a spot has no outlet within 6 feet, cross it off your sketch. Long extension cords across the floor are a trip hazard, and they look messy on video calls. From the spots that are left, favor one near a window. Side light works best, with the window on your left or right. A window behind you puts your face in shadow on camera, and a window in front of you bounces glare onto your screen. When two spots tie, choose the one farthest from your bed.
3. Measure the Exact Spot and Set Your Desk Size Limit
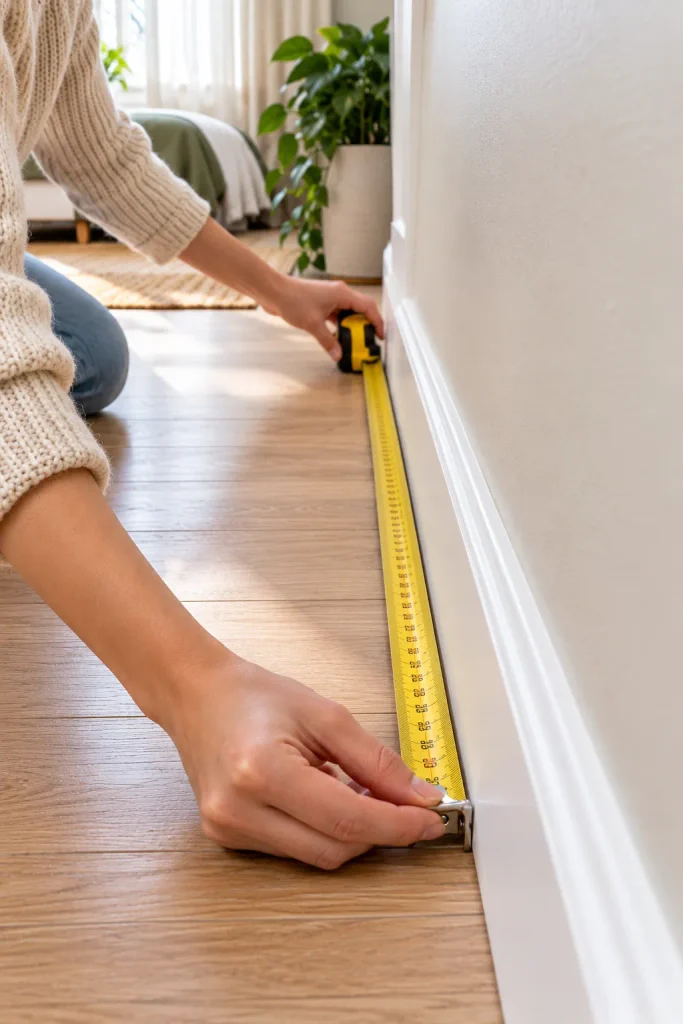
Three numbers matter here: wall width, desk depth, and walking room. Leave at least 36 inches behind the chair so you can pull it out and still walk past. Subtract that from your open floor space. What is left is your maximum desk depth. Write both numbers on your sketch.
4. Choose a Desk That Fits Small Spaces
Your desk should match the numbers on your sketch, not the photos in a store. Look for one 18 to 24 inches deep. A narrow writing desk or a console table works well, since both sit close to the wall and leave room to walk. Pick open legs over a solid base. Seeing the floor underneath makes the corner feel bigger. Skip deep L-shaped desks, which eat floor space a studio cannot spare. Already own a small dining table? Try it as your desk for one week before you buy anything.
Want more layouts to steal? Browse 25 small home office ideas for apartments.
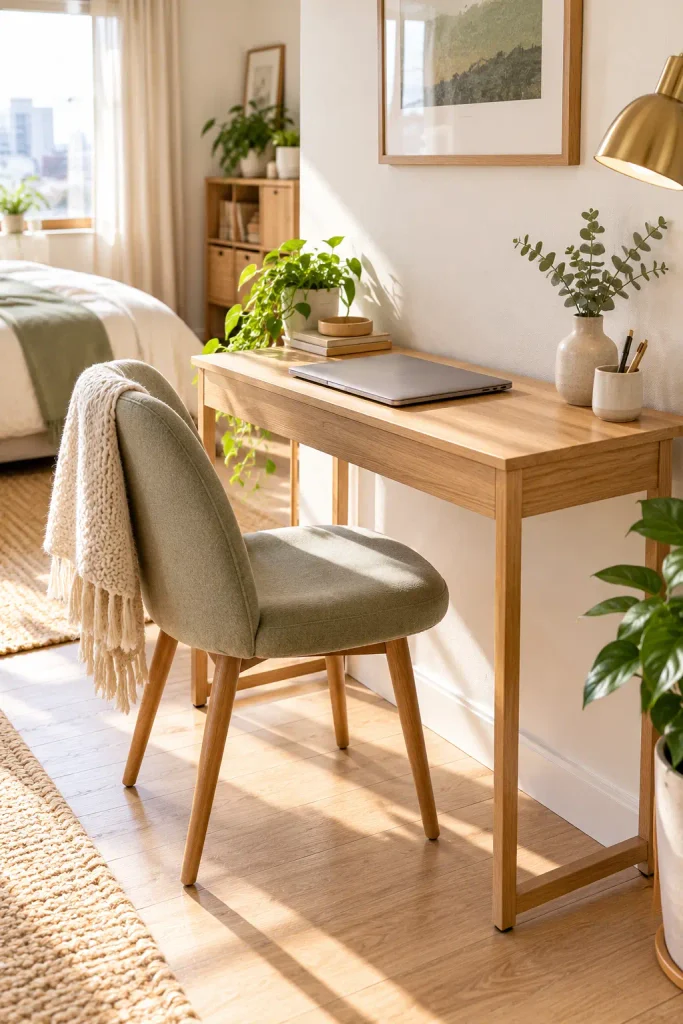
Online listings usually show width first, then depth, then height. Check the middle number against your sketch before you hit buy, because depth is the number that decides whether you can still walk past.
5. Map the Zone on the Floor With Painter’s Tape
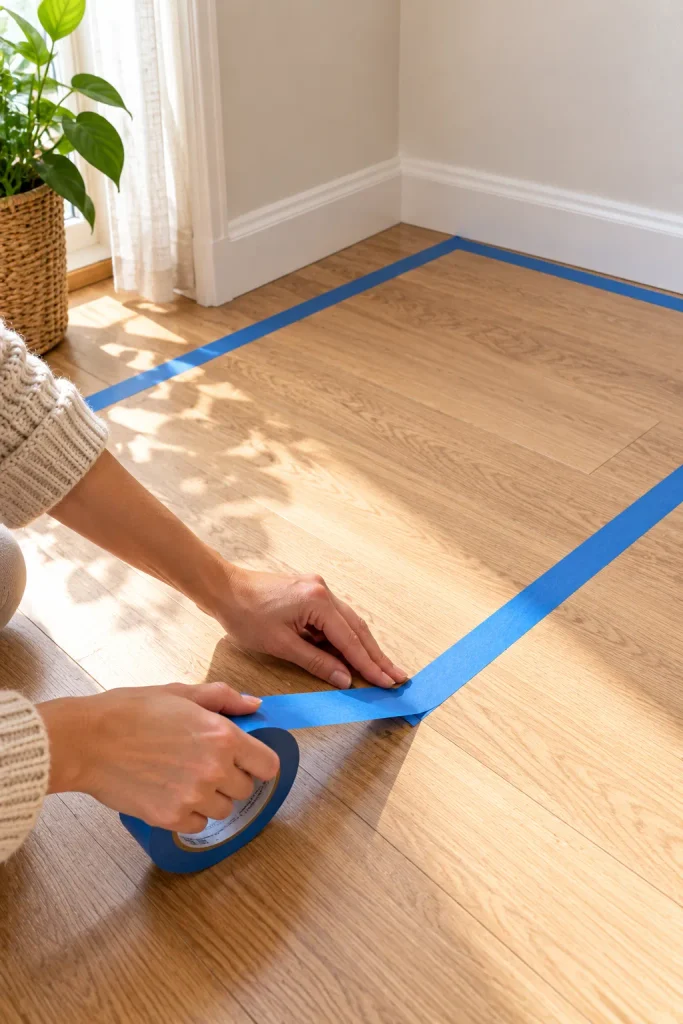
Before any furniture moves, tape a rectangle on the floor the exact size of your desk. Add a second line 36 inches behind it to mark your chair space. Walk around the zone a few times. If you keep stepping on the tape, the desk is too big for this spot. Painter’s tape peels off clean, so it will not harm rental floors.
6. Clear the Spot and Shift Nearby Furniture
Moving one piece usually means moving two. Pull everything out of the taped area first, including baskets, plants, and that chair that collects laundry. Then check what sits right next to the zone. A sofa or dresser pressed against the desk makes both feel cramped, so slide it 12 to 18 inches away if you can. Stick felt pads under the legs before you push anything across the floor.
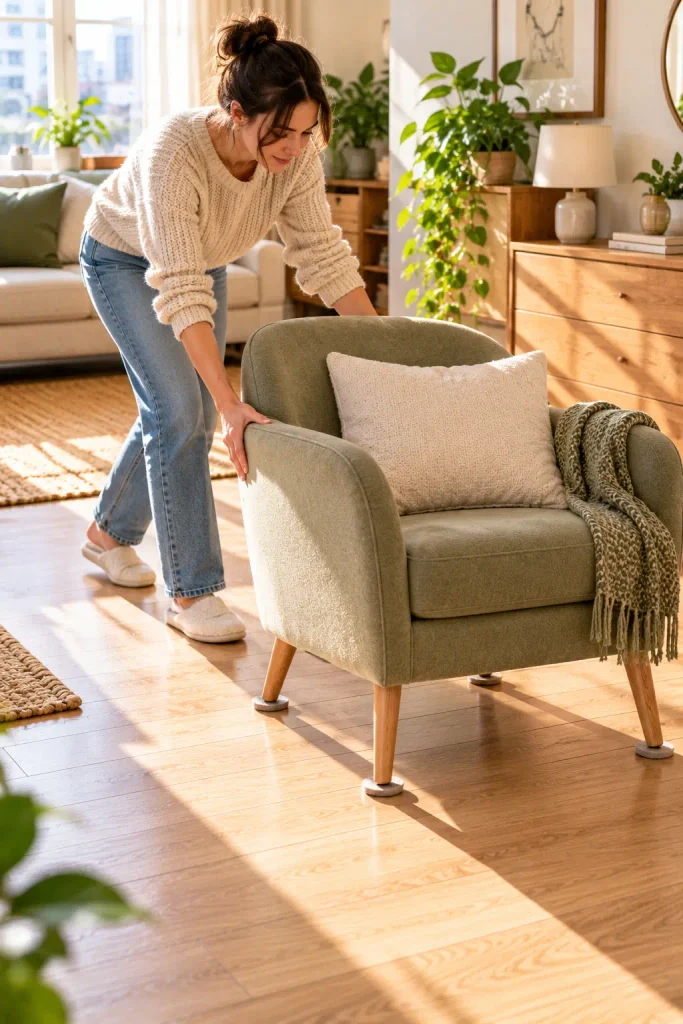
Never drag a dresser with the drawers still in. The extra weight can crack the frame and gouge the floor, and floor scratches are one of the most common deposit deductions. Pull the drawers out first, then move the empty frame.
7. Set the Desk Where Your Bed Stays Out of View
Sit in the desk chair and look straight ahead. If you can see your pillows, turn the desk. Aim for a view of a wall or a window, with the bed off to one side. Then open your laptop camera. Whatever sits behind you shows up on every video call, so keep the bed out of that frame too.
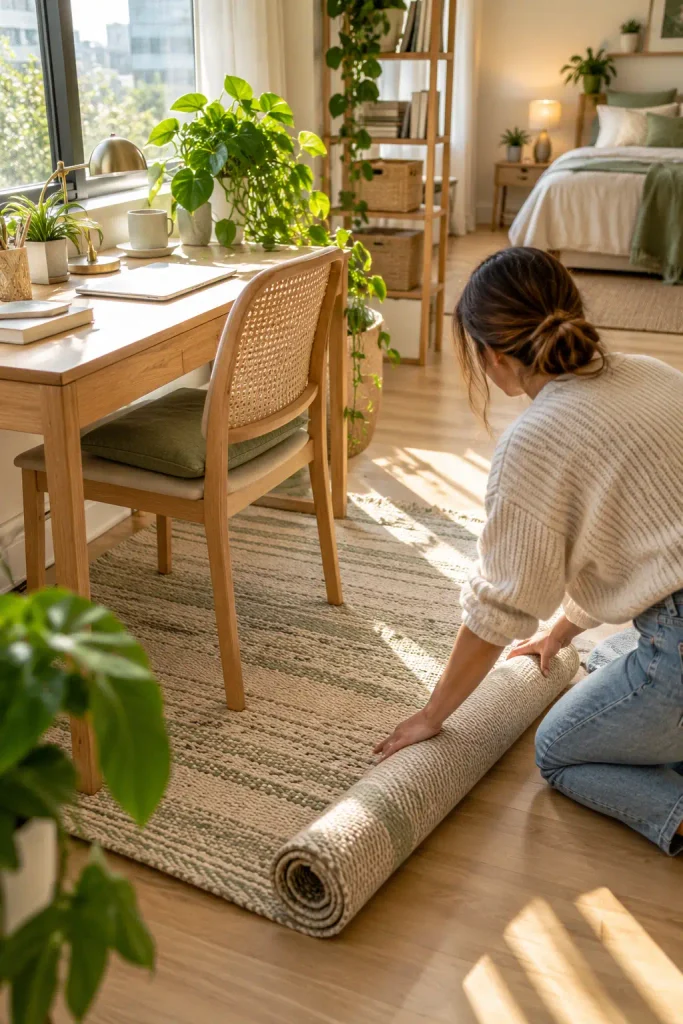
8. Anchor the Zone With a Small Rug
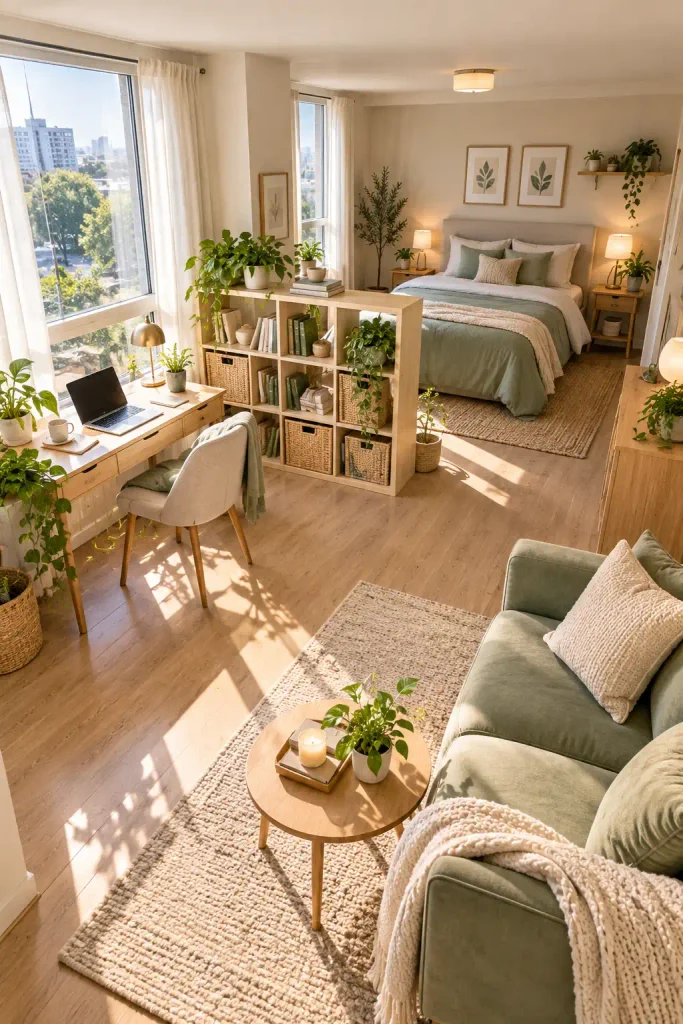
Floors tell your eyes where one space ends and the next begins, even inside a single room. A rug does that job for your desk. Size it so all four chair legs stay on the rug when you roll back, which usually means 4×6 feet. Choose a flat-weave or low-pile rug under 1/4 inch thick, because chair wheels sink into shag. Lay a non-slip pad underneath so it stays put. If your living area already has a rug, pick a different color or pattern so the two zones read as separate.
9. Add a Divider That Blocks the View but Not the Light
Low and open beats tall and solid in a studio. A full wall of furniture cuts off daylight and makes the whole room feel smaller. Pick one of these:
On a budget? You can hang a room divider curtain without drilling a single hole.
- An open-back bookshelf, 3 to 4 feet tall
- A folding screen with slats or fabric panels
- A sheer curtain on a tension rod (works in an alcove)
- A row of tall potted plants
Place it between the desk and the bed.
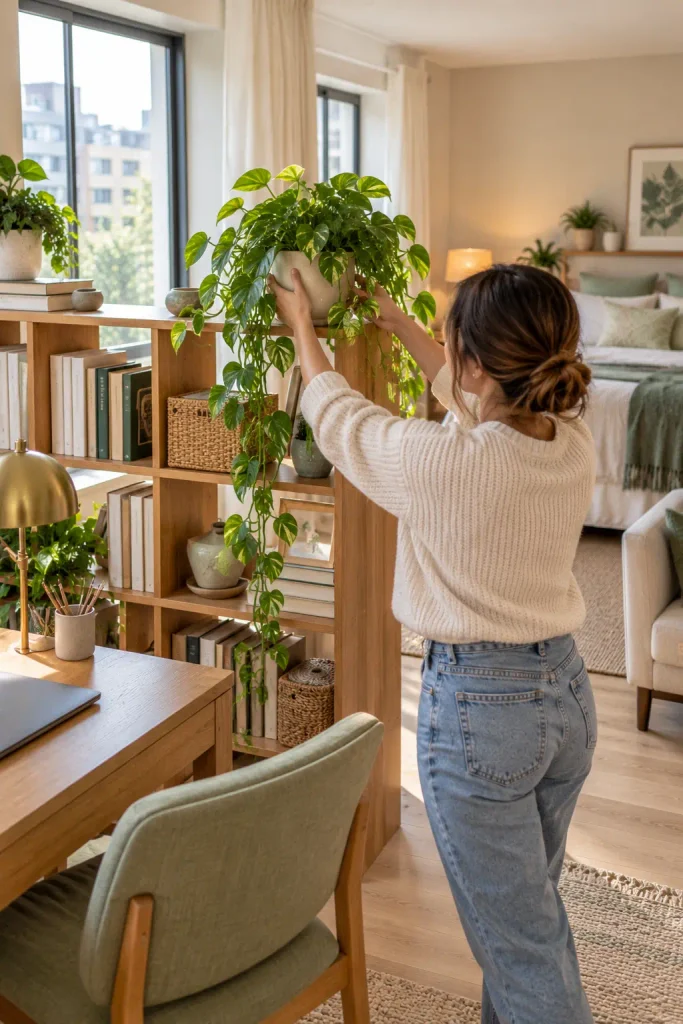
A bookshelf used as a divider stands in the open with no wall to lean on, so it can tip. Keep it under 4 feet tall, load heavy books on the bottom shelves, and give it a firm push from the side. If it wobbles, move it against a wall and use a screen or plants instead.
10. Light the Desk With Its Own Lamp
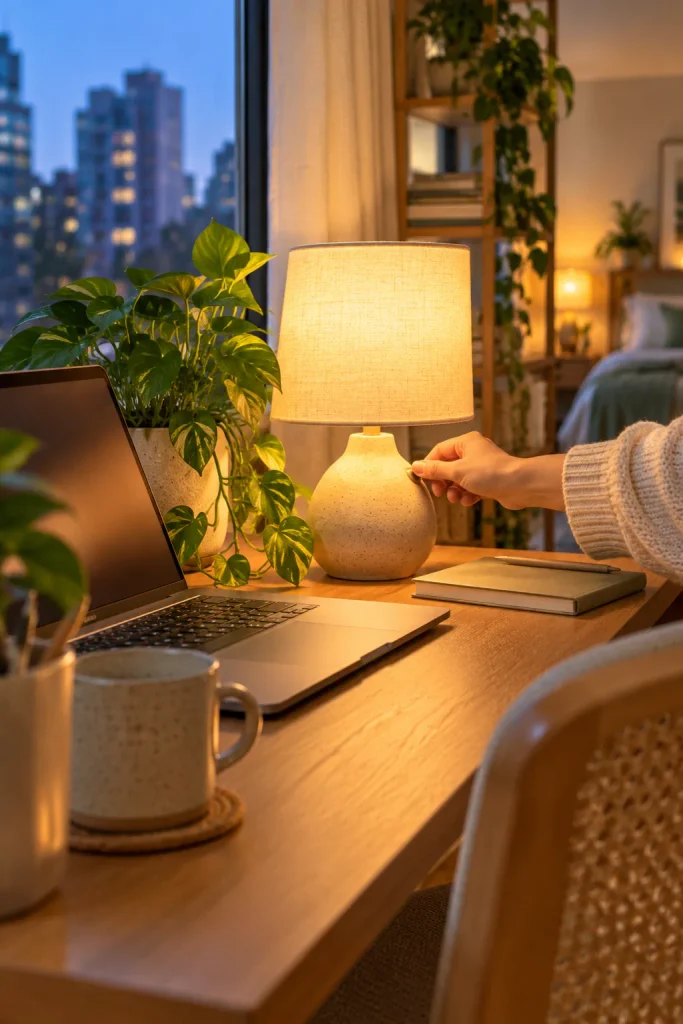
One ceiling light throws your own shadow across the desk and tires your eyes by late afternoon. Set a desk lamp on the side opposite your writing hand, so your hand never shades what you are working on. Look for a bulb around 400 to 800 lumens in a warm-to-neutral tone, around 3000K to 4000K. The lamp also works as a signal. Switch it on when work starts and off when work ends.
If money is tight, here’s how to pick cheap apartment lighting when you can only afford one lamp.
11. Route and Hide Every Cord
Unless the outlet sits right behind your desk, cords will cross some open floor. Plug everything into one surge-protected power strip, then stick the strip to the underside of the desk with adhesive cable clips. Run the single cord to the wall along the baseboard, tucked inside a cord cover. Bundle loose cables with a velcro tie. No ties on hand? A hair tie or bread twist tie works for now.
For a deeper dive, here’s how to hide cords in an apartment so everything looks built in.
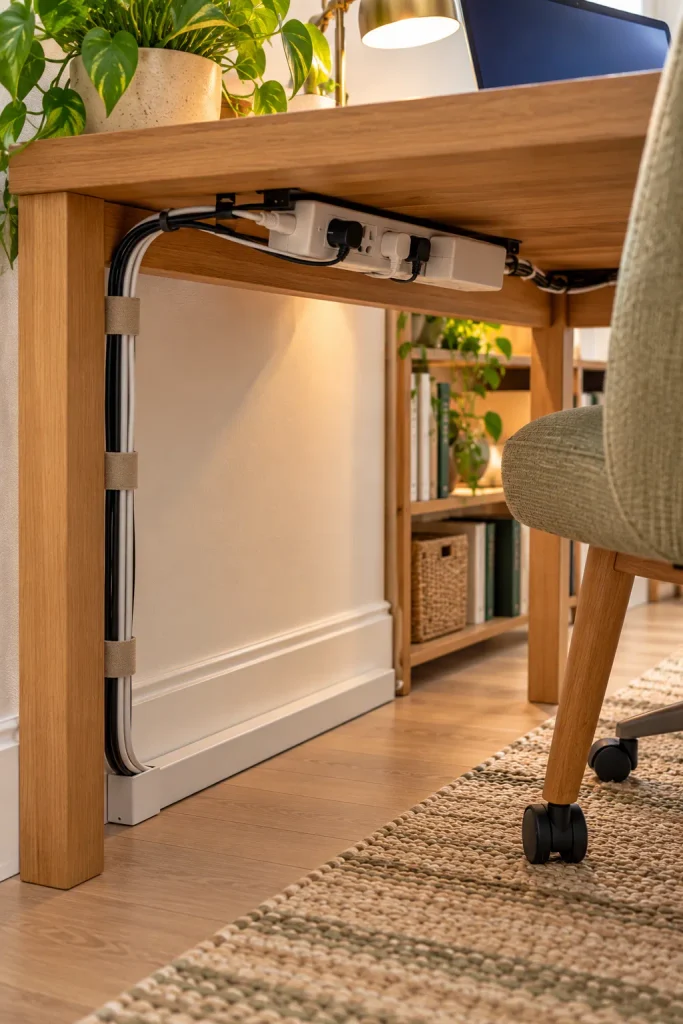
Never run cords under your rug. Foot traffic wears down the cord where you cannot see it, and the trapped heat is a fire risk. Also avoid plugging one power strip into another, which can overload the outlet.
12. Build Storage Up the Wall, Not Out Into the Room
Floor space is the scarcest thing in a studio, but the wall above a desk usually sits empty. Use it with no-drill options:
Plenty more ways to go up the wall are in these vertical storage ideas to clear your floor.
- A leaning ladder shelf beside the desk
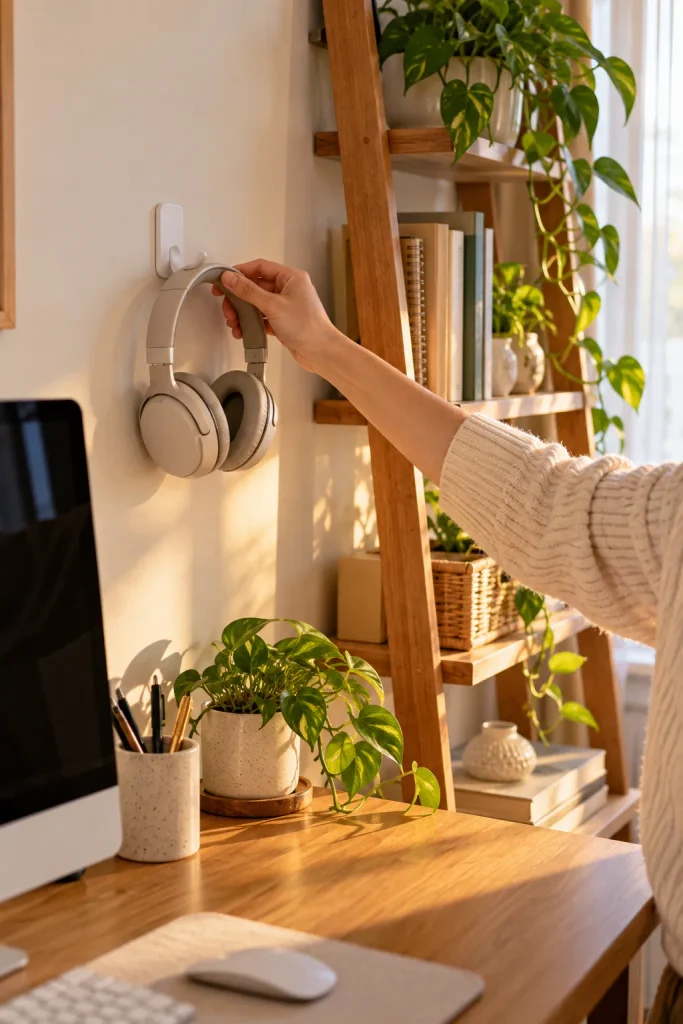
- Removable adhesive hooks for headphones and bags
- A desktop riser or small hutch for papers
- A pegboard propped on the desk against the wall
Check the weight limit printed on every adhesive hook package. Anything heavier belongs on a shelf.
13. Adjust Your Chair and Screen to Fit Your Body
Your body sets these numbers, not the furniture. Raise or lower the chair until your feet rest flat on the floor and your knees bend at about 90 degrees. Your elbows should hang relaxed at desk height. The screen comes second. Lift it so the top edge sits at or slightly below eye level, about 20 to 30 inches from your face. A laptop stand does the job, and so does a stack of hardcover books. Feet dangling once the chair is set? Rest them on a sturdy box.
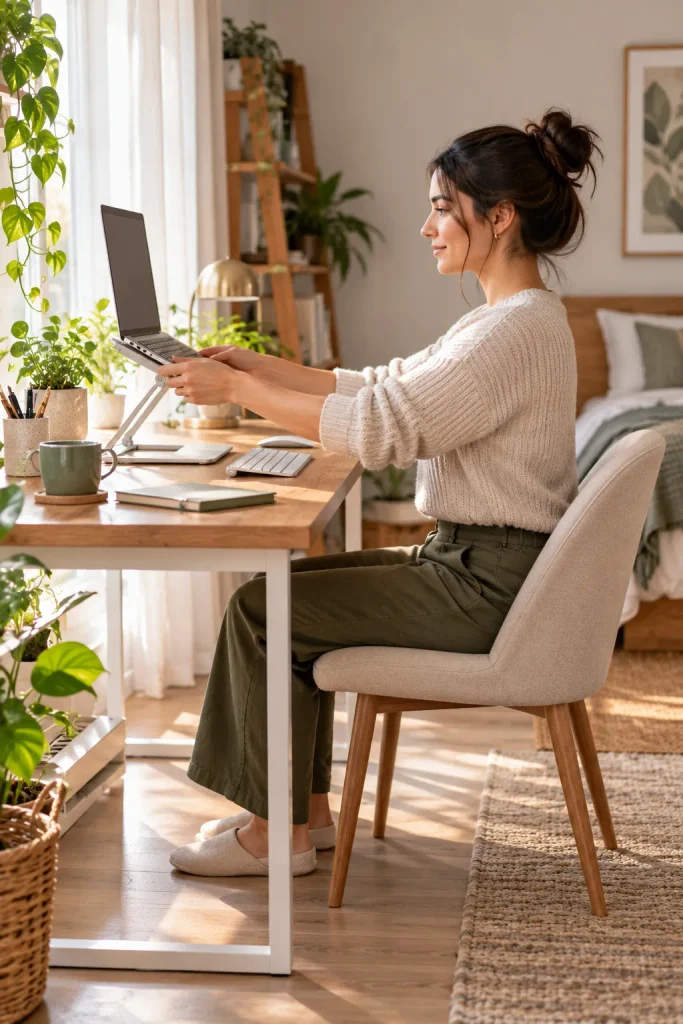
Raising a laptop puts its keyboard too high to type on comfortably. A plug-in keyboard and mouse fix that, and basic wired ones work as well as fancy ones.
14. Create a 5-Minute Shutdown Routine That Hides the Work Zone
Work stays at work when it disappears at night. Before you start your evening, run through this:
- Drop loose papers and chargers into the lidded basket
- Slide the laptop onto a shelf or into a drawer
- Switch off the desk lamp
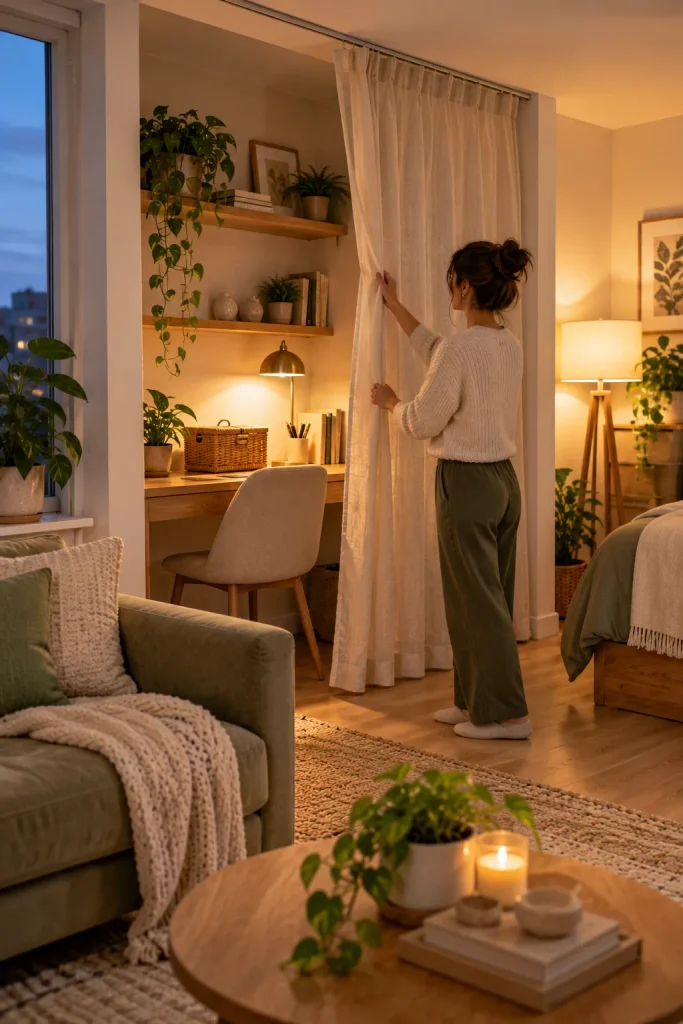
- Pull the curtain or fold the screen across the desk
- Push the chair in
Set a phone alarm for the same time each day until the habit sticks. A cleared desk seen from the sofa makes it far easier to switch off.
Troubleshooting Your Work Zone
Something feels off after a few days? Find it here.
Frequently Asked Questions
How much space do I need for a work zone in a studio?
A footprint about 3 feet wide and 5 feet deep is enough. That covers a compact desk plus room to pull your chair out.
Can I set this up without drilling into the walls?
Yes. Every step uses freestanding furniture, tension rods, or adhesive hooks. Remove adhesive hooks by pulling the tab slowly straight down so they do not lift the paint.
What if there is no room for a desk at all?
Look at your closet first. A small desk inside a closet gives you a work nook with doors that close at night. A narrow console table behind the sofa works too.
Can I use my dining table as my desk?
You can. Pick one seat as your work seat, and pack everything into a basket at the end of each day so meals stay separate from work.
How do I keep it from looking like an office?
Match the desk to the wood tones or colors already in your room, and add one plant or framed print. Keep chargers and tech in a basket, not on display.
- Compact desk and chair
- 4×6 ft flat-weave rug
- Low divider or screen
- Desk lamp
- Power strip and cord cover
- No-drill wall storage
- Tape measure and painter’s tape
- Lidded basket
- Sketch outlets and windows
- Pick a spot near light and power
- Measure; leave 36 in. for the chair
- Choose a desk 18 to 24 in. deep
- Tape the zone on the floor
- Clear the spot
- Keep the bed out of view
- Lay down the rug
- Add a low divider
- Set up the lamp
- Hide the cords
- Store things up the wall
- Adjust chair and screen
- Run the 5-minute shutdown
Your Work Zone Is Ready
You now have a real corner for work, and your bed is back to being a place for rest.
Your new studio apartment work from home setup fits your space, keeps your deposit safe, and packs away in five minutes.
Give it one full week before you change anything, since a new routine takes a few days to feel normal.
When you are ready for the next step, style the wall above your desk with one print or a trailing plant.
Save this pin to your small space board so it’s handy when a friend needs help setting up their own.

