

Your bathroom counter is covered in bottles. The towels live on the toilet tank. Every morning you move three things to reach your toothbrush. If that sounds like your place, you are not messy.
Your bathroom has no cabinet, and that is a layout problem, not a you problem. These bathroom ideas for no storage are made for exactly that.
By the end of this guide, you will have storage in six spots most people never use: over the toilet, behind the door, under the sink, next to the mirror, inside the shower, and in the gap beside the toilet.
Nothing here needs a drill. It works for renters and leaves no holes when you move out.
The method works because you sort and measure before you buy anything. Most people grab a cute shelf, bring it home, and find out it blocks the door. We skip that part.
Plan on about 2.5 hours of hands-on work. The adhesive shelves need 24 hours to cure before you load them, so start on a day when the bathroom can stay a little unfinished overnight. Grab a tape measure, and let’s clear that counter.
- Sort every product into three piles
- Measure the four hidden zones
- Match each pile to a zone
- Set up a shelf over the toilet
- Hang an organizer on the door
- Add a skirt under the sink
- Stick shelves beside the mirror
- Install a tension caddy in the shower
- Slide a cart beside the toilet
- Put everything back, daily items first
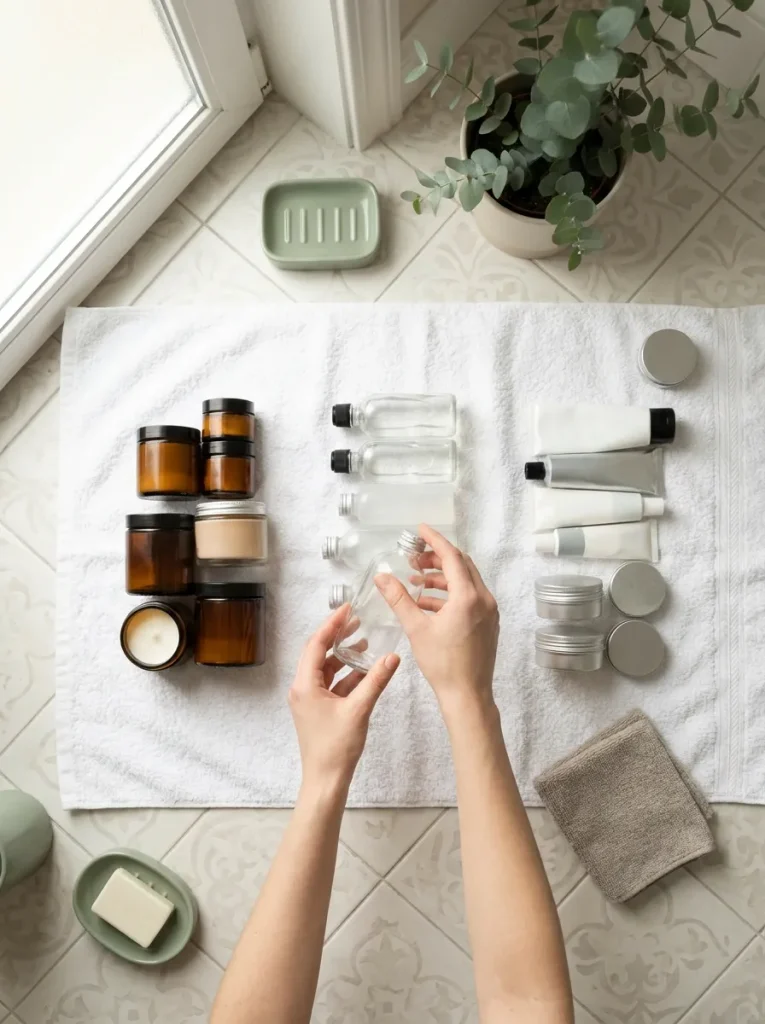
1. Empty every product onto one towel and sort it into three piles
Everything comes out, even the half-used bottles hiding behind the toilet. Spread a large towel on the floor or your bed so drips don’t matter. Then split it all up:
- Daily: things you touch every single day
- Backup: refills, spare soap, extra toilet paper
- Toss: empty, expired, or unused for 6 months
Why do this first? You are buying storage for what stays, not for what you own right now.
2. Measure the four hidden zones in your bathroom
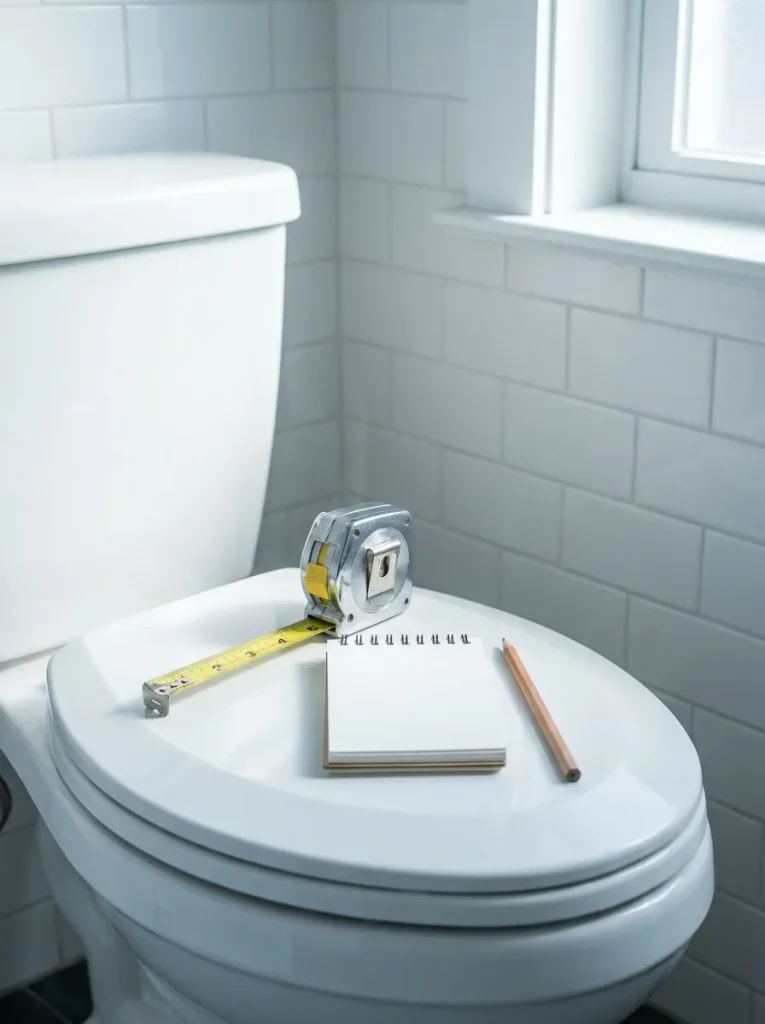
Size is where most no-cabinet makeovers go wrong. Save these four numbers in your phone. At the toilet, measure the widest point of the tank and the height from floor to ceiling. At the door, open it and look at the gap along the top edge. Over-door hooks need about 1/8 inch of space. At the sink, measure from the floor to the bottom of the sink lip. Then measure the gap between the toilet and the wall. Anything under 5 inches is too tight for a rolling cart.
3. Plan which bathroom ideas for no storage fit each zone
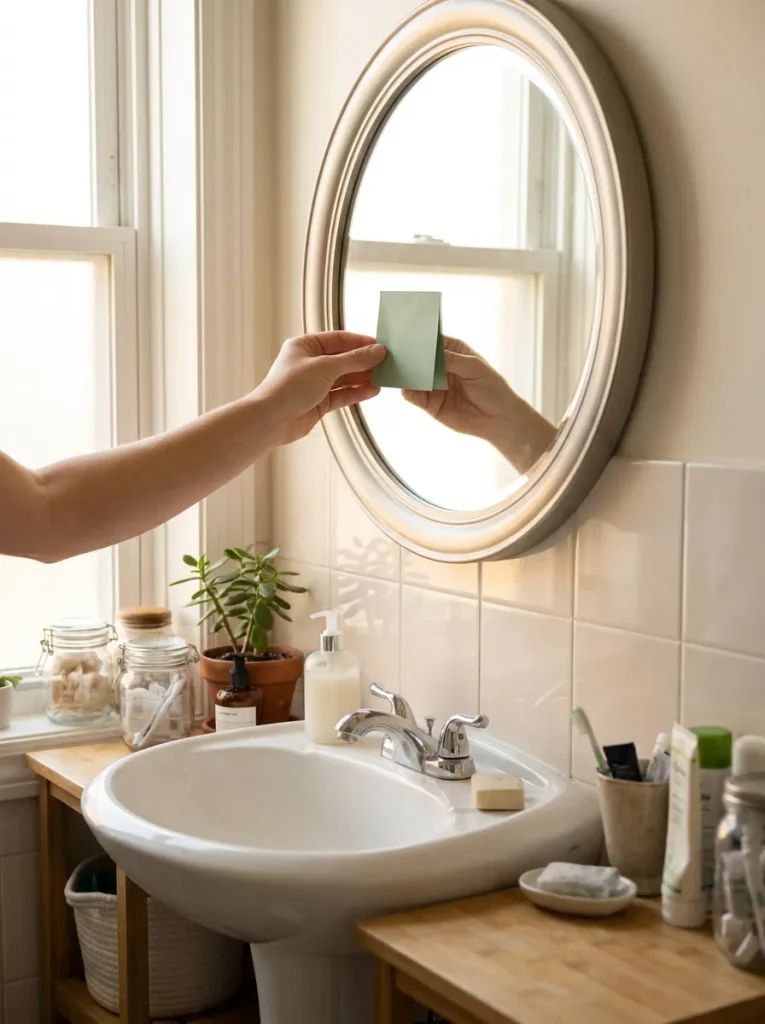
Here is the rule: the more often you use something, the closer to the sink it lives. Daily items go on the mirror shelves and the rolling cart. Backups go up high, over the toilet or on the door. Cleaning supplies hide under the sink skirt. Write this plan on a sticky note before you shop so you only buy what fits.
If a zone needs more options than I’ve listed, browse these 15 small bathroom storage ideas. Every one fits in under three square feet.
4. Set up a freestanding shelf over the toilet
Before you open the box, hold the label up to your Step 2 numbers. You want at least 1 inch of space between each leg and the sides of the tank. Build the unit on your sorting towel so screws can’t roll under the toilet. Slide it into place with the back legs tight against the wall. If it rocks, fold a small square of cardboard under the short leg. Heavier things like spare shampoo go on the bottom shelf, and lighter things go up top.
Going up is the smartest move in any tiny room. Once the bathroom is sorted, I have 15 more vertical storage ideas for the rest of the apartment.
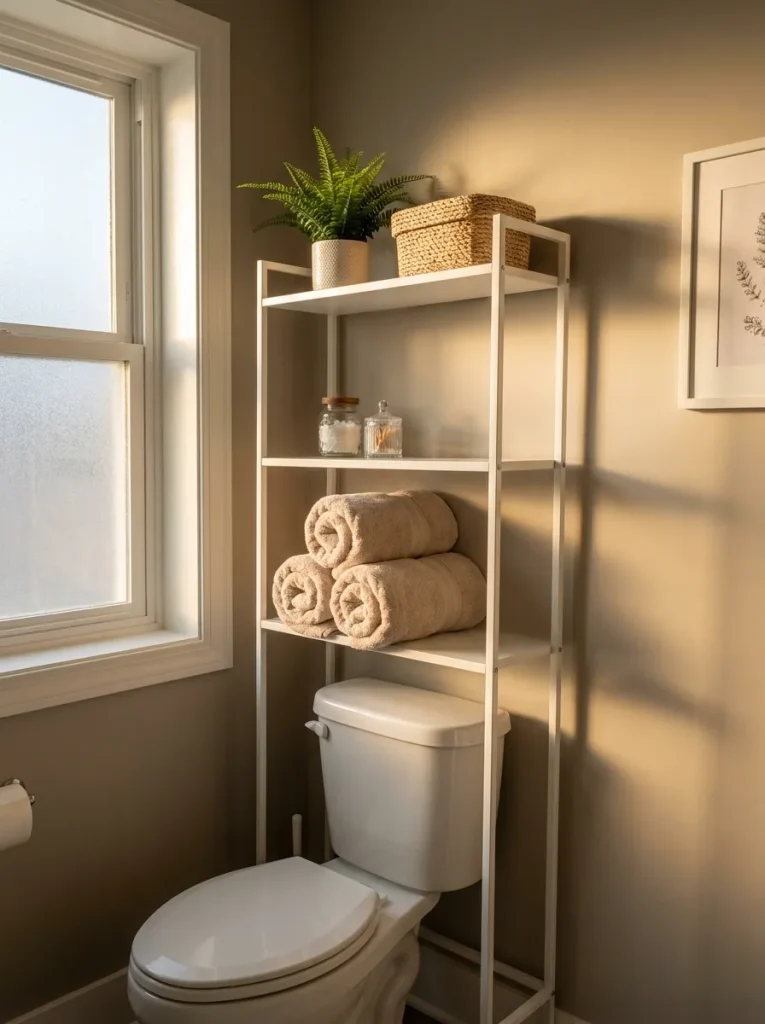
Keep the top shelf under 5 lb and skip glass jars up there. Freestanding units are top-heavy, and one bump from your shoulder can tip a loaded shelf forward.
5. Hang an organizer on the back of the door
Clear pockets matter here. You will see every backup at a glance instead of digging. Hook the organizer over the top of the door and close it slowly while watching the top corner. If it sticks, your gap is too thin for hooks. Hang it from two removable adhesive hooks on the door face instead. Fill the top pockets with light things like cotton pads, and save the bottom pockets for heavier bottles.
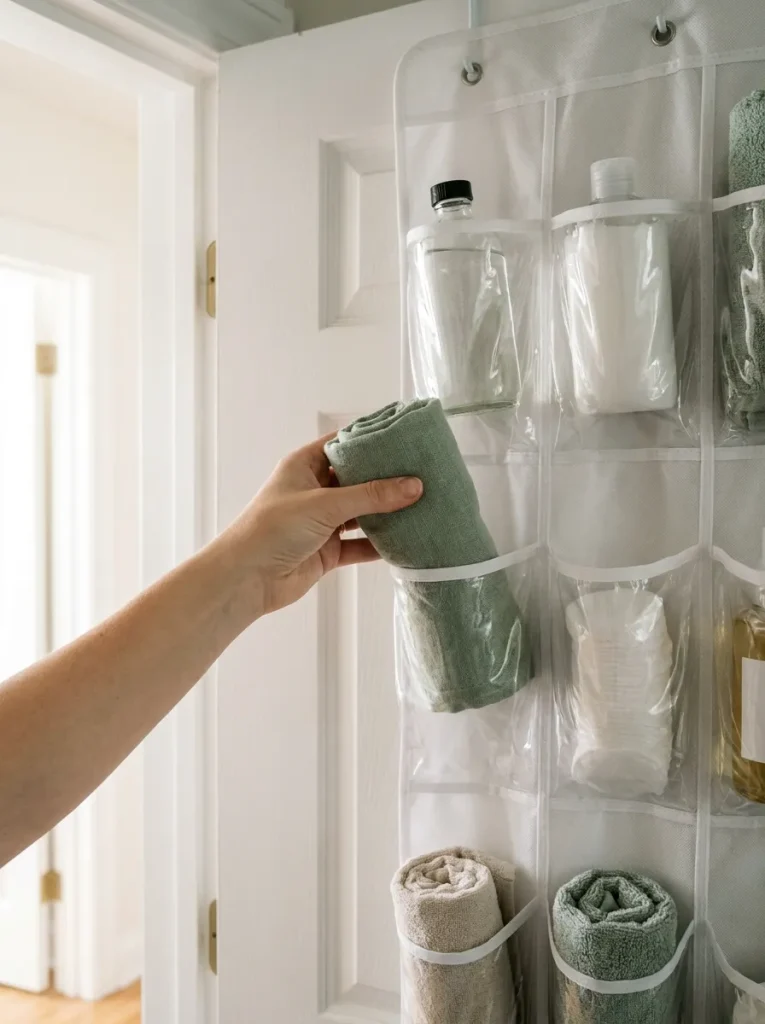
Stick two small felt pads on the bottom back corners of the organizer. They stop it from swinging and thumping against the door every time someone walks in.
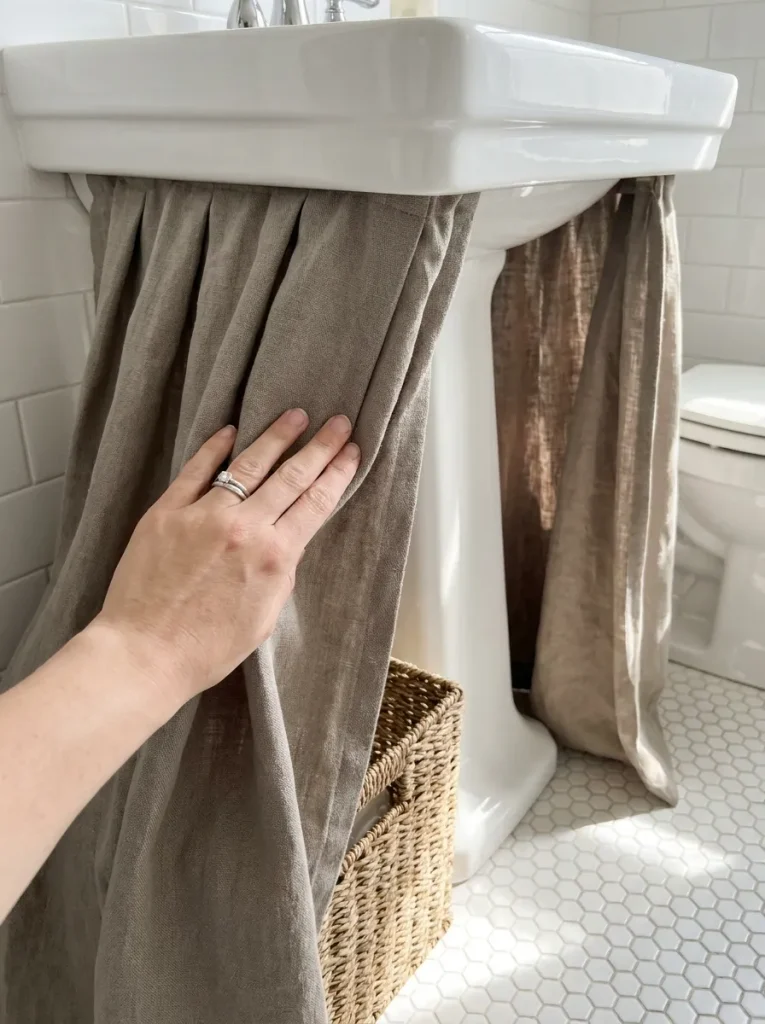
6. Add a fabric skirt under the sink to hide bins
That open space under a pedestal or wall-mounted sink shows every bit of clutter you put there. A skirt hides it. Adhesive grips best on a clean, dry edge, so take your time on prep:
- Wipe under the sink lip with rubbing alcohol to remove soap film
- Let it dry for 5 minutes
- Peel the backing 6 inches at a time
- Press each section firmly for 30 seconds
Start at one wall and work toward the other. No skirt? A shower curtain cut to size plus hook-and-loop tape works the same way.
7. Stick adhesive shelves beside the mirror
24 hours is how long most adhesive shelves need to cure, so do this one now and let it sit overnight. Pick a spot beside the mirror at about elbow height, where daily items stay within reach. Wipe the wall with rubbing alcohol and let it dry. Mark a level line in pencil. No level? A level app on your phone works fine. Press each shelf to the wall for 30 seconds, then leave it empty until tomorrow.
Adhesive products are only damage-free if you remove them properly. Pulling hooks straight off the wall is one of the renter decorating mistakes that cost you your deposit.
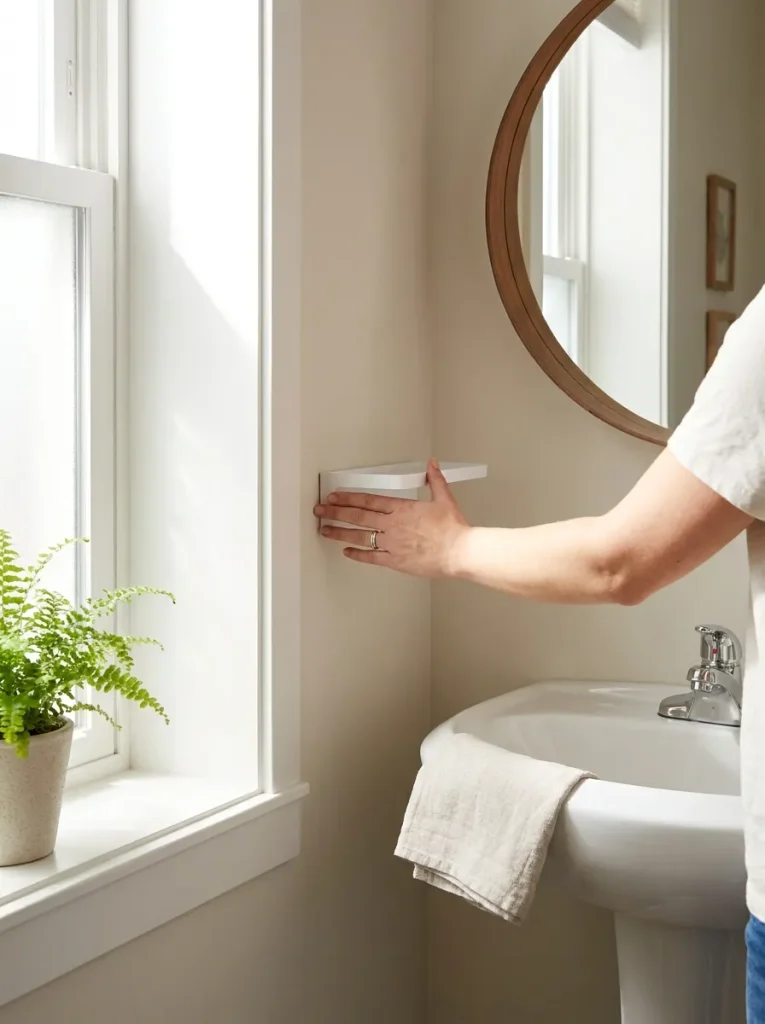
Most adhesive shelves are rated for about 5 lb, and steam weakens the hold over time. Keep them on the wall farthest from the shower, and skip textured paint or wallpaper, where adhesive won’t grip.
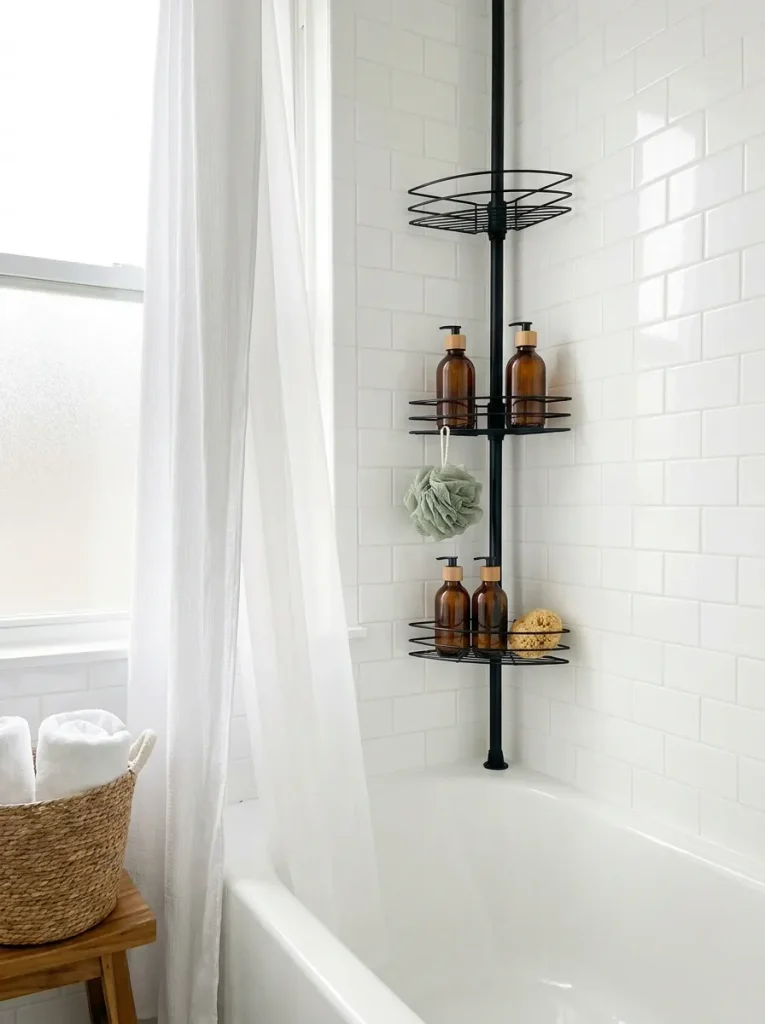
8. Install a tension caddy in the shower
Spray is what ruins shower storage. Set the pole in the corner farthest from the showerhead so the shelves don’t sit wet all day. Twist the tension knob until the pole won’t budge when you push it with one hand. Then move every bottle off the tub edge and onto the shelves.
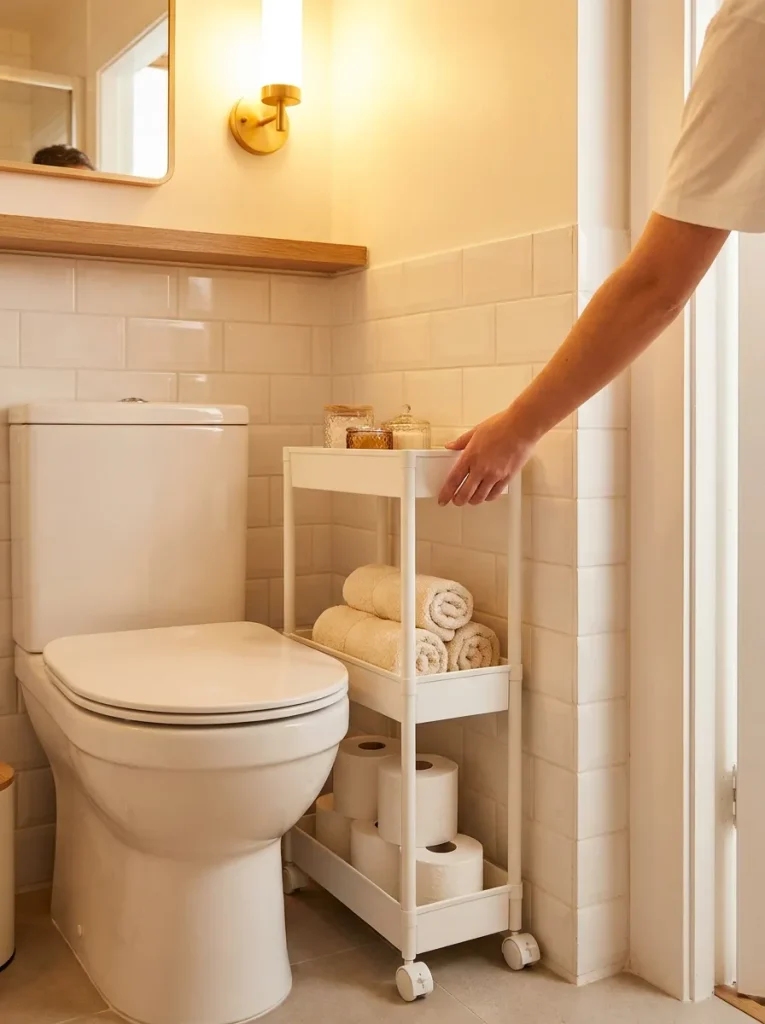
9. Slide a slim rolling cart into the gap beside the toilet
If your Step 2 gap measured 5 inches or more, this skinny space becomes the hardest-working spot in the room. Most slim carts snap together in about 10 minutes with no tools. Load it by tier:
- Top: daily items that didn’t fit on the mirror shelves
- Middle: rolled hand towels and washcloths
- Bottom: spare toilet paper
Rolled towels fit narrow tiers better than folded ones. The wheels also let you pull the cart out to clean behind the toilet.
10. Return everything to its new zone, daily items first
Did the shelves get their full day to cure? Then start loading. Daily items go back first because you’ll reach for them tomorrow morning. Group small things like hair ties and lip balm into trays before they go on the mirror shelves, so nothing rolls off and you can lift one tray to wipe underneath. Backups go next, onto the door and over the toilet. Cleaning supplies go into bins under the sink skirt. When you finish, the counter should hold no more than 2 or 3 things. Label each bin with masking tape so everyone in the house puts things back in the same spot.
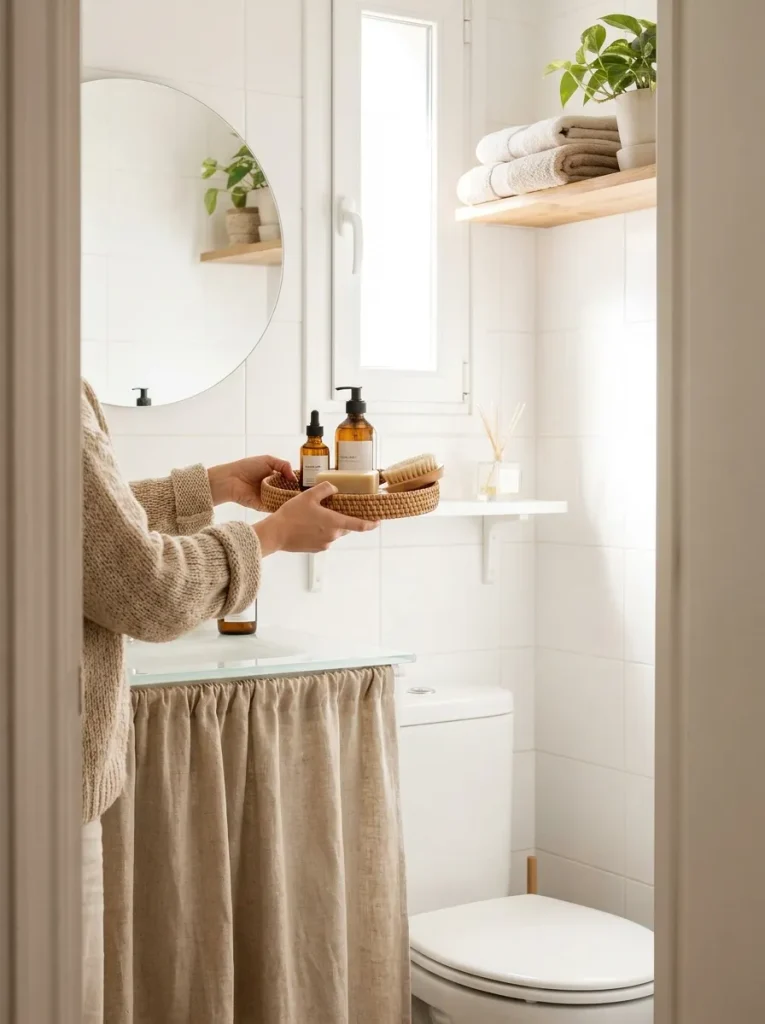
Leave one bin about a third empty. New products always show up, and a little open space keeps the whole setup from overflowing a month from now.
Frequently Asked Questions
Will any of this damage my walls when I move out?
The freestanding shelf, tension caddy, and cart leave nothing behind. For adhesive pieces, buy ones labeled “removable” and pull the release tab straight down, slowly, when it’s time to take them off.
How much weight can adhesive shelves really hold?
Most hold about 5 lb, but check the package for yours. In a steamy bathroom, stay well under the limit and keep heavy glass bottles somewhere else.
What if there’s a window above my toilet?
Skip the over-toilet shelf and put a second tension pole caddy in a dry corner instead. Then let the door organizer hold more of your backups.
My bathroom has no window. Will this still work?
Yes, but steam is harder on adhesive and fabric. Run the fan for 20 minutes after every shower to protect the shelves and keep the bins from getting musty.
How do I stop the clutter from coming back?
Do a 10-minute reset once a month and toss anything empty. When you bring home a new product, let one old one go.
- Tape measure, towel, 3 boxes
- Rubbing alcohol and cloth
- Over-the-toilet shelf
- Over-the-door organizer
- Self-adhesive sink skirt
- 2 adhesive shelves (5 lb+)
- Tension shower caddy
- Slim rolling cart
- 4 to 6 small bins or trays
- Sort into daily, backup, toss
- Measure the four zones
- Match each pile to a zone
- Set up the over-toilet shelf
- Hang the door organizer
- Add the sink skirt
- Stick mirror shelves, cure 24 hrs
- Install the shower caddy
- Slide the cart beside the toilet
- Load daily items first
Conclusion
Your counter is clear, your towels have a home, and you added storage without making a single hole in the wall. That’s six storage spots in a room that started with none.
Once storage is solved, 25 small apartment bathroom ideas can make the room feel like a spa.
These bathroom ideas for no storage keep working as long as you keep them up, so put that 10-minute monthly reset on your calendar today.
Next, try the same zone method on your entryway or kitchen counter.
Save this pin so the checklist is ready the next time you move into a place with no cabinet.
Now that everything has a home, the room is ready for the fun part. Here’s how to make a rental bathroom look expensive in a weekend.

