

Every January, my tiny kitchen looks like the holidays exploded in it. Half-empty cookie tins sit on top of the fridge. Three extra mugs from a gift swap crowd the cabinet. A stand mixer I used twice takes up the spot where my coffee maker should be. If your kitchen feels the same right now, a kitchen reset organization day is the fix, and you do not need to buy a single bin to start.
This guide walks you through one full reset of a small apartment kitchen, from the sink to the last shelf. You will empty the fridge, check every pantry date, cut your duplicates, and reload each cabinet based on how you really cook. By the end, your counters will be clear, your cabinets will make sense, and you will know where everything lives.
Why this order? You clean each space while it is empty, then put back only what earned its spot. That way you are not moving clutter from one shelf to another and calling it organized.
Plan on about five to six hours with breaks. The hands-on work is around four hours. Nothing here needs drilling or special tools, so it is safe for renters. Put on a podcast, grab a trash bag, and let’s start at the sink.
- Clear the sink
- Set up three sorting bins
- Strip the countertops bare
- Empty the fridge and toss expired food
- Wipe the empty fridge shelves
- Return fridge food in zones
- Empty the pantry and check dates
- Empty cabinets and drawers by zone
- Cut duplicate tools
- Box up holiday dishes and bakeware
- Clean every empty shelf and drawer
- Reload cabinets by how often you use things
- Add no-drill vertical storage
- Label your shelves
- Return only daily items to the counter
- Set a 10-minute Sunday reset
1. Clear the sink so you have a place to work
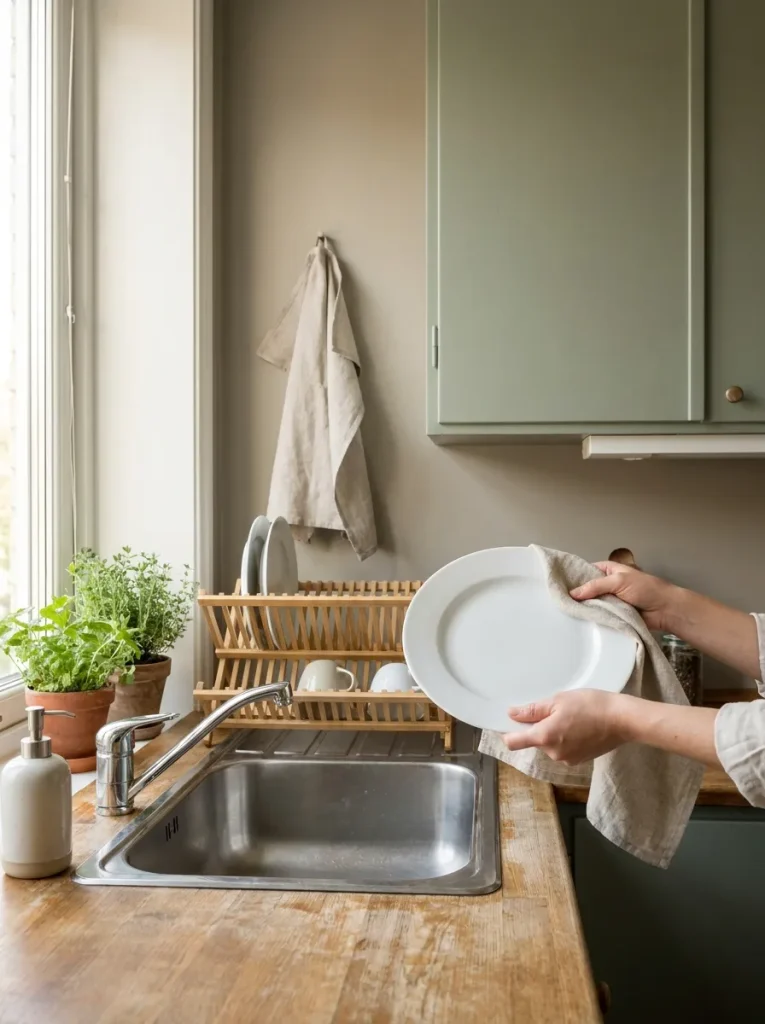
A full sink blocks everything else you do today. You will need it later to rinse old containers from the fridge and wash out bins from the pantry. Wash, dry, and put away every dirty dish, or load the dishwasher and start it now so it runs while you sort. Empty the dish rack too. A bare, dry sink becomes your backup staging spot once the counters fill up.
2. Set up three sorting bins on the floor
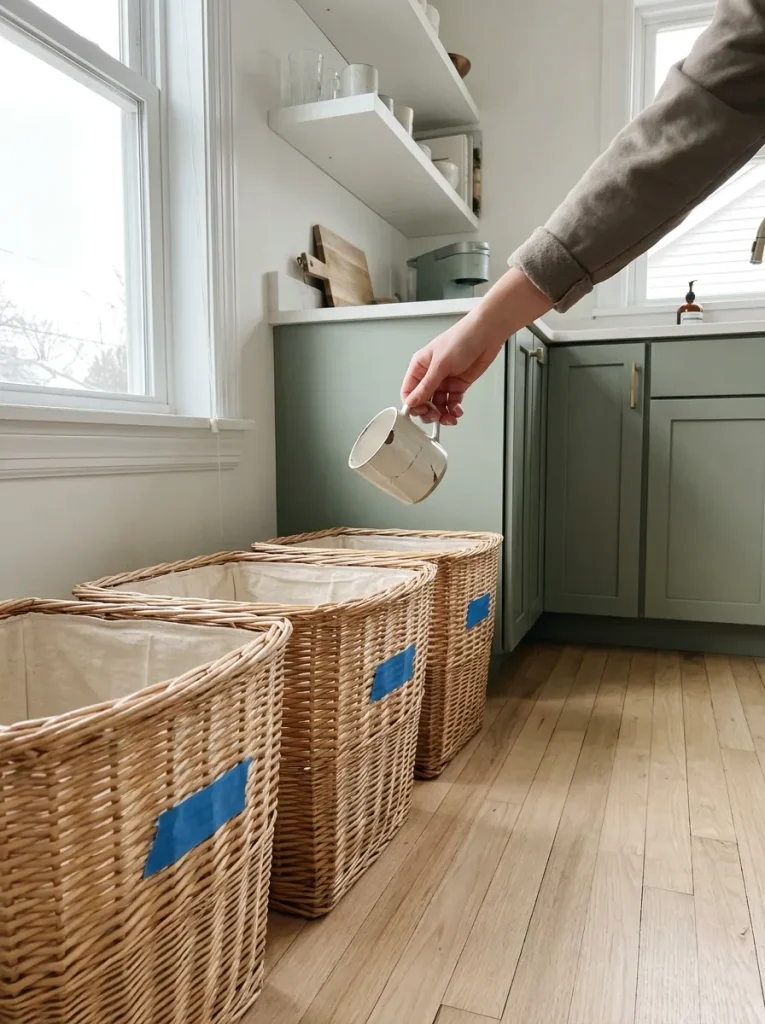
Your counters will be covered within the hour, so the floor is where sorting happens. Line up three bins or laundry baskets close enough to reach without walking:
- Keep: anything you used in the last 6 months
- Donate: items in good shape that you never reach for
- Toss: anything broken, stained, chipped, or expired
Mark each bin with a strip of painter’s tape and a marker. No bins? Three paper grocery bags work fine.
3. Strip your countertops down to the bare surface
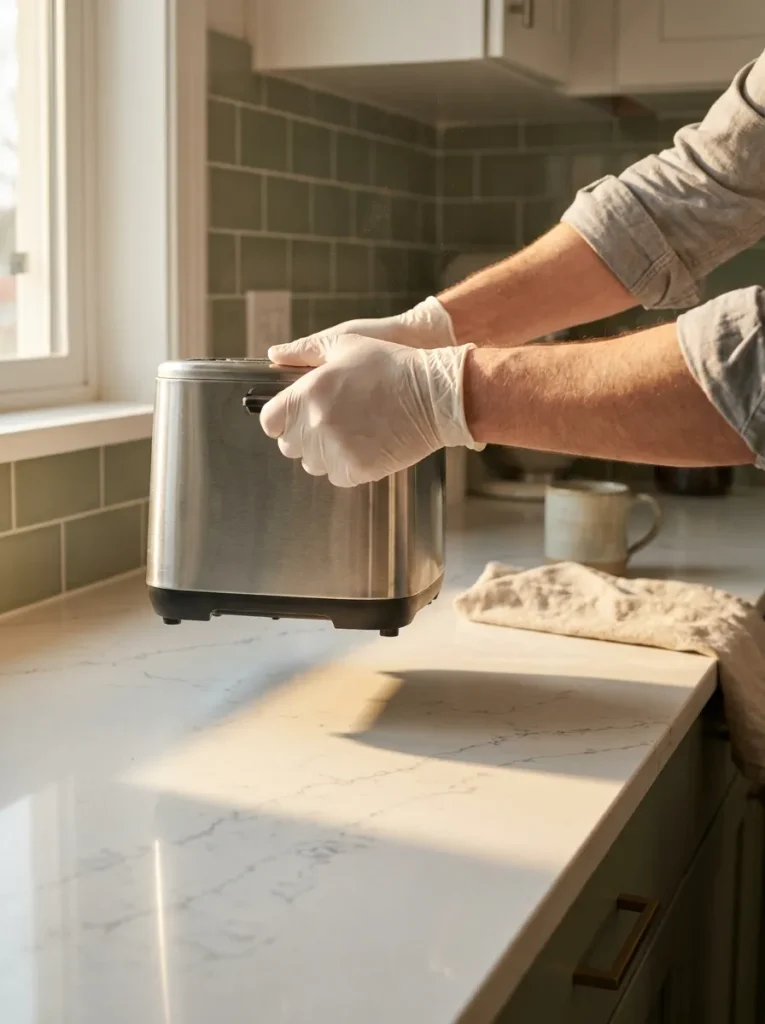
Everything comes off. The toaster, the knife block, the fruit bowl, the stack of mail that wandered in from the hallway. Move small appliances to the floor or a nearby table, and drop anything that does not belong in a kitchen into its own bag for later. Leave nothing behind, even the items you already know will go back. Sorting around “permanent” pieces is how clutter hides in plain sight. A clear counter is your main sorting table for the next 3 hours.
4. Empty the fridge and toss anything expired
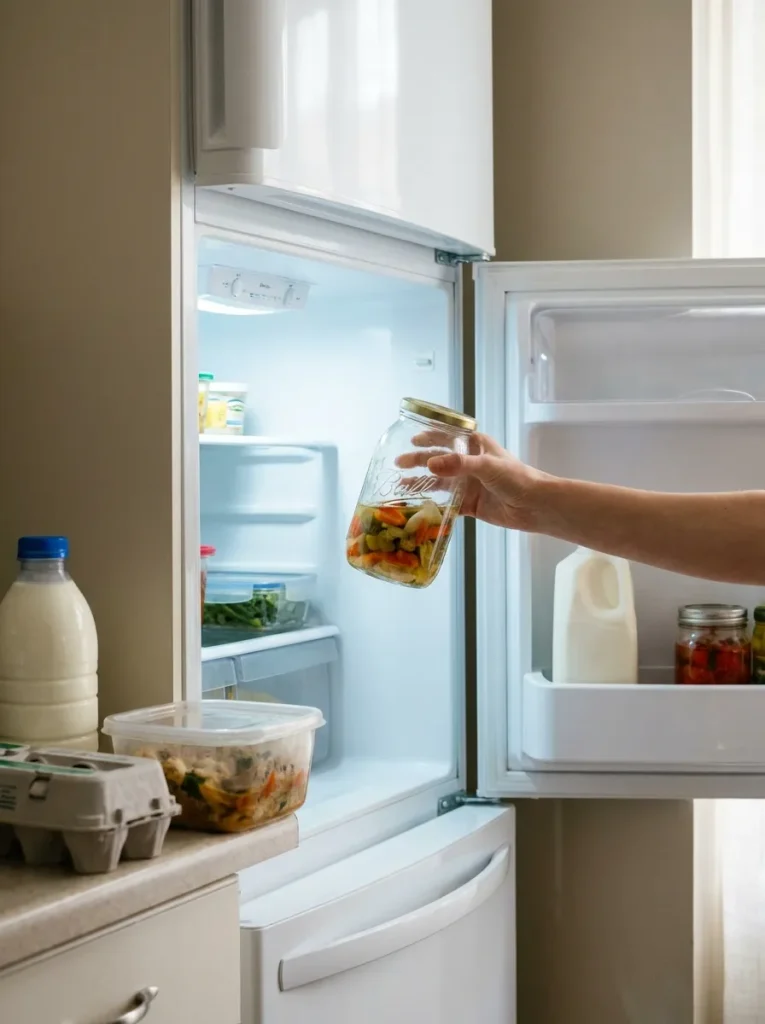
If a jar has a fuzzy lid, a date from last year, or a smell you cannot place, it goes straight into the Toss bin. Work one shelf at a time, top to bottom, and set everything on your clear counter. Holiday leftovers are the big one in January. Cooked food is safe for about 3 to 4 days in the fridge, so that ham from the last week of December is done. Empty old containers into the trash and rinse them in the sink before they go anywhere else.
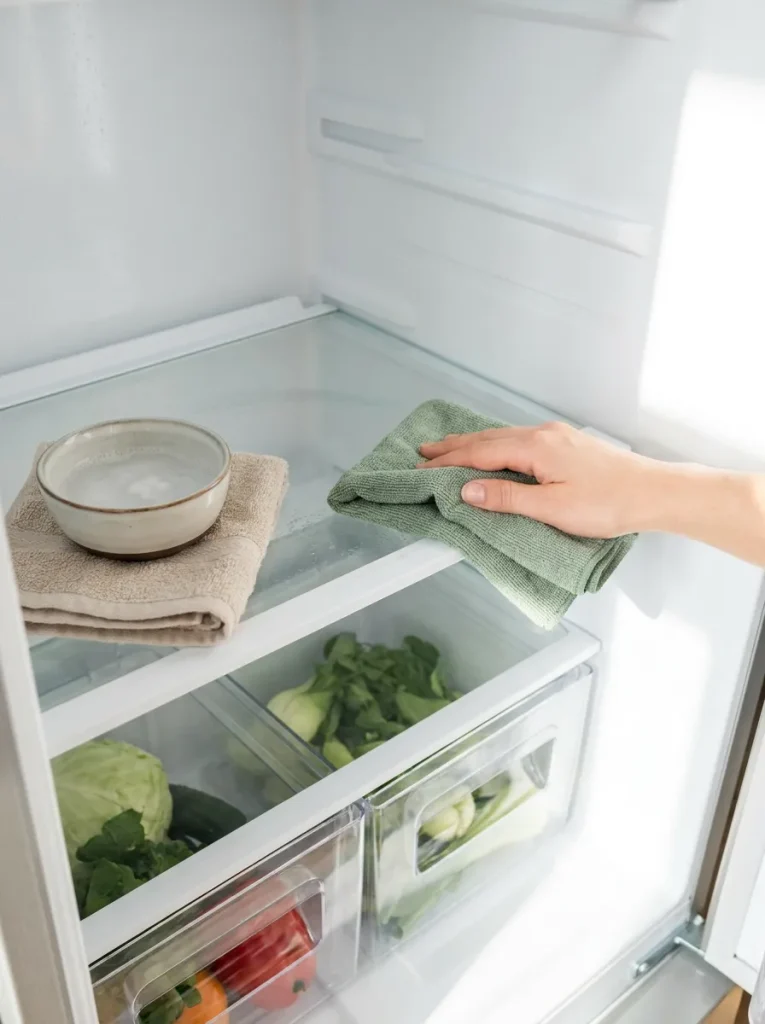
5. Wipe the fridge shelves while they are empty
Two tablespoons of baking soda in 1 quart of warm water cleans fridge shelves better than most sprays, and it leaves no chemical smell near your food. Pour it into your spray bottle or a small bowl. Wipe every shelf, the drawers, and the rubber door seal, then dry each surface with a clean microfiber cloth. If you pull out a glass shelf, use warm water, not hot. Cold glass can crack when it hits a sudden temperature change.
6. Return fridge food in zones you will remember
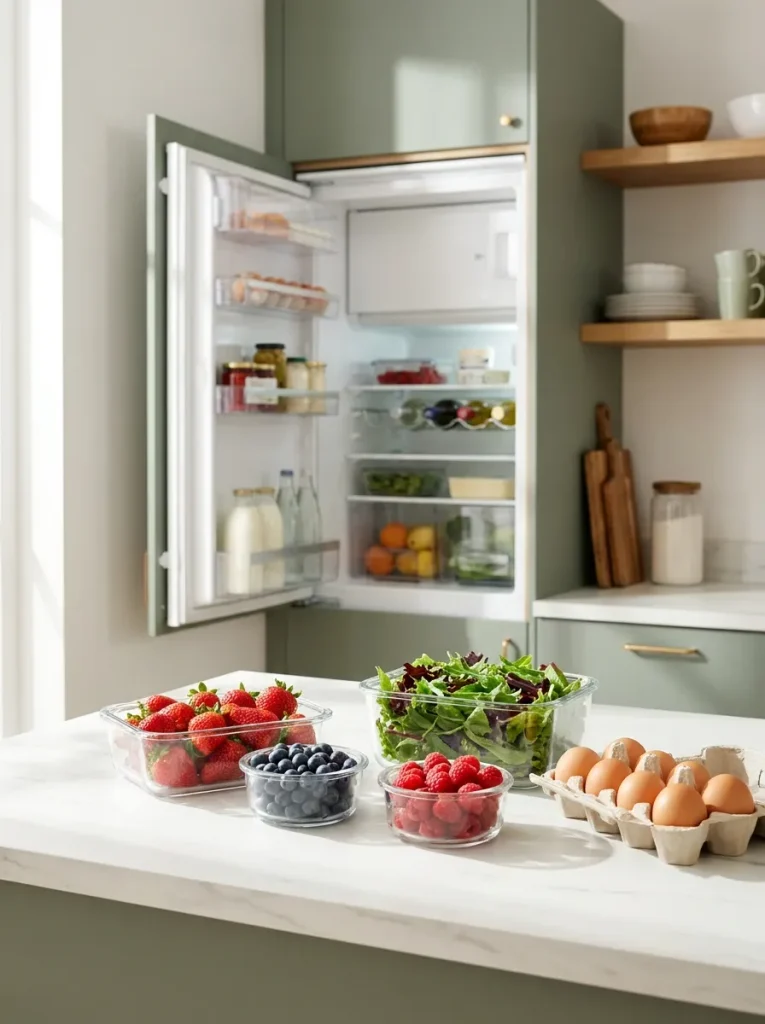
Most fridge waste happens because food slides to the back and gets forgotten. Giving every type of food one home stops that. Load things back like this:
- Top shelf: leftovers and ready-to-eat food
- Middle shelf: dairy and eggs
- Bottom shelf: raw meat on a plate or tray, so drips never land on anything below
- Drawers: fruits and vegetables
- Door: condiments and drinks only, since it is the warmest spot
Put the oldest items in front. You will use them first without thinking about it.
7. Pull everything out of the pantry and check every date
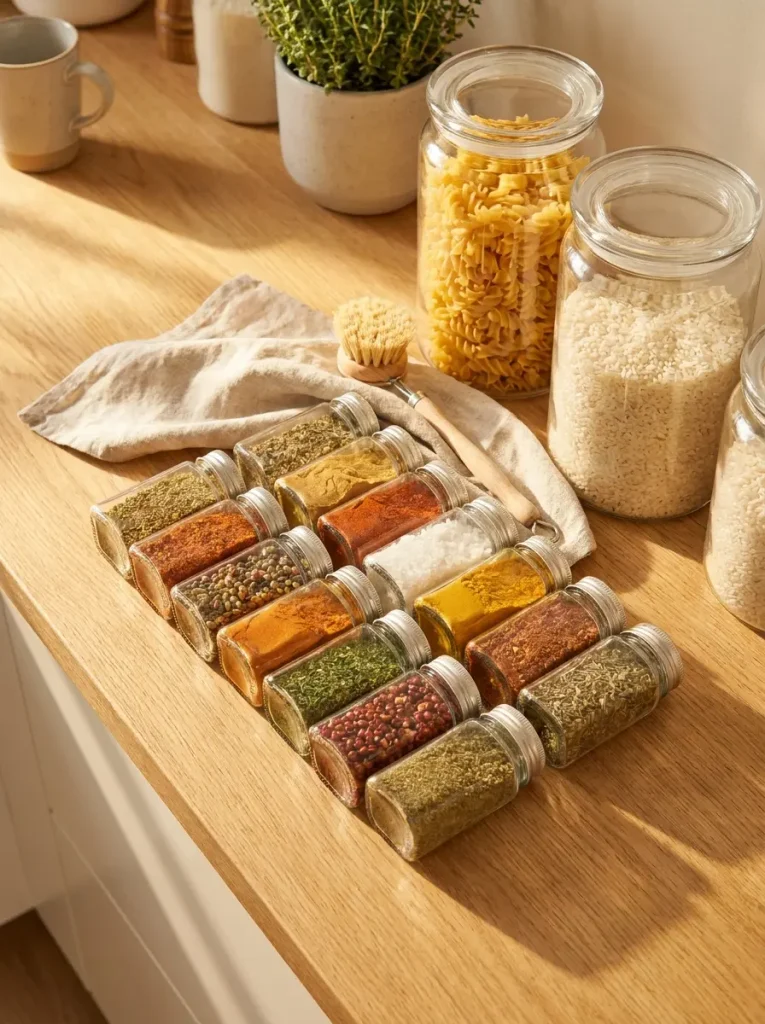
In a small apartment, the “pantry” is usually one cabinet or a single shelf. Empty all of it onto the counter so you can see what you really have. Read every date. For spices, rub a pinch between your fingers. No smell means no flavor, and ground spices fade after about 1 year. Sealed, in-date food you will never cook goes in the Donate bin for a local food bank.
8. Empty your cabinets and drawers one zone at a time
Pulling out every cabinet at once is the fastest way to end up with a kitchen you cannot walk through. Work in zones instead, about 20 to 30 minutes each:
More cabinet and drawer ideas are waiting in 30 small apartment storage ideas for every room.
- Plates, bowls, and glasses
- Pots, pans, and baking sheets
- Food storage containers
- The utensil drawer
- Under the sink
Food containers are where most people get stuck. Match every lid to a base, and anything without a partner goes in Toss. Under the sink, look for drips or soft wood. If you find a leak, tell your landlord in writing today.

9. Cut duplicate tools down to your daily favorites
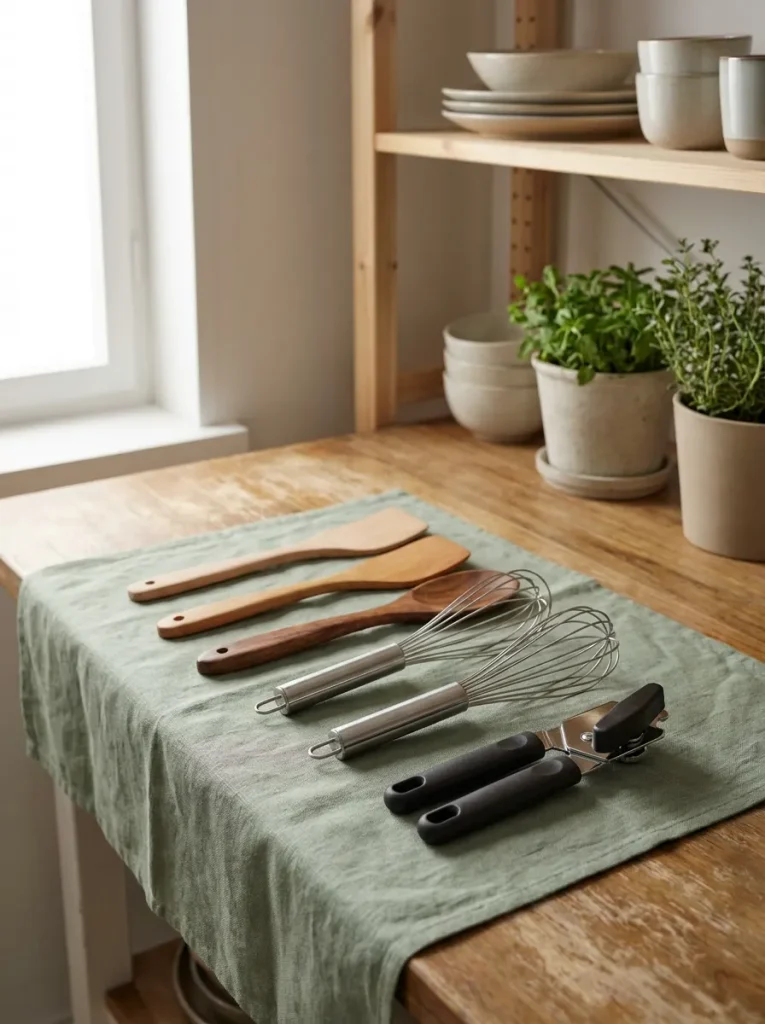
Last January I counted four spatulas, three can openers, and two garlic presses in a kitchen with one drawer. You probably have your own version of that. Pick up each tool and keep the one you grab first without thinking. The rest go in Donate. Measuring cups and wooden spoons are the exception, since you often need more than one in the same recipe.
10. Box up holiday dishes and bakeware for high storage
Will you use that snowman platter before next December? Probably not, and in a small kitchen it should not live at eye level. Gather everything seasonal: holiday mugs, cookie cutters, the big roasting pan, the pie dish you use twice a year. Pack it all in your cardboard box and write the contents on painter’s tape. Store it on top of the fridge, the highest cabinet shelf, or a closet shelf. Keep the box under 15 pounds so lifting it down from a step stool stays safe.
Looking for somewhere to put those boxes? Here’s how I handle holiday decoration storage in a small apartment.

11. Clean every empty shelf and drawer before reloading
Crumbs, coffee grounds, and sticky oil rings hide in corners you only see once a year. Sweep loose crumbs out with a dry cloth first so they do not turn into paste. Then spray all-purpose cleaner and wipe each shelf front to back. Leave the doors open for 15 minutes before anything goes back in. Damp shelves under boxed food can warp cardboard and grow mildew.
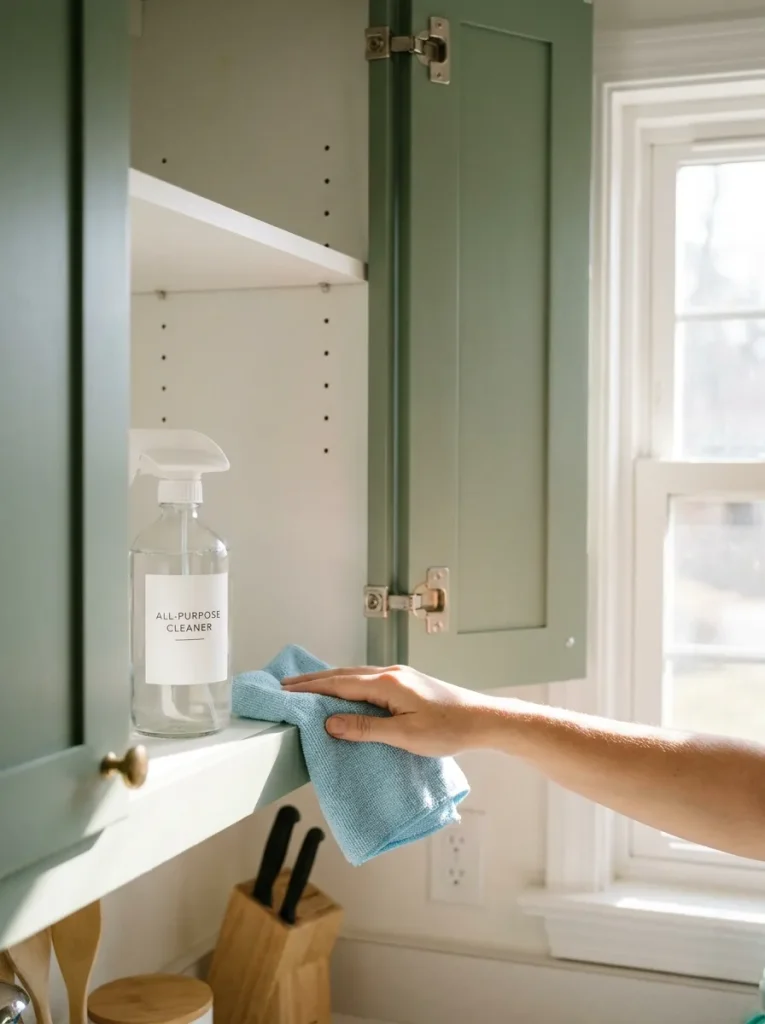
12. Reload cabinets based on how often you reach for things
Your best storage sits between your hips and your shoulders. That space should go to the things you touch every day, not the things you own the most of. Use this rule as you reload:
For layout inspiration once everything is sorted, see these small kitchen ideas for apartments with barely any counter space.
- Daily items (plates, glasses, your favorite pan): waist to shoulder height
- Weekly items (baking sheets, blender, mixing bowls): lower cabinets
- Monthly or less (roasting pan, big serving platters): top shelves
Then place each item near where you use it. Mugs go by the coffee maker, pots by the stove, food containers by the fridge. Fewer steps means less mess.
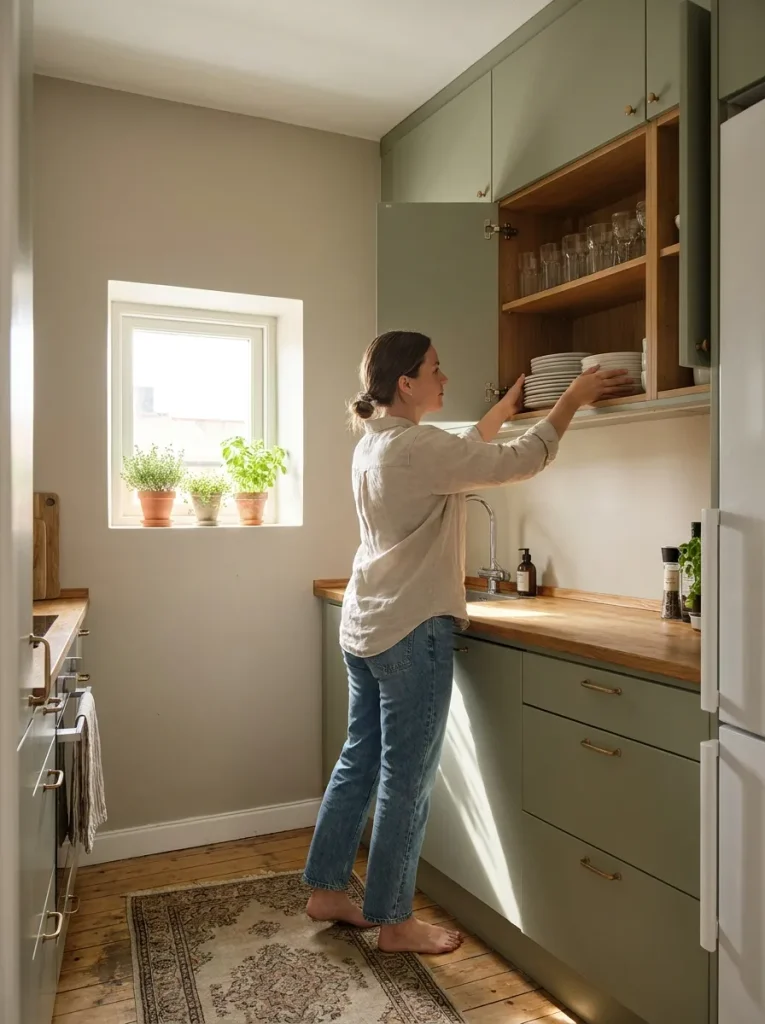
13. Add vertical storage that needs no drilling
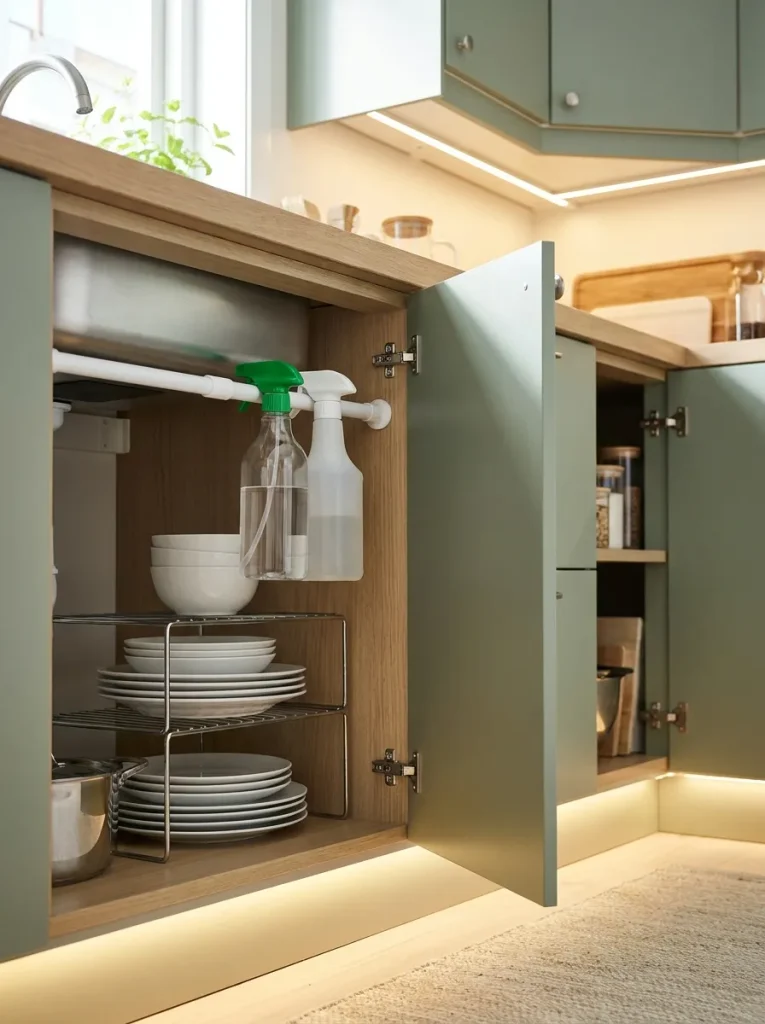
You do not need a drill or your landlord’s okay for this step. Now that everything is back in place, look for the gaps you noticed while reloading. An over-the-door rack on a pantry or closet door holds spices, foil, and wraps. A tension rod under the sink lets you hang spray bottles by their triggers, which frees the floor of that cabinet. Stackable shelf risers inside a cabinet can double your plate space. Buy only for a problem you saw today, not for a space that might need it someday.
If the counters still feel tight, here’s how to add counter space to a small kitchen without drilling.
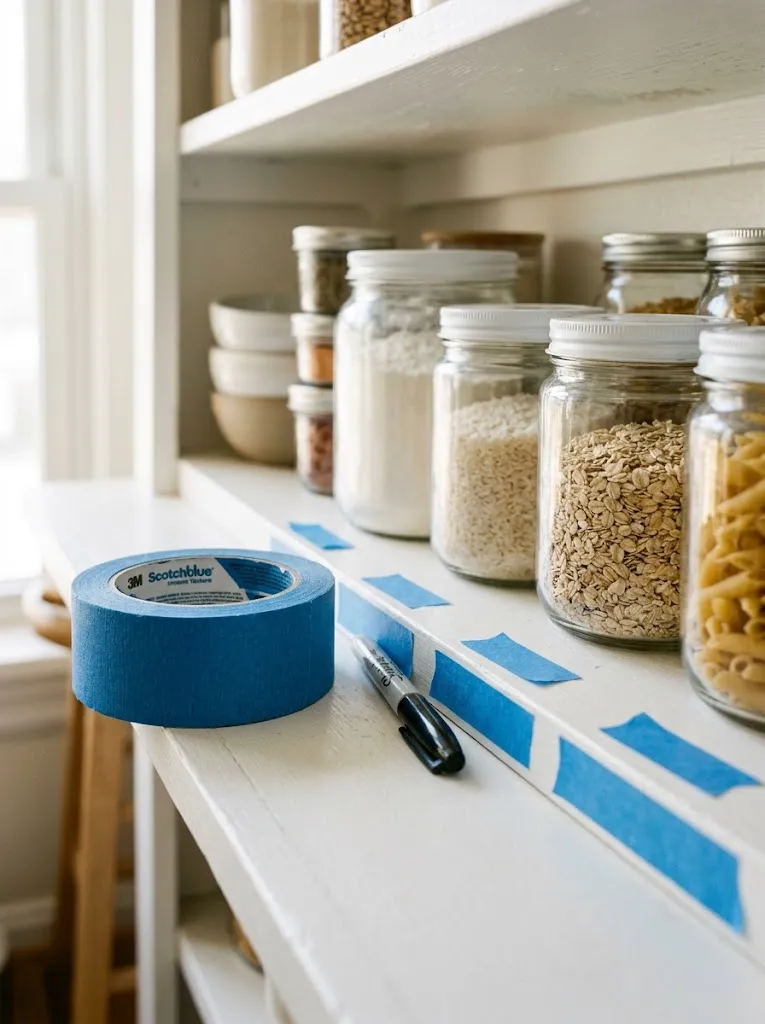
14. Label shelves so your kitchen reset organization actually sticks
A label takes about 10 seconds to make and saves you from months of slow slide back into clutter. Write simple words on painter’s tape, like “Snacks,” “Baking,” or “Lids,” and press it on the shelf edge or bin front. Labels matter most if you share the kitchen. Roommates and partners put things back where they belong when the shelf tells them. Painter’s tape also peels off clean, so it is safe for rentals.
15. Put only daily-use items back on the counter
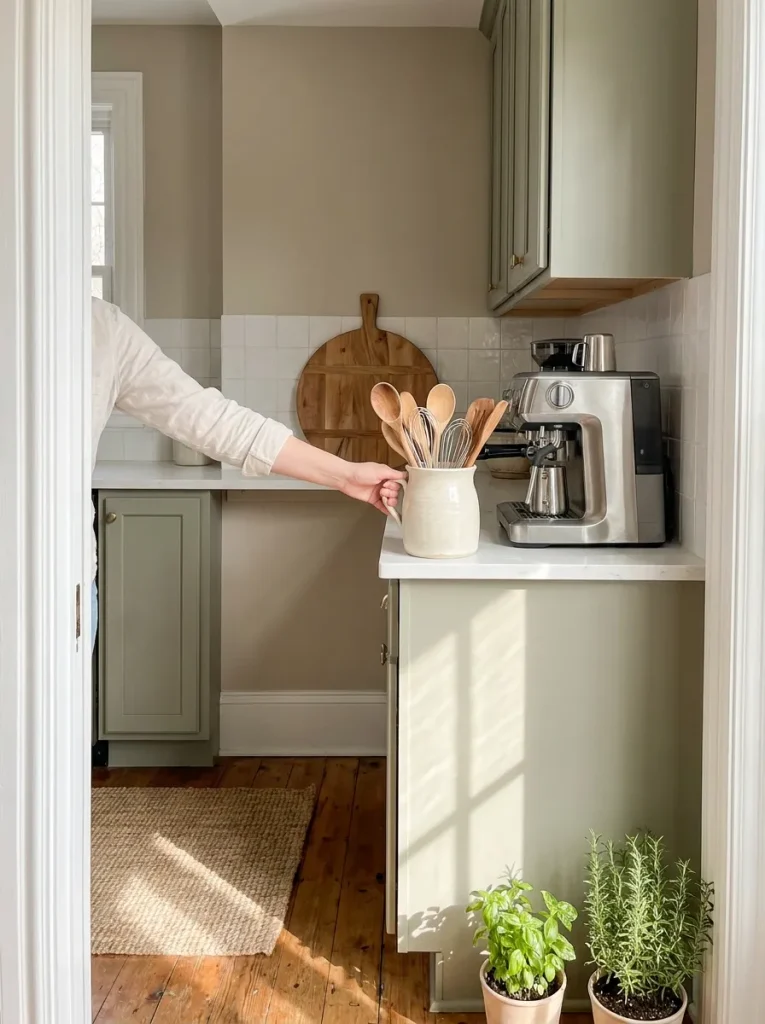
Here is the test for every item still sitting on the floor: did you use it every day last week? If yes, it can go on the counter. If no, it gets a cabinet spot. Most small kitchens only need these out:
- Coffee maker or kettle
- A crock of cooking utensils by the stove
- Dish soap and a sponge
- One cutting board
Aim to leave at least 2 feet of open counter for prep. That one clear stretch is what makes a tiny kitchen feel usable.
16. Set a 10-minute Sunday reset to keep it going

Sunday evening, before the new week starts, set a timer for 10 minutes. Clear anything that crept back onto the counter, toss fridge leftovers older than 4 days, and return stray items to their labeled spots. Put a weekly reminder on your phone so you do not have to remember it. The big reset happens once a year. The small one is what keeps you from needing another one by March.
- 3 bins or laundry baskets
- Trash bags and 1 cardboard box
- Painter’s tape and a marker
- Step stool
- Dish soap, sponge, spray cleaner
- 2 tbsp baking soda + 1 quart warm water
- 4 to 6 microfiber cloths
- Cooler or insulated bag
- Clear the sink
- Set up Keep, Donate, Toss bins
- Strip the counters bare
- Empty fridge, toss expired
- Wipe fridge shelves
- Refill fridge by zone
- Empty pantry, check dates
- Empty cabinets by zone
- Cut duplicate tools
- Box holiday items up high
- Clean empty shelves, dry 15 min
- Reload by how often you use it
- Add no-drill vertical storage
- Label shelves with tape
- Return daily items to counter
- Set a 10-minute Sunday reset
Conclusion
Your kitchen is reset. The fridge makes sense, the pantry holds only food you will eat, and you have real counter space again.
Keep going room by room with the January organization reset for after the holidays.
That is a full kitchen reset organization done in one weekend, without buying a single new bin.
Your next move: get that Donate bin out the door today, then set your Sunday reset reminder before you forget.
If this guide helped, save it to your kitchen board on Pinterest so it is ready for you again next January.

