
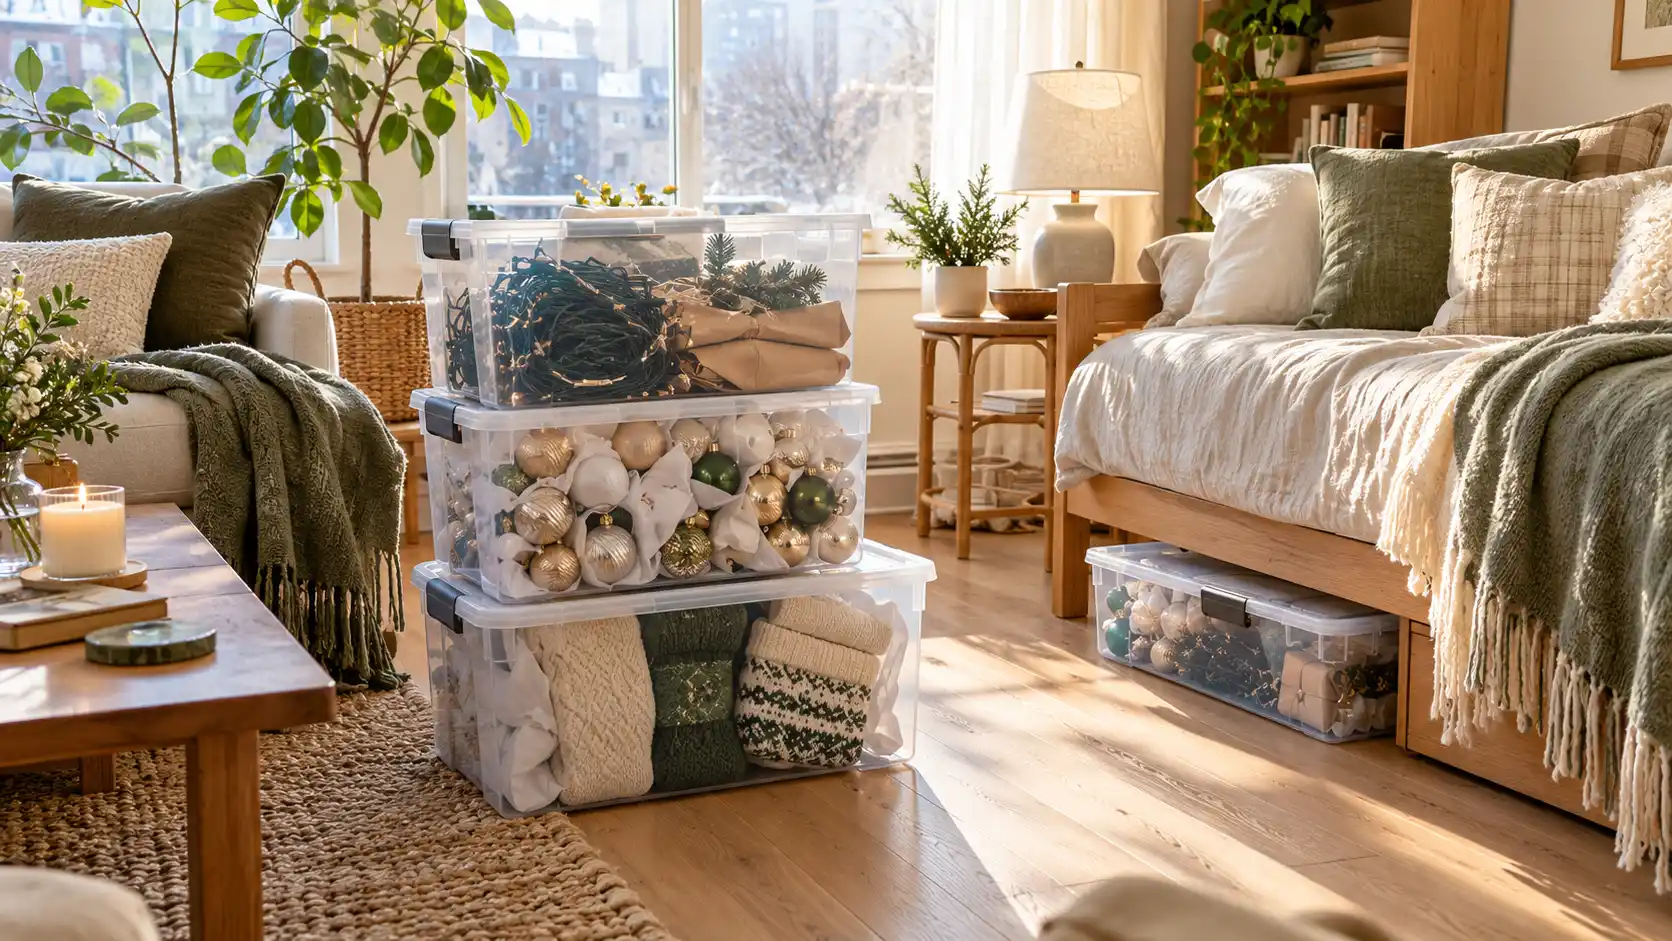
Every January, the same scene plays out. The tree comes down, the stockings come off the wall, and you’re standing in the living room holding a tangle of garland with nowhere to put it. No attic. No garage. One closet already packed with coats and a vacuum.
In a small apartment, holiday decoration storage can feel like a puzzle with missing pieces.
It isn’t. You don’t need more space. You need flatter packing, fewer extras, and a clear plan for the hidden spots your apartment already has.
In this guide, you’ll sort out what’s worth keeping, pack your lights so they never knot again, protect your glass ornaments, and fit everything into a few labeled bins that slide under your bed or onto a high shelf. By the end, every decoration will have a home, and next year you’ll know exactly which bin to open first.
Plan on 2 to 3 hours of hands-on work. Most of that time goes to sorting and wrapping, not lifting. Put on a playlist, clear a patch of floor, and let’s get your decorations packed away for good.
- ✓3 to 5 clear plastic bins with lids, all the same size
- ✓Divided ornament box (or clean egg cartons)
- ✓Acid-free tissue paper or plain packing paper
- ✓Flat cardboard pieces from old shipping boxes
- ✓Vacuum storage bags and a vacuum with a hose
- ✓Upright artificial tree storage bag
- ✓Tape measure
- ✓Masking tape and a thick marker (or printable labels)
- ✓Small zip-top bags for hooks and spare bulbs
- ✓3 large bags or boxes for sorting
- ✓Scissors
- ✓Your phone (for measurements and photos)
- Gather every decoration into one room
- Sort into keep, donate, and toss piles
- Measure your hidden storage spots
- Test each string of lights
- Wrap lights around flat cardboard
- Wrap fragile ornaments in tissue
- Nest ornaments in a divided container
- Vacuum-seal soft decor
- Bag the artificial tree upright
- Pack the rest into clear, same-size bins
- Label every bin on two sides
- Tuck bins into hidden spots, heaviest on the bottom
- Photograph each bin in its hidden spot
1. Gather every holiday decoration into one room
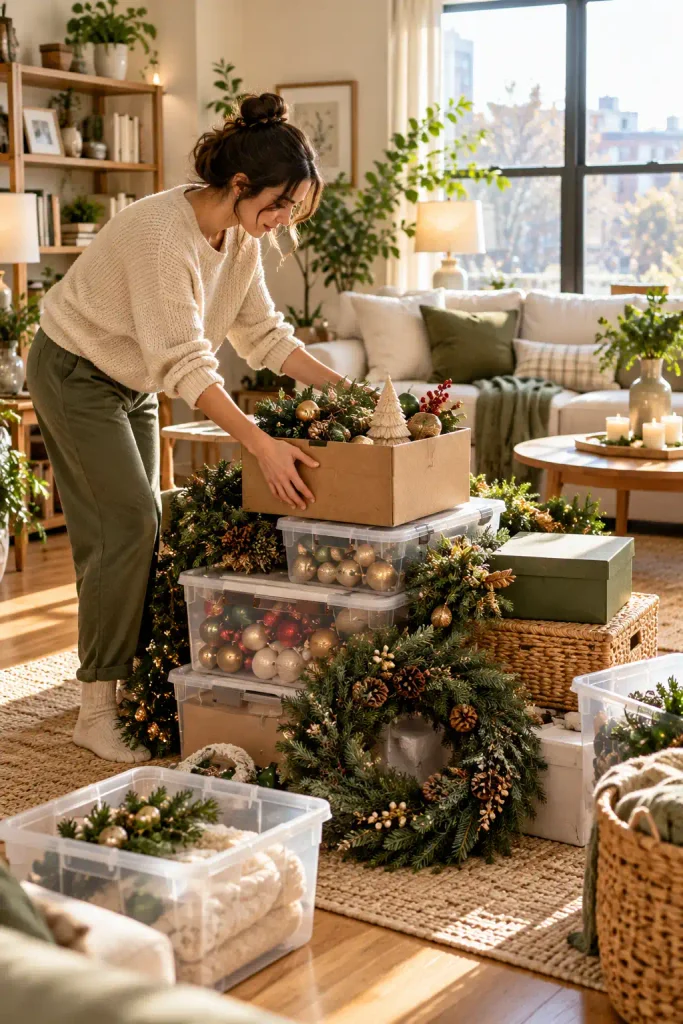
Decorations hide in more places than you’d guess. Check the bathroom for holiday hand towels, the kitchen for themed mugs, and the front door for the wreath. Bring it all to the living room floor. You can’t pack well until you see the whole pile at once.
2. Sort everything into keep, donate, and toss piles
Before you touch a single bin, set out three bags or boxes, one for each pile. Pick up each item and ask:
- Did I put this out last year?
- Does it still work and look good?
- Would I buy it again today?
Two “no” answers send it to donate or toss. Broken light strands, chipped plastic, and flattened garland go straight in the trash. Every item you let go is space you win back under the bed. Give yourself 30 to 45 minutes, then stop second-guessing.
3. Measure your hidden storage spots before buying any bins
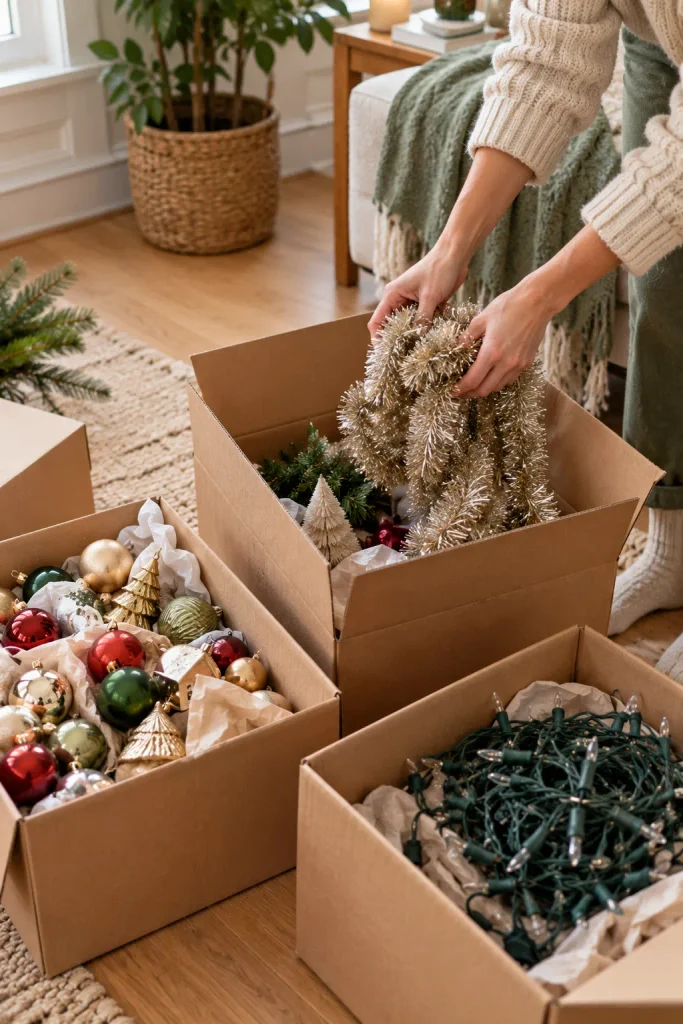
Under most beds, you’ll find somewhere between 6 and 12 inches of clearance. That one number decides which bins you can use. Measure the height, width, and depth of every spot you might fill: under the bed, the top closet shelf, the gap behind the couch, the floor of a coat closet. Save the numbers in your phone’s notes app. Choose bins at least 1 inch smaller than the space on every side so they slide out without a fight.
Need more hiding places? See hidden storage ideas for small apartments.
No tape measure? A sheet of printer paper is 11 inches long and works as a rough ruler.
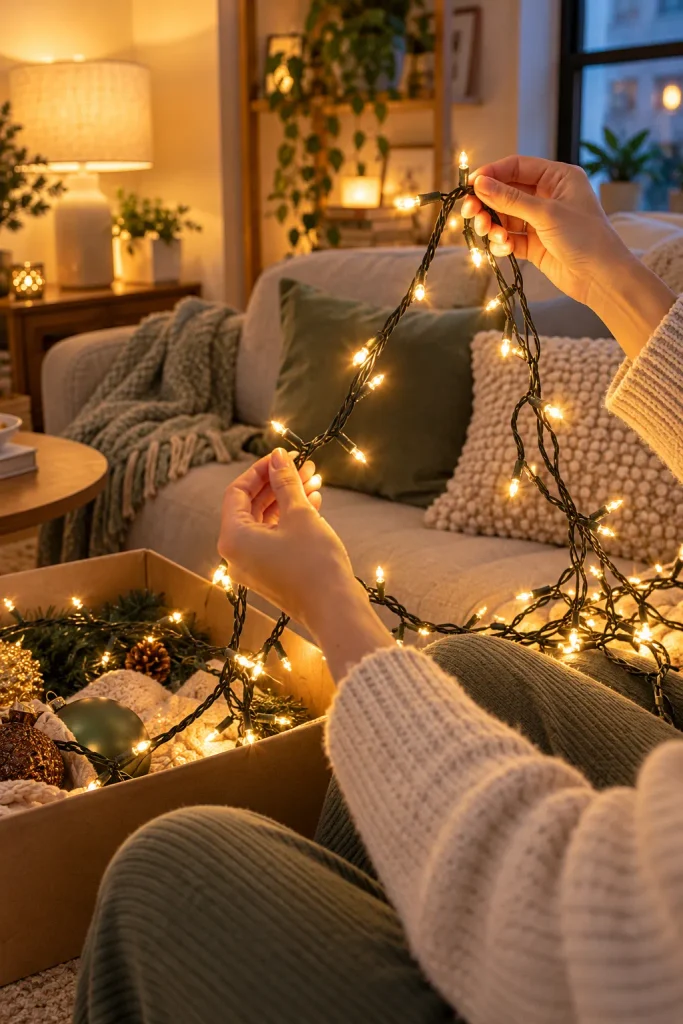
4. Test each string of lights before you pack it
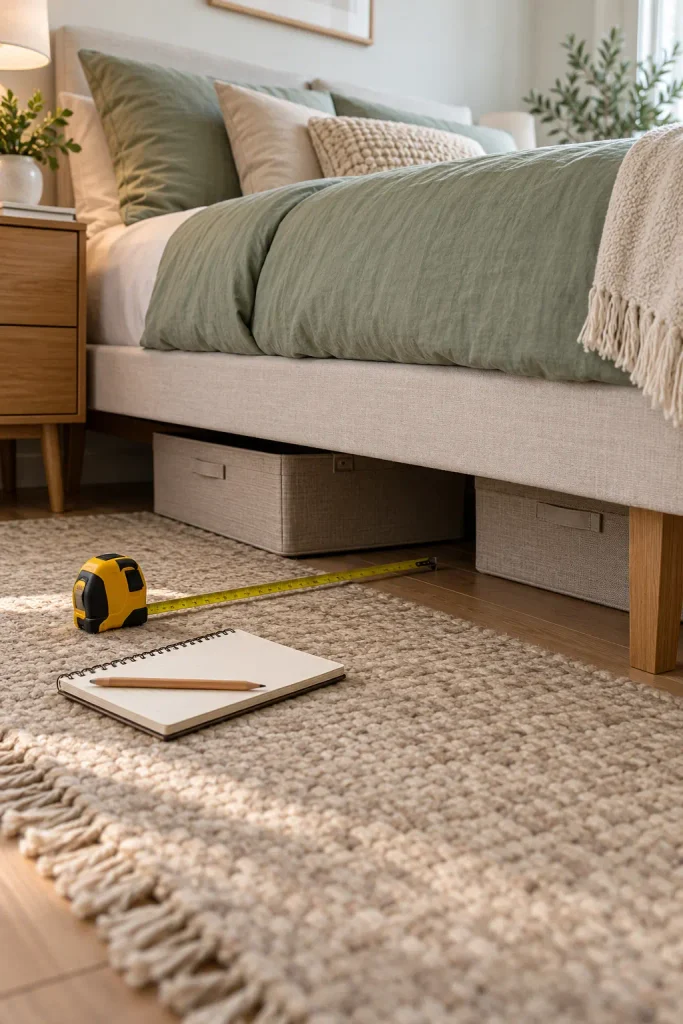
A strand that’s dead in January will still be dead in December. Plug each one in for about 1 minute and look for dark sections. If only one section is out, check the plug for a small sliding door. Many hide 2 spare fuses inside. If the whole strand stays dark, toss it. Seal any spare bulbs and fuses in a small zip-top bag and tape it to the plug end.
When it’s time to hang them again, here’s how to hang Christmas lights in an apartment without damage.
5. Wrap light strands around a flat piece of cardboard
An 8 by 12 inch rectangle of cardboard keeps wires from twisting into a knot the way a loose coil does. Cut a 1 inch slit in one short edge and tuck the end of the strand into it. Wrap in loose loops from side to side, then tuck the plug into a second slit on the opposite edge.
No spare cardboard? An empty wrapping paper tube or a plastic clothes hanger works the same way.
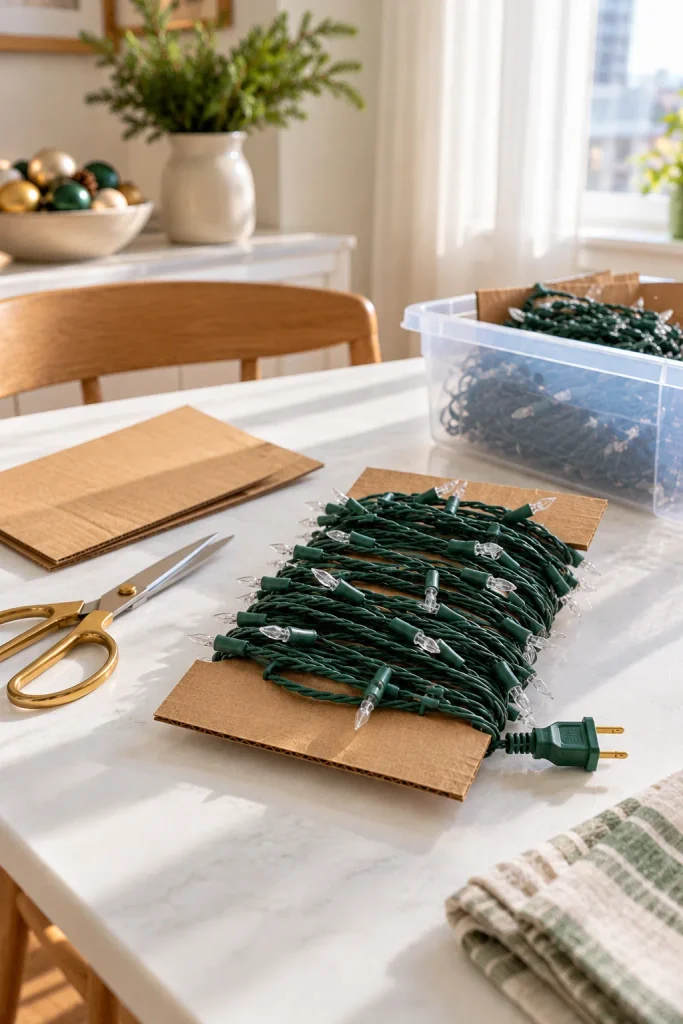
Always finish with the plug on the outside of the card. Next year, you can plug the strand in and test it before you unwind a single loop.
6. Wrap fragile ornaments in tissue paper one at a time
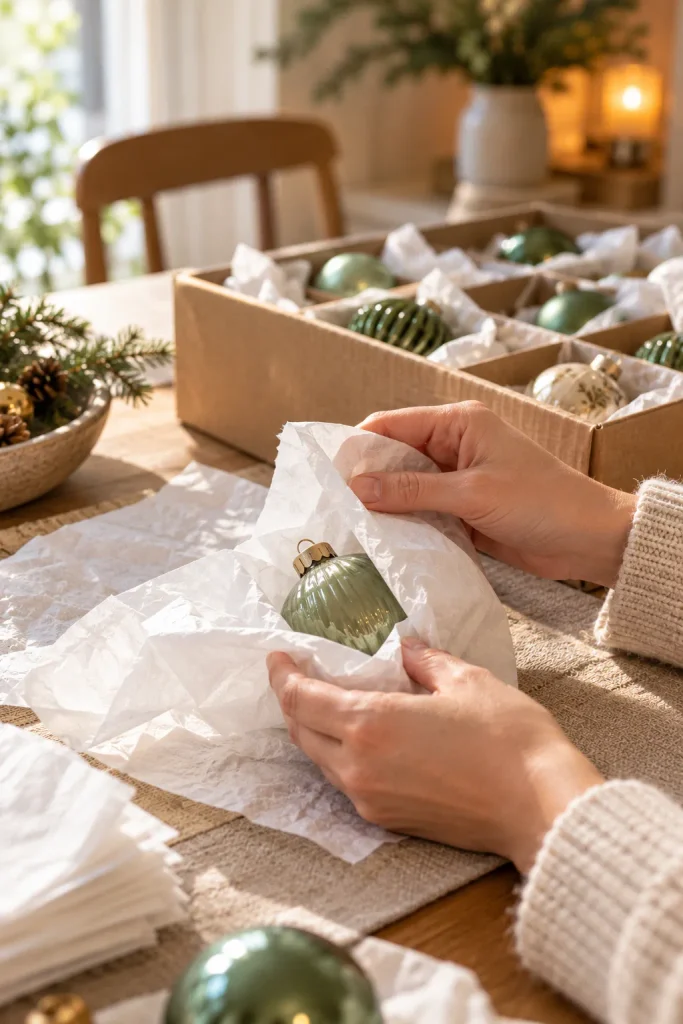
If an ornament is glass or has thin, delicate parts, it needs its own wrap. Pull the metal hook off first and drop it in a zip-top bag, since hooks scratch the finish of anything they touch. Then:
- Lay one sheet of tissue flat on the table.
- Set the ornament in the center and roll it up once.
- Twist both ends like a wrapped candy.
Keep the wrap snug, not tight. Squeezing can snap the small metal cap off the top. Skip newspaper here, because the ink rubs off onto light colors. Shatterproof plastic ornaments don’t need wrapping at all.
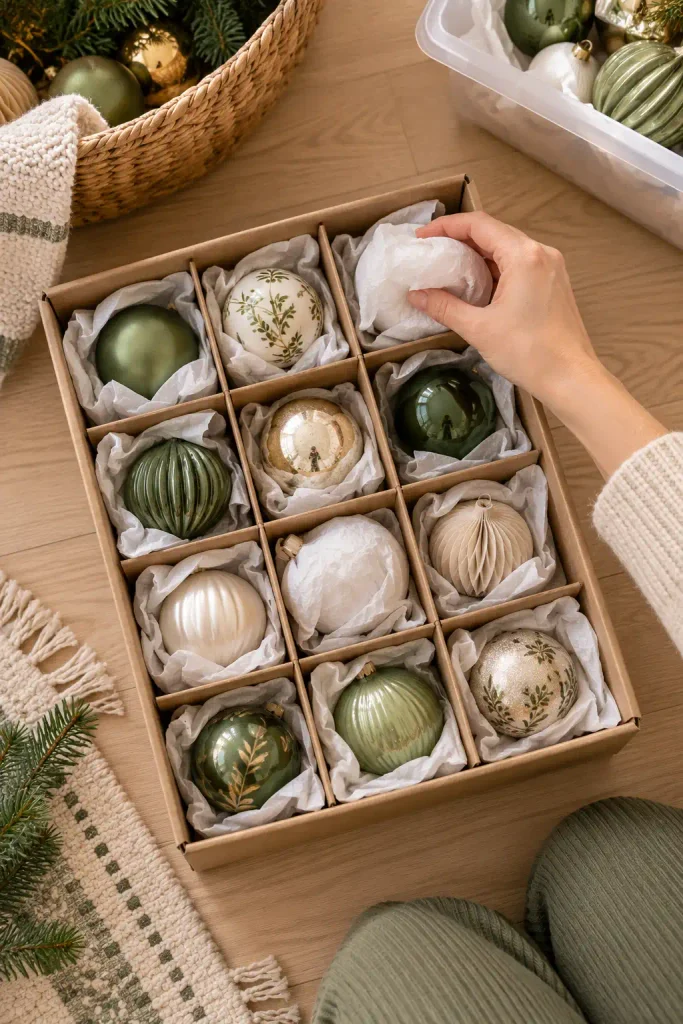
7. Nest wrapped ornaments in a divided container
Tissue protects the finish. Dividers protect against bumps. Place one ornament in each slot, with the heaviest pieces on the bottom layer. Fill any empty slots with crumpled tissue so nothing rolls. Before closing the lid, tilt the box gently. If you hear clinking, add more paper.
Clean egg cartons hold small ornaments up to about 2 inches wide.
8. Vacuum-seal soft decor like stockings and tree skirts
Fabric takes up more room than anything else in your pile, and it’s the one thing you can shrink. Fold stockings, tree skirts, table runners, and pillow covers flat so they lie in even layers. Fill each bag no more than three-quarters full, or the zipper won’t close cleanly. Seal it, attach your vacuum hose to the valve, and run it for 1 to 2 minutes until the bag feels flat and firm. Most bags shrink to about half their size.
No vacuum bags? Roll each item tightly and press the air out of a jumbo zip-top bag as you close it.

Keep faux fur, feather trim, and anything with glued-on sequins or beads out of vacuum bags. The pressure crushes them flat for good. Make sure every item is completely dry, too, since trapped moisture turns into mildew by next winter.
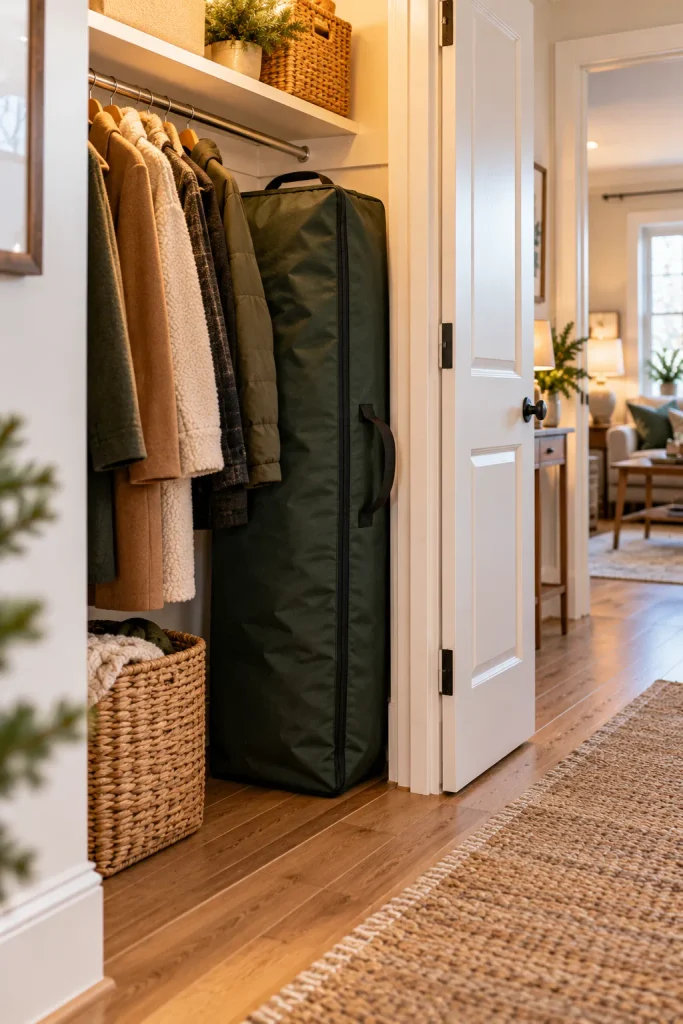
9. Slide your artificial tree into an upright storage bag
The cardboard box your tree came in was built for shipping, not for ten years of storage. It sags, tears, and crushes the branches. An upright bag holds the tree’s shape and stands in a closet corner using about 2 square feet of floor. Fold each branch up toward the trunk, then lower the bag over the top and zip it closed. Pre-lit trees can stay lit, so leave those strands on.
Planning next year’s tree? See how to fit a Christmas tree in a small living room.
10. Pack the remaining decor into clear, same-size bins
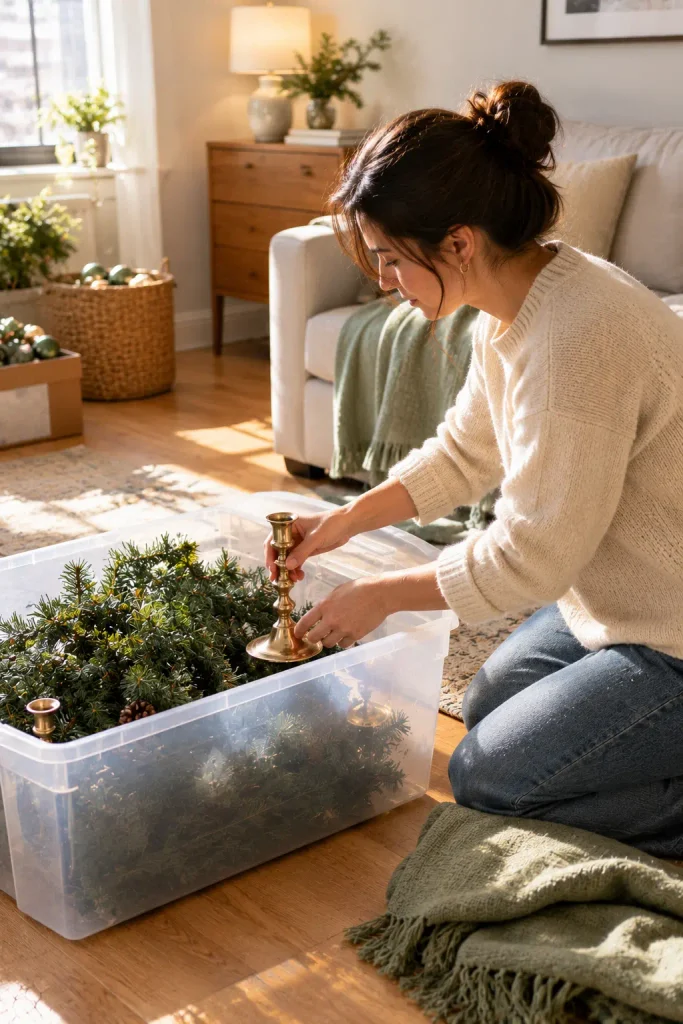
Group what’s left by holiday before anything goes in a bin, so Halloween never ends up mixed with Christmas. Clear plastic lets you see inside without opening the lid, and matching sizes stack like bricks with no wasted gaps. Set heavy pieces like candle holders on the bottom. Rest your light cards and ornament box on top. Stop filling when the lid closes without pressing down, because overstuffed lids crack in cold closets.
On a tight budget? Sturdy shoeboxes work for small items, as long as they stay somewhere dry.
11. Label every bin on the front and the top
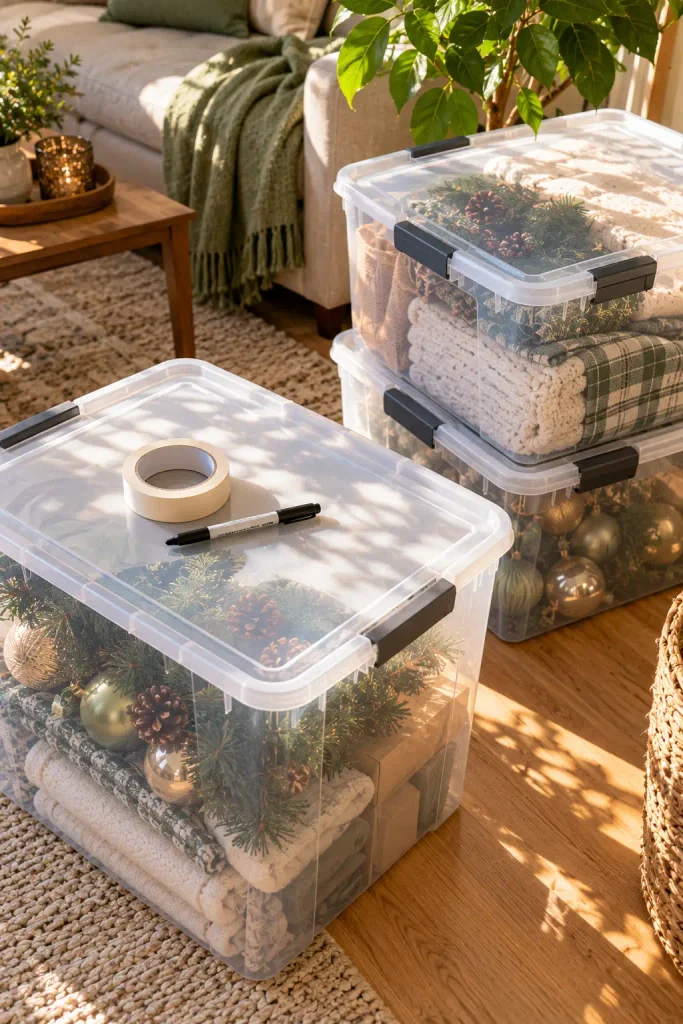
Two labels per bin, not one. The front label shows when bins sit on a shelf, and the top label shows when you pull one out from under the bed. On each label, write:
- The holiday name in big letters
- The 3 or 4 main items inside
- A bin number, like “2 of 4”
Masking tape peels off cleanly when you reorganize later. Painter’s tape works too.
12. Tuck your holiday decoration storage bins into hidden spots, heaviest on the bottom
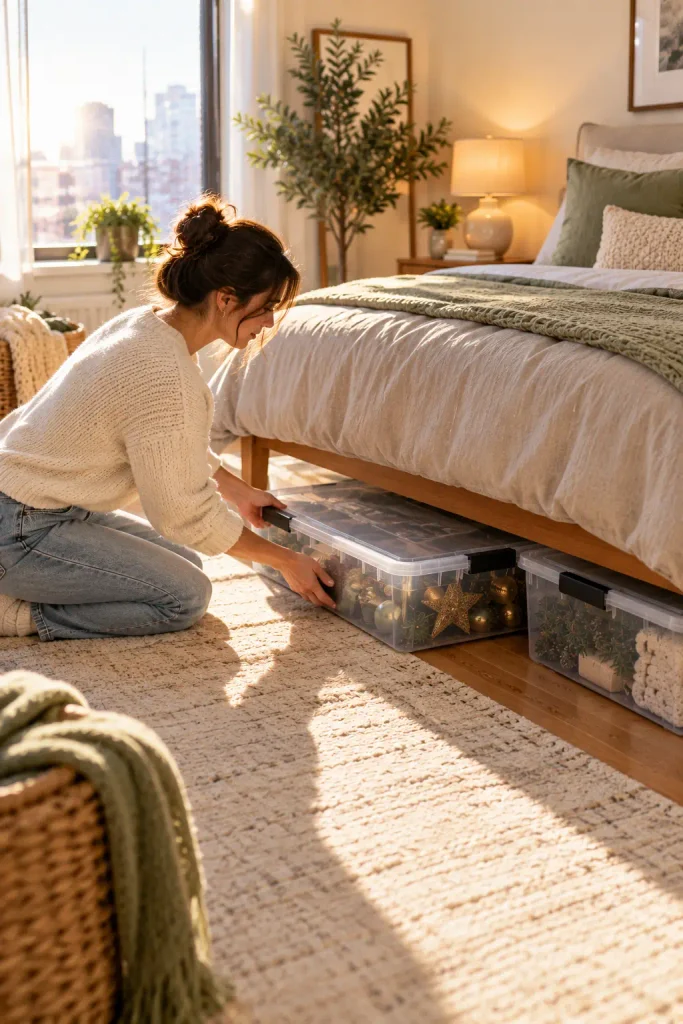
Next December, you’ll want the lights and tree topper first, so that bin gets the easiest spot to reach. Slide the heaviest bins under the bed or onto the closet floor. Lighter bins go on high shelves, where lifting them overhead is safe. Stack no more than 3 bins high so the bottom lid doesn’t bow. Use the measurements you saved in Step 3 to match each bin to its space.
Keep bins at least 3 feet away from radiators, space heaters, and sunny windows. Candles, wax ornaments, and light wires warp in the heat. Skip the bathroom and the cabinet under the kitchen sink too, since steam and leaks bring mildew.
13. Photograph each bin in its hidden spot
Will you remember in 11 months which bin is behind the couch? Probably not. Take one photo of each spot with the bin’s front label facing the camera. For under-bed bins, pull each one halfway out so the label is readable, snap the photo, then slide it back. Save every shot in a phone album named “Holiday Storage.” Next year, you’ll check your phone before moving a single piece of furniture.
Pair this with the January organization reset after the holidays.
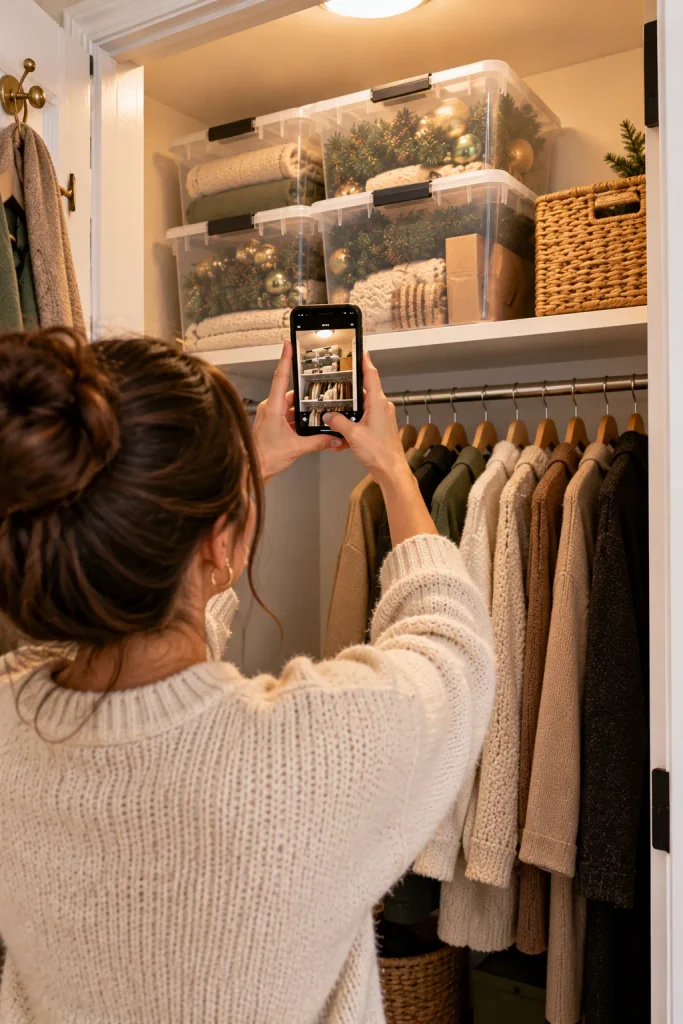
Share the album with your partner or roommate. That way, nobody has to call you from the closet asking where the wreath went.
Your decorations have a home now, and your floor belongs to you again.
Every bin is tested, labeled, and tucked out of sight, which is exactly what holiday decoration storage should look like in a small apartment.
For your next step, set a phone reminder for late November so you pull the lights bin first.
Save this guide to your Pinterest organizing board so it’s ready the day the decorations come back down.

