

You look at your living room, then at the corner by the window, and do the math in your head. There is no room. The couch already eats half the floor, and the path to the kitchen is barely wide enough for one person. So you tell yourself you will skip the tree this year.
Hold off on that.
Fitting a christmas tree in a small living room is not about finding extra space. It is about measuring first, then moving one thing instead of rearranging the whole room. I have done this in a 600 square foot rental with a radiator sitting in the only good corner, and the tree still went up.
By the end of this guide you will have a tree standing straight, lit, and decorated, with every walking path in the room still open. You will know the exact height and width to buy before you spend a dollar, and the trick that keeps a narrow tree from tipping when someone walks past it.
Nothing here needs a drill, a hook in the wall, or anything your landlord would spot in February. Plan on about three hours from start to finish. Roughly half of that is hands on work. The rest is measuring, shopping, and letting a real tree settle.
What You Need
For Every Tree
- Tape measure
- Blue painter’s tape
- Step stool
- Waterproof tree mat or metal boot tray
- Furniture sliders or a folded towel
- 2 sandbags, bricks, or gallon water jugs
- LED string lights, 100 to 200 count
- Power strip with a flat plug
- Adhesive cord channel or low tack gaffer tape
- Twist ties
Add For A Real Tree
- Water holding stand with 1 gallon capacity
- Pruning saw or handsaw
- Work gloves
- Narrow spout watering can
Add For An Artificial Tree
- Slim or pencil tree, 6 to 7 feet
- Weighted or screw in base plate
- Thin gardening gloves for fluffing
At a Glance
- Measure ceiling height, subtract 12 inches
- Tape the tree footprint on the floor
- Choose the corner with the least foot traffic
- Match the tree shape to the taped space
- Lay down a liftable floor mat
- Move one large piece of furniture
- Build the stand on the mat
- Stand the tree up and check two sides
- Shape the branches toward the room
- Weigh down the base
- Run lights and hide the cord
- Decorate the visible two thirds
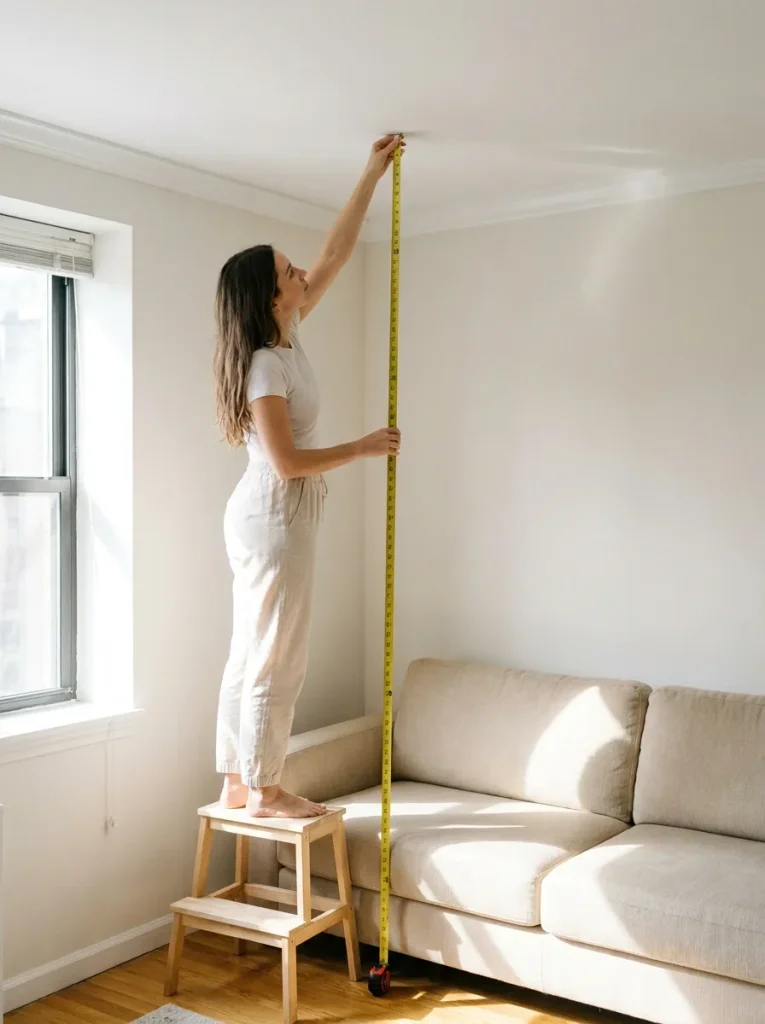
1. Measure your ceiling height and subtract 12 inches
Stand on the step stool and run the tape from floor to ceiling. Most rentals land at 8 feet, which sounds generous until you add the parts nobody pictures. A stand lifts the trunk 3 to 5 inches off the ground. A star or bow adds another 6 inches on top. Write down your ceiling height minus 12 inches and save it in your phone. That single number is the only height a store listing has to match.
2. Tape the tree’s footprint onto your floor before you buy anything
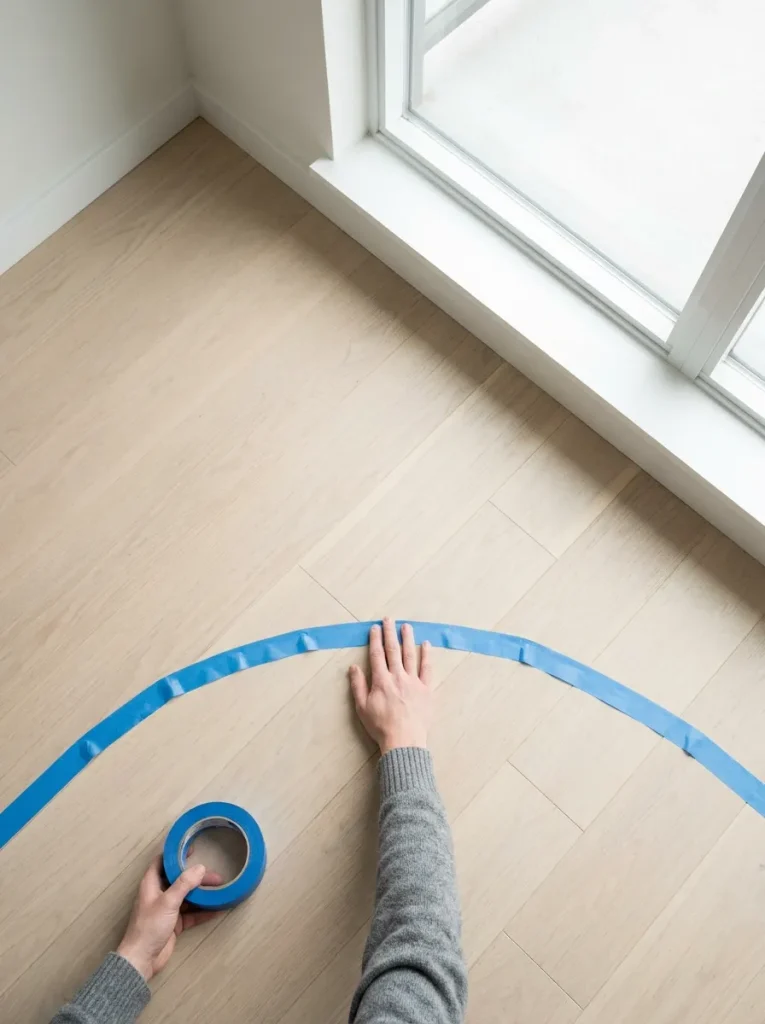
A tree that clears your ceiling can still swallow your walkway. Product listings give a base width, usually 30 to 48 inches on a slim tree and up to 60 inches on a full one. Mark that width out before you commit:
- Measure out from the corner in both directions
- Stick a piece of painter’s tape at each mark
- Join the two marks with a loose curve of tape
- Walk your normal route through the room
Leave the tape down for 24 hours. If you catch yourself stepping around it, the tree is too wide for that spot.
3. Choose the corner for your christmas tree in a small living room
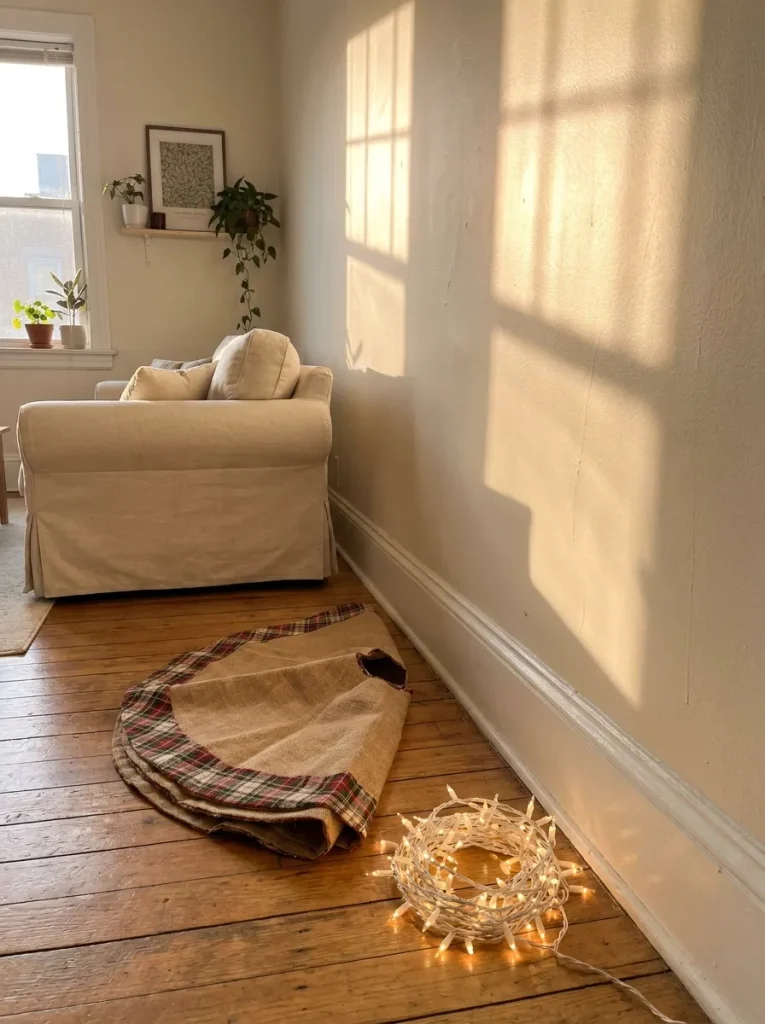
Three paths matter in most small rooms: door to couch, couch to kitchen, and couch to window. The corner that touches none of them wins, even when it is not the prettiest wall. Corners also hide the flat back of a slim tree, so you get a fuller look from less tree. Stay 3 feet away from radiators, wall heaters, and floor vents, which dry out a real tree in days and warp artificial branches over time.
Pro Tip
Stand in your doorway and take a photo of each corner you are considering. A photo flattens the room the same way your eye does not, so the corner that looks crowded in person often reads as fine on screen. Pick the corner that still looks open in the picture.
4. Match the tree shape to the outline you taped
If your taped curve came out under 40 inches wide, a pencil or slim tree is the only shape that will sit there without spilling into the room. Wider than that and you have room for a standard profile. Check the listing for base width, not just height, and match it to these:
- Pencil tree, 24 to 32 inches at the base
- Slim tree, 34 to 44 inches
- Flat back tree, full front, nothing behind
- Full tree, 50 inches and up
Buying a real one? Ask the lot worker to hold it upright and measure the widest branches before you pay.

5. Lay down a mat you can lift out in January
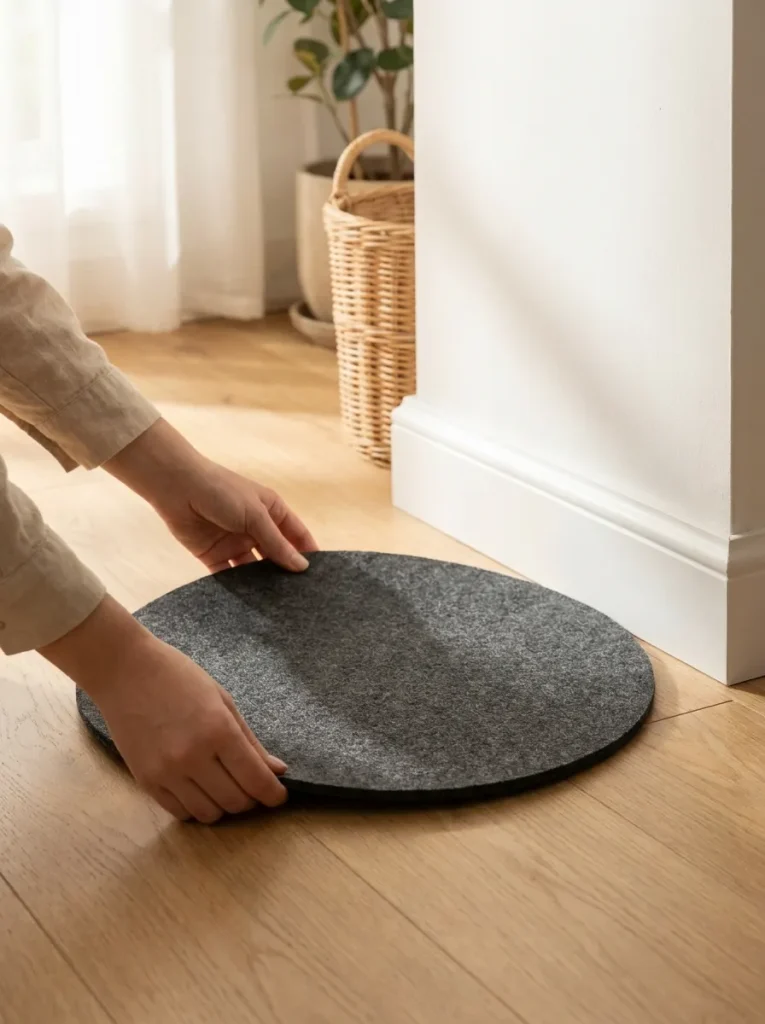
Rental floors are where this goes wrong. Water rings on laminate and scratch marks from a metal stand both come out of your deposit, and neither shows up until you move the tree. Pick a waterproof mat or metal boot tray that is 4 inches wider than your stand on every side. Set it down loose. Nothing gets taped or stuck to the floor.
Heads Up
A cardboard box lid or a folded blanket is not a substitute here. Both soak up spilled water and hold it against the floor for days, which lifts laminate at the seams. If you have no tray on hand, a plastic storage bin lid works until you can buy one.
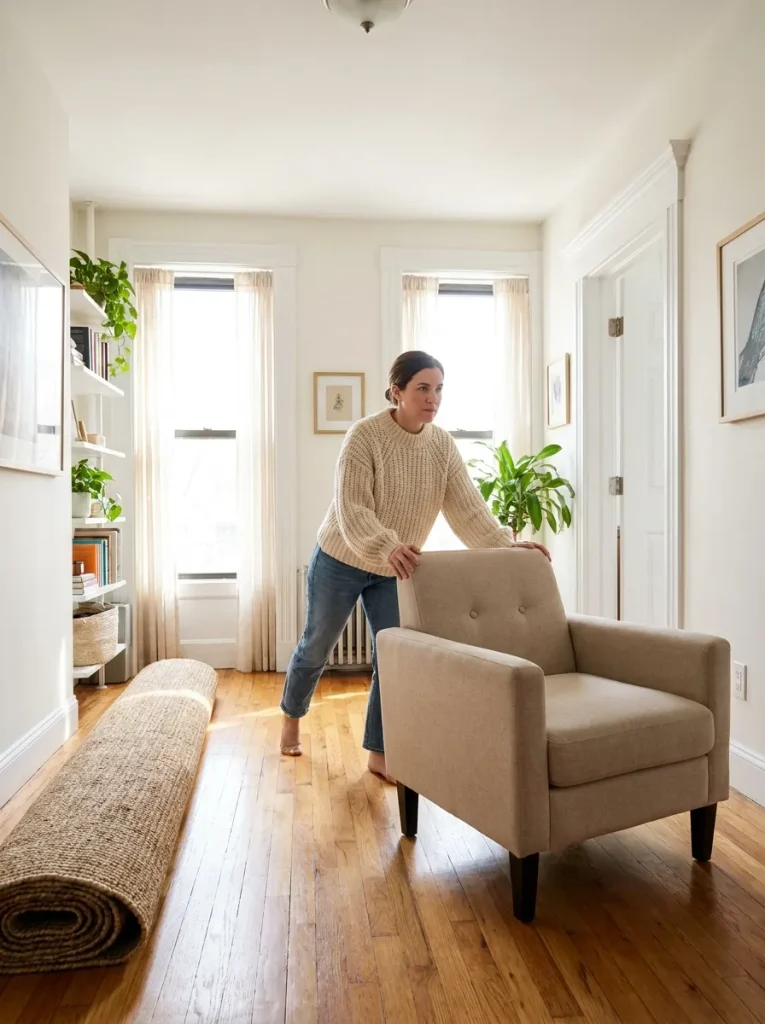
6. Move one large piece of furniture, not three small ones
The instinct is to shuffle the side table, the basket, and the floor lamp around until something opens up. That never works. Shifting three small things gains you a few inches in three different places, and the room ends up feeling more crowded than before. Pull out one armchair or one console table instead and you get the whole footprint at once, in one clean spot. Slide furniture on sliders or a folded towel so you do not drag scratches across the floor. Park the piece in a bedroom until January.
Moving one big piece out also frees up room for seating for holiday guests. Here’s how to plan it so nobody ends up perched on the radiator.
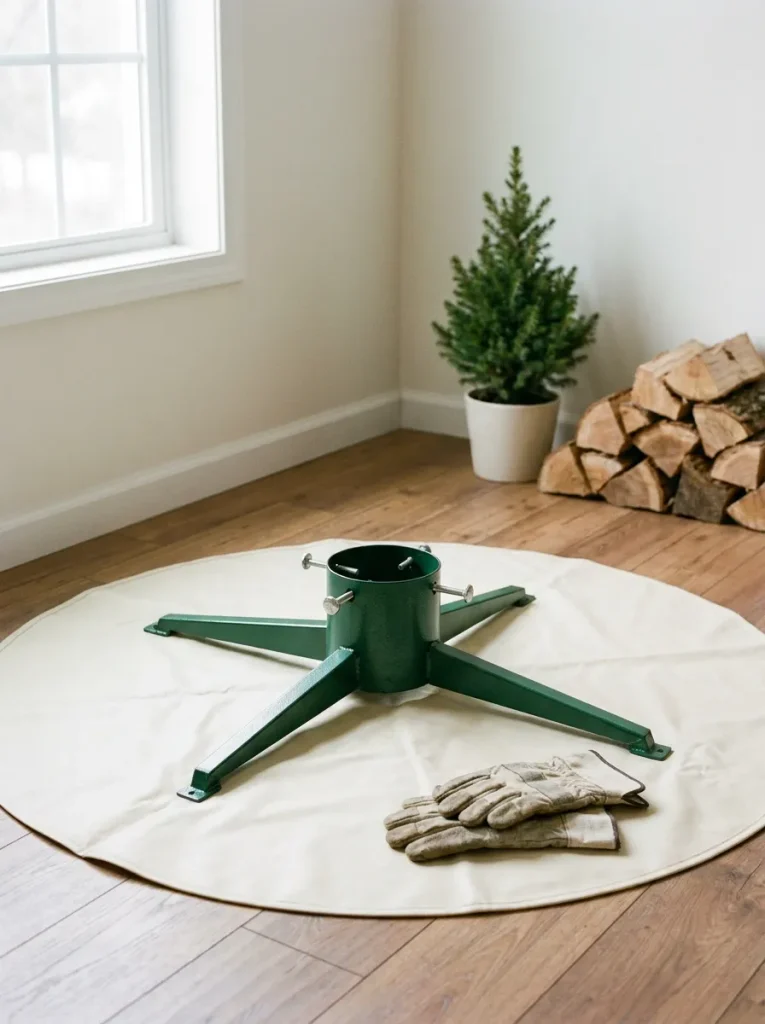
7. Build the stand on the mat before the tree comes near it
Two minutes of setup now saves a mess later. Open the stand legs fully and tighten the wing nuts by hand until they stop, then set the whole thing in the center of the mat. Real tree owners, check that your trunk actually fits the collar opening, usually 4 to 6 inches across. Artificial tree owners, screw the base plate onto the center pole and stand it up empty to confirm it does not wobble.
8. Stand the tree up and check it from two sides
One person holds the trunk straight while a second tightens the bolts. Working alone? Lean the tree into the corner walls first, then tighten. Here is the part beginners miss: a tree that looks plumb from the front is often tilting sideways. Walk to a 90 degree angle and look again before you finish tightening. A real tree needs water within 2 hours of the fresh cut, up to 1 gallon on the first fill.

9. Shape the branches so the tree fills out toward the room
Gaps do not matter on the wall side. Nobody sees them. Pull every branch on the front and both visible sides outward, then bend the tips up toward the ceiling so light catches them. Work bottom to top in sections and wear thin gloves, since artificial tips scratch and real needles leave sap on your hands. On a slim tree this takes 20 to 30 minutes and it is the difference between full and sparse.

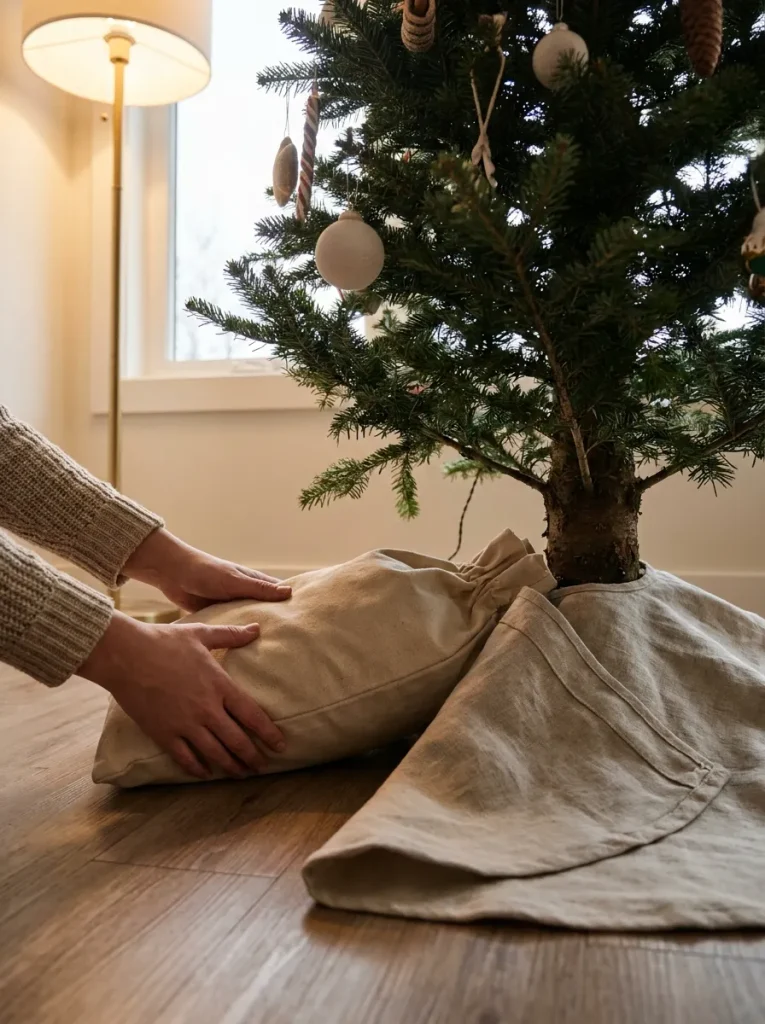
10. Weigh the base down so a bump cannot tip it
Narrow trees are top heavy by design, and small rooms mean people walk close to them. Sit 20 to 30 pounds of dead weight directly on the stand legs: two sandbags, a few bricks, or gallon jugs filled with water. Push them tight against the center pole so nothing shifts. A tree skirt hides all of it. Skip the wall hook and the anchor screw, since neither comes out clean at move out.
Heads Up
Do not use adhesive wall hooks to steady a tree. They hold light objects hanging flat against a wall, not a sideways pull from a swaying trunk. When one lets go it takes a coin of paint with it, and the tree falls anyway.
11. Run the lights and hide the cord along the baseboard
Start at the top with the plug end pointing down, and wrap in toward the trunk before coming back out. That depth is what makes a small tree read as full instead of flat. 100 lights per foot of tree height is the number to aim for. Once the strings are on, run the cord along the baseboard rather than across open floor:
- Press the cord into the corner where wall meets floor
- Hold it with an adhesive cord channel or low tack gaffer tape
- Plug into a power strip you can reach with your foot
Test every strand before you hang a single ornament.
Decorating the windows too? Here’s how to hang Christmas lights in an apartment without nails or damage.

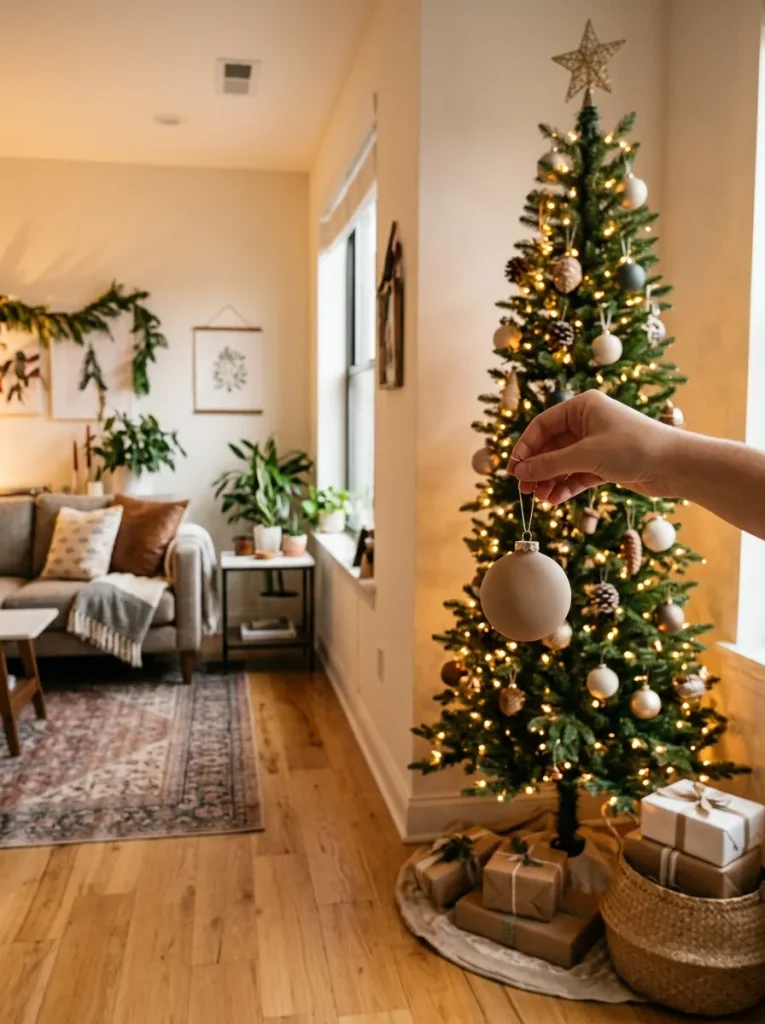
12. Decorate the two thirds people actually see
Your ornament supply goes further when you stop spreading it evenly. Load the front and the two sides facing the room, and leave the wall side almost bare. Hang larger pieces deeper in the branches and smaller ones near the tips, which adds visual depth to a narrow shape. Stand back at the doorway every few minutes. In a small room you notice crowding from across the floor long before you notice it up close.
Troubleshooting
| If This Happens | Try This |
|---|---|
| The tree leans toward the room | Loosen all the stand bolts, not one. Have someone hold the trunk plumb while you retighten them in a criss cross order, the way you would tighten a wheel. |
| The room suddenly feels blocked | Rotate the tree so its flattest side faces the corner, then push the stand back another 4 inches. Most crowding comes from branch spread, not floor position. |
| Needles drop within a week | Check the water line daily. A dry reservoir for even 12 hours seals the trunk with sap and the tree cannot drink again. Move it further from any heat source. |
| The cord crosses a walkway | Move the power strip instead of the tree. Run the cord the long way around the room along two baseboards rather than the short way across open floor. |
| The tree looks thin and gappy | Go back to shaping. Pull the inner branches outward before touching the tips, and add one more short light strand deep near the trunk. |
Beginner Questions
What size tree fits a small living room?
Height is your ceiling minus 12 inches, which lands most renters at a 6 to 7 foot tree. Width matters more. Stay under 44 inches at the base unless your taped outline showed room to spare.
Real or artificial for a tiny space?
Artificial slim trees hold a narrow shape all season and come apart for storage. Real trees smell better but spread wider as branches drop over a few days. Both work if you measured the base width first.
Can I put a tree in front of a window?
Yes, as long as the window is not a fire exit and no radiator sits under it. Leave 6 inches of clearance so the curtains still close behind the branches.
How do I keep the tree stable without drilling?
Weight on the stand legs does the work. Twenty to thirty pounds sitting low on the base beats any wall anchor, and it leaves your walls untouched.
Where do I store a tree in an apartment?
Break a slim tree into sections and stand them upright in a closet corner inside a tall storage bag. Flat under bed boxes hold the lights and ornaments separately.
Quick Reference Card
Christmas Tree in a Small Living Room
What You Need
- Tape measure and painter’s tape
- Step stool
- Waterproof mat or boot tray
- Stand or weighted base plate
- 20 to 30 lbs of sandbags or jugs
- LED lights and power strip
- Cord channel or low tack tape
- Furniture sliders
- Gloves, saw and watering can for a real tree
The Steps
- Ceiling height minus 12 inches
- Tape the base width on the floor
- Pick the lowest traffic corner
- Match tree width to the outline
- Lay a liftable waterproof mat
- Move one large furniture piece
- Build the stand on the mat
- Stand it up, check two sides
- Shape branches toward the room
- Weigh the base down
- Light it, hide the cord
- Decorate the visible sides
Renter rule: no drilling, no wall hooks, nothing stuck to the floor.
You Did It
Your tree is up, lit, and standing steady, and you can still walk through your own living room. That is the whole win.
Decorating on a tight budget this year? Browse apartment Christmas decor on a budget for 18 cozy ideas.
Give it one more look from the doorway tonight with the lamps off. Small rooms glow differently once the string lights are the only thing on, and you may want to nudge a few ornaments after seeing it that way.
Next up, deal with the gifts. A narrow basket beside the tree holds them without eating the floor you worked to protect.
Pin this guide now so the measurements are waiting for you next December.
If a full tree just won’t fit this year, a wall can carry the whole season. Try one of these holiday wall decor ideas instead.

