
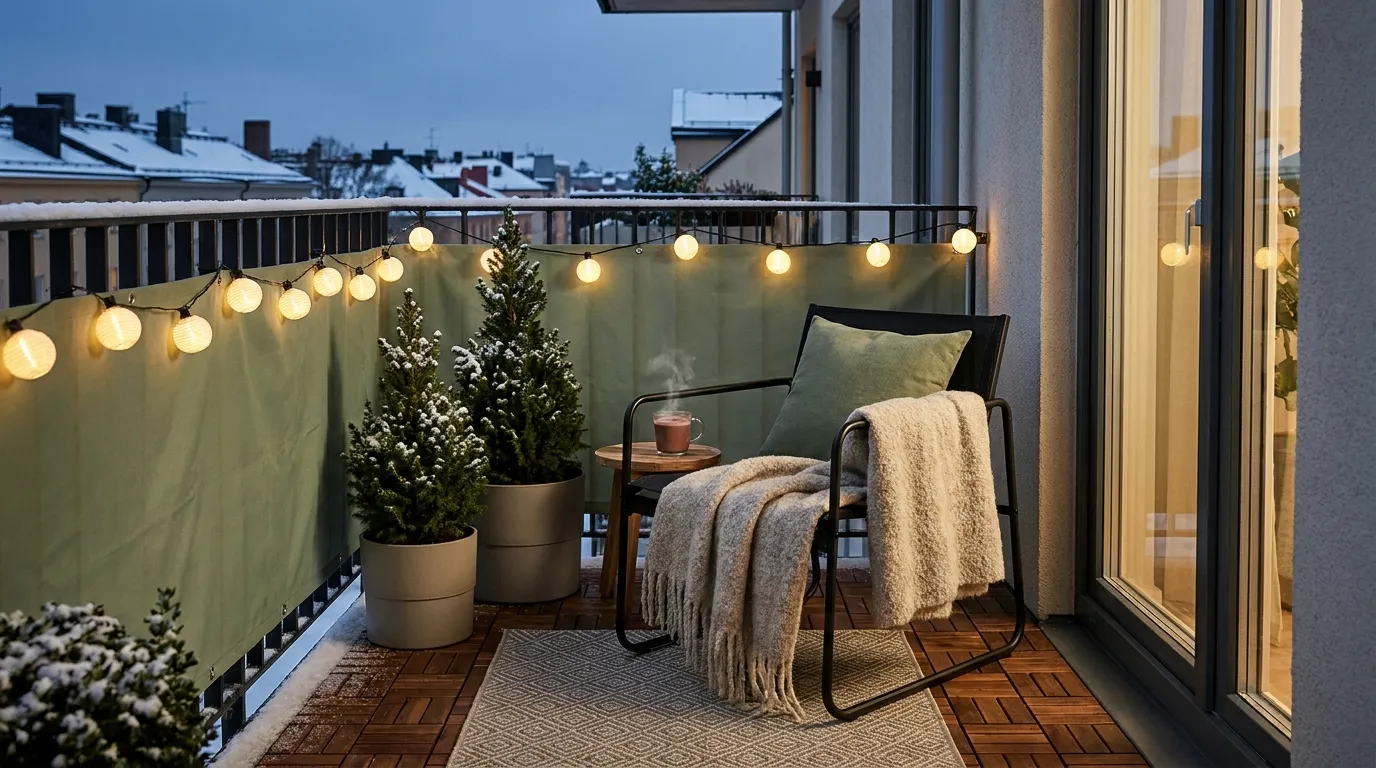
Your balcony probably looks like mine did last January. One folded chair, one dead plant, and a door I never opened until spring. It felt like wasted rent. But a balcony does not have to shut down for the season.
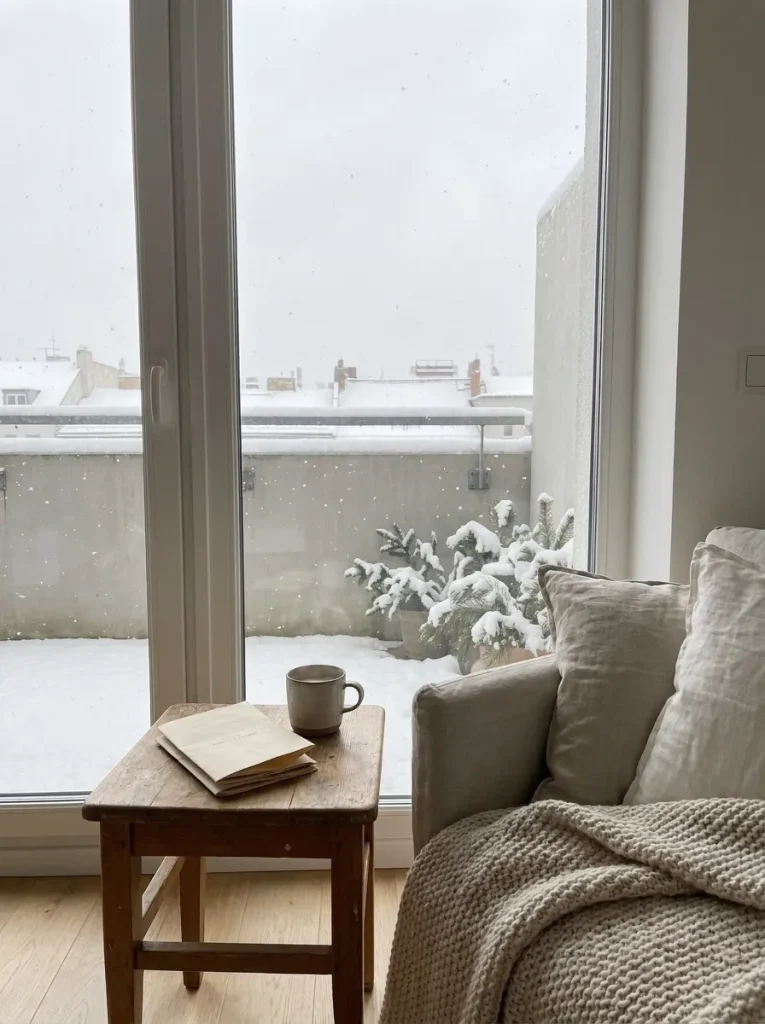
With the right winter balcony ideas, you can sit out there on a cold, clear morning with a hot drink and feel warm.
This guide walks you through setting up a small apartment balcony for winter, one step at a time. You will block the wind, lift your feet off the freezing floor, add a safe source of heat, and make the space glow at night.
Every piece is renter-friendly. No drilling, no screws, and nothing your landlord can charge you for when you move out.
Why does this work? Most of the cold you feel outside comes from two places: wind and a cold floor. Fix those two first, and a 40°F morning feels far kinder. Everything after that adds comfort on top.
Plan on about 3 to 4 hours of hands-on work. Spread it over one weekend so you have time to shop. This is a true beginner project. If you can use a tape measure and pull a zip tie tight, you can do this.
Live somewhere with heavy snow? Watch for the short snow notes inside the steps.
- Check your lease and building rules
- Measure your floor and railing
- Clear out summer plants and cushions
- Scrub the floor and clear the drain
- Lay deck tiles over the concrete
- Put down an outdoor rug
- Zip-tie a windbreak to the railing
- Set up one weather-resistant seat
- Store throws in a lidded deck box
- Add a heat source your building allows
- Hang battery string lights
- Plant cold-hardy evergreens
- Bring textiles inside after each use
1. Check your lease before trying any winter balcony ideas
Some buildings ban things you would never guess. Grills and propane heaters are the big ones, but many leases also limit what hangs on the railing or how heavy your furniture can be. Open your lease and search for the words “balcony,” “patio,” and “fire.” Still unsure? Email your landlord a short list of what you plan to add. Getting the answer in writing protects you at move-out.
Check what renters can change in an apartment first, because some buildings are picky about balcony changes.
2. Measure your floor space and railing height
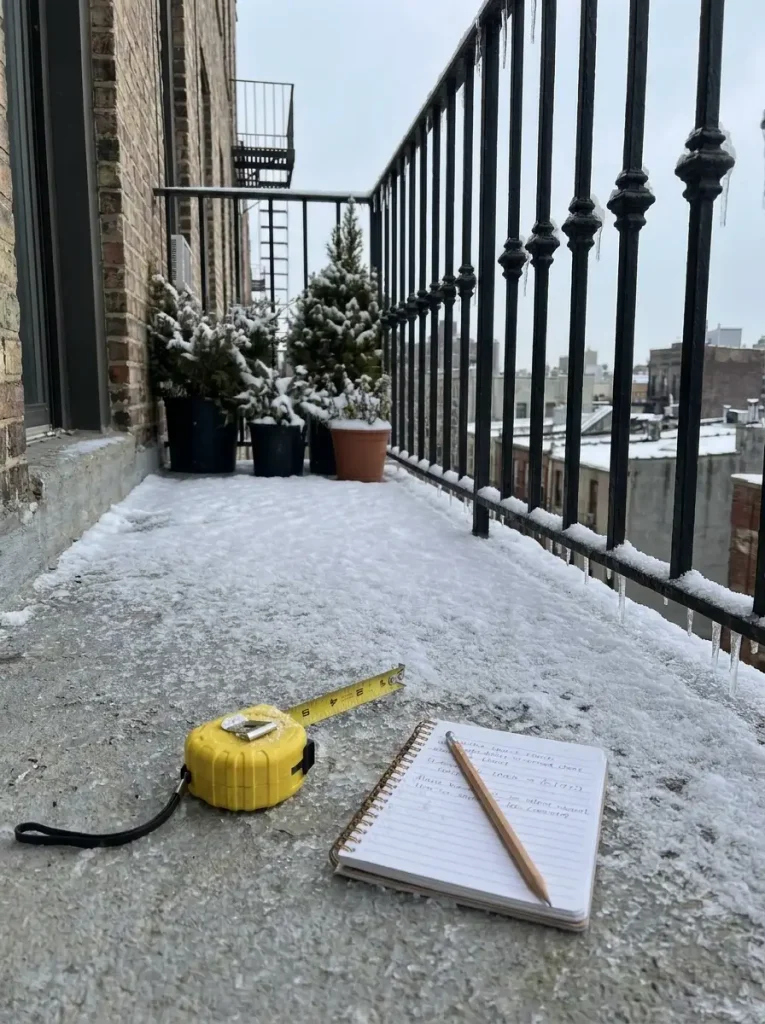
Ten minutes with a tape measure saves you a second trip to the store. Write these down on your phone:
- Floor length, in feet
- Floor width, in feet
- Railing height, from floor to top rail
- Distance from your door to the nearest outlet, if you have one
Multiply length by width to get square feet. That number is how many 12 x 12 inch deck tiles you need. The railing height tells you how tall your wind screen can be.
3. Clear out summer plants and fabric cushions
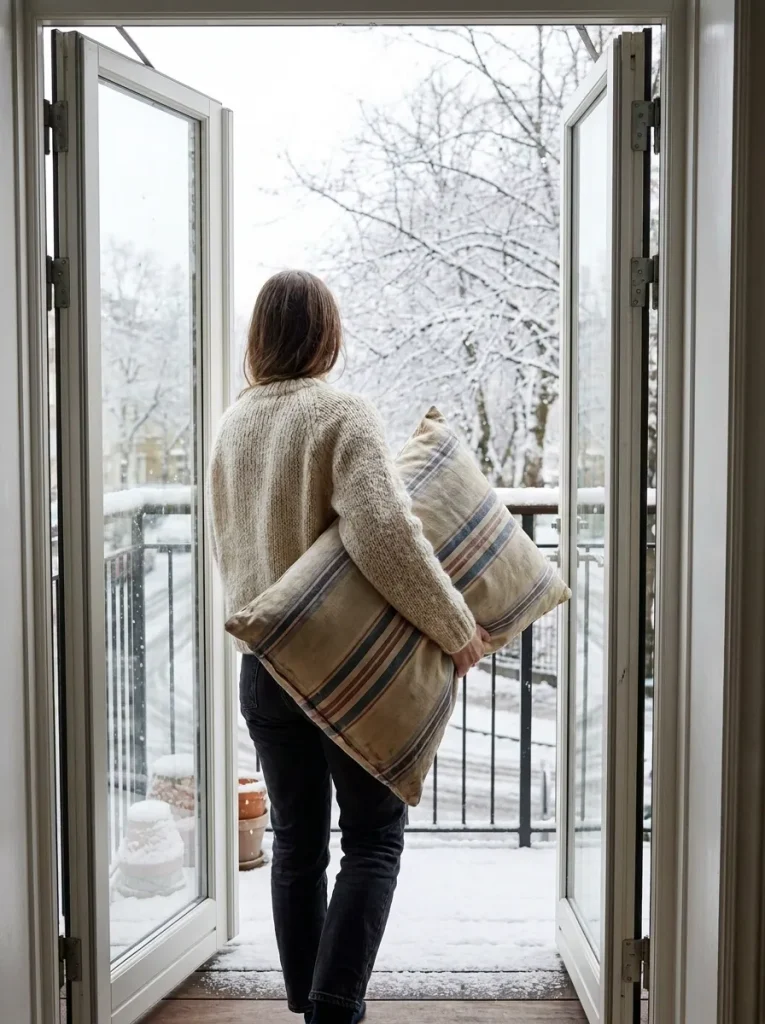
Summer cushions soak up rain and melted snow, then grow mildew. Dead plants are a problem too, because wet soil freezes and cracks pots. Bag the dead plants for the trash and carry the cushions to a closet inside. Empty any clay pots and store them upside down so no water can sit in them.
4. Scrub the floor and clear the drain
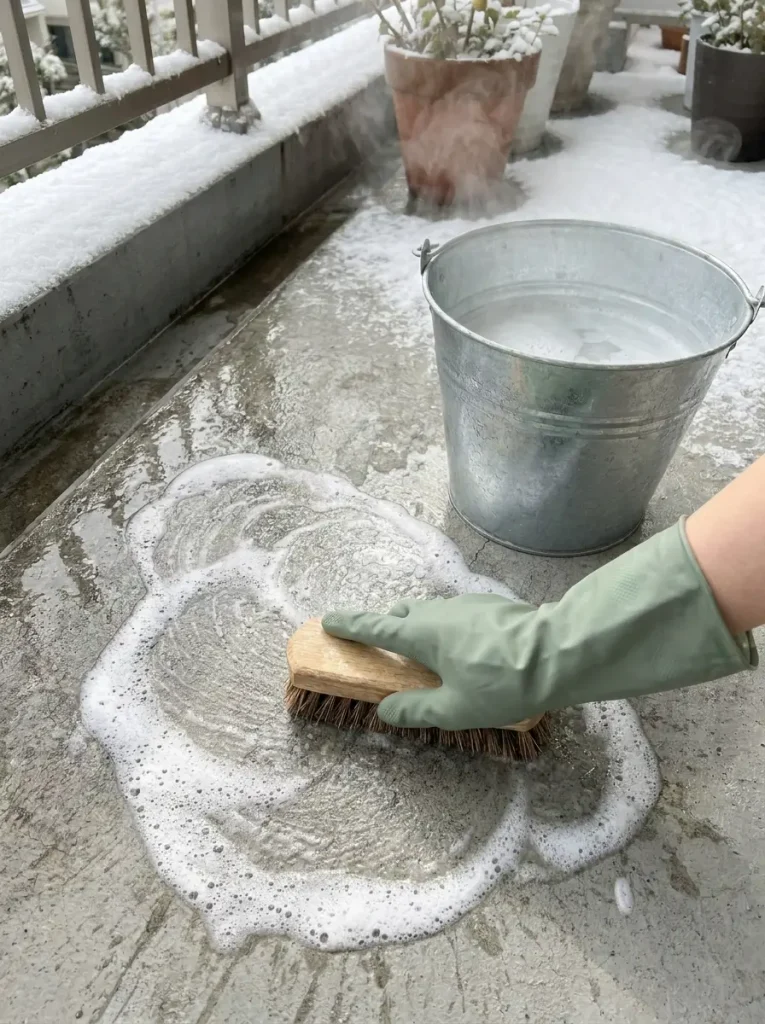
If you skip this, every bit of dirt gets trapped under your tiles until spring. Sweep up leaves and grit with a stiff broom.
Look for the drain, usually a small hole in a corner or a gap along the edge where the floor slopes. Pull out any leaves stuck inside it.
Next, scrub the floor with warm water and a squirt of dish soap. Rinse with one small bucket, not a hose, so you do not drip onto your downstairs neighbor.
Let the floor dry for at least 3 hours. Wet concrete under tiles grows mildew fast.
Snow note: A clogged drain matters more where it snows. Melted snow that cannot drain will freeze into a sheet of ice overnight.
5. Lay interlocking deck tiles over the cold concrete
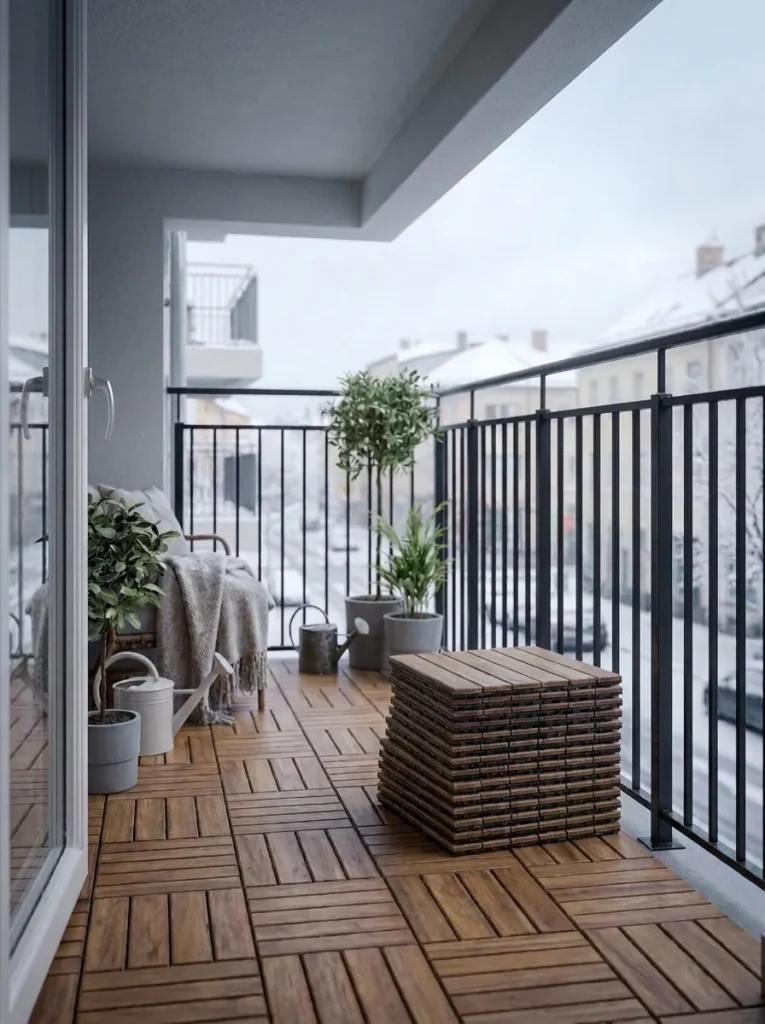
Bare concrete pulls heat out of your feet in minutes, even through shoes. Tiles create a small pocket of air between you and the slab, and that air is what keeps your feet warmer.
Deck tiles show up in my guide on how to cover rental flooring, too, if you want more ideas for hiding a rough surface.
Start in the corner farthest from the door. Click the tiles together along the longest wall, then work row by row toward the door. Plastic or composite tiles hold up best to winter wet. Wood tiles look lovely but can get slick when frosty.
6. Put down an outdoor rug on top of the tiles
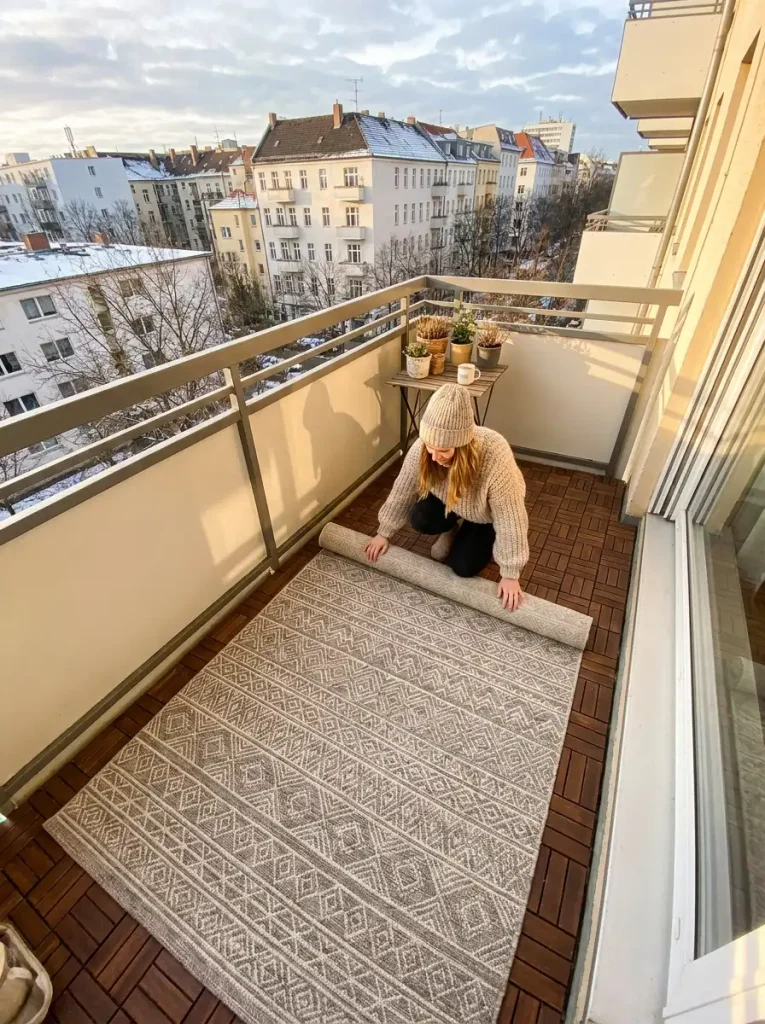
Choose a rug about 2 to 4 inches smaller than your tiled area on every side. That bare strip lets rain and melted snow run off instead of soaking in. Polypropylene dries fast and will not rot. If the corners lift in the wind, do not worry yet. Your chair and planters will hold them down in later steps.
7. Zip-tie a windbreak screen to the railing
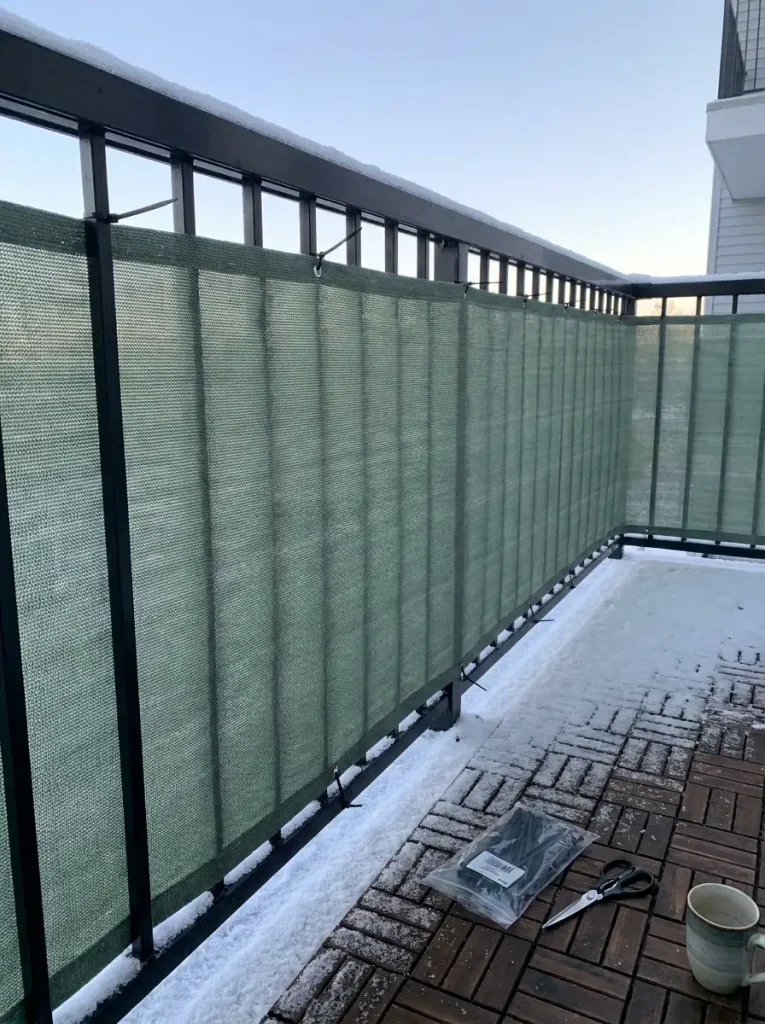
Which side does the wind hit hardest? Stand outside on a breezy day for a minute and feel for it. Start your screen on that side, since it does most of the work. Then:
- Unroll the screen along the inside of the railing.
- Thread a zip tie through a hole every 12 inches along the top rail.
- Pull each tie tight and snip the tail with scissors.
- Repeat along the bottom rail.
Hanging it on the inside matters. If a tie snaps, the screen falls onto your balcony, not the sidewalk below.
8. Set up one weather-resistant chair or bench
One good seat beats a crowded set on a small balcony. Metal, resin and acacia all handle snow and rain. Skip wicker with sewn-in cushions, since it holds water. Place the seat in the corner your screen protects most, with its back to the wind. Set the legs on the rug corners to keep them from lifting.
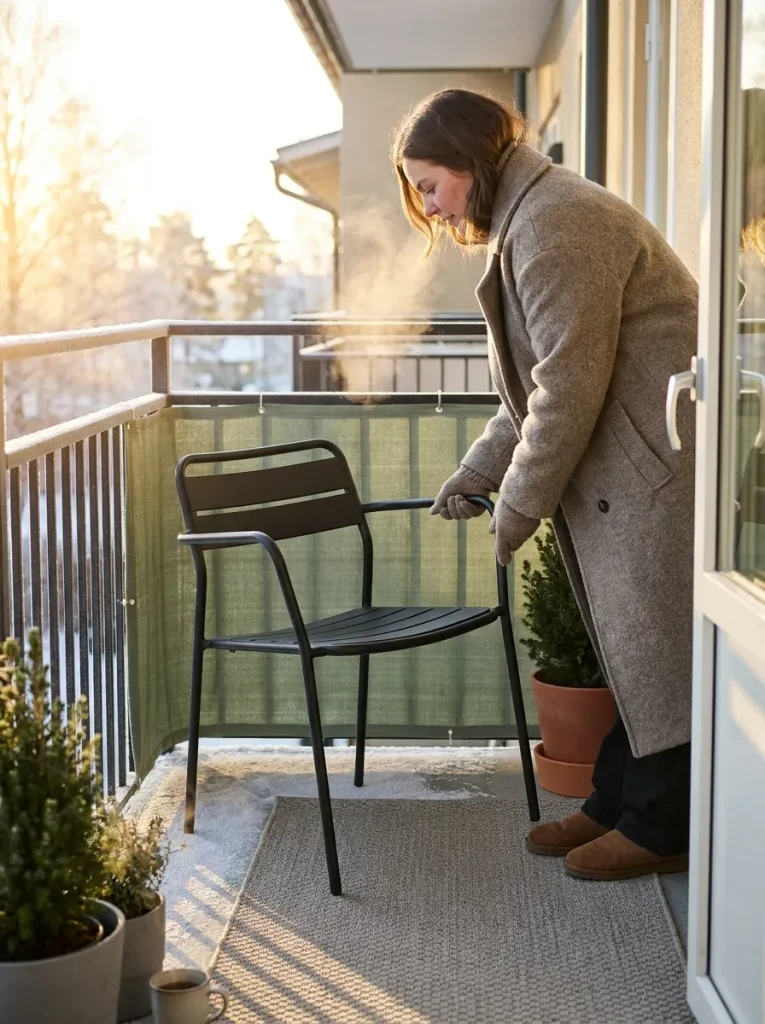
9. Store throws and seat pads in a lidded deck box
Throws left outside overnight turn cold and damp by morning. A deck box keeps your seat pads, a spare throw and your light remote dry and ready, so you are not hauling everything out each time. Put the box next to the door where you can reach it from the threshold. Toss a moisture-absorbing packet inside too, because even “waterproof” boxes collect a little condensation in winter. Anything that gets wet goes indoors to dry instead. More on that in step 13.
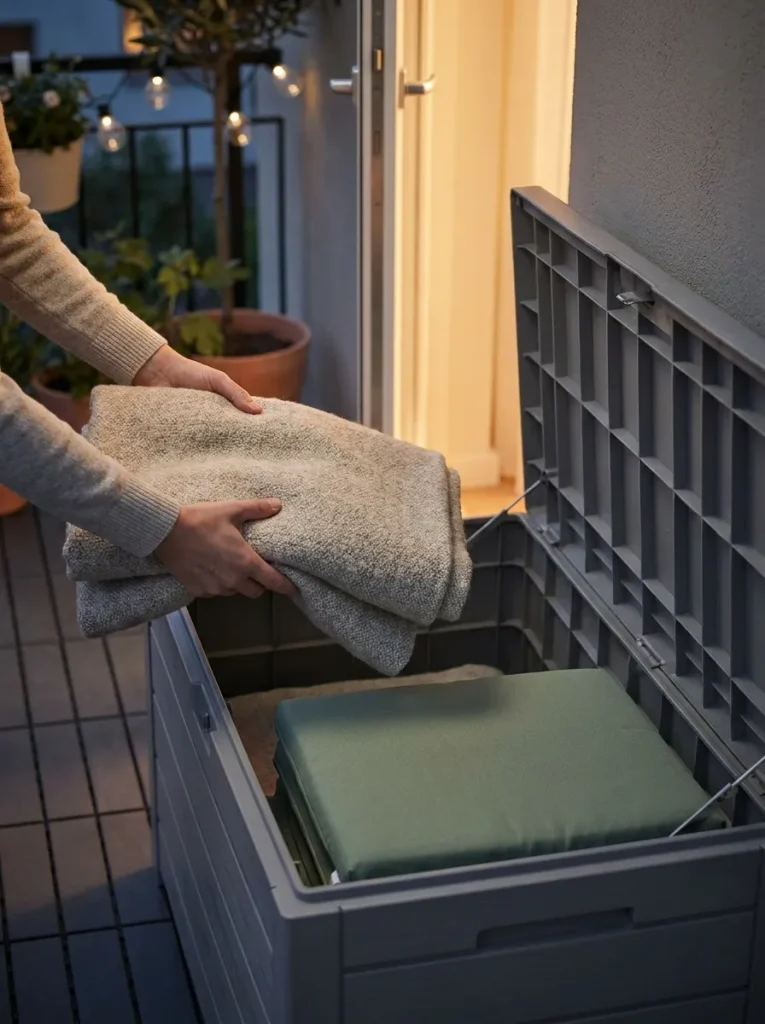
10. Add a heat source your building allows
Your answer from step 1 decides this one. If heaters are off the table, or you have no outdoor outlet, get a battery-powered heated throw or seat pad. Charge it indoors and carry it out with you. If your building allows heaters and you have an outdoor outlet, choose an electric heater labeled for outdoor use with tip-over shutoff. Plug it straight into the wall. Keep it at least 3 feet from the rug, throws and screen.
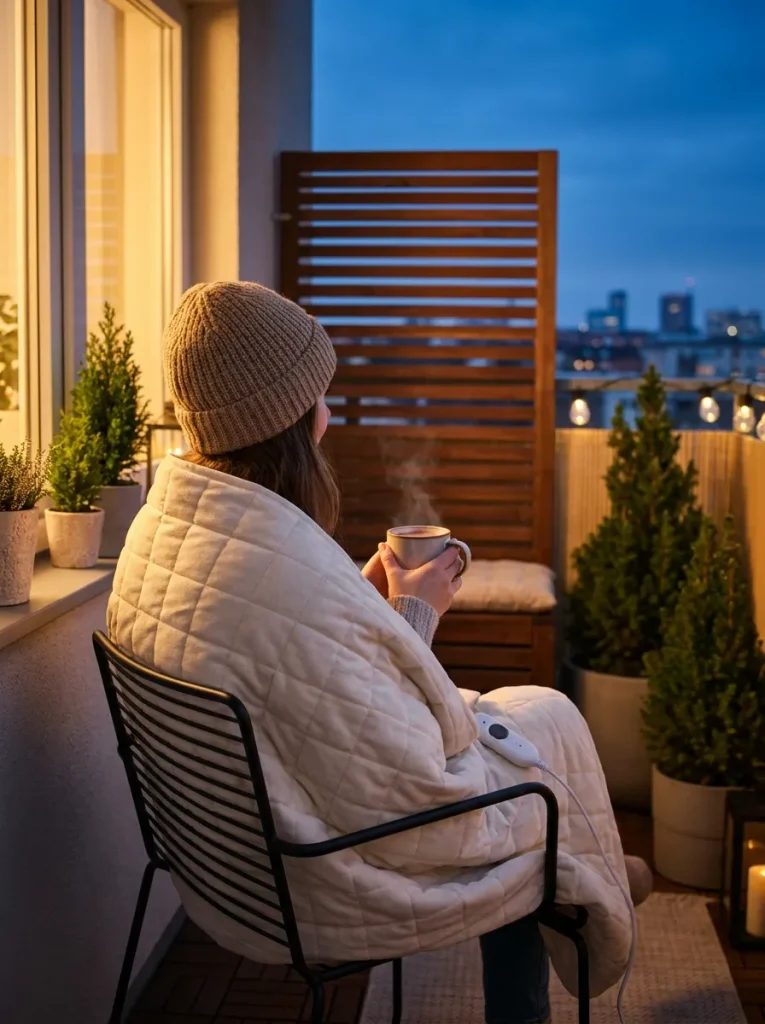
11. Hang battery-powered string lights
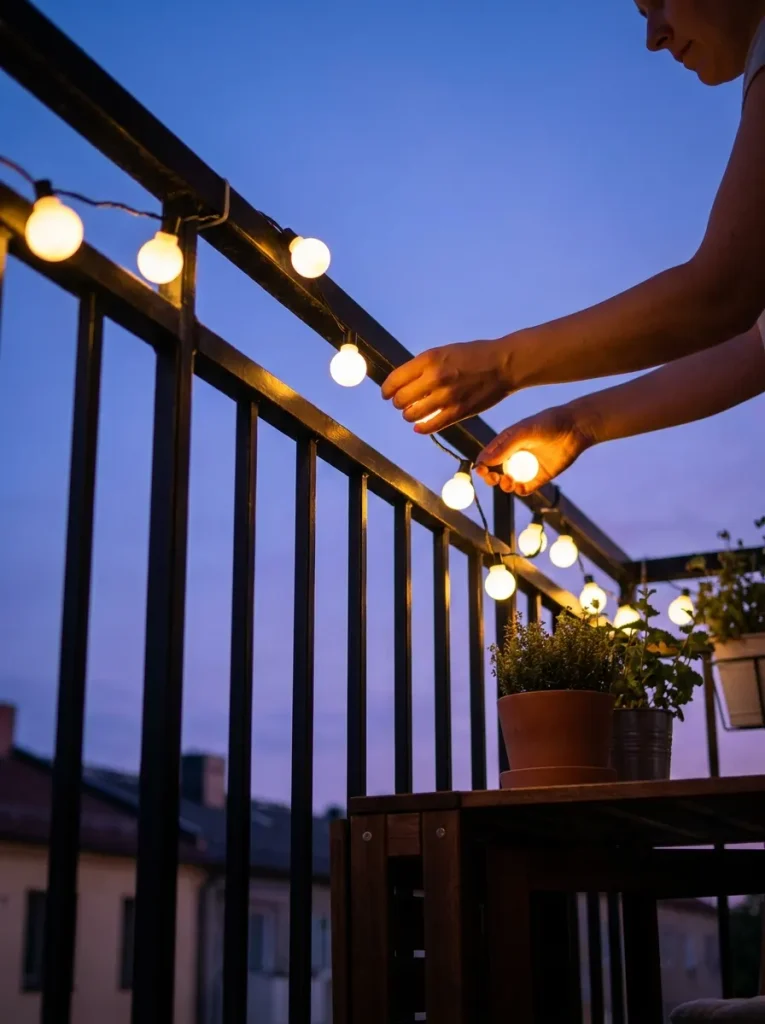
By 5 p.m. in December, most balconies are pitch dark. Choose battery lights over solar, since winter sun is too weak to charge them well. Drape them loosely along the top rail and fasten them with zip ties. Adhesive hooks lose their grip below freezing. Set the battery pack on the floor with the cover facing down so rain cannot get in, and turn on the 6-hour timer if yours has one.
For the lights themselves, here’s how to hang Christmas lights in an apartment without nails or damage.
12. Plant cold-hardy evergreens in frost-proof pots
Here is what most beginners miss: roots in a pot get far colder than roots in the ground. The soil around them freezes from every side. So pick plants rated at least 2 zones colder than where you live.
Plants are a good fit out here, and these plant ideas for no floor space give you more ways to use the railing.
Fill each pot with potting mix to 2 inches below the rim, set the plant in, and press the soil down around it. Water until it runs out of the drainage holes. Evergreens still need water in winter, so check the soil every 2 weeks and water on days above 40°F. Group the pots near the wall, out of the strongest wind.

13. Bring textiles inside after every use
Thirty seconds at the end of each visit keeps everything you bought dry and fresh until spring. Before you close the door:
- Switch off the heater, if you have one.
- Carry the throw you used inside.
- Return dry seat pads to the deck box.
- Press the lid down until it closes all the way.
Damp fabric goes over a chair indoors to dry overnight. Left outside, it freezes stiff and starts to smell within a week.
Snow note: Sweep fresh snow off the rug and tiles with a soft broom before it melts and refreezes. Skip rock salt, since it can damage the concrete under your tiles. A handful of sand gives grip without the harm.
Conclusion
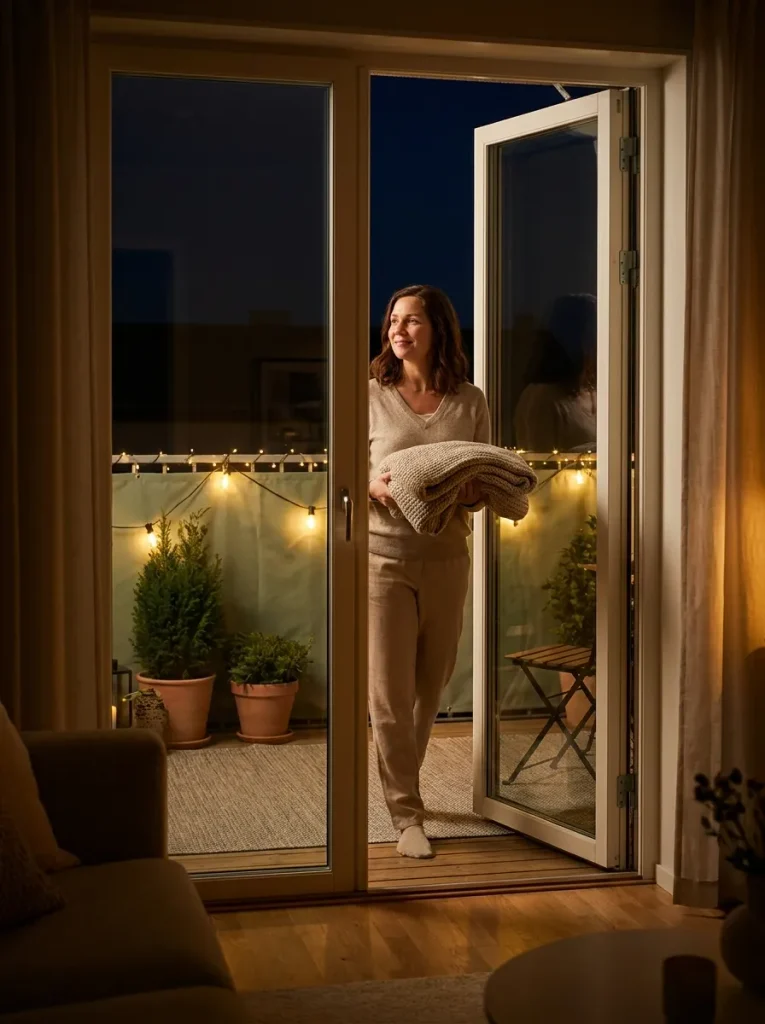
That is it. Your balcony now blocks the wind, keeps your feet warm, and glows when the sun goes down early.
Indoor plants need extra attention in the cold, so here’s my winter houseplant care routine for apartments.
Take your first coffee out there this weekend and see which corner feels coziest. Then move your seat there.
Once you have it set up, you may find yourself adding a few more winter balcony ideas of your own, like a small side table or a second row of lights.
Save this guide to your Pinterest board so it is ready when you head out to shop.

