

You found the perfect peel-and-stick wallpaper. Then you remembered the lease in your drawer, the one you skimmed for two minutes on move-in day. Now you’re nervous about hanging a single picture frame. That fear keeps a lot of renters living with bare white walls for years.
Here’s the good part: what renters can change in an apartment isn’t a mystery. The answer is already written down. You only need to know where to look.
This guide walks you through a lease audit you can finish in one evening. You’ll find the clauses that matter, sort every decor idea into green, yellow, and red, and ask your landlord for the rest in writing. By the end, you’ll have a color-coded list of what you can do today, what needs a yes first, and what to skip.
The method works because it swaps worry for proof. Written rules and written approval protect your deposit far better than a friendly chat in the hallway.
Plan on about two hours of hands-on time, plus a few days of waiting for a reply. Grab your lease, a few highlighters, and a cup of coffee.
Brand new to renting? Start with my guide to renter-friendly decorating for beginners, then come back here when you’re ready for the full rulebook.
- Find your lease and every addendum
- Search for six decorating keywords
- Highlight clauses about walls, floors, and fixtures
- Sort your ideas into green, yellow, and red
- Check green items for hidden damage risks
- Prep each yellow request with a photo and undo plan
- Email your landlord one clear request
- File the reply with your lease
- Photograph every room before any change
- Test removable products in a hidden spot
- Bag and label every original fixture
1. Find your signed lease and every addendum
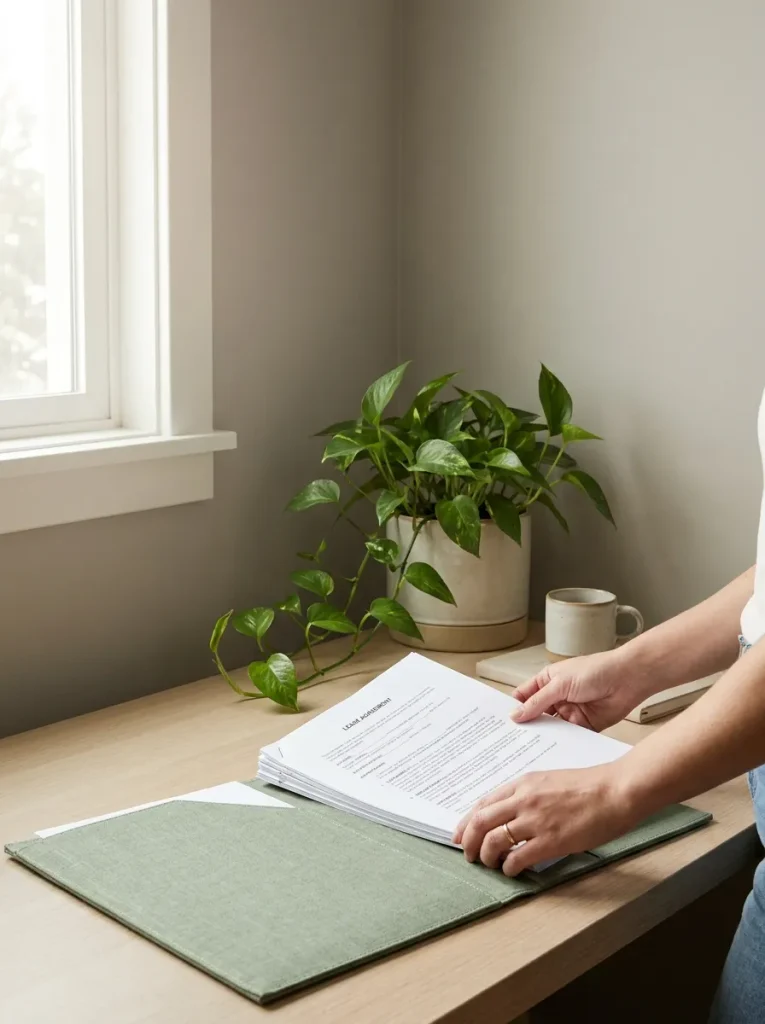
A lease is rarely one document. Most come with extra pages, like a pet addendum, a list of building rules, or a move-in condition form, and any of them can hold a decorating rule. Look in your email for the PDF sent at signing. Can’t find it? Ask your landlord or property manager for a copy in writing. They keep signed copies, and the request is routine. Print everything if you can, because marking up paper is faster than scrolling. No printer? Most phone PDF apps have a highlight tool.
2. Search the lease for six decorating keywords
If your lease runs past 10 pages, reading every line tonight will wear you out. Search instead. Open the PDF and use the find tool (Ctrl+F on a computer, or the magnifying glass in most phone apps). Look up these six words one at a time: alter, improve, fixture, paint, nail, and damage. Short root words catch every version, so “alter” also finds “alteration” and “alterations.” Put a sticky flag on each page that gets a hit.

Working from a paper copy? Skim the section titles first. Decorating rules usually sit under headings like Use of Premises, Maintenance, Alterations, or Move-Out.
3. Highlight every clause about walls, floors, and fixtures
Mark the full sentence, not one word. “No nails” and “no nails without written consent” are two very different rules. Flag anything that names walls, ceilings, floors, windows, lights, cabinets, doors, or locks, using a regular pen for now. Then check the move-out section. Phrases like “original condition” hide decorating rules there, and most renters never read that far.

4. Sort what renters can change in an apartment into green, yellow, and red
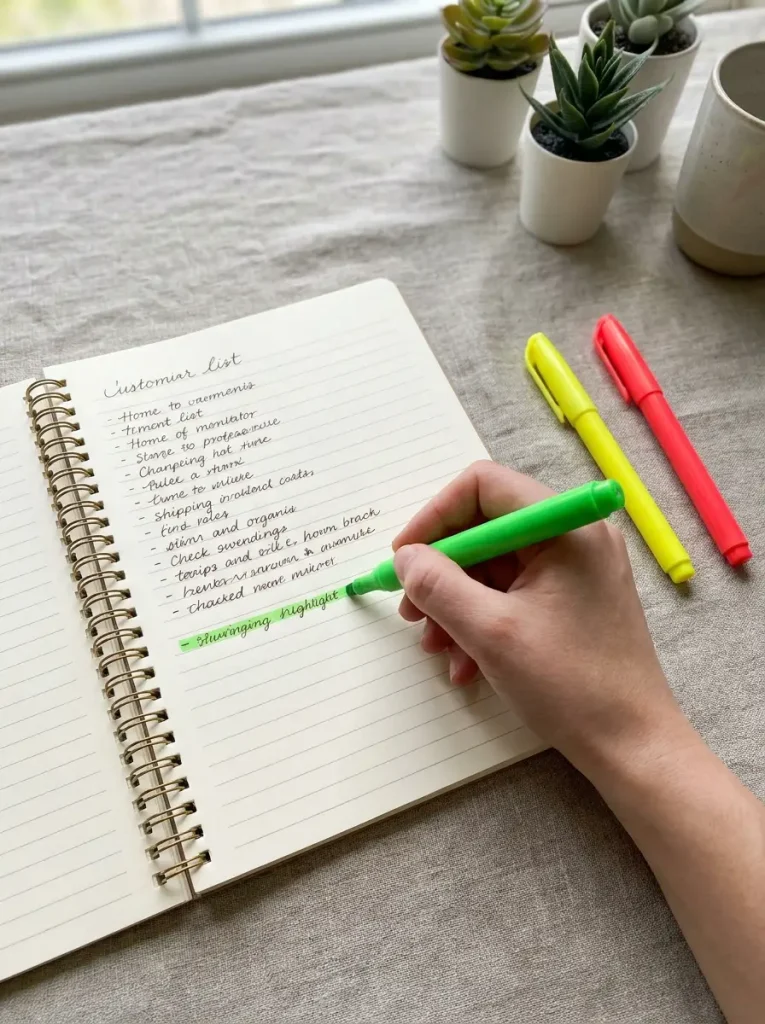
Three colors, three meanings. Green is allowed by your lease, or not mentioned and leaves no mark. Yellow says “with consent,” or is not mentioned but leaves a hole, stain, or new color. Red is banned outright, or touches plumbing, wiring, gas, or the structure. Write every decor idea you have on one list. Then highlight each one in its color. When in doubt, pick the stricter color.
Need ideas to fill your green list? I’ve collected 25 renter-friendly decor ideas that won’t cost you your deposit.
5. Check your green list for hidden damage risks
Allowed is not the same as mark-free. Ask one question about each green item: could this leave a trace? These are the usual troublemakers:
- Adhesive hooks that peel paint off flat or freshly painted walls
- Plant pots that leave water rings on floors and sills
- Heavy furniture legs that dent soft wood floors
- Tension rods tightened so hard they scuff the window frame
Write a fix beside each one, like felt pads or a plant saucer.
Hidden damage risks are exactly where deposits disappear. Here are the nine renter mistakes that cost you your deposit, plus what to do instead.
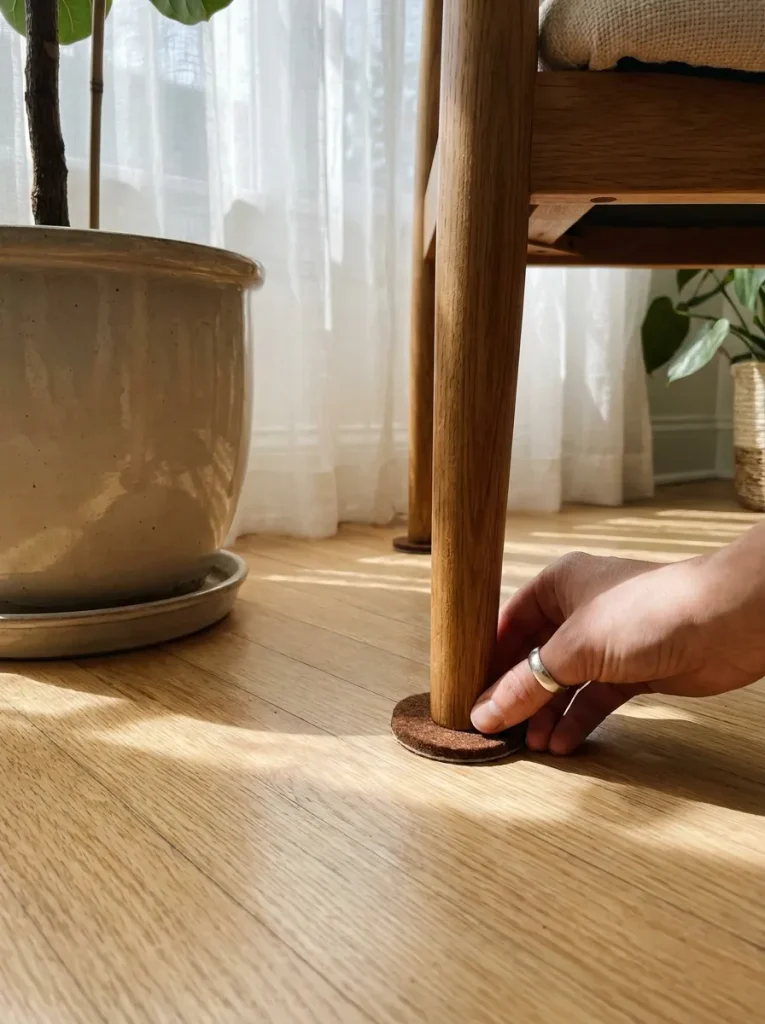
Some rubber-backed rugs and cheap rug pads react with vinyl and certain wood finishes. They can leave yellow stains that won’t wash off. Use a felt pad, or one labeled safe for your floor type.
6. Prepare each yellow request with a photo and an undo plan
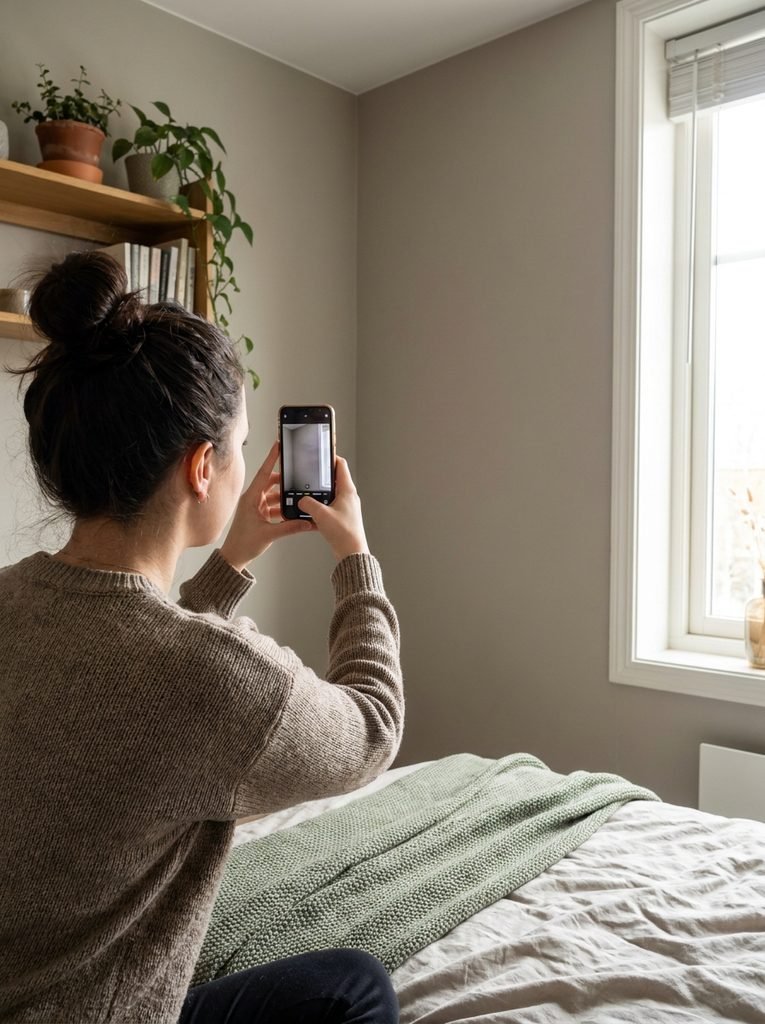
Two things get a landlord to say yes: a clear picture of the change, and proof you’ll reverse it. Vague requests get turned down because the landlord pictures the worst. So for each yellow item, take a photo of the exact spot. Save a link or screenshot of the product you plan to use. Then write one sentence on how you’ll undo it, such as “I’ll fill the 2 nail holes with spackle and touch up with the original paint.” Keep each request to 3 lines or fewer.
7. Email your landlord one clear written request
Email beats a phone call because it leaves a dated record. Put every yellow item in one message instead of sending five separate texts. Use a specific subject line, like “Decorating request for Unit 4B.” Number each item, paste in your 3-line description, and attach the photos from Step 6. Close by asking for a written reply. One tidy, numbered email is easier to answer than a string of scattered questions.
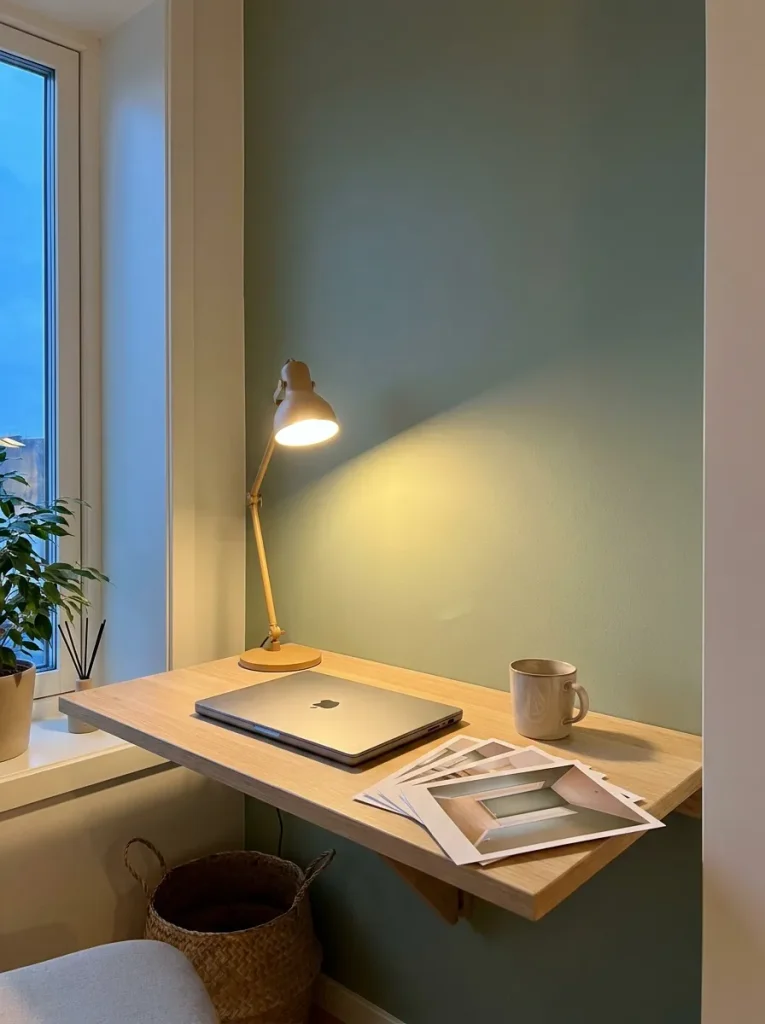
Ask your landlord to reply “yes” or “no” next to each number. A one-word answer is quicker to give, so you’ll often hear back sooner.
8. File the reply right next to your lease
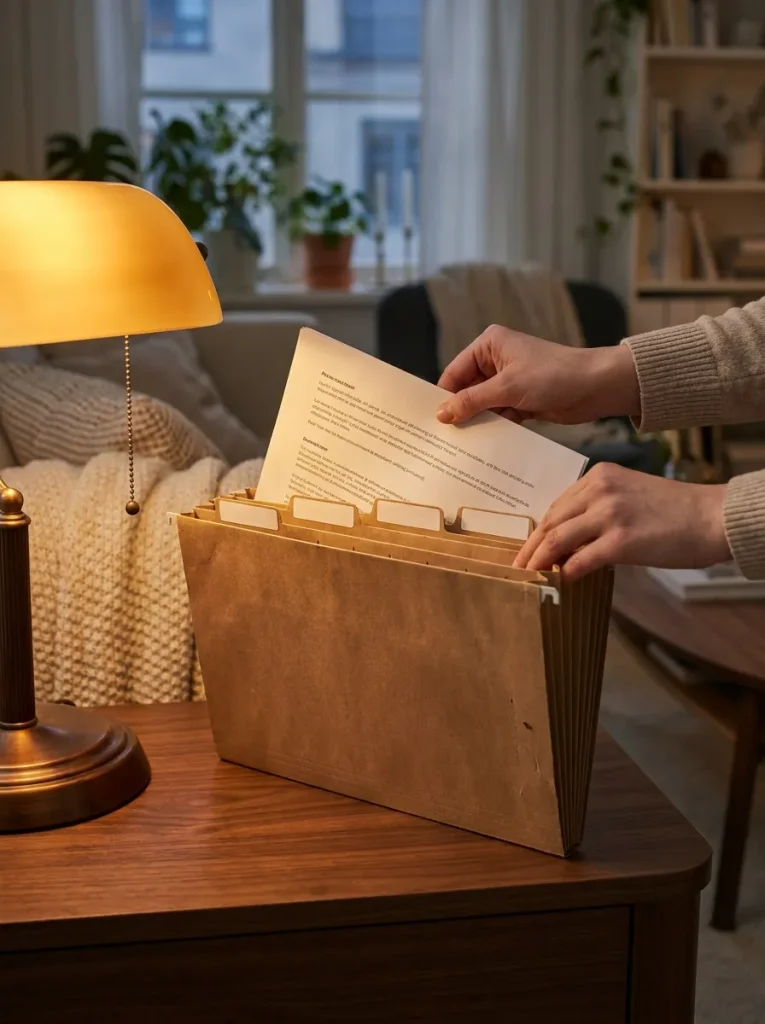
A yes you can’t find in two years won’t protect your deposit. Save the email as a PDF, name it with the date, and drop it in the same folder as your lease. Got approval by phone or in the hallway? Send a short email confirming it: “Thanks for saying I can paint the bedroom.” Now that verbal yes is in writing too.
9. Photograph every room before the first change
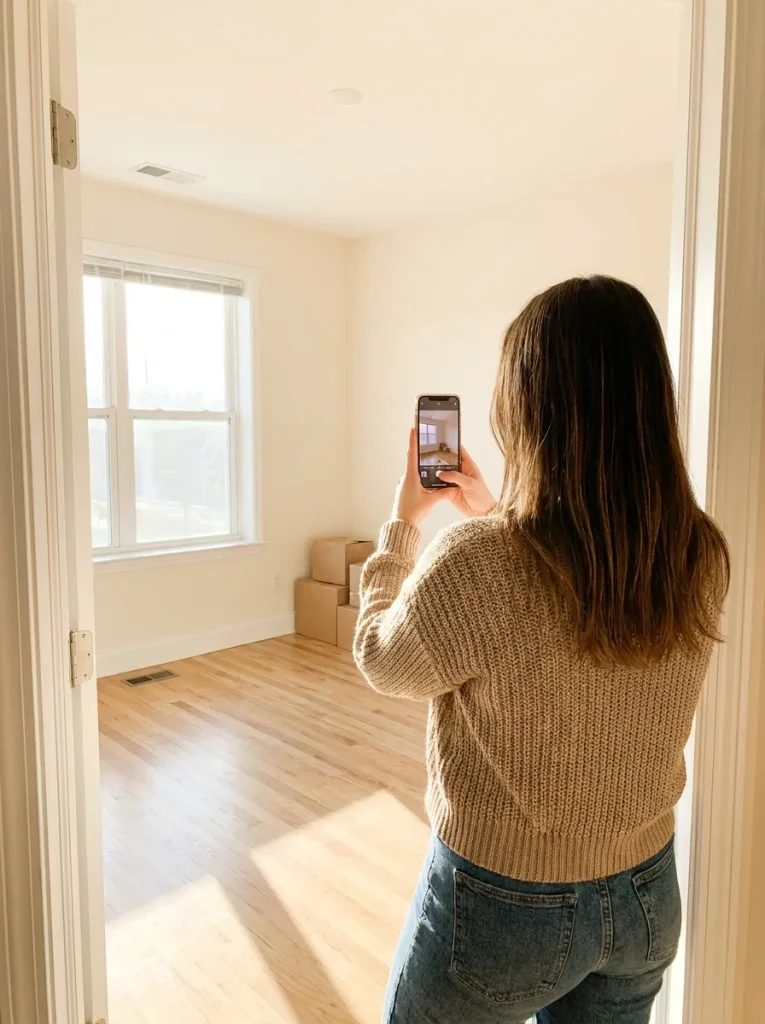
Before a single hook goes up, walk through each room with your phone. Stand in the doorway and take a wide shot of all 4 walls, plus the floor and ceiling. Then get close. Photograph every scuff, nail hole, stain, and chipped tile that was already there, with a coin or your hand in the frame for scale. Finish with a slow 1 to 2 minute video of each room. Keep the original files, not edited copies, so the date and time stay attached. At move-out, these photos show which marks were there before you.
10. Test removable products in a hidden spot first
A 24-hour test tells you more than any product label. Pick a spot nobody sees: inside a closet, behind a door, or on the wall a dresser will cover. Stick one hook, strip, or wallpaper square there and leave it for 24 to 48 hours. Then remove it the way the package says, usually by pulling the tab straight down along the wall, slowly. If the wall comes away clean, go ahead. If paint lifted, that product moves to yellow.
When the time comes, learn how to remove peel and stick wallpaper without leaving a mark.
Wallpaper is the product people skip testing most often. My guide to installing peel and stick wallpaper so the corners never lift starts with a 48-hour test strip for exactly this reason.
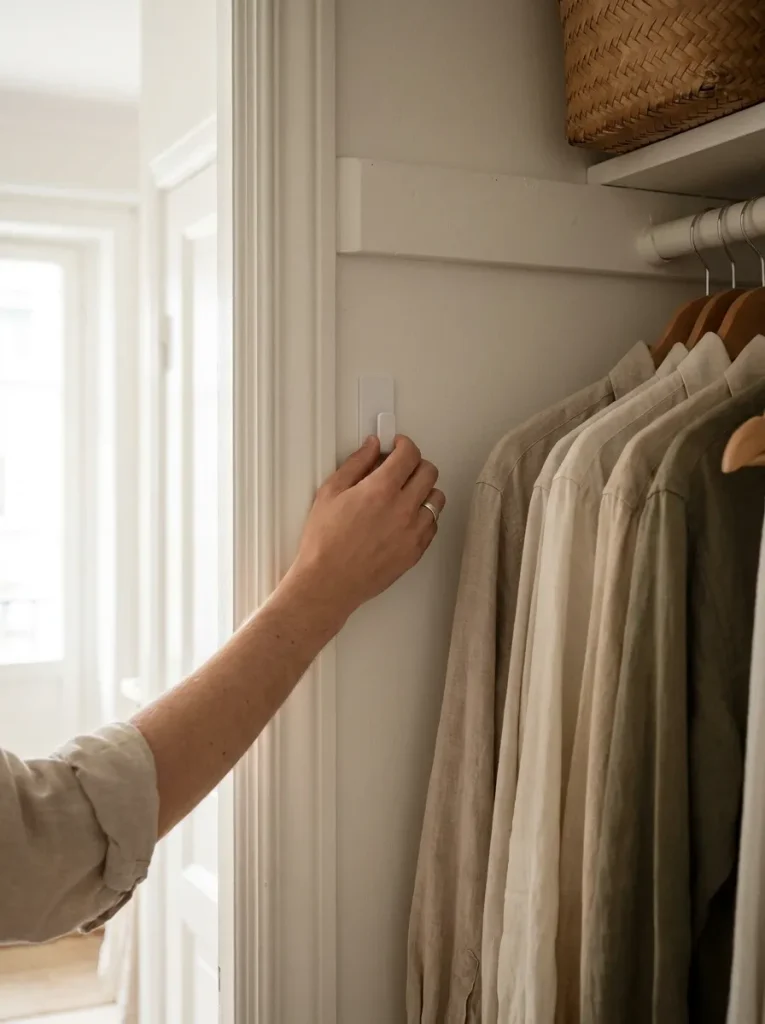
Walls painted in the last 30 days and bumpy textured walls are the riskiest spots for adhesives. Fresh paint hasn’t fully hardened, and texture gives glue less to grip. Either way, the product may fall or take paint with it.
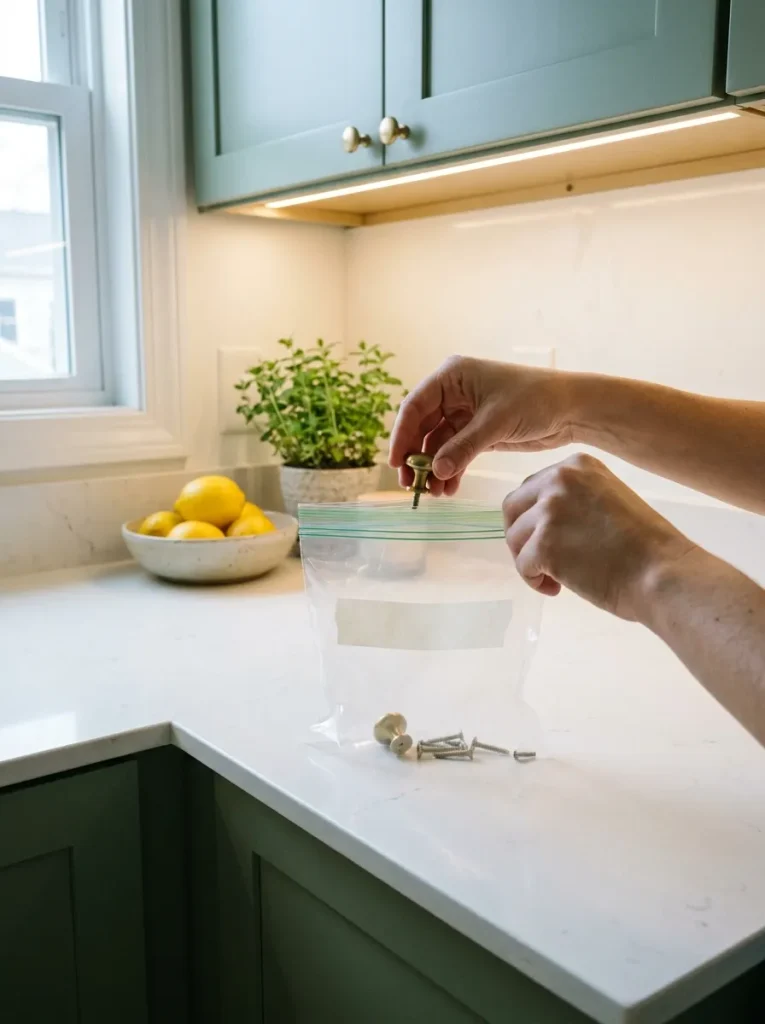
11. Bag and label every original fixture you swap out
Move-out day is a bad time to hunt for a tiny ceiling screw. Any time you replace something that belongs to the apartment, follow this routine:
- Snap a photo of how it’s mounted before you take it down
- Drop the old part and all its screws into one zip-top bag
- Label the bag with masking tape: room, item, and date
- Keep every bag in one box on a shelf you won’t touch
Put the originals back before your final walkthrough.
It depends on your lease. Some treat a few small nail holes as normal wear, and others ban them. If yours says nothing, one email to your landlord settles it.
Not always. It can pull paint off flat, fresh, or textured walls. Test a small square in a hidden spot first, and check whether your lease limits wall coverings.
Only with written permission. Many landlords agree if you return the walls to the original color before you leave, and some will want to approve your color first.
Usually not without permission, because landlords need access in an emergency. Ask in writing and offer to hand over a copy of the new key.
Keep your approval emails and send copies to the new person in charge. That way everyone is working from the same record.
No. Rules differ by country, state, and city, and your lease and local law always come first. If you end up in a dispute, a local tenant group or legal aid office can help.
- Lease and every addendum
- Green, yellow, red highlighters
- Sticky notes
- Phone camera
- Notes app or notebook
- Zip-top bags
- Masking tape and marker
- Find your lease and addendums
- Search: alter, improve, fixture, paint, nail, damage
- Mark clauses on walls, floors, fixtures
- Sort ideas into green, yellow, red
- Check green items for hidden marks
- Prep yellow items: photo, product, undo plan
- Send one numbered email to your landlord
- Save the reply with your lease
- Photograph every room first
- Test products in a hidden spot for 24 to 48 hours
- Bag and label every original fixture
Conclusion
You now have a lease you actually understand, plus a color-coded list of what renters can change in an apartment like yours. Your green ideas are ready to go today. Your yellow requests are with your landlord, and your move-in photos are saved for later. For a next step, pick one green project this weekend, like a new rug or a pair of lamps, and enjoy the difference. Save this pin to your renter decorating board so the checklist is ready when you sign your next lease.
And when move-out day arrives, here’s how to patch nail holes before moving out so your walls pass the walkthrough.

